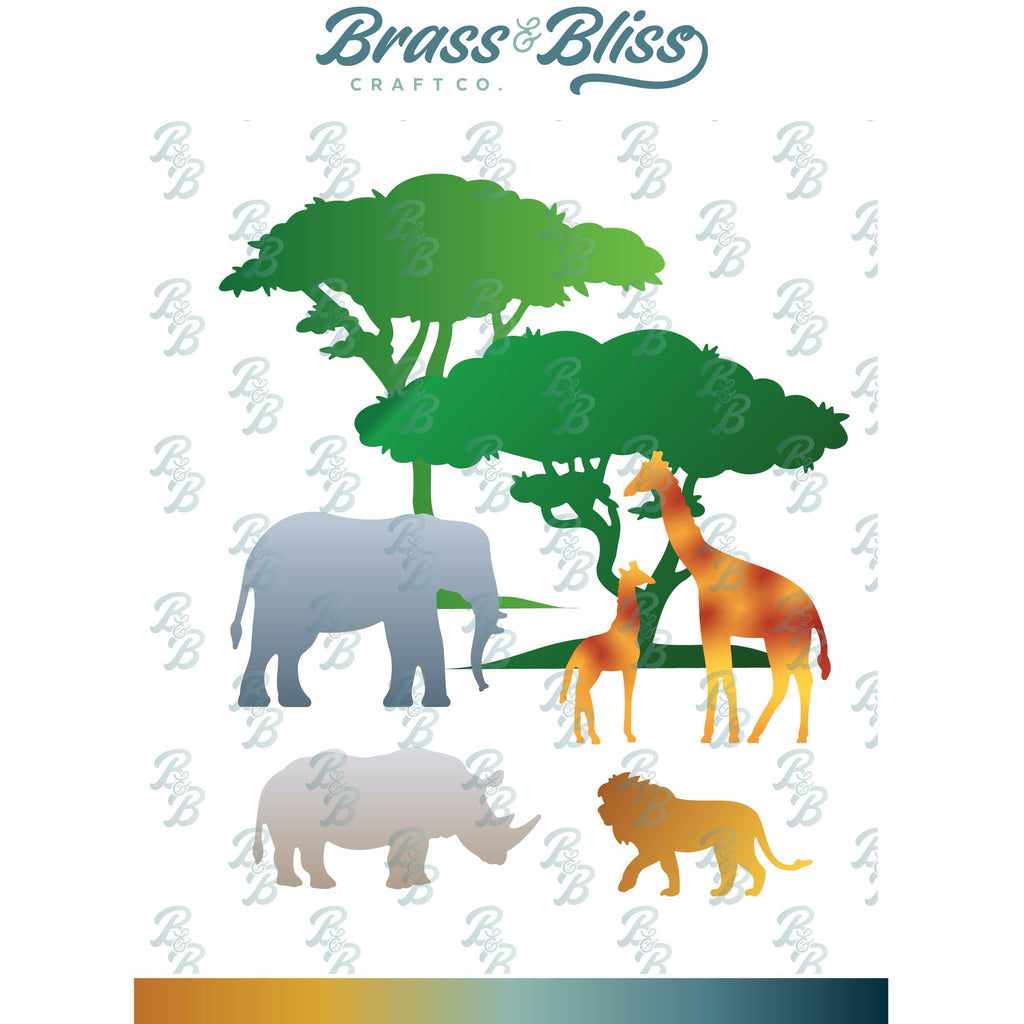
This card features a new Safari Animals die set that I just love. It will be easy to make all occasions of cards with this set. The variations are endless. Cut them out of black and use a brayered background, cut them out of patterned paper & use a plain background, or use the animals individually in bright colors for a zoo animal themed kid’s birthday card.
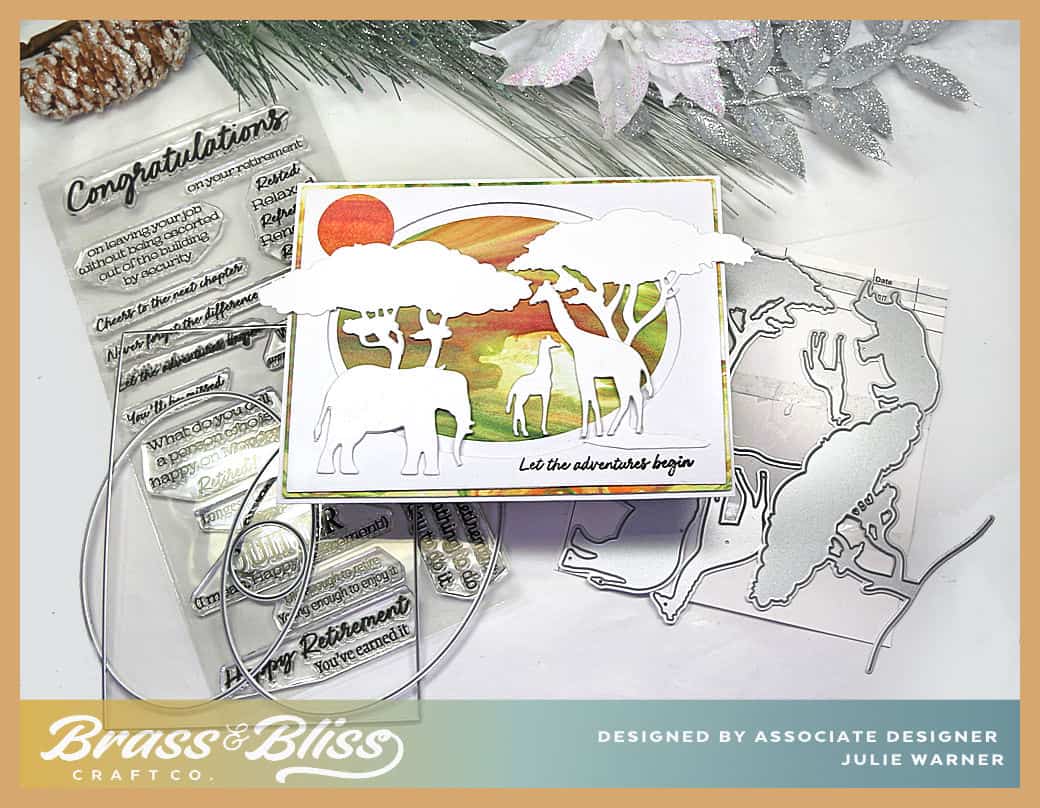
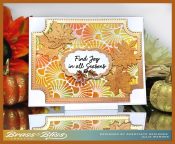
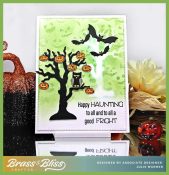
Since it’s the 5th week for the Featured Stamper Challenge FS982, we are revisiting some previous FS Galleries. This time we are to choose from FS71-FS99. I chose THIS card from FS81 kokirose. I kept the safari theme but used dies instead of stamps, a shaving cream bg instead of a blended scene, & made mine A2 instead of slimline.
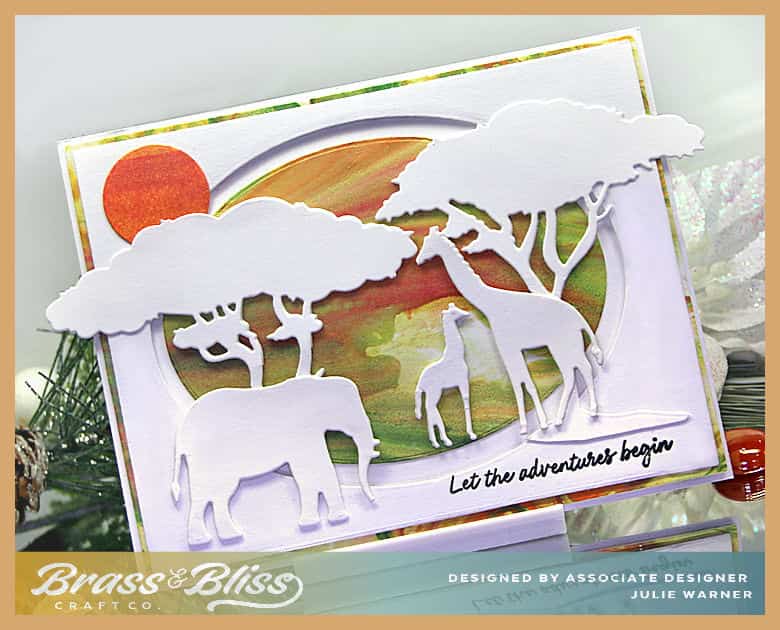
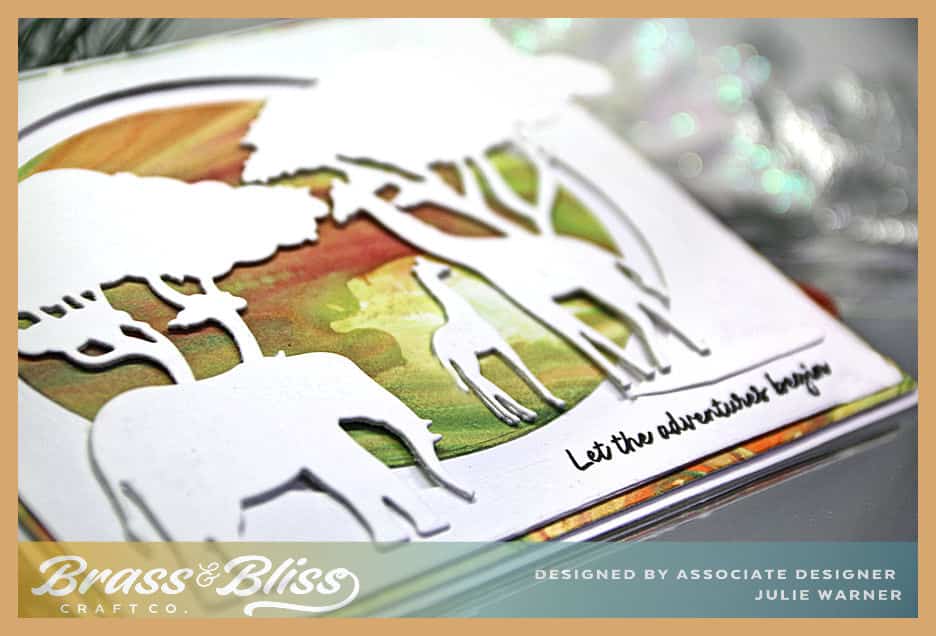
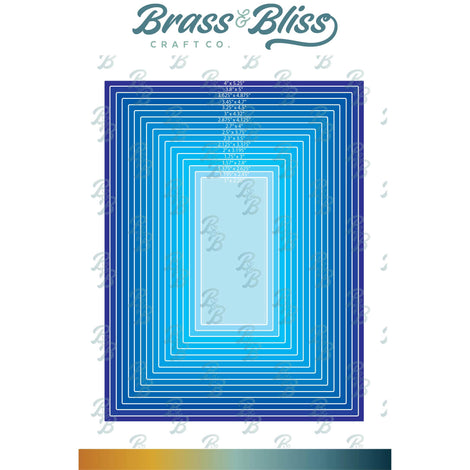
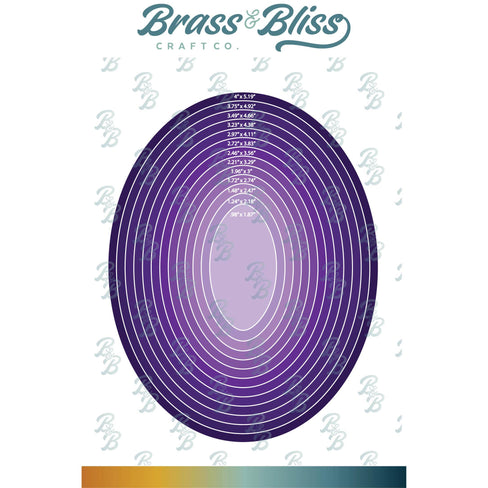
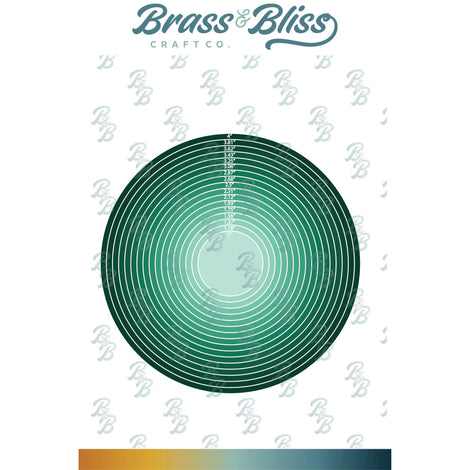
I envisioned an all white silhouette card, so I die cut the animals & trees out of heavy white & attached them to white cardboard die cuts. Since they were all white, I went through my already made backgrounds & found this shaving cream bg & the colors looked right to me. I cut it to fit the card front, then cut out the center. I used a large oval to cut the piece behind the animals then created a white frame to go on top. The largest rectangle was used to cut the frame then a slightly larger oval was used to cut out the inside. The frame was popped up 2 layers to elevate it from the shaving cream oval. The greeting was stamped & all the elements added on top. A small circle was cut out of the orange area of the left over bg, & used as a small sun in the upper left.
Thanks so much for stopping by!

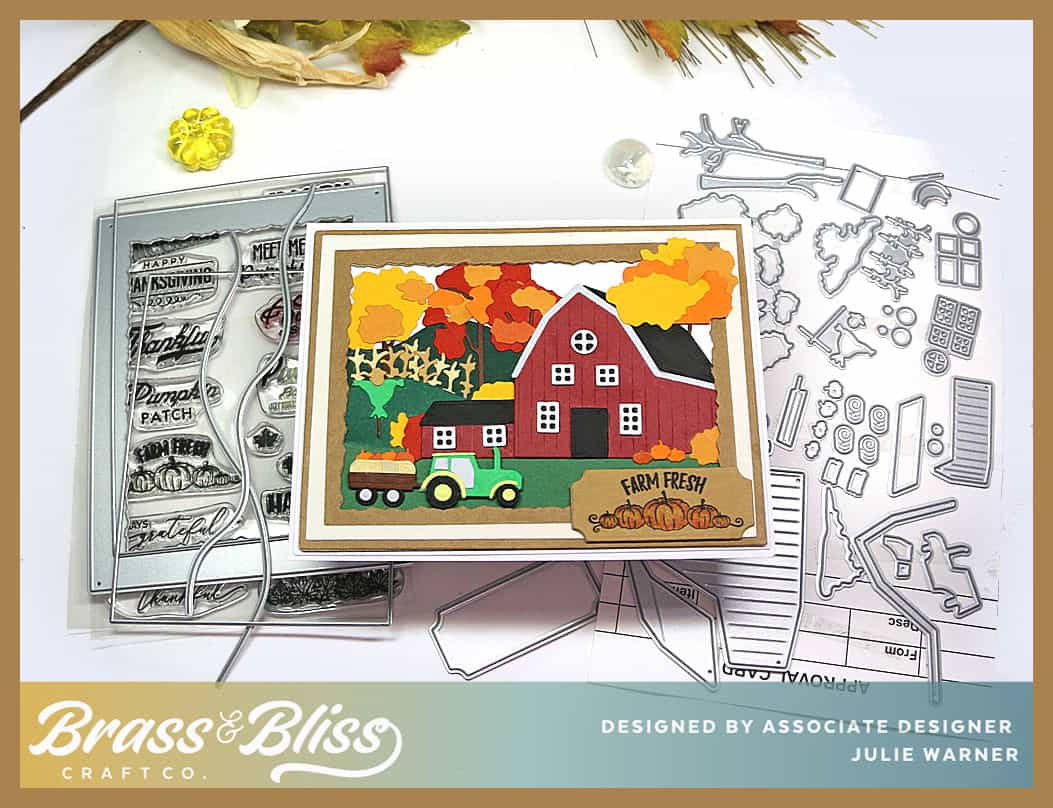
Supplies: (click the names below the pictures to take you to the products)
| Stamps: Brass & Bliss: Happy Retirement set |
| Paper: Staples 110# white, heavy white, shaving cream bg |
| Ink: Memento tuxedo black |
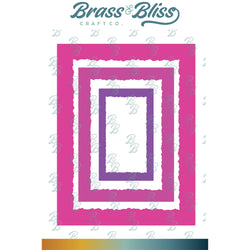
| Accessories: Brass & Bliss: Safari Animals, Rectangles, Ovals, Circles dies, MISTI |

|
|
|
|
|

|

|

|

|

|
You might also like:

![]()