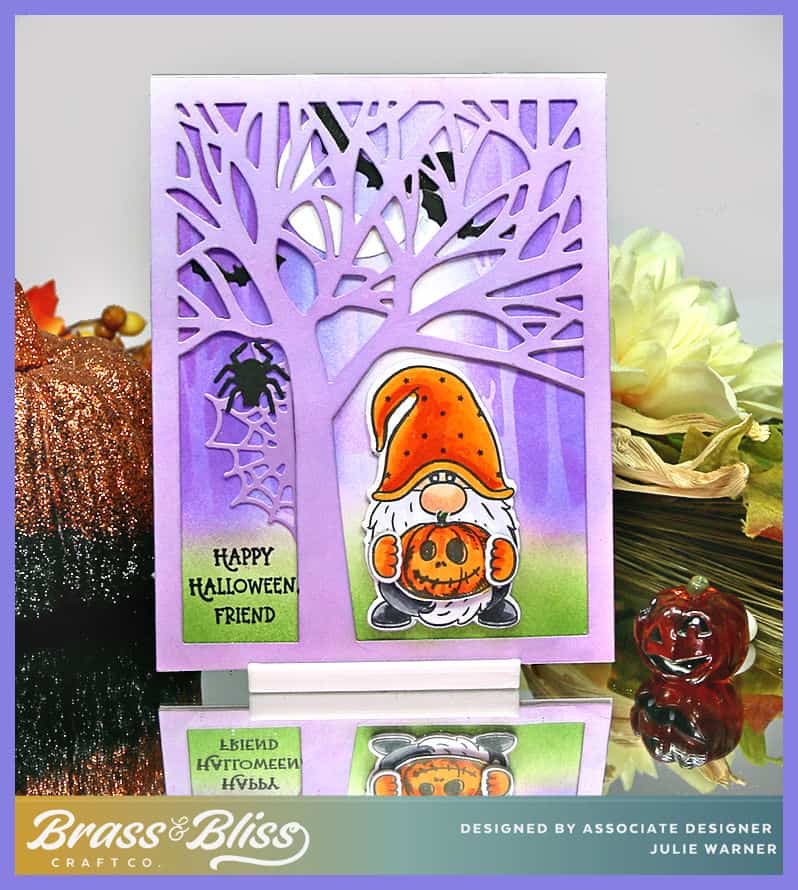
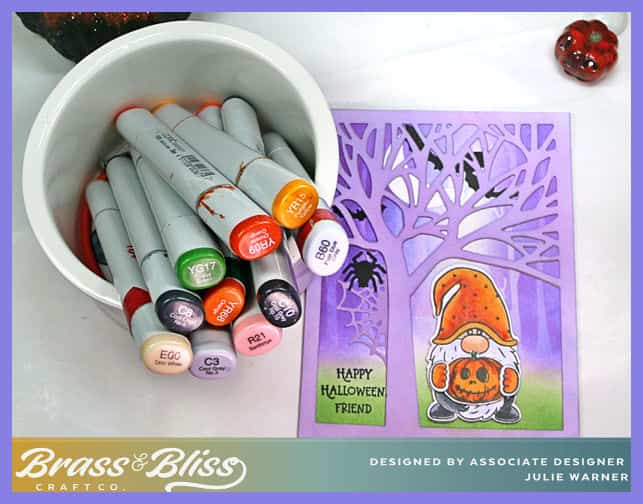
Today, I have a cute little gnome all dressed up for Halloween. He has an adorable little Jack O’Lantern & he’s standing under a lavender tree wite a misty purple forest behind him. This is easy to make and I’d love to show you how.
For the Inspiration Challenge (IC985) we are visiting Fine Art Canvas & their Pinterest Board. I came across THIS cute picture & used it for my inspiration.
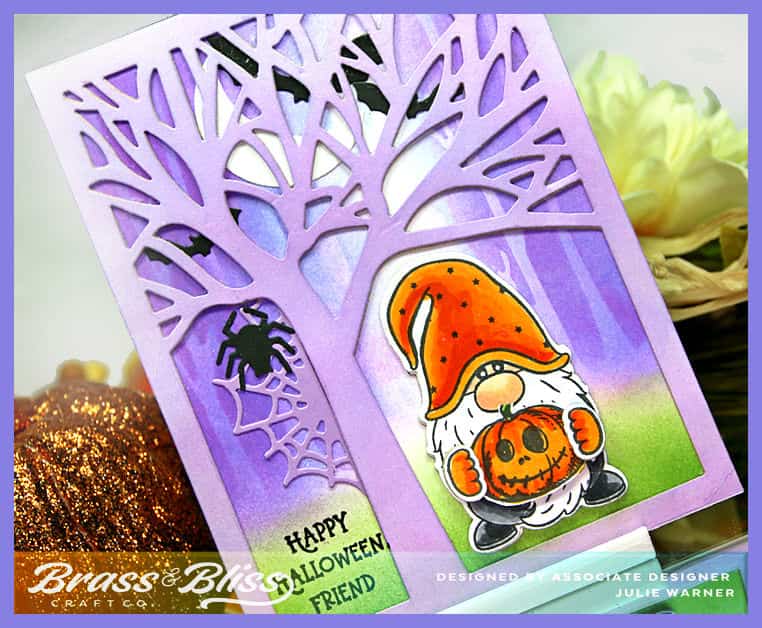
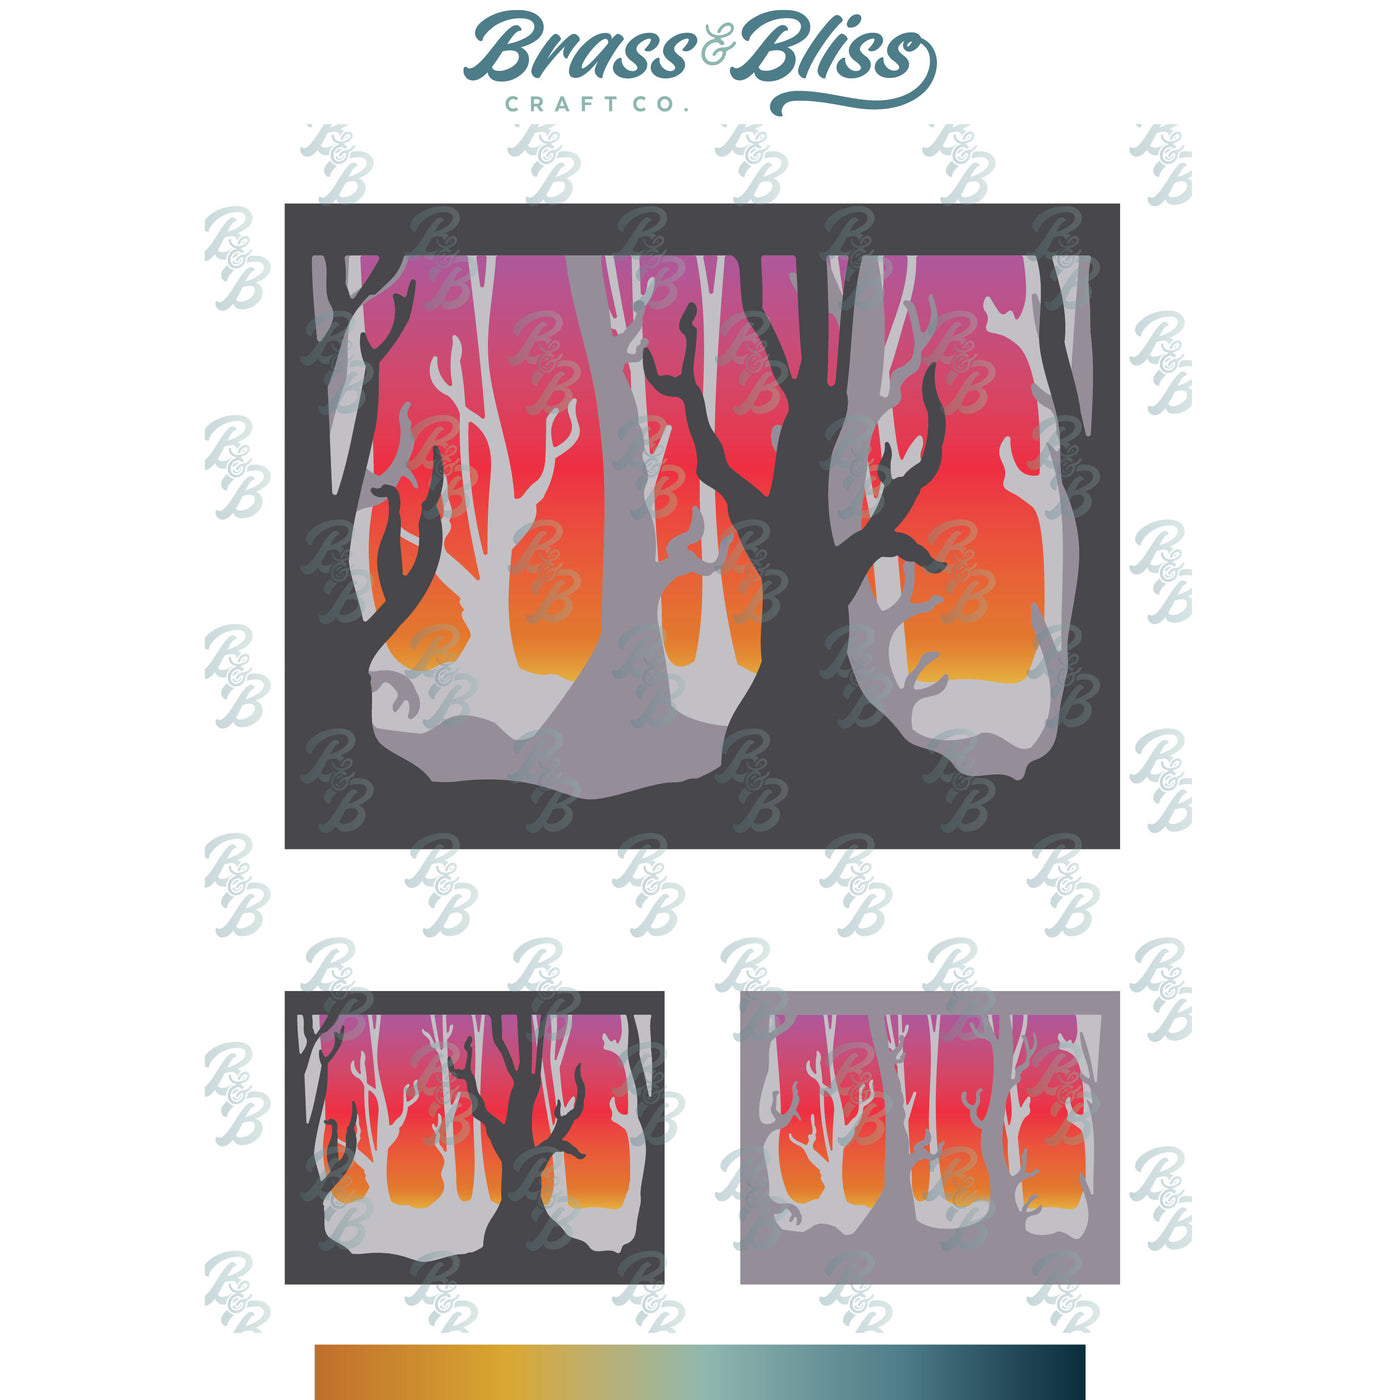
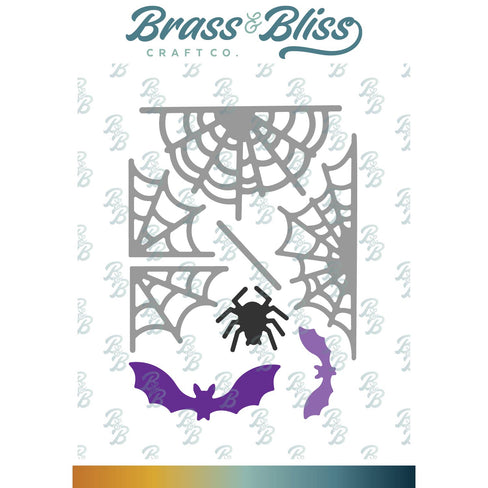
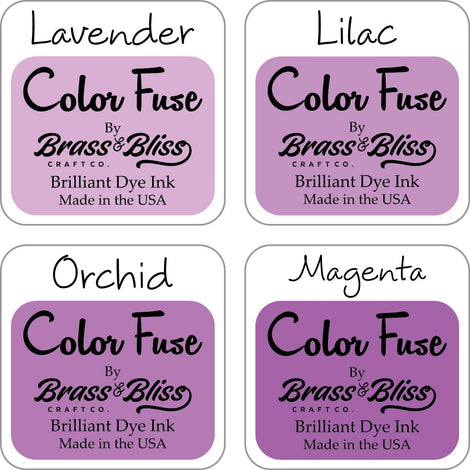
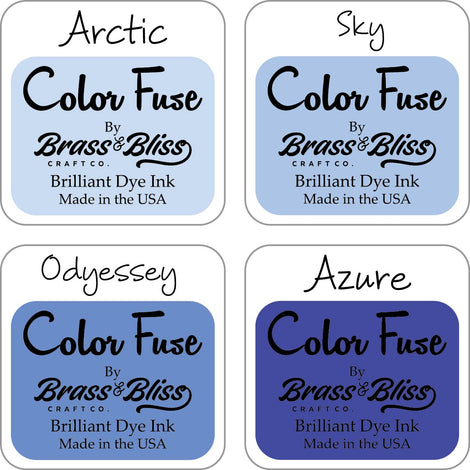
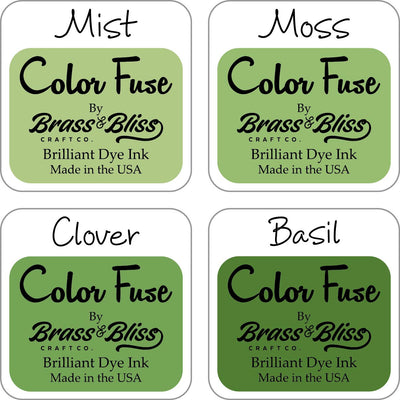
My card started with the tree cover die which I cut out of a lt lavender card stock. For the background, I used a white piece and sponged it w/ a lt lavender ink then used a mask I made by die cutting one of the spooky forest layers out of copy paper. Using it as a mask, I sponged on some darker purple inks along w/ a medium blue ink. The center section was left white and I used green ink across the bottom. A spider web, spider, bats & a white crescent moon were attached to the background before the tree cover was added.
A layer of cardboard was added under the tree cover as well as behind the colored & die cut gnome. A Jack O’Lantern was also die cut & placed for him to hold.
Here are the Copics I used for the gnome:
Thanks so much for stopping by!

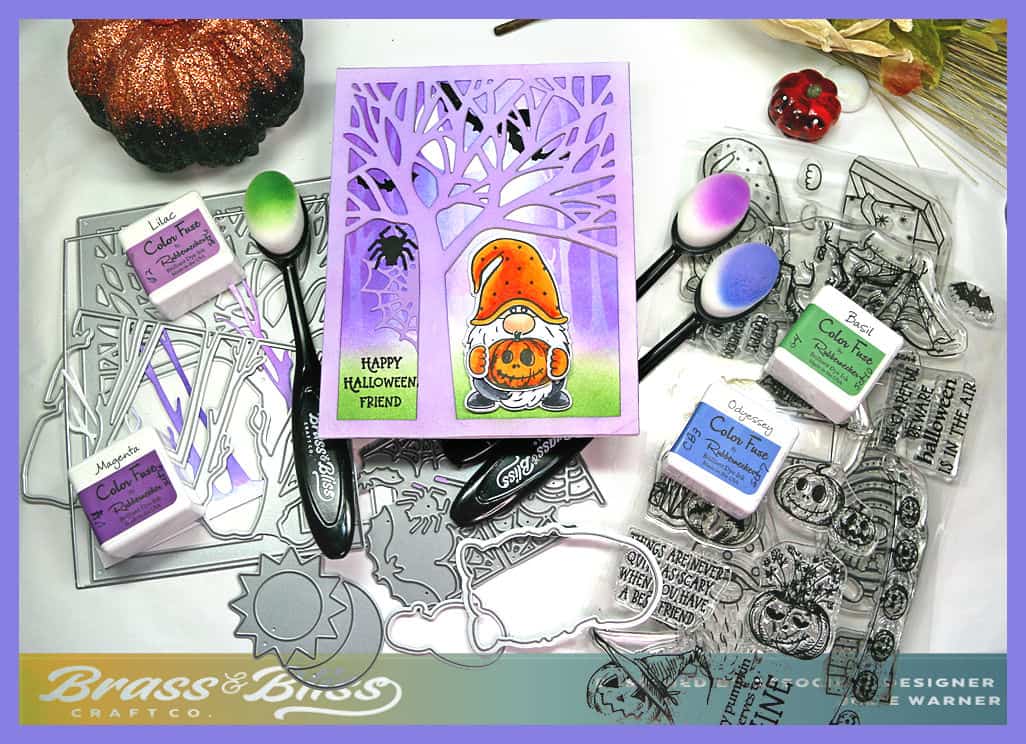
Supplies:
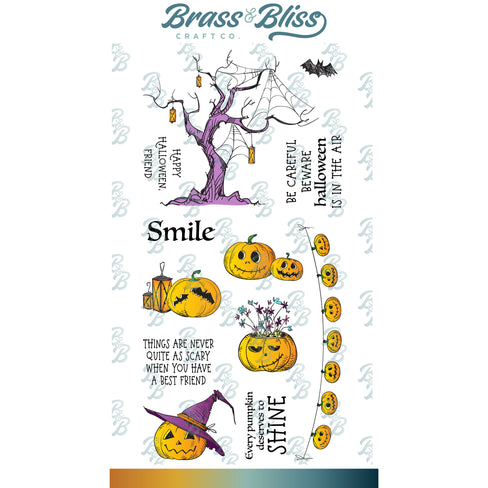
| Stamps: Brass & Bliss/Rubbernecker Stamps: Christmas Gnomes & dies set (this set is on clearance so make sure to grab one!), Jack O’Lanterns set |
| Paper: Staples 110# white, lavender, black |
| Ink: Memento tuxedo black, Brass & Bliss/Rubbernecker Stamps: Color Fuse inks: set #6, set #7, & set #10 |
| Accessories: Brass & Bliss/Rubbernecker Stamps: Tree Cover, Spooky Stacked Forest, Sun/Moon, Bats/Spiderwebs, Jack O’Lanterns dies, Detail Blending Brushes, Copic Markers |

|
|

|
|

|
|

|

|
|
|
|

|

|

|
You might also like: