I have a special technique to show today. So there are a few more pictures than usual. Sometimes I like to shorten or lengthen a particular die cut to fit what I’m doing. I used this…
- Category Archives Tutorials
-
-
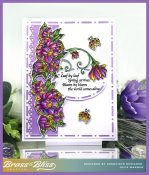 Spring Arrives
Are you ready for spring? Even thought it’s been cold, I can see tulips & hyacinths starting to push up through the dirt in the flowerbeds. Won’t be too much longer. In hono…
-
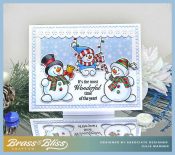 Most Wonderful Snowmen
A Christmas, winter card using the most adorable set of snowmen! Behind the window, is some wonderful lt blue snowflake paper and I’ll show you how i used a regular rectangle to make…