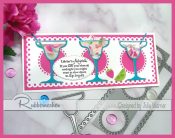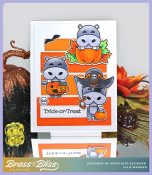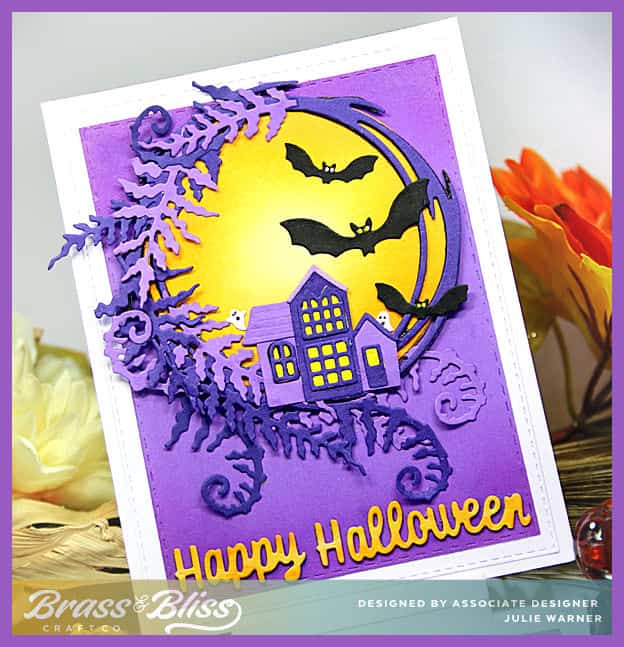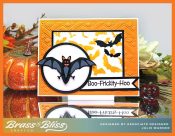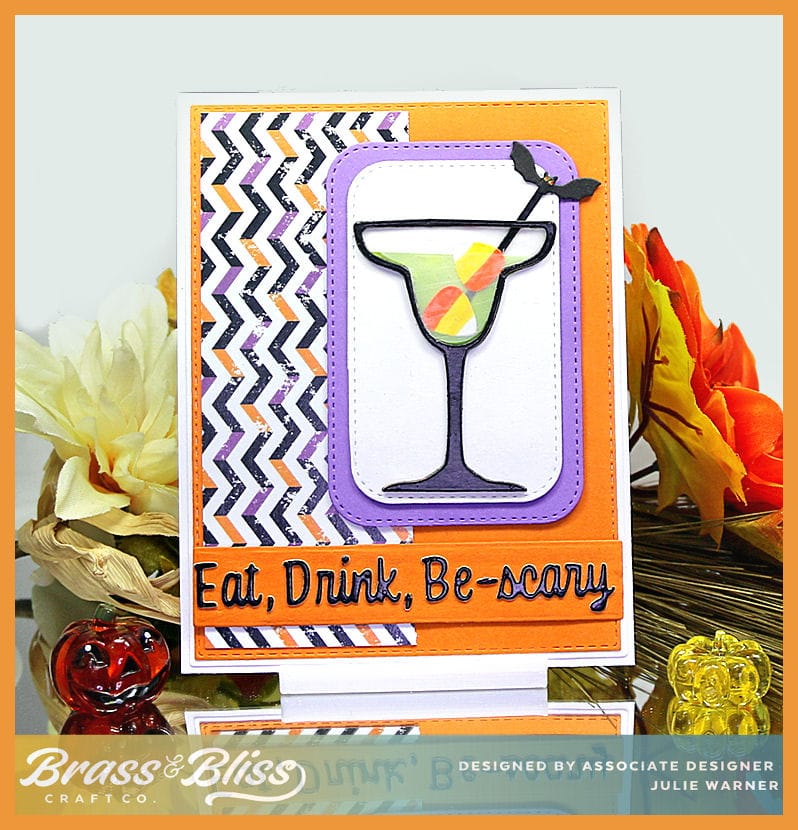
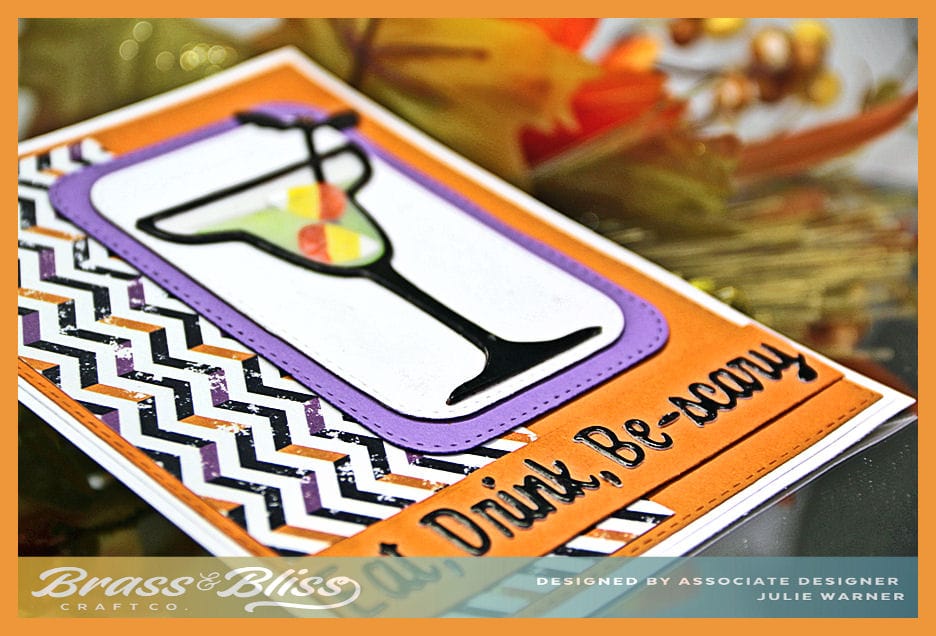
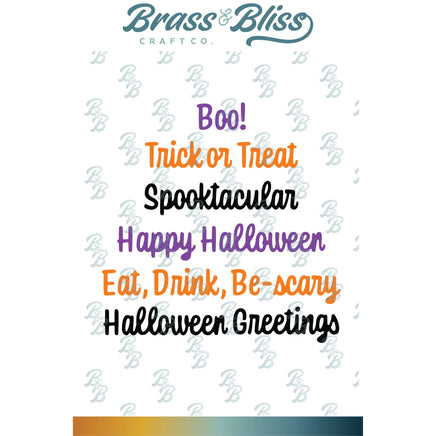
Today, I have a fun little Halloween for the adult crowd. Halloween cocktails are always fun to do and this new set of Halloween Greetings dies had the perfect one to go with it. This would fit the bill if you’re planning a little Halloween party and want to make a few fun invites.
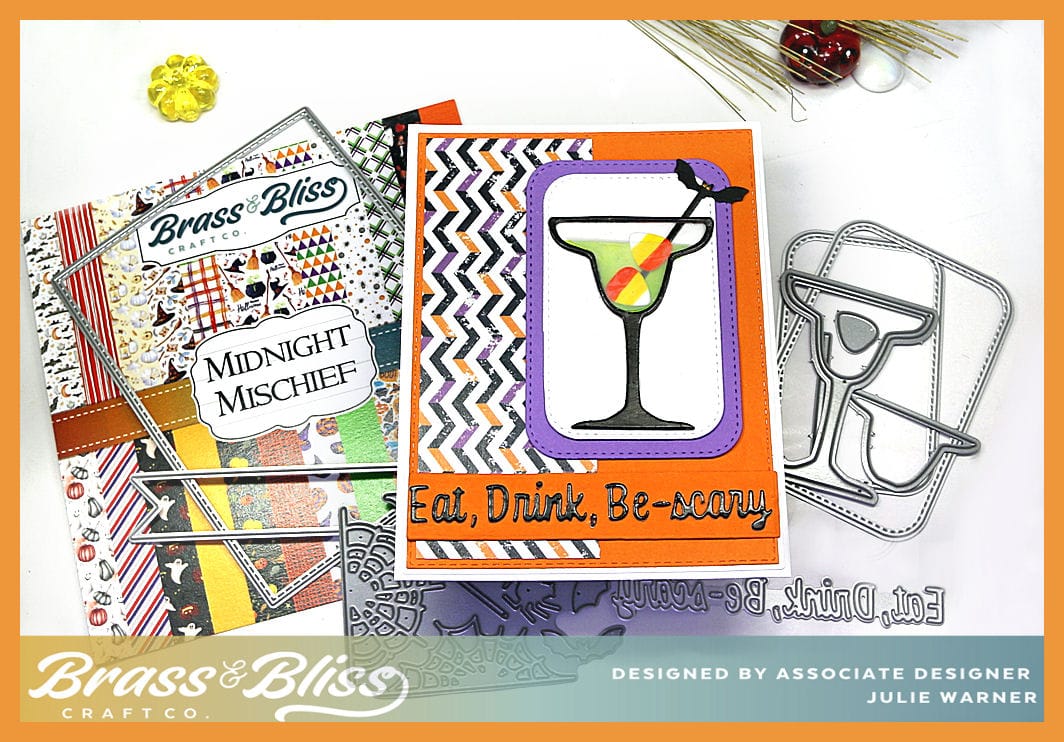
A big congrats to Deb, the newest Featured Stamper FS974. She has a super fun little gallery and I chose THIS card to case. I kept the Halloween cocktail theme & colors, but I didn’t have a martini glass so I used a margarita glass, turned it vertical & moved the greeting.
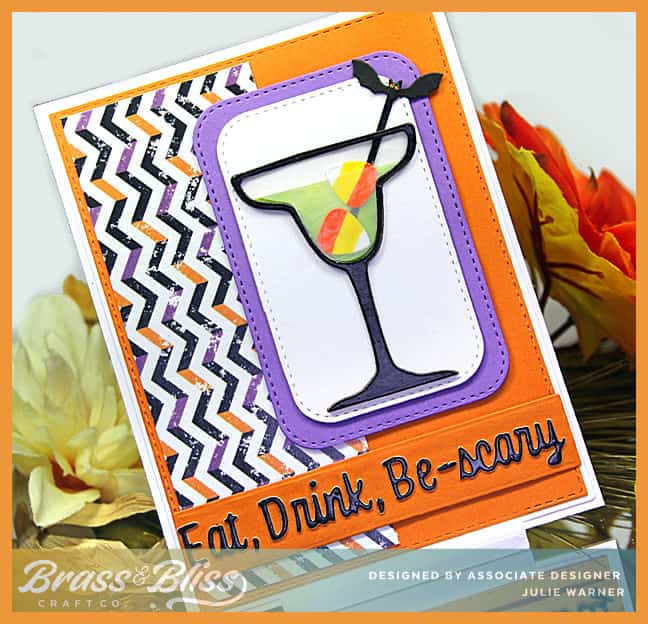
To make my spooky cocktail, I die cut the margarita glass out of shiny black cardboard, attached a piece of almost clear vellum & a lt green, both cut with the insert part of the dies. The candy corn garnishes are actually the strawberry part of the dies, colored w/ an orange & yellow marker then attached to the black stir stick. A little bat was added to the other end. I added a larger piece of vellum behind them for the back of the glass. The finished glass is attached to double stacked rounded stitch squares, one purple, one white & both popped up an extra layer. I had just this piece of designer paper left from using the rest of the opposite side on another card & the colors & size were just right.
A large orange layer is attached behind it & I used the same orange to make the long strip for the greeting with the longest of the offset tag dies. I cut almost to the end, flipped it around & cut the other end, omitting the pointy flag end of the die. For the die cut greeting, I used the same thick, shiny black card board to cut it. Since the card board is fairly thick, it stayed inside instead of falling out. So I put a piece of low tack washi tape across the front, dotted the back of the letters w/ glue then attached it to the orange strip. I let it dry a bit, then carefully peeled off the excess around the words. Worked great & kept everything lined up & in place!
Thanks so much for stopping by!
(You can go directly to the products by clicking the name under the pictures below my supply table.)

Supplies:
|
|

|
|

|
|
|

|

|
You might also like: