This is a very colorful wreath card! I love these bright colors, especially against the neutral gray woodgrain background. This would be perfect for graduation, retirement, promotion or wed…
- Category Archives Sponging/Color Blending
-
-
 Best Roses
Today I have an almost all occasion card. Birthday, graduation, congrats or wedding would all fit the bill. And it’s easy to make. Only takes 1 stencil, 3 dies & some red and gree…
-
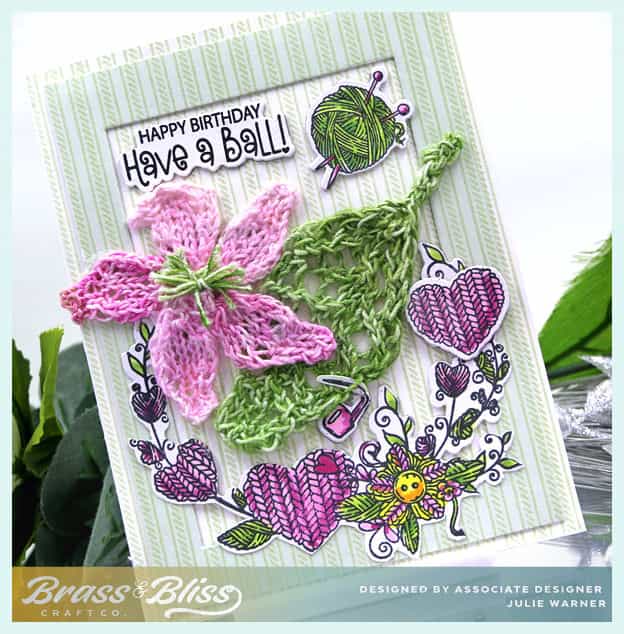 Birthday Knit
A card for all your knitting or crocheting friends! This new set is literally a ball! There are even more images and greetings to use and all come with coordinating dies. How cool is that?…