This is a fun little birthday card featuring some adorable little party ducks! The whole set is so cute and the ducks and greetings all have matching dies. How cool is that? Color them up i…
- Category Archives CAS
-
-
 Best Roses
Today I have an almost all occasion card. Birthday, graduation, congrats or wedding would all fit the bill. And it’s easy to make. Only takes 1 stencil, 3 dies & some red and gree…
-
 White Butterfly
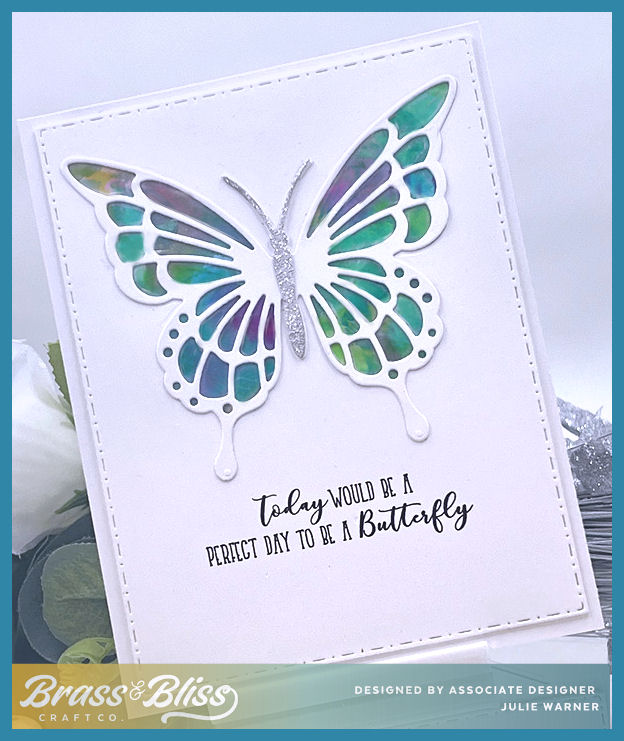
Spring has mostly arrived here. Some days are a little warmer, but today it’s on the cool side. Flowers are starting to bloom & I saw the first butterfly of the season today! This…