• Tag Archives holiday
  • Holiday Reindeer


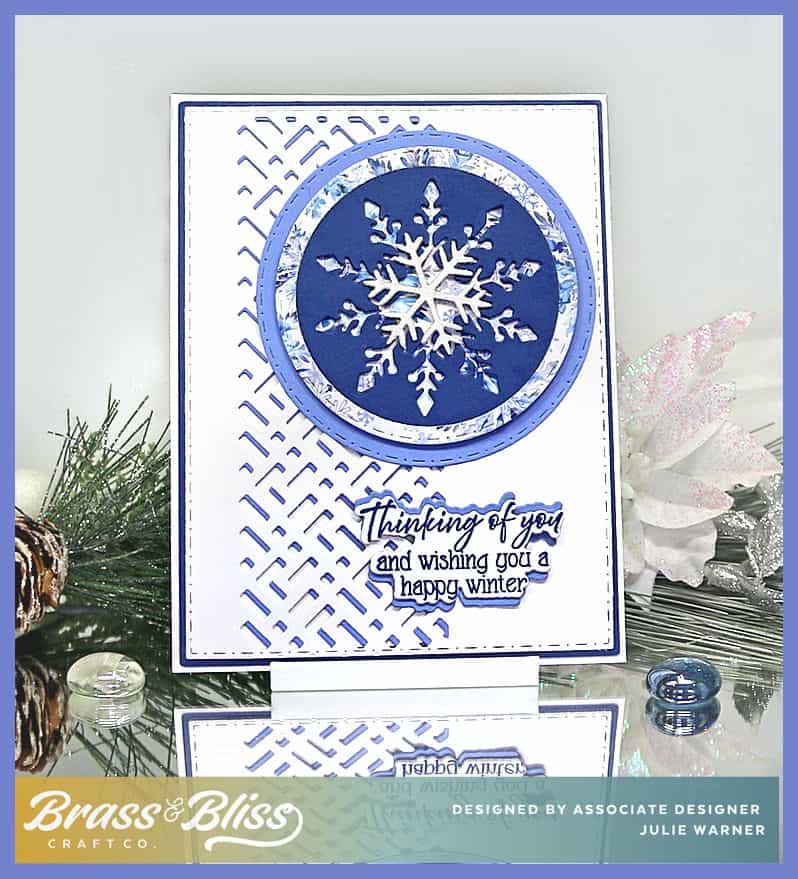
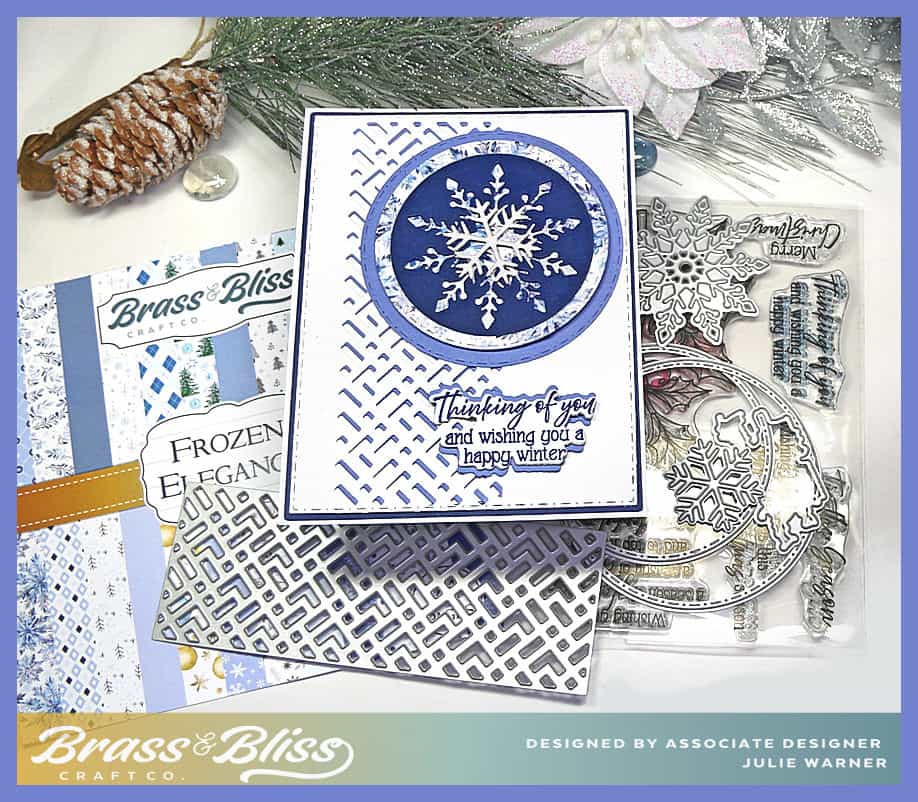
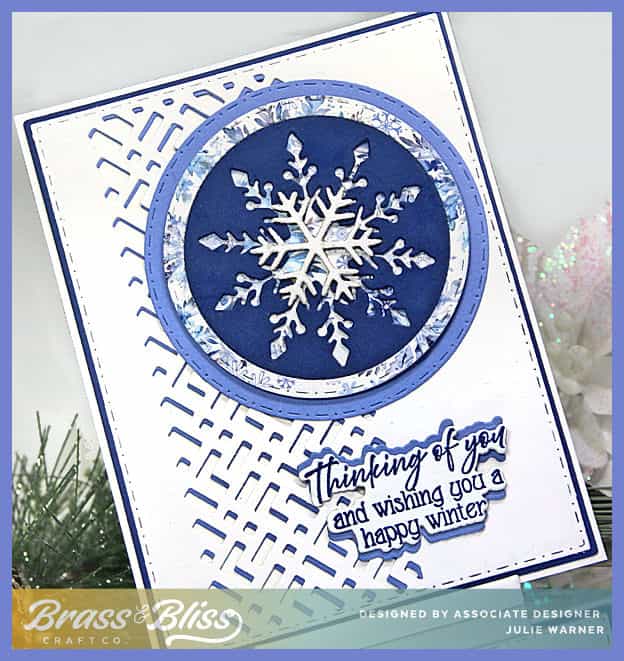
    A cute as can be Reindeer set are perfect for a fun Holiday card! Add some Christmas paper, a big snowflake and you are ready. It’s a great layout and easy to switch up the paper to keep it interesting.

    It’s my turn to host the Featured Stamper Challenge (FS911) so a big congrats to Kim! She has a fun gallery & I decided on THIS card to case.  I kept the layout, but used different images, dies & colors, left off the ribbon & made mine a Christmas card instead of an Easter card.

    After coloring the reindeer images, I die cut them w/ their matching dies. I also die cut a large stitched circle & stamped the circular greeting at the bottom. I popped up both reindeer & added the one in the wreath to the stitched circle. A large stitched square of holiday paper was added on the left & the reindeer circle added on top. The upper right of the card looked a little unfinished so I die cut a white snowflake to put there.


    A red rhinestone was added to the snowflake and a little glitter glue added to the red ornaments & the top of the little reindeer’s hat. Here are the Copics I used:

    Thanks
    so much for stopping by!

    (LinkDeli is no longer going to be used, but you can go directly to the items by clicking the name under the pictures below.)


    Supplies:

    Stamps: Brass & Bliss:  Deer Friend set
    Paper:  Staples 110# white, Brass & Bliss: Holly Jolly paper pad
    Ink: Memento tuxedo black
    Accessories:  Brass & Bliss/Rubbernecker Stamps: Deer Friend set, Stitched Rectangles, Stitched Squares, Lg. Snowflakes dies,  Crossover II, Misti, rhinestones, Stickles

  • Christmas Bicycle Postcard


    A Christmas card reminiscent of vintage postcards, using understated grey & white w/ splash of red, here & there. Easy to make & easy to mail since it’s one layer.

    A big congrats to DonnaJeanne, the newest Featured Stamper (FS877)! She has a marvelous gallery & I chose THIS card to case. I kept the muted grey & white w/ a splash of red colors & the 2 wheeler, but I used different images & dies, a bicycle instead of a motorcycle & made mine a Christmas card.

    After stamping & die cutting the bicycle, poinsettia, holly & bow, I stamped the snowflakes & postcard border using light grey ink. The paper came w/ this distressed look & I thought it worked well for my vintage postcard look. I also inked the edges just a bit w/ the same grey ink. For the greeting & other postcard writing, I stamped it first w/ black ink then over stamped w/ red to give it the burgundy color. I added a die cut little cardinal on the bicycle seat. I added another die cut bicycle under the original to give it a little dimension & sturdiness.

    Here are the Copics I used:

    Thanks
    so much for stopping by!


    Supplies:

    Stamps: Rubbernecker Stamps: Vintage Postcard set, Happy Birthday set (bicycle), Peekaboo Snowman set (poinsettia & holly), Christmas Cheer Gnomes set (greeting & snowflakes)
     Paper:  Staples 110# white, red, distressed white/grey
    Ink: Memento tuxedo black, Versaclair glamorous, Rubbernecker Stamps: Color Fuse ink set #12
    Accessories:  Rubbernecker Stamps:  Stitched Rectangles, Happy Birthday set, Peekaboo Snowman set, Christmas Cheer Gnomes set dies,  MISTI, Copic markers


    You might also like:


  • Cheers Shaker


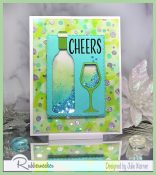
    A fun, sparkly shaker card to celebrate the holidays, a birthday or New Year’s. Glitter was used for the shaker so it’s not bulky and shouldn’t take extra postage. Some step by step pics show you the process & it doesn’t require any special supplies.


    For the Inspiration Challenge (IC937) we are visiting Catch My Party & their Pinterest Board where I found THIS picture for my inspiration. The colors and the sparkle really caught my eye.

    I first created the large background using a 2 part Bokeh stencil and some light green & teal inks. Some paler, larger circles were added using a white pigment ink. After making sure this was completely dry, I put one of the stencils back onto the background & sponged some silver ink here & there, in some of the smallest circles, then embossed this w/ silver ep. For the shaker element, I die cut the shapes into the turquoise rectangle, then did the same to 2 pieces of cardboard. A separate glass was die cut in grass green & inserted the outline into the opening. I used a piece of cellophane packaging (like those that clear stamps or embellishments come in) & attached this to the back of the turquoise piece before attaching the 2 piece of cardboard on top of it. 

    Below is the back. I’ve already filled the bottle area & attached a piece of white card stock over it to seal it.

    This is how the front looks at this point.

    I put some chunky glitter inside the opening of the glass, then attached another piece of white over it. The front side of the white cover was lightly sponged w/ the green & teal inks to give it a color. You can see that below.

    Here is the right side, all finished.

    The greeting was stamped, & the shaker element was attached to the Bokeh background. I glued some of the larger pieces of the glitter, here & there on the Bokeh bg for some additional sparkle.

    Thanks
    so much for stopping by!


    Supplies:

    Stamps: Rubbernecker Stamps: Sip Sip Hooray set
    Paper:  Staples 110# white,  grass green, turquoise, scrap of silver, plastic packaging
    Ink: Memento tuxedo black, Hero Arts unicorn, Encore ultimate metallic silver,  Rubbernecker Stamps: Color Fuse inks set #9 & set #10
    Accessories:  Rubbernecker Stamps: Stitched Rectangles, Wine Glass & Bottle  dies, Crossover II,  Silver Dollar embossing powder, Bokeh stencil, chunky glitter


    You might also like: