Someone said cake and this cute little birdie is so excited he can hardly wait. This new bird set is packed with super cute little birds and birthday greetings. Don’t you love his lit…
- Category Archives Cuttlebug/Quickutz/Sizzix
-
-
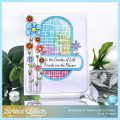 Flower Garden
Looking forward to spring flowers? It may be a while here, but I have some pretty sketch flowers to brighten the day. It sure to bring a smile to the recipient and it would be perfect as…
-
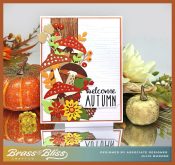 Autumn Mushrooms
X 3 Today I have an Autumn card loaded with fall colors. Fall is my favorite time of year and I love all the warm, rich colors that appear in nature. I used a fabulous new set of mushrooms…