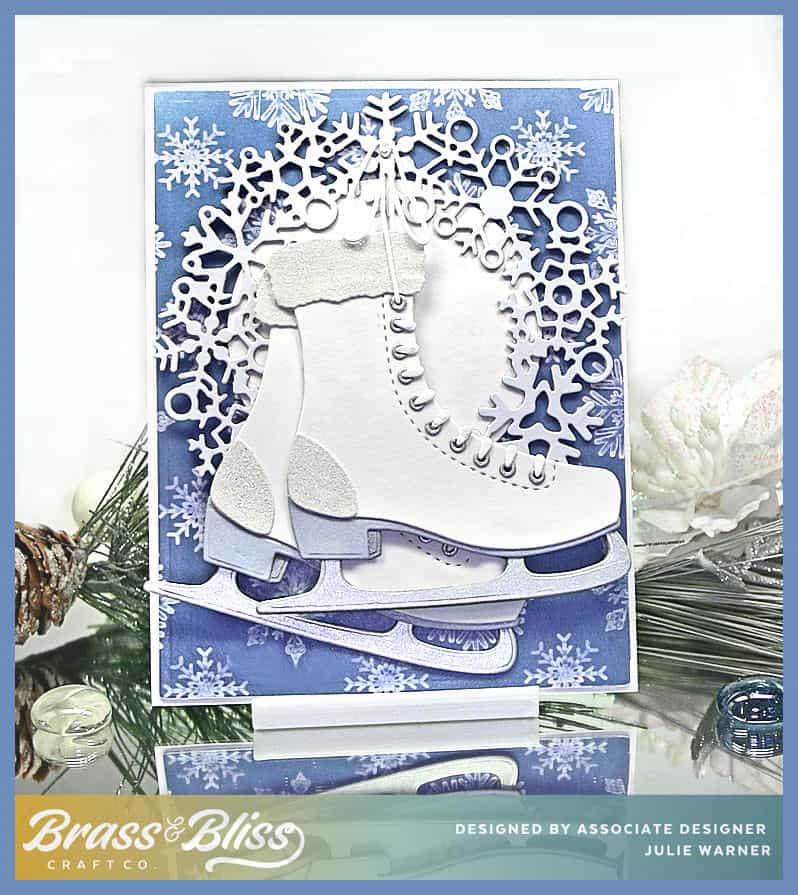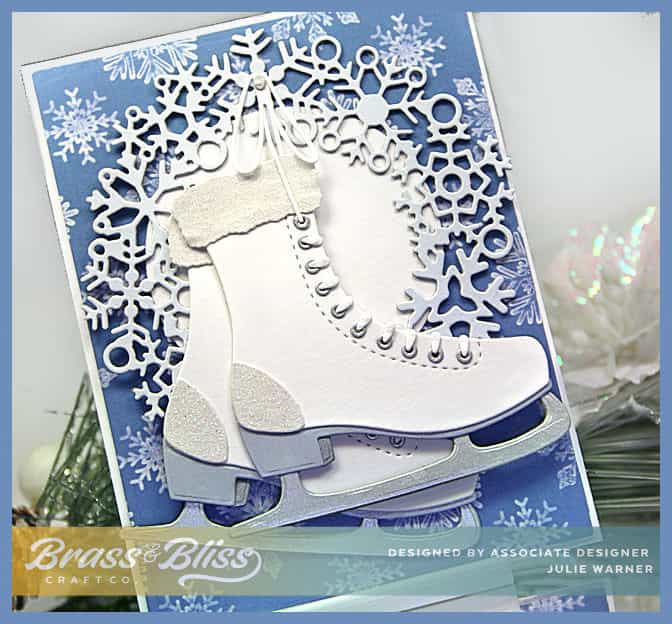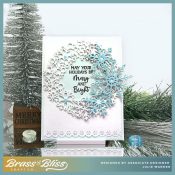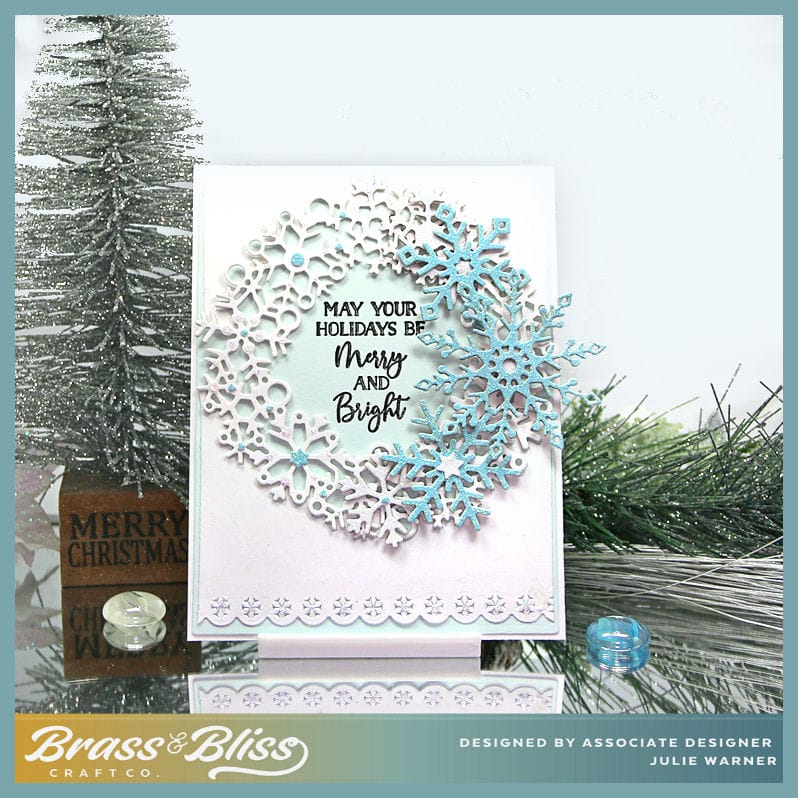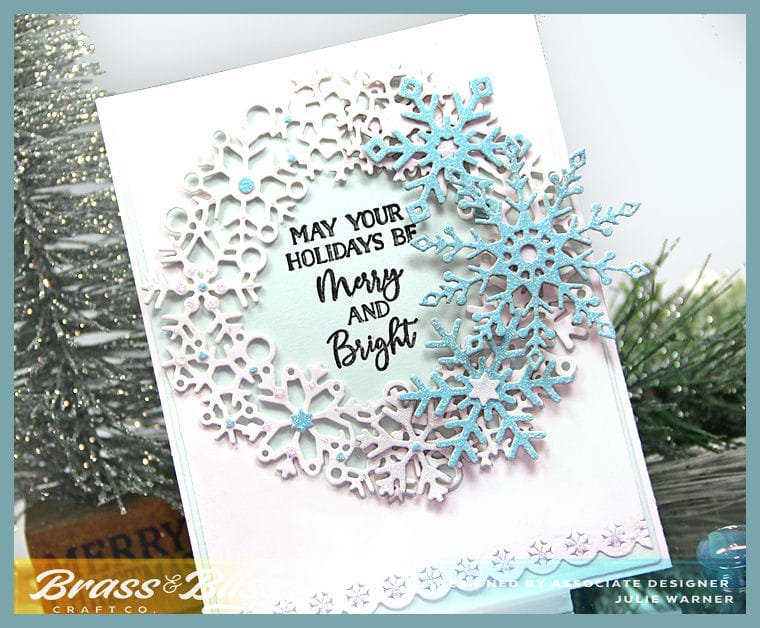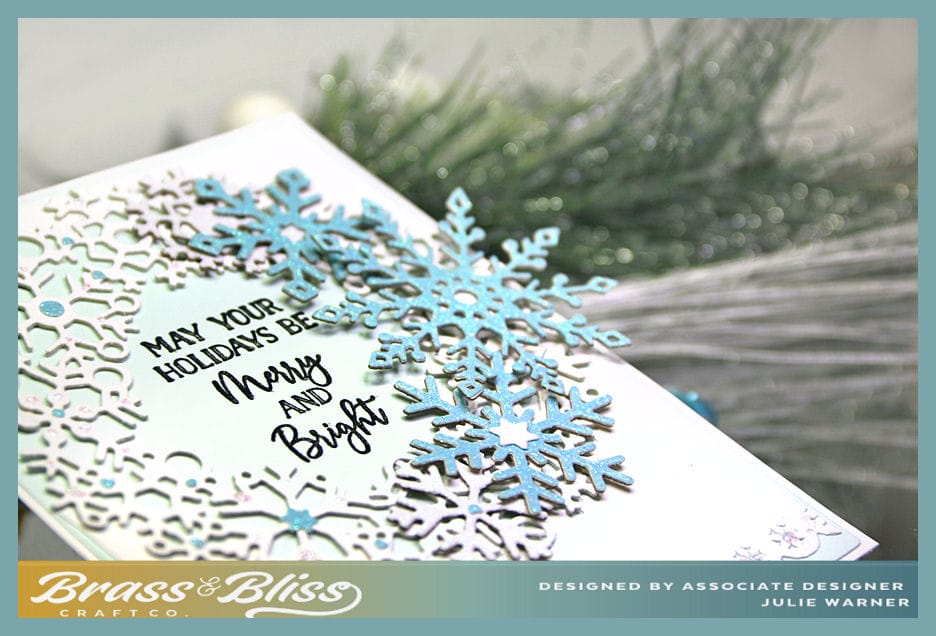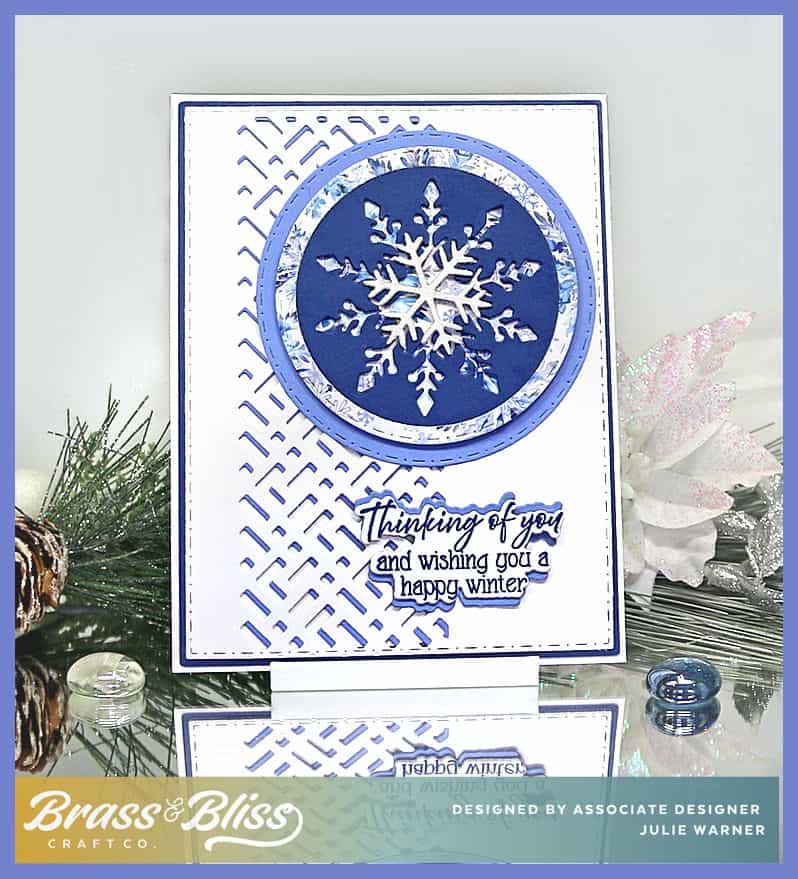
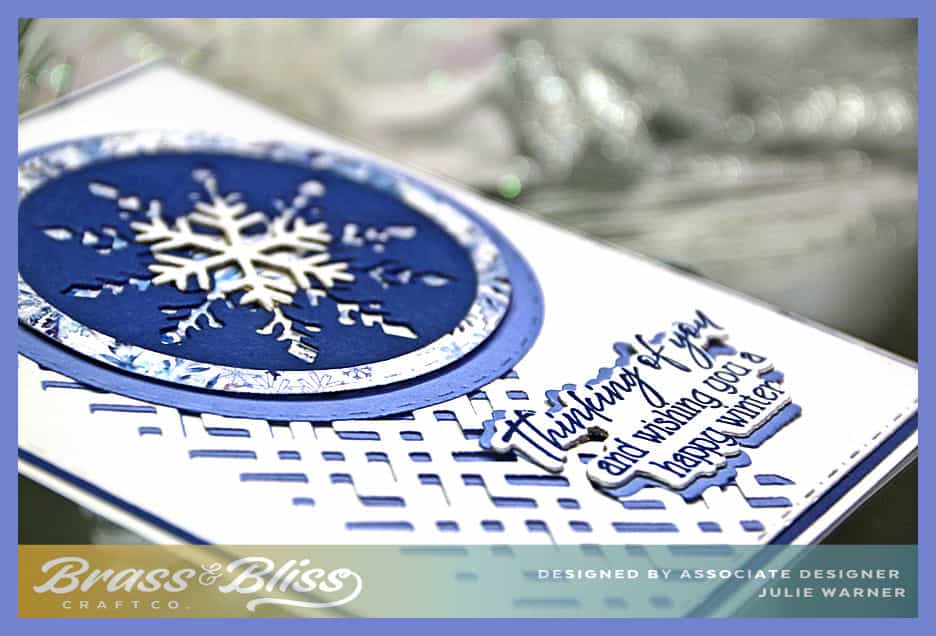
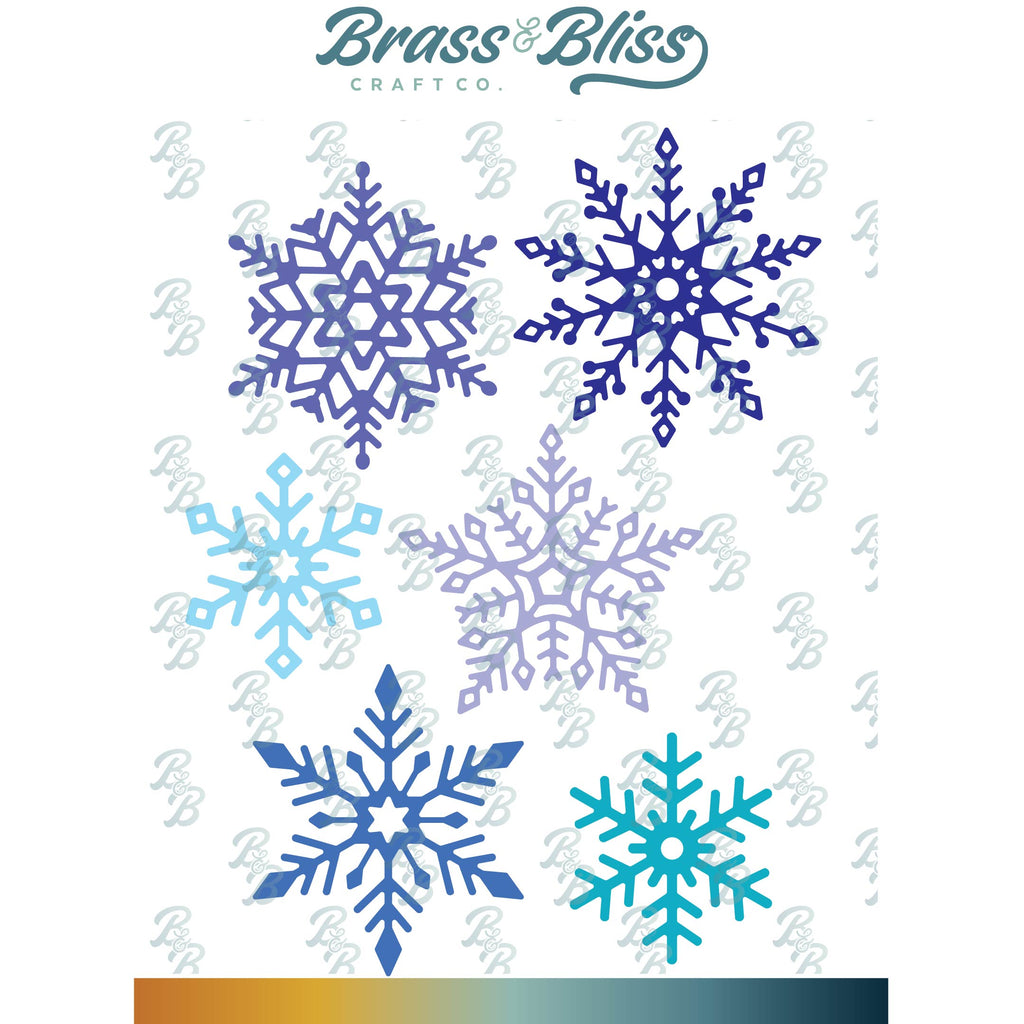
This card is all about negative spaces and shadow layering. Add some snowflakes & chilly winter blues and you have a card for a winter birthday, or late holiday card, or just thinking of you and missing you this season. The fab inset die is a sneak peak of another coming this Wednesday & I’ll add a link as soon as it’s available.
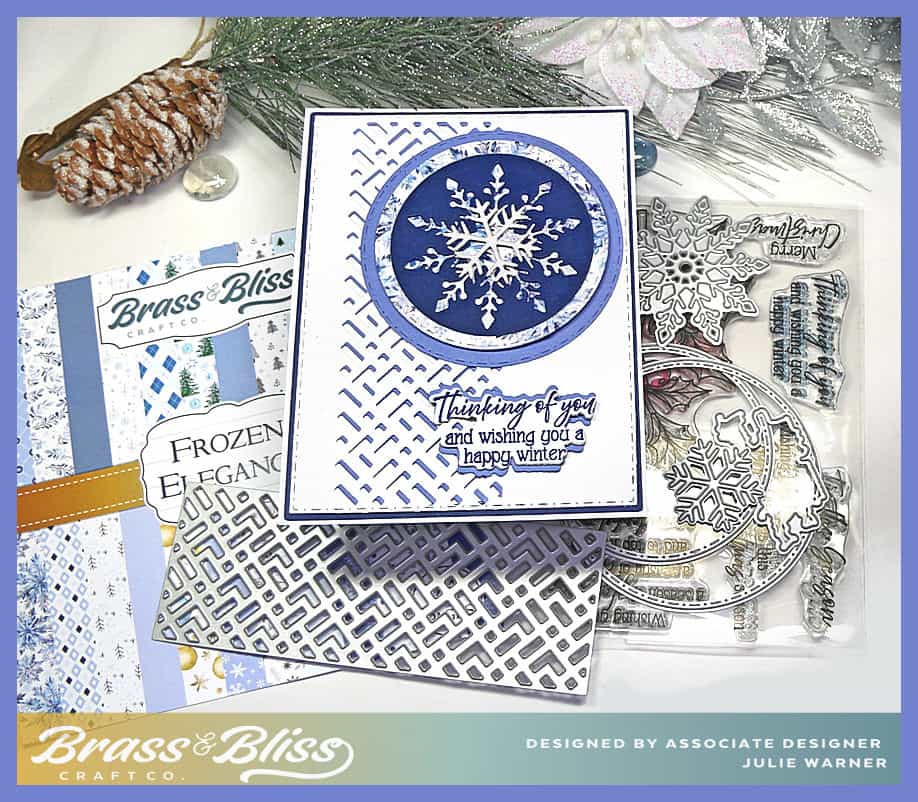
It’s my turn to host the Featured Stamper Challenge FS980 so a big congrats to Linda! She has a really lovely gallery & I chose THIS card to case. I kept the colors & snowflakes but I changed the layout to vertical, used the inset die instead of blue ribbon & added the big snowflake circle element.

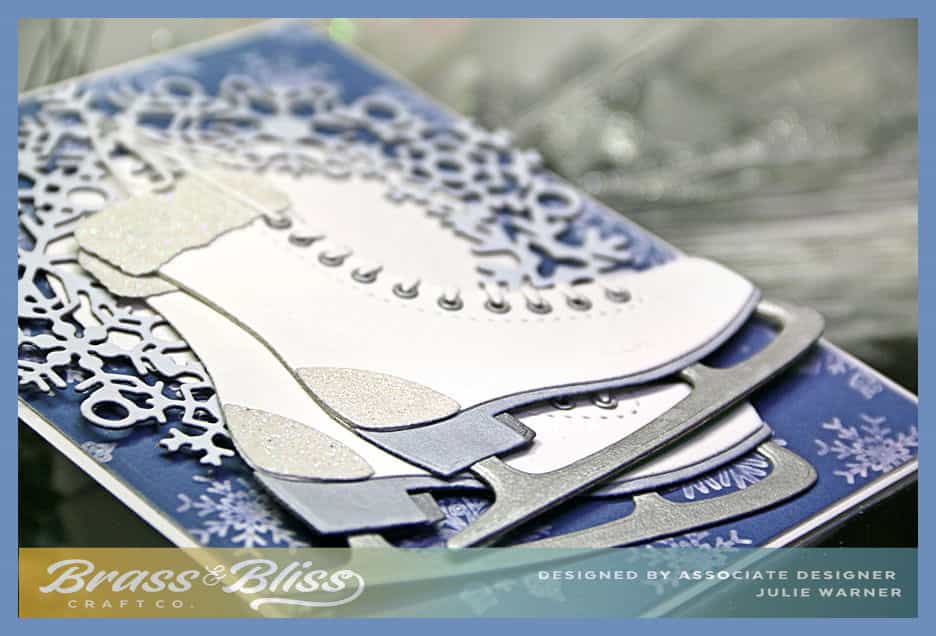
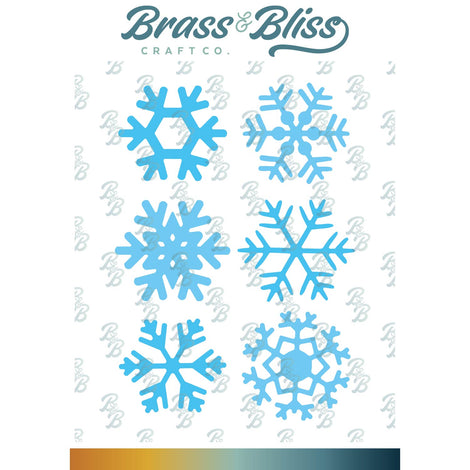
To make my card, I die cut the white panel with a stitch dot rectangle then placed the inset die toward the left side. It’s a little longer than my rectangle so I only cut it partially down the side. I also cut a cornflower blue panel with the same die then attached it behind the white panel, a little offset. This lt blue shadow just barely shows, but it adds depth & interest. I added a navy blue frame behind it. I had to trim it a bit in area behind the inset so it wouldn’t show thru. The large snowflake was cut out of navy instead of using the snowflake, I used the negative, cut around it w/ a circle die & attached it to a circle of the designer paper. The designer paper circle was the same size as the navy one, so I used a slightly smaller circle to cut the outside of the dp version & made a frame out of it, & attached it on top of the navy circle. A larger cornflower blue circle was added behind it. The smaller snowflake was cut out of white glitter & added in the center. The greeting was die cut & I used the same die to cut 2 of the lt blue, then offset them behind the greeting to form a shadow.
Thanks so much for stopping by!

Supplies: (click the names below the pictures to take you to the products)
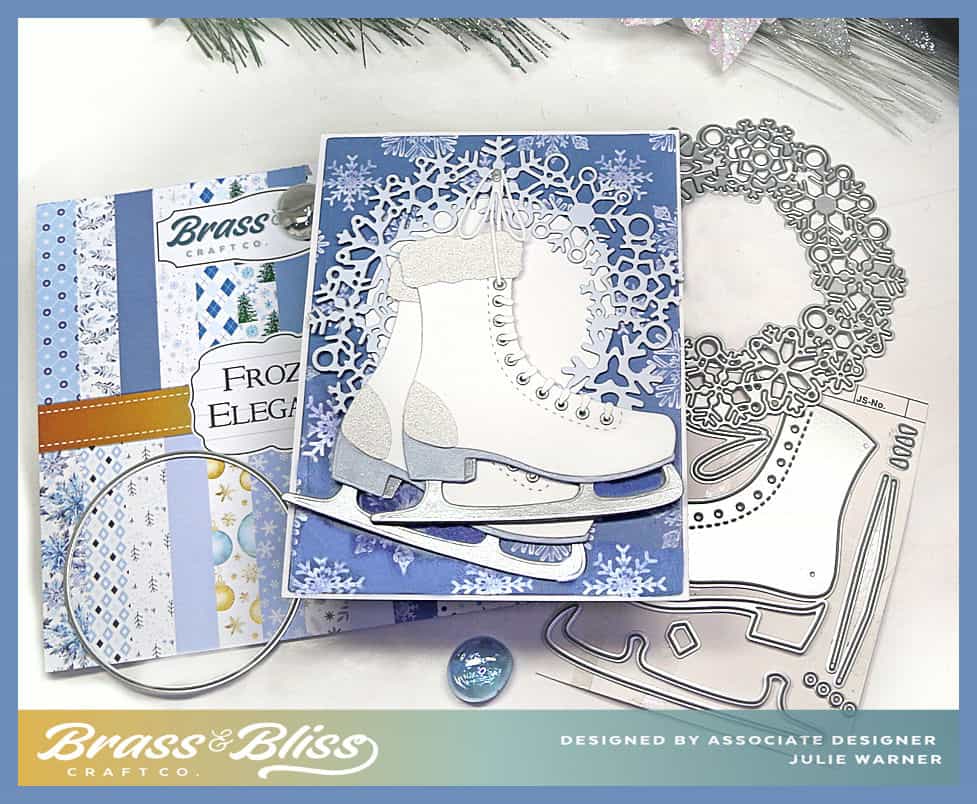
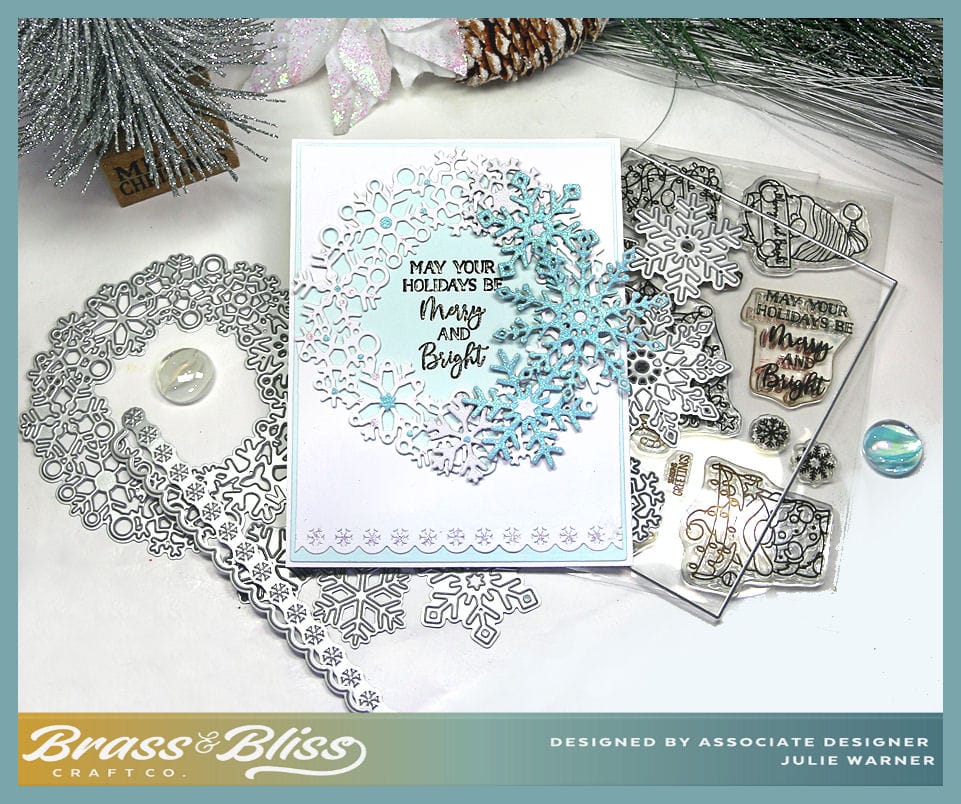
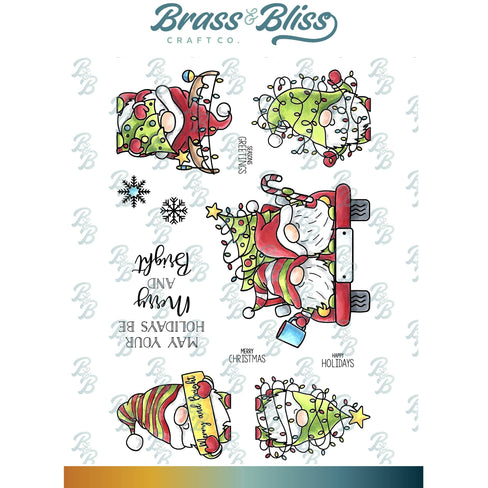
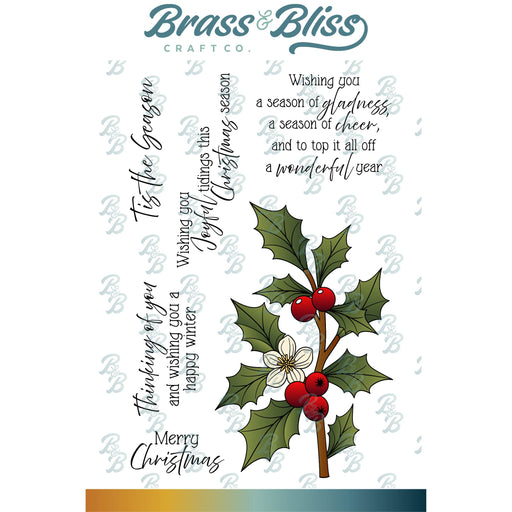
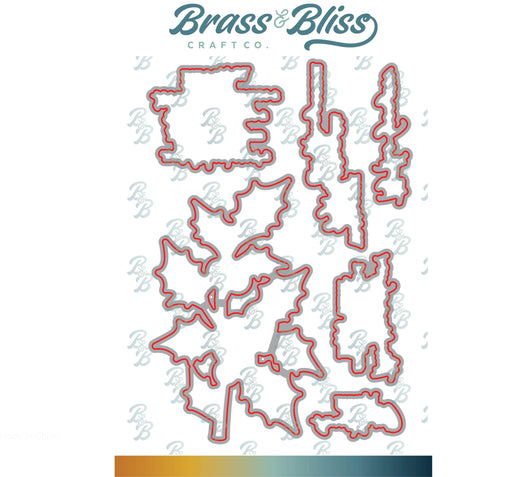
| Stamps: Brass & Bliss: Holly & Cheer set (greeting) |
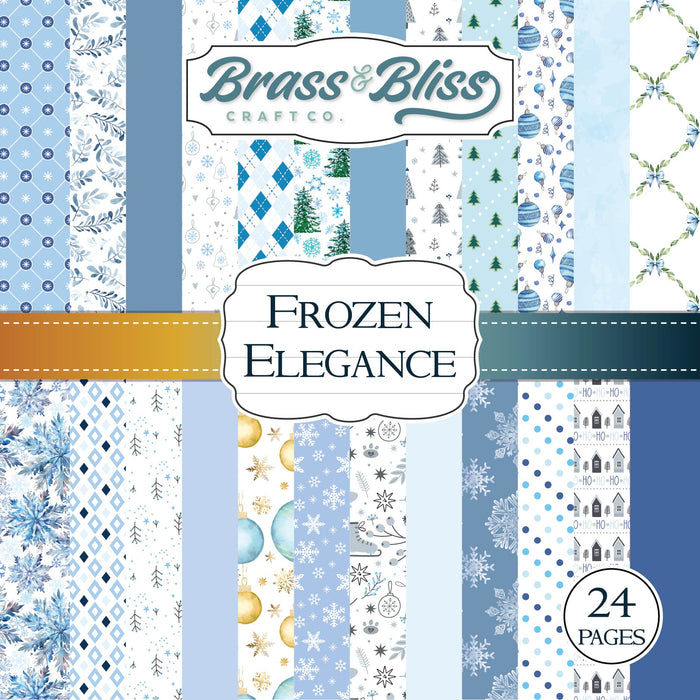
| Paper: Staples 110# white, cornflower blue, navy blue, white glitter, Brass & Bliss: Frozen Elegance paper pad |
| Ink: Versaclair Blue Belle |
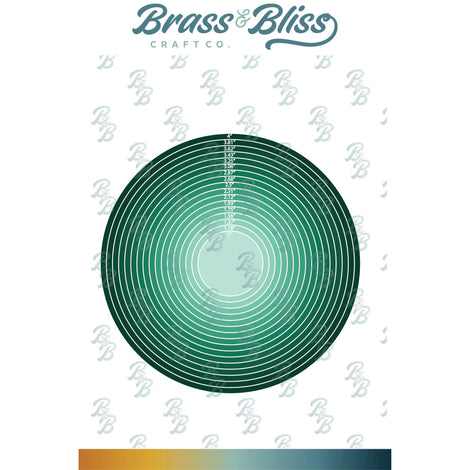
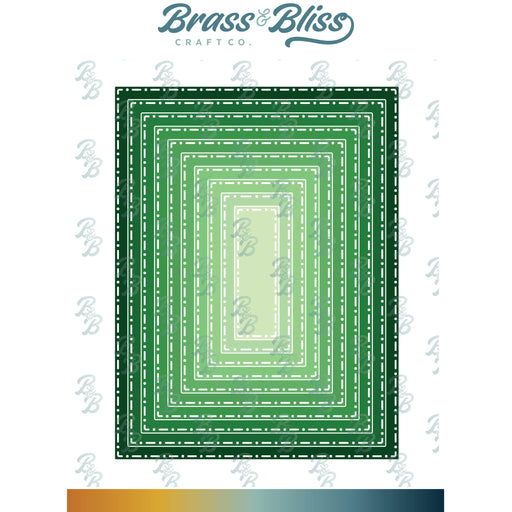
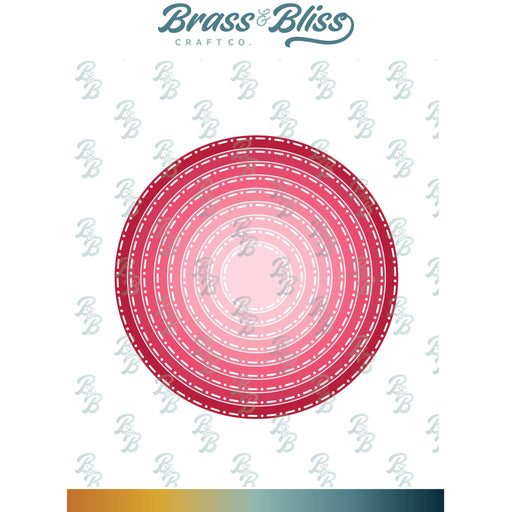
| Accessories: Brass & Bliss: Holly & Cheer set, Tiered Rect 1/2 Panel (coming soon!), Stitch Dot Rectangles, Stitch Dot Circles, Lg Snowflakes, Snowflakes dies, |
|
|
|
|
|
|
|
|

|
|

|

|
You might also like: