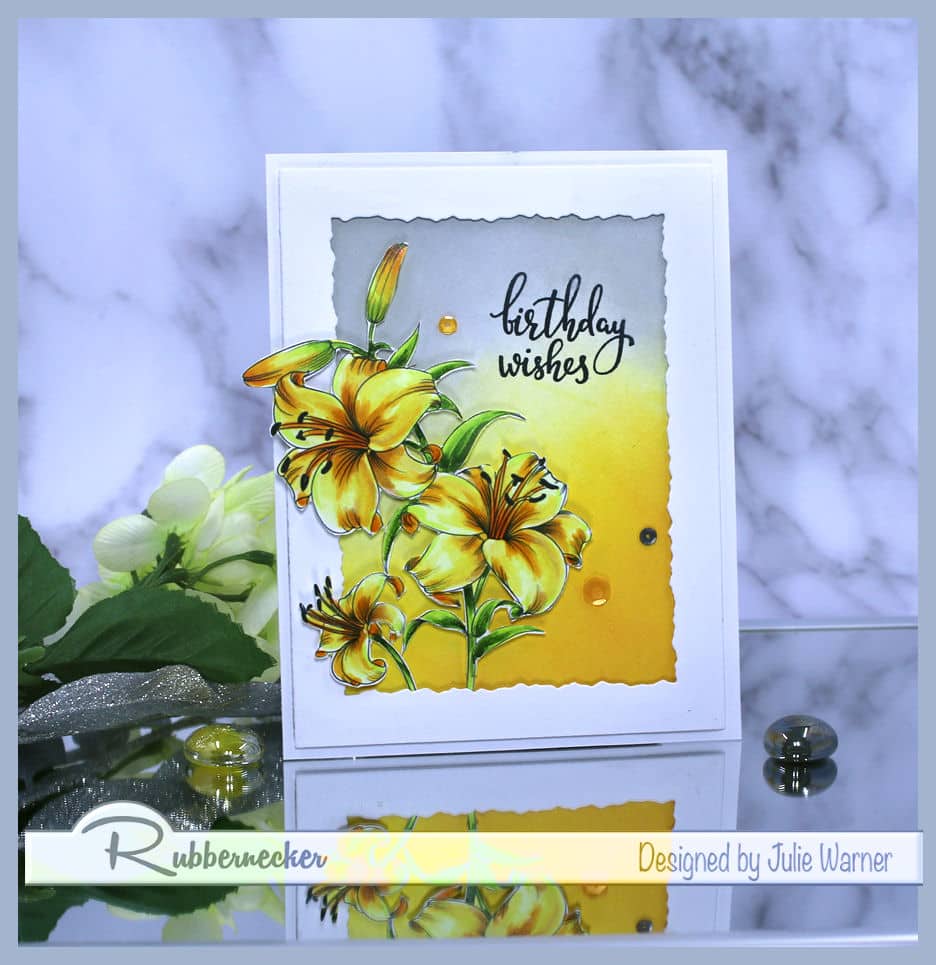
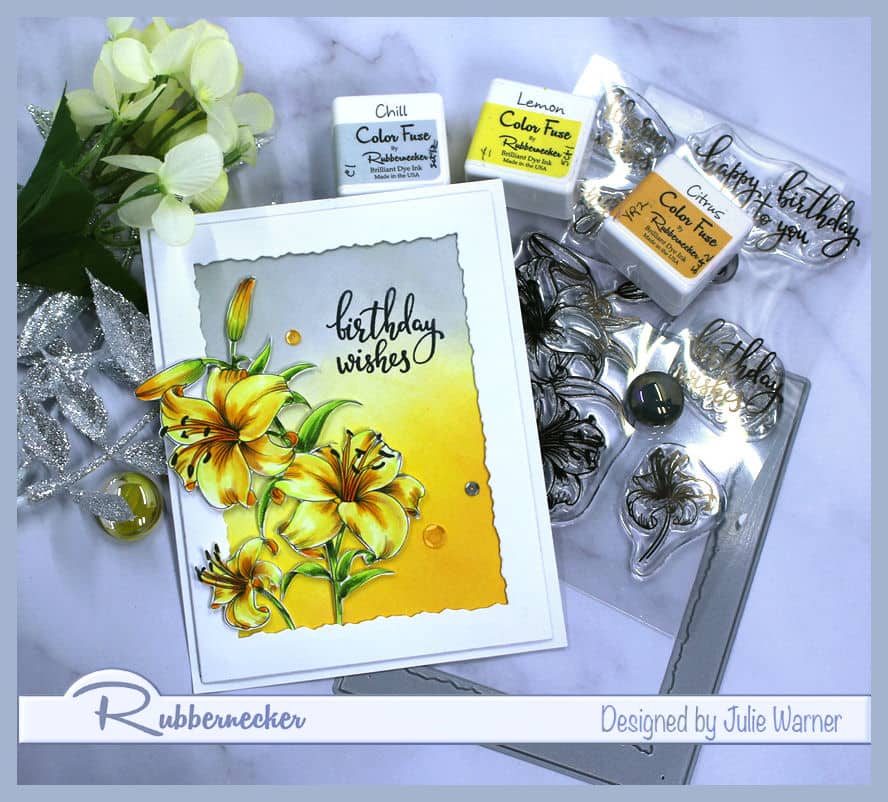
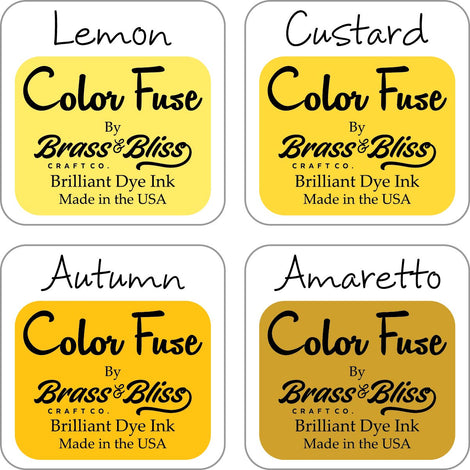
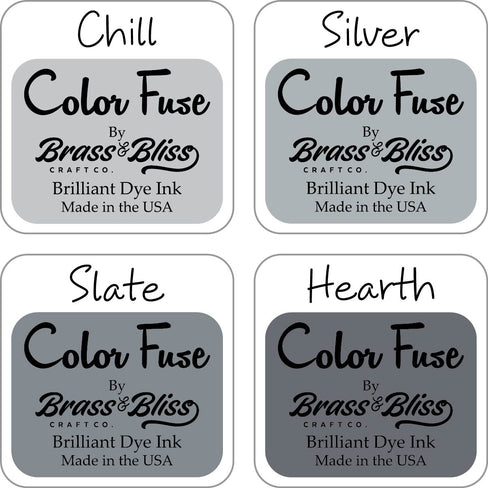
 After I colored the lilies, I fussy cut them & set them aside. I will mention, when fussy cutting a detailed image, I always start w/ a craft knife & cut out the internal pieces that I wouldn’t be able to get w/ the scissors. Then the rest is cut using a very small pair of curved blade scissors. Think decoupage scissors & it works much better to turn the paper, not the scissors, when cutting. On the background, I chose a couple of yellow inks & 1 light grey ink to sponge the colors in. I started w/ the lemon & brought it in from the bottom right & let it fade to white as I went over the mid section. The citrus was added at the lower right. Then I used the grey to come in from the upper left, again letting it fade to white as I approached the lemon. Since these colors are not two you can easily blend (w/o making mud), they really needed the bit of white so they didn’t overlap too much. A little bit is fine, but too much would not be a good look. After it dried, I stamped the greeting.
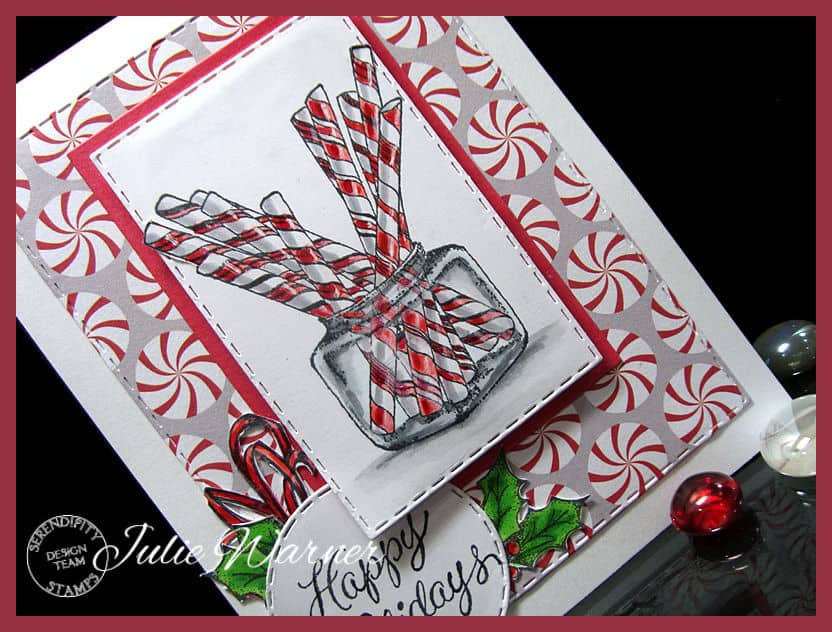
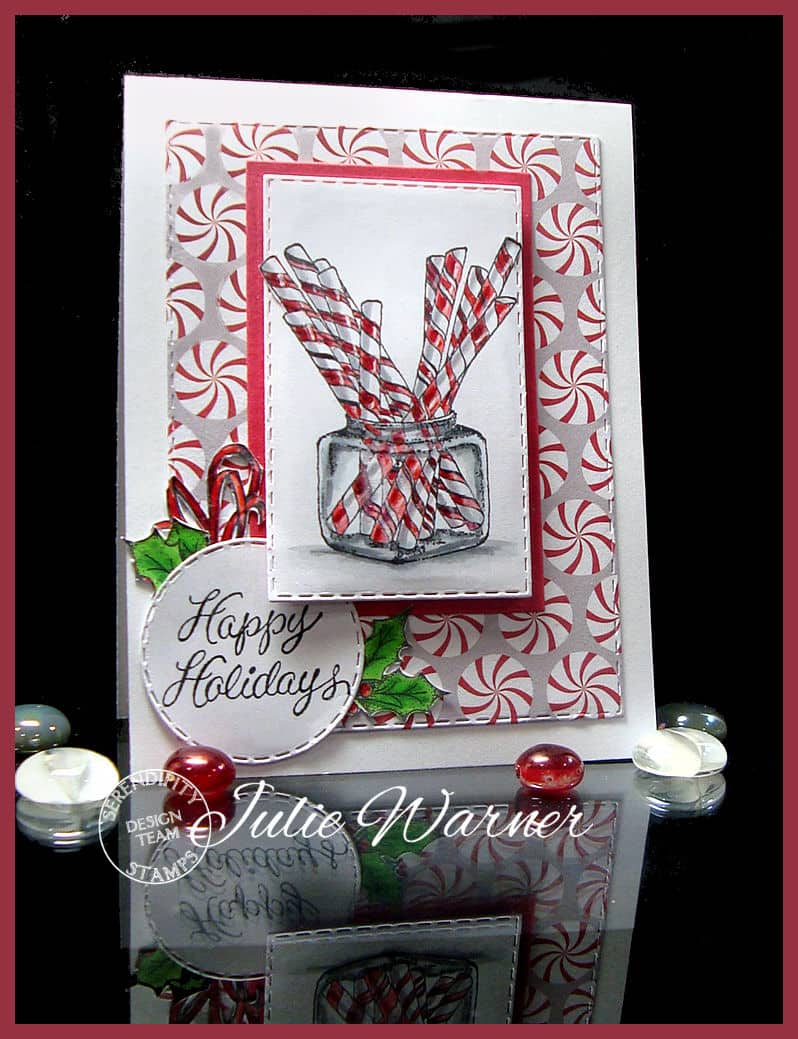
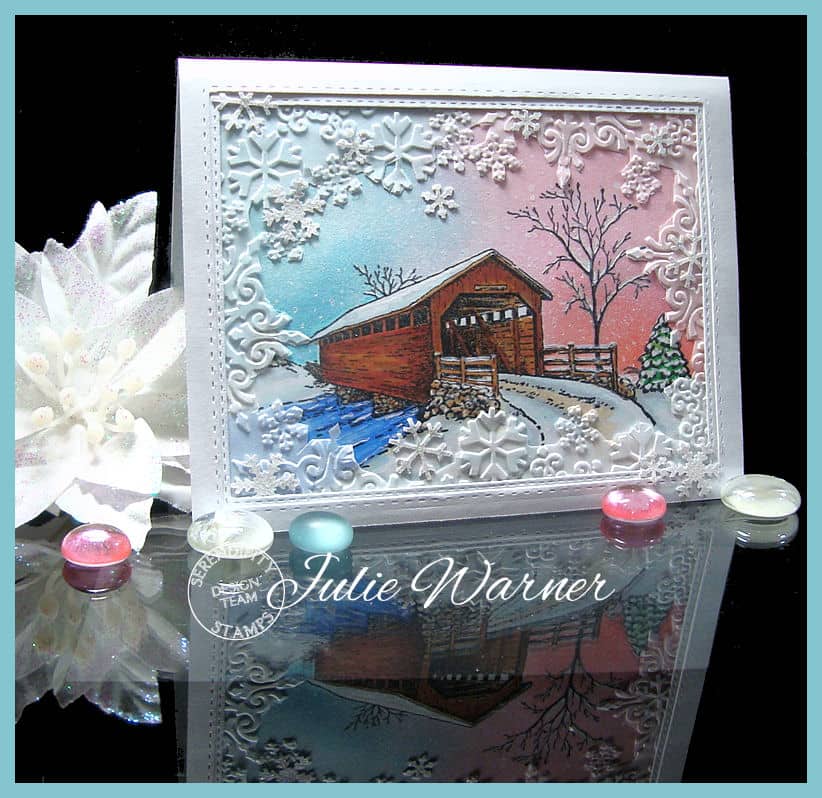
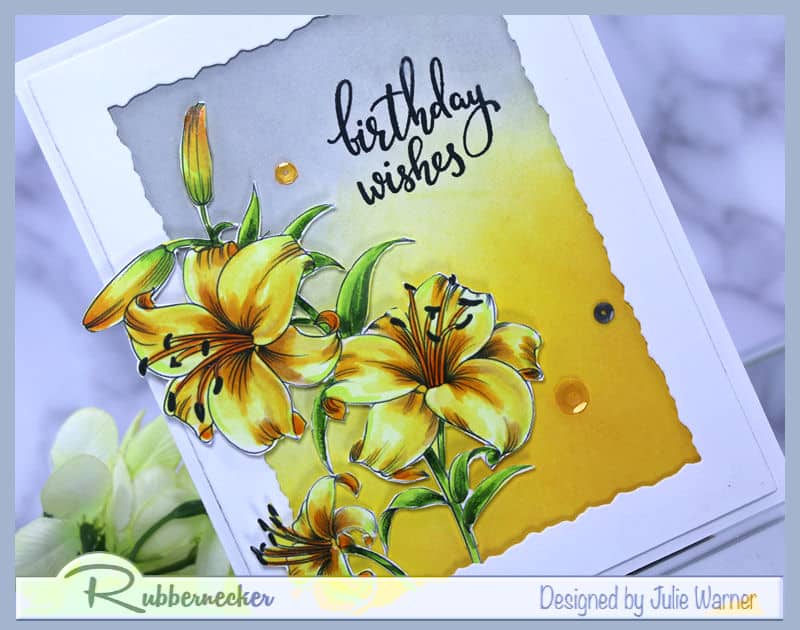
I die cut the white deckle frame, popped it up a bit, then tucked the lilies under & over the frame. The lilies are also popped up. A few sequins finished it.
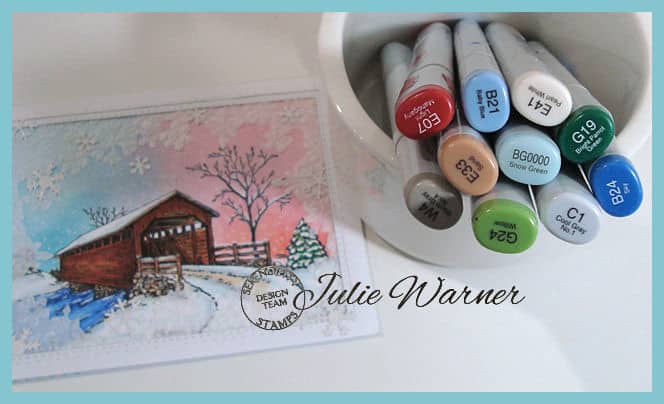
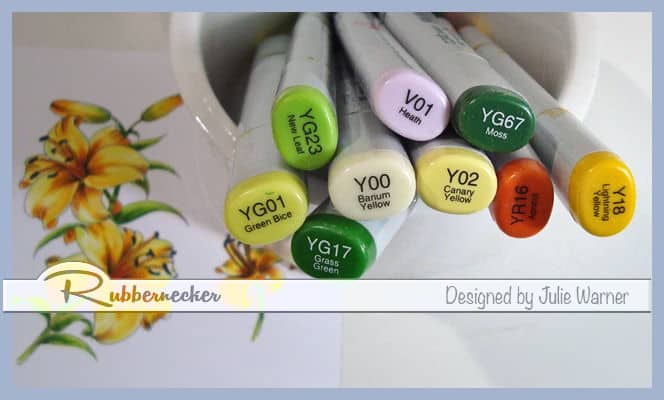
Here are the Copics I used for the lilies:(I’m pretty sure I also used a Y26 mustard, but I don’t see it in there.)
Now for the prizes part. Take a look below at what you could be eligible to win! Fabulous, right?
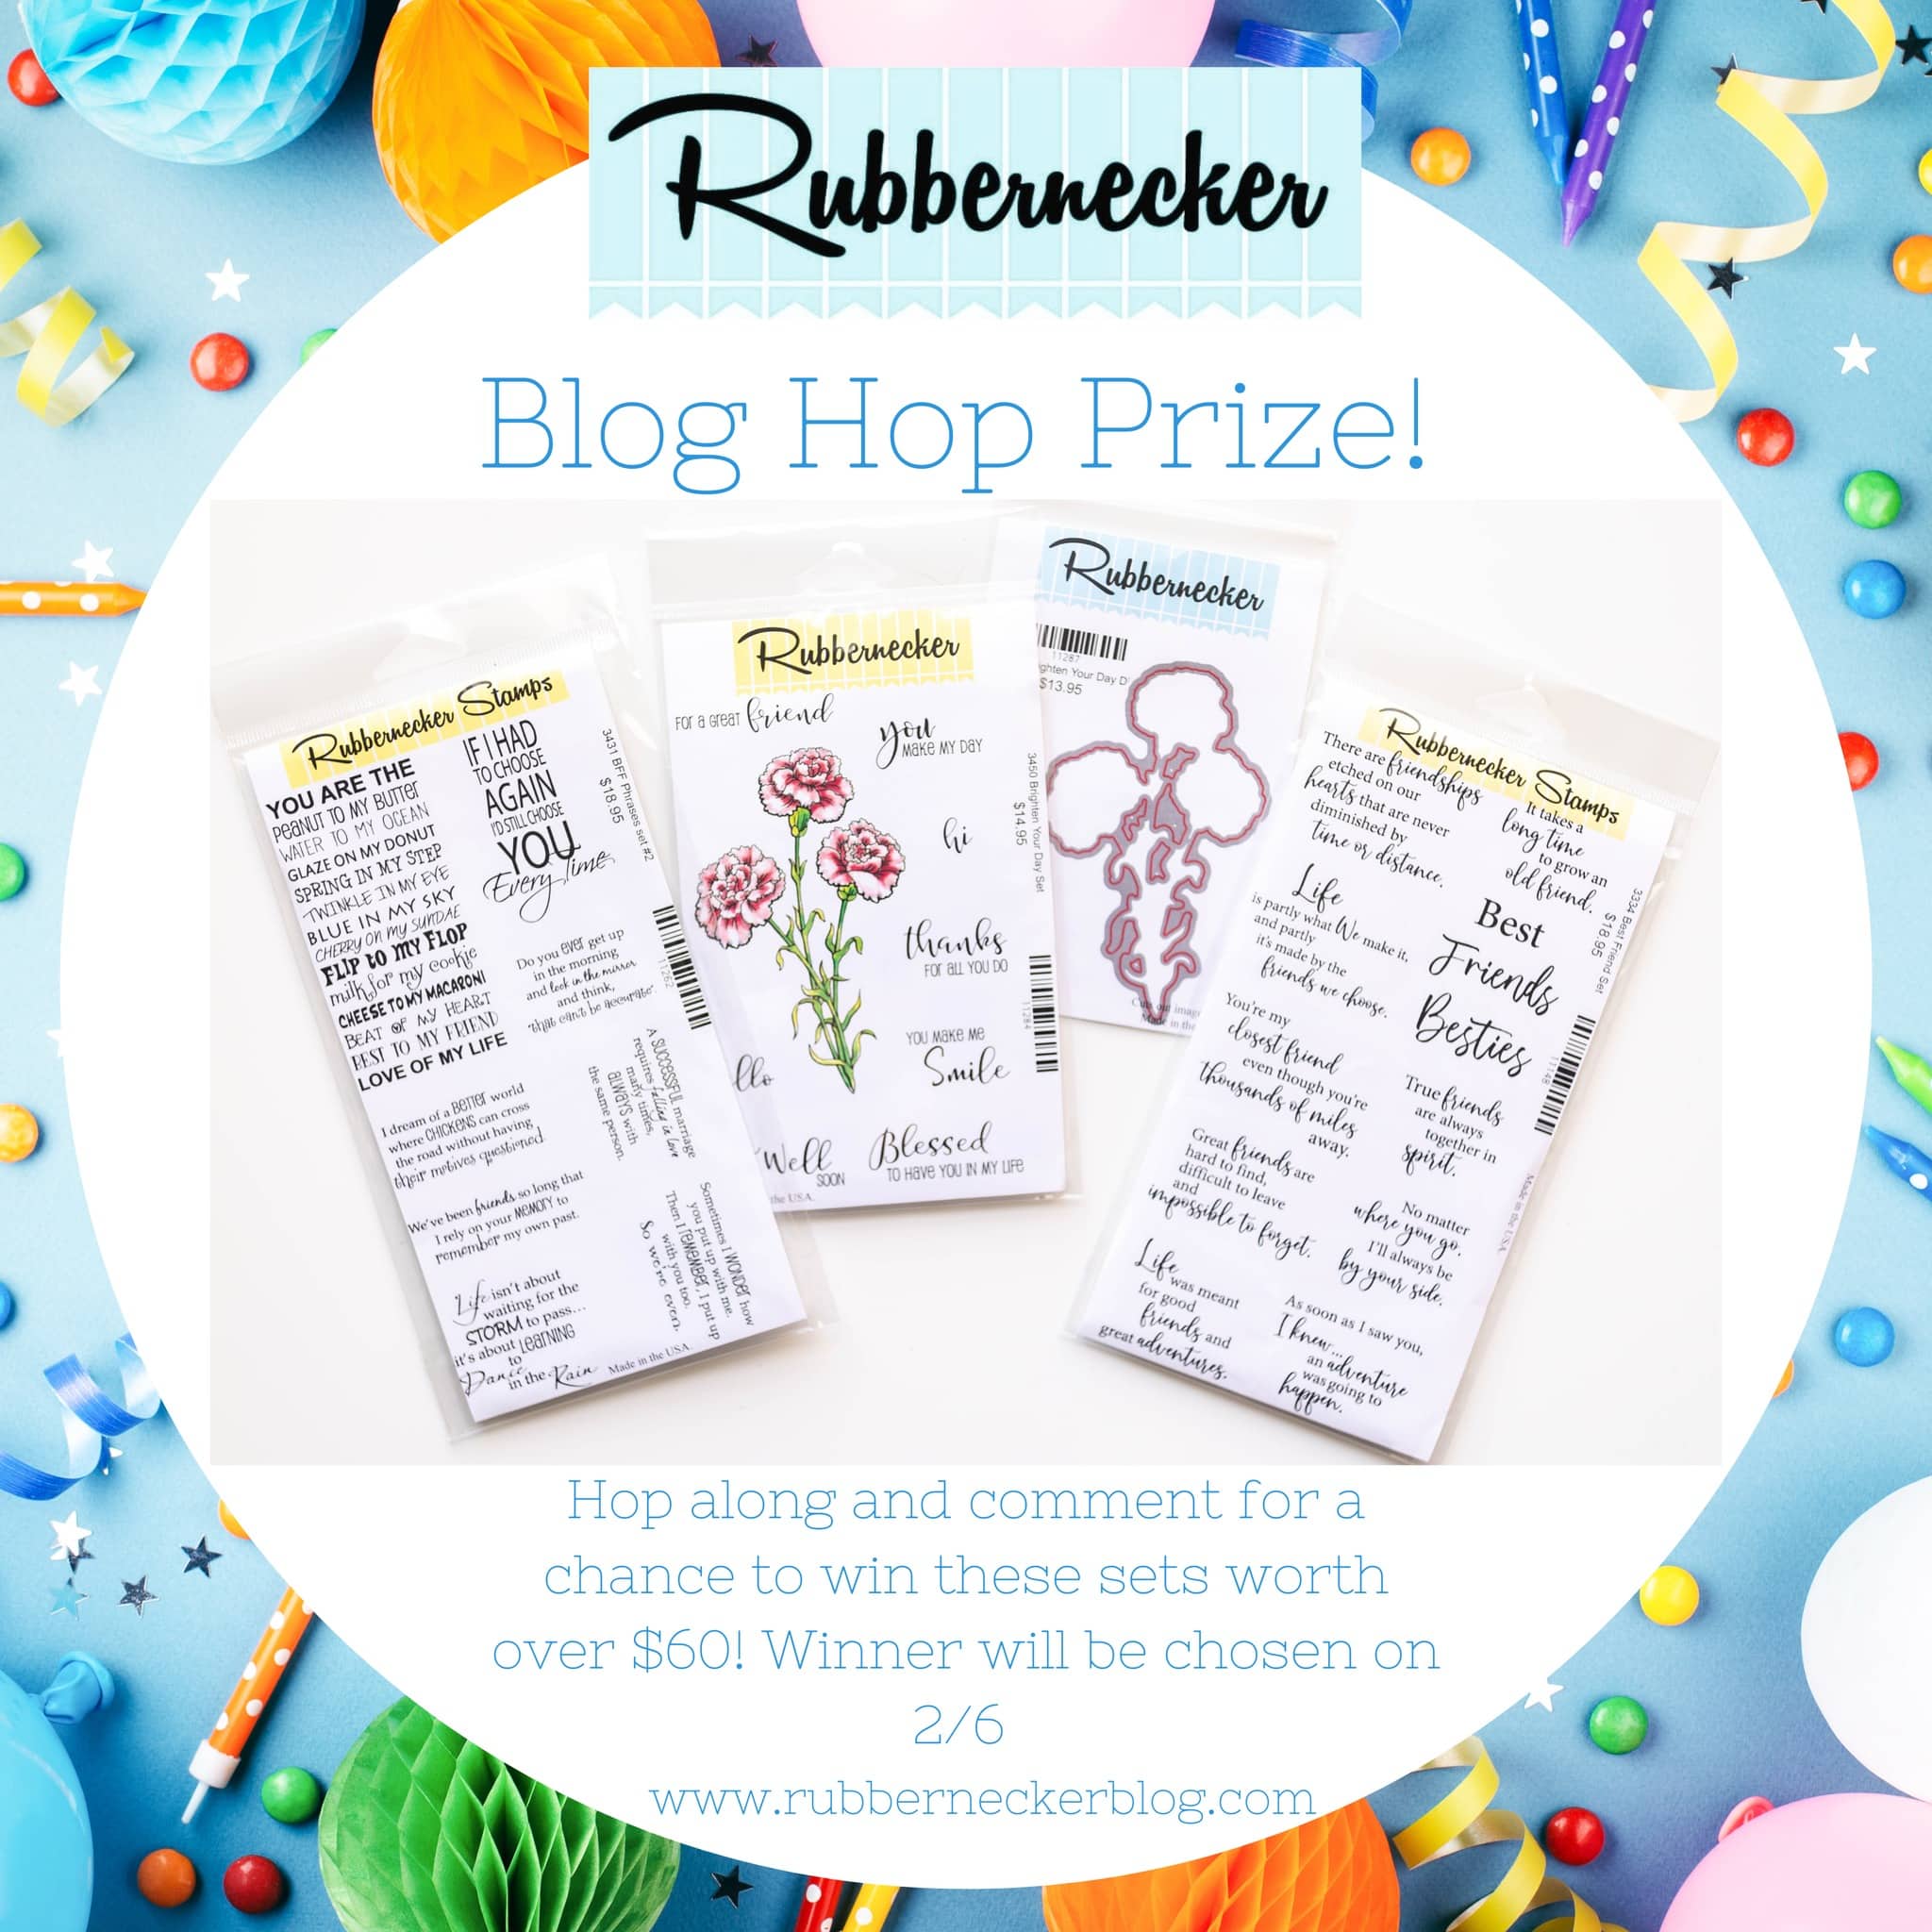
Here’s what you need to know to be entered to win:
Giveaway info: You will need to comment on each blog post in the hop for a chance to win the attached 4 sets worth over $60. You have until 11:59pm CST on 2/5/22 to leave your comments. One winner will be chosen on 2/6.
Here is the full list of blogs you will need to visit & comment on:
Rubbernecker Blog
Colleen
Lisa
Annie
Jamie
Kittie
Jean
Natasha
Carol
Preeti
Allison
Julie (you are here!)
Thanks so much for stopping by & good luck on winning!

Supplies:
| Stamps: : Rubbernecker Stamps: Birthday Lilies set (retired) |
| Paper: Staples 110# white, X-Press It |
| Ink: Rubbernecker Stamps; Color Fuse sets #1, #2, & #12, Versaclair nocturne |
| Accessories: Rubbernecker Stamps: Deckle Frame die, Crossover II, Misti, Fiskars No 4 curved scissors |

|
|

|
|

|

|

|

|

|

|

|

|