X3! Ever wanted a dry embossed background to go with your main image and were unable to find what you wanted? That’s what inspired this background. I wanted some texture but did not…
- Category Archives Fall/Halloween/Thanksgiving
-
-
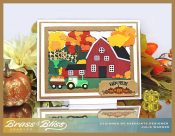 Farm Fresh
Except for the stamped greeting, this card is entirely die cut and paper pieced. For those of you who love paper piecing and scene building, this die set would make an awesome addition to y…
-
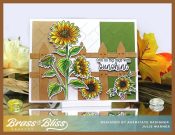 Sunshine Sunflowers
This is a fun card to make and it would be great for a fall birthday or just to tell someone how much you appreciate them. There are some other fabulous greetings on this set, so there are…