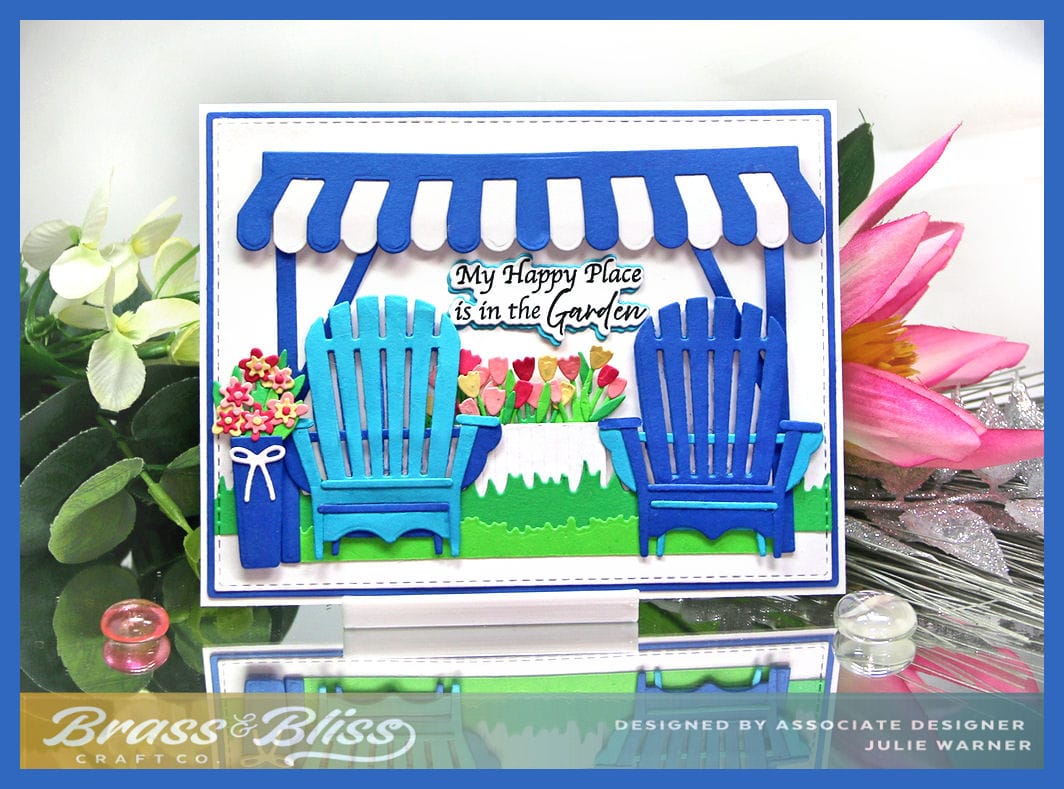
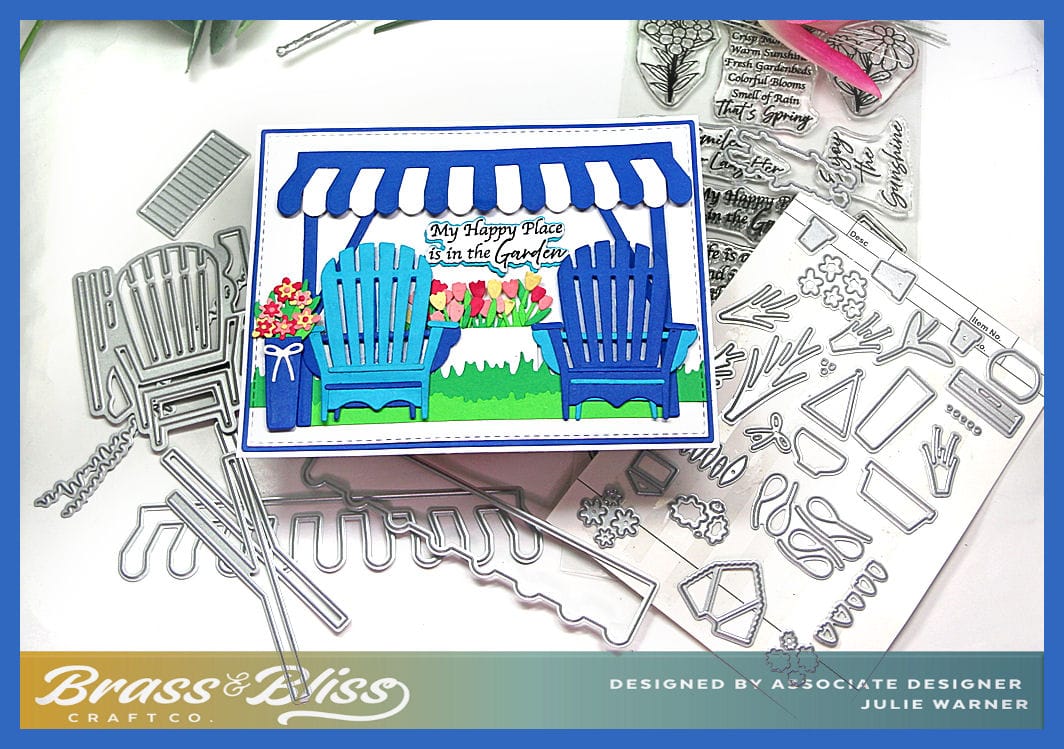
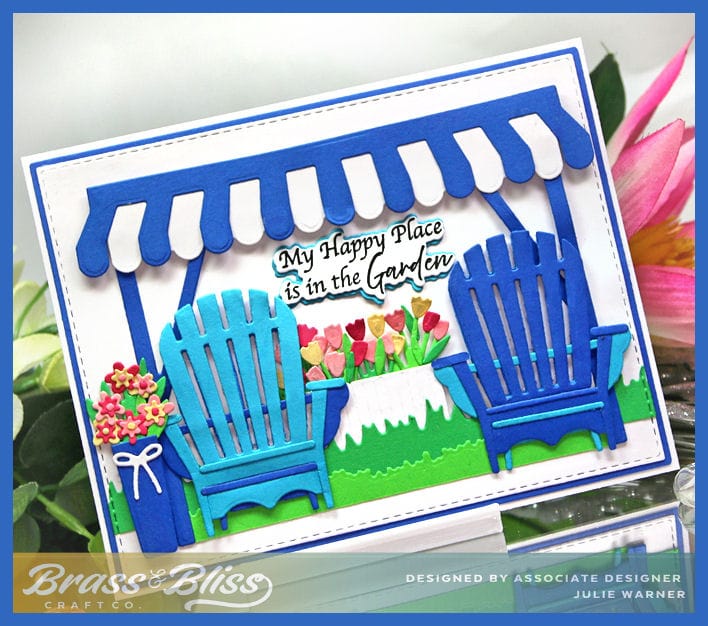
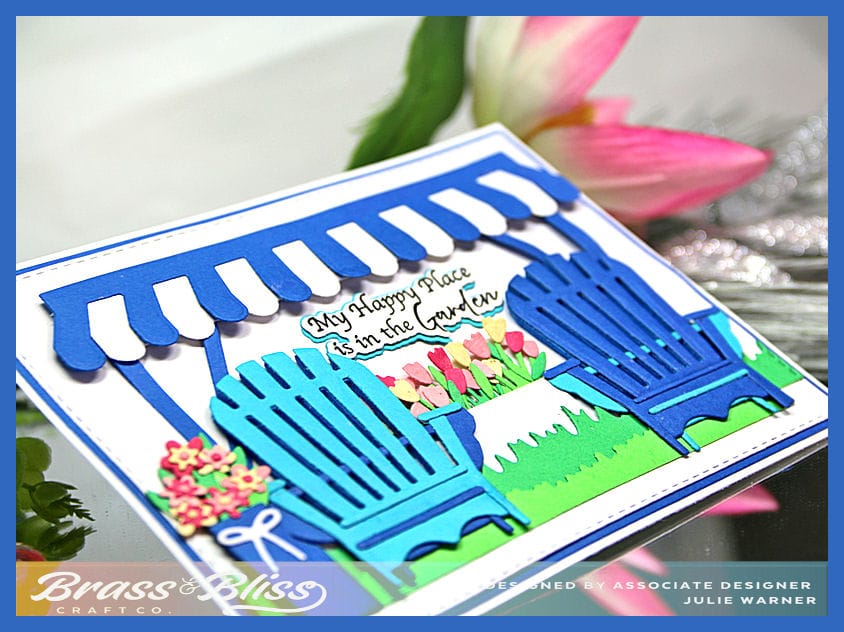
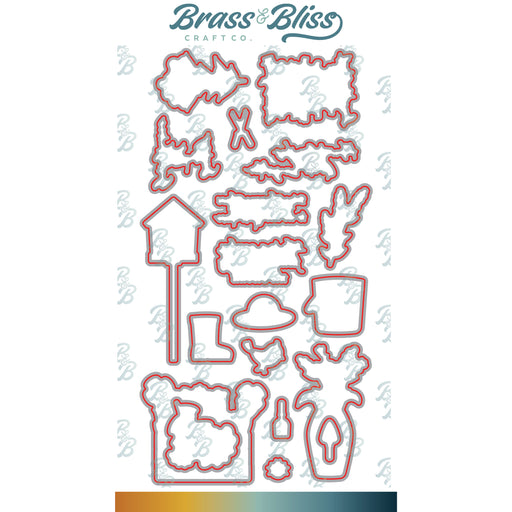
Today, I have an easy card, perfect for a gardener or just someone who loves gardens. It only takes a couple of dies plus the garden set with their coordinating dies. It’s also easy to color, just pick your favorite colors or color it to match the paper you use.
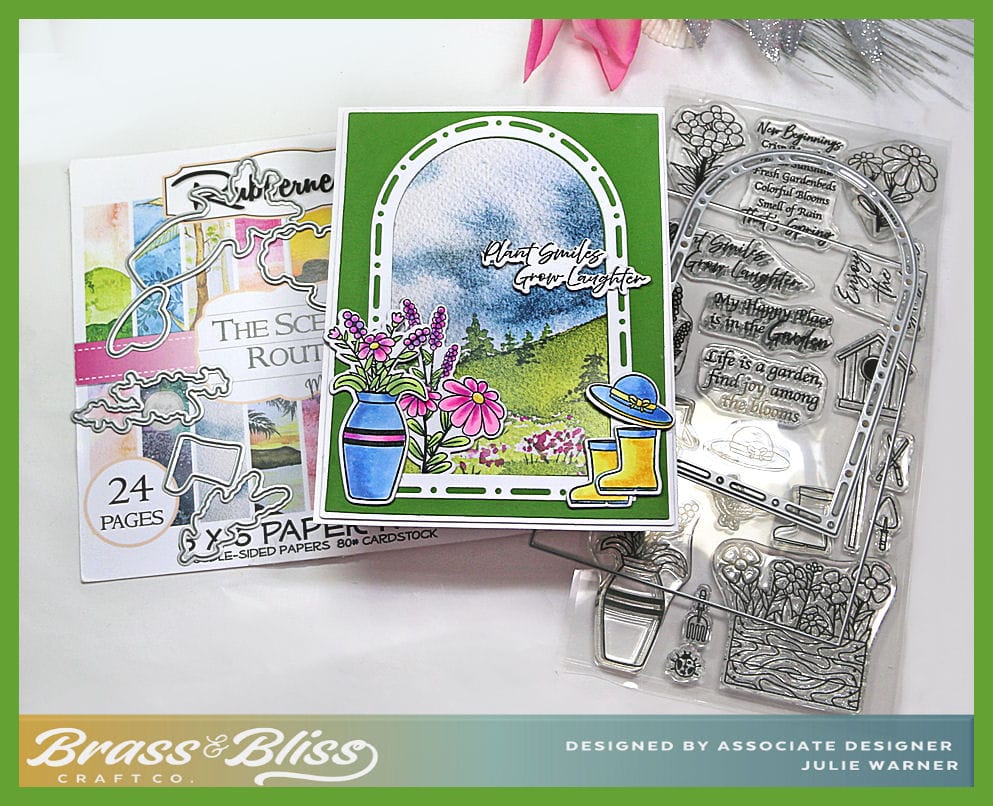
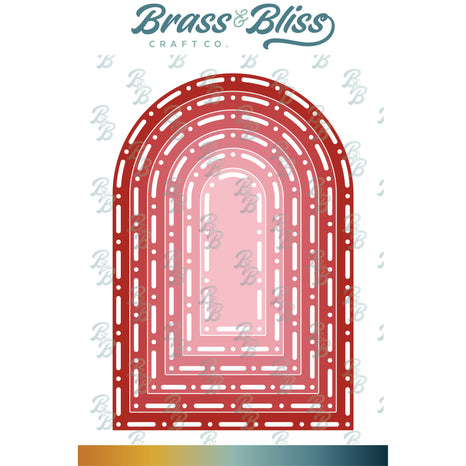
A big congrats to Patti, the newest Featured Stamper FS957! She has a beautiful gallery and I picked THIS card to case. I kept the garden theme & arched opening, but I used different images, dies & paper.
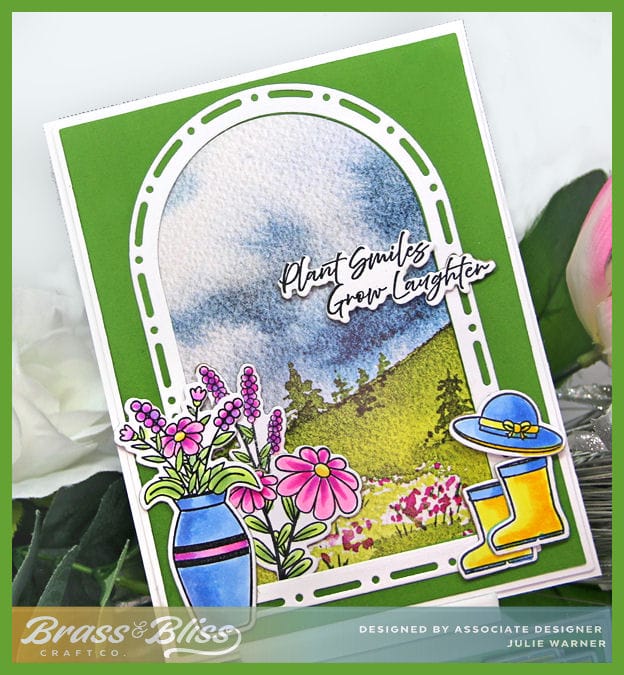
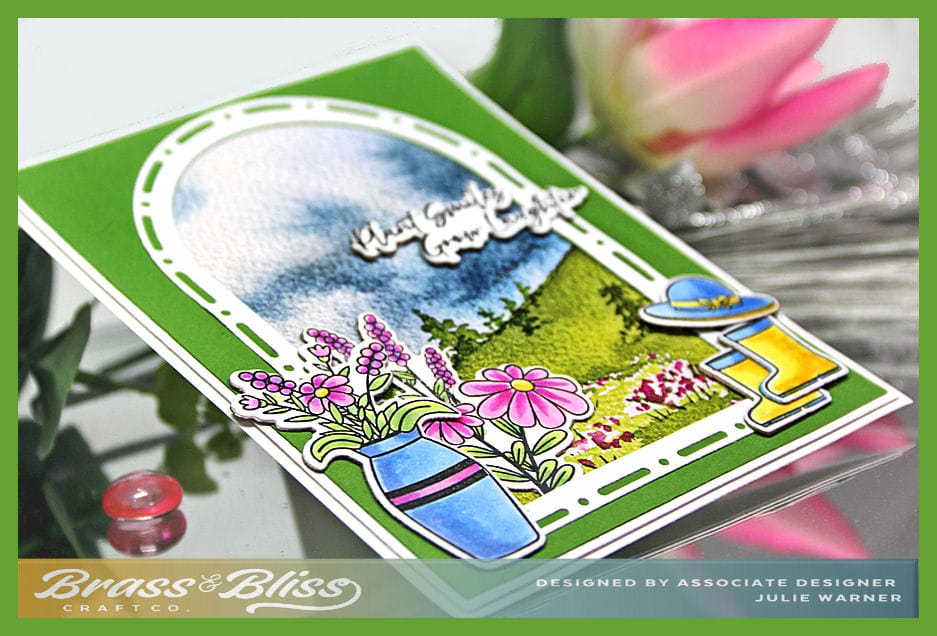
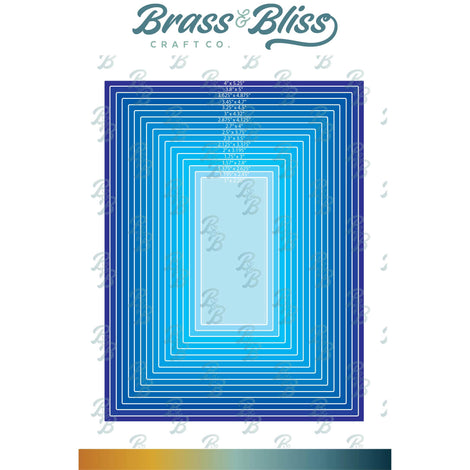
To make my card, I started by die cutting the fern green panel using the largest rectangle die, then cut a white piece slightly larger. The white dot dash arch was cut out of another piece of white & the next smaller size was cut in the opening, leaving just the white frame. Using temporary adhesive I put the large green & white panels together & cut them at the same time using the larger of the arches. After permanently adhering these two together, I attached the white arch frame on top then cut a piece of card board to put behind the piece. Then I cut a piece of designer paper to attach behind the arched opening. The garden items were colored & cut w/ their matching dies, popped up w/ card board & attached in & on the frame.
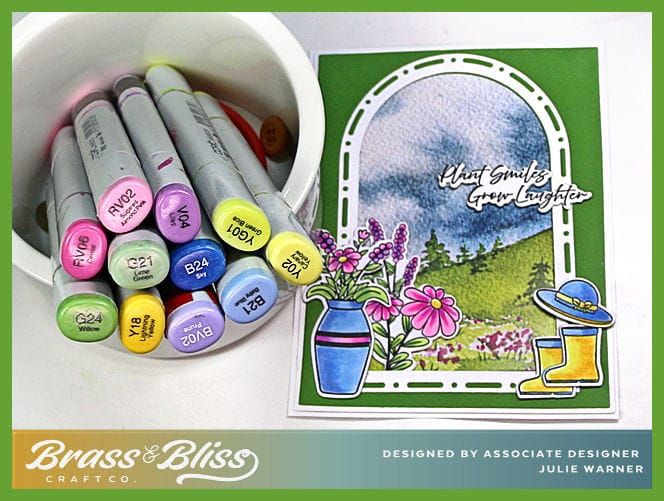
Here are the Copics I used:
Thanks so much for stopping by!

Supplies: (click the names below the pictures to take you to the products)
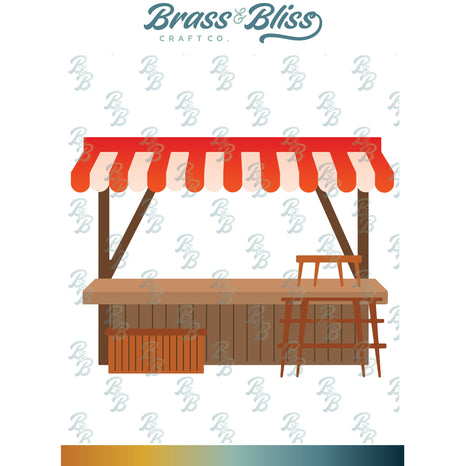
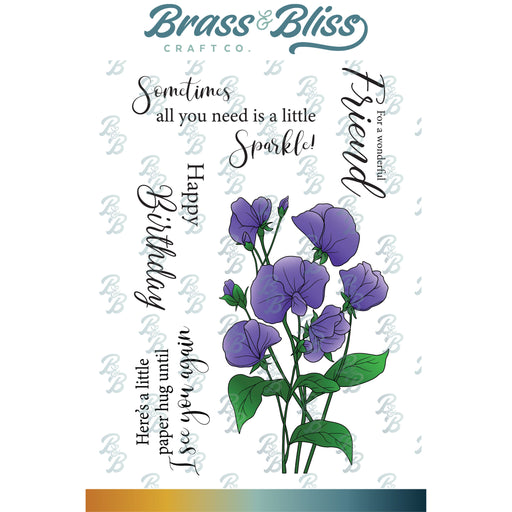
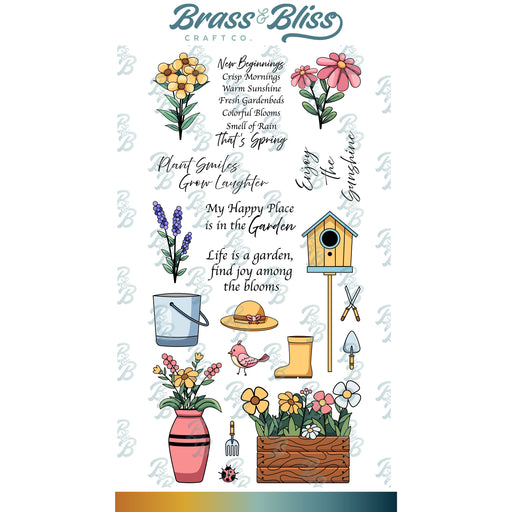
| Stamps: Brass & Bliss: Enjoy the Sunshine set |
| Paper: Staples 110# white, fern green, Brass & Bliss: Scenic Route paper pad |
| Ink: Memento tuxedo black |
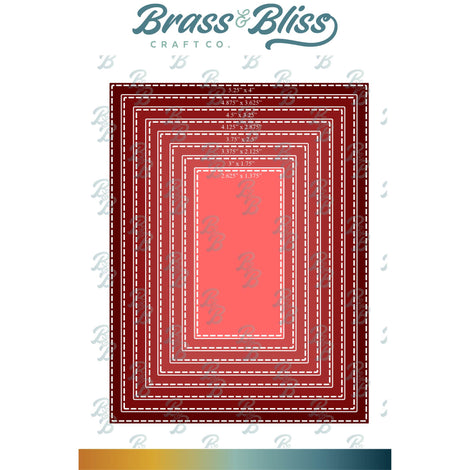
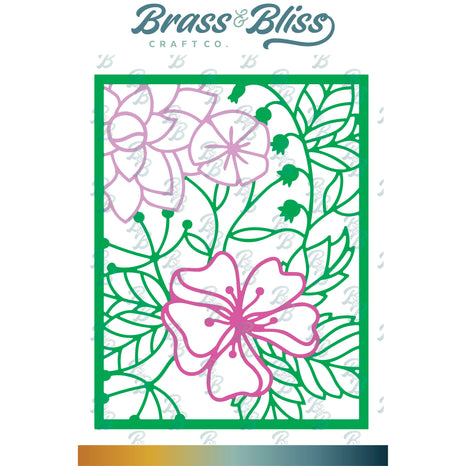
| Accessories: Brass & Bliss: Rectangles, Enjoy the Sunshine set, Dash Dot Arches dies, MISTI, Copic markers |
|
|
|
|

|

|

|

|

|

|

|
You might also like:

![]()