• Category Archives Mosaic/Faux Mosaic
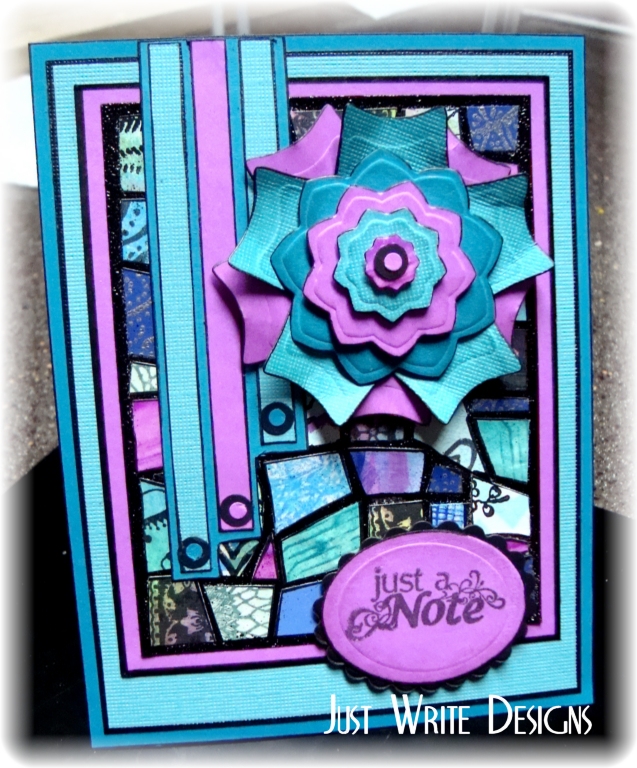
  • Christmas Poinsettia Quilt

    Christmas Poinsettia Quilt cu 08908
    Weekly-Favorite
    Today’s Sketch Challenge (SC590) on Splitcoast is an easy one w/ lots of possibilities. I thought I’d use this fabulous Dresden Quilt die along w/ the poinsettias dies to get an early start on some Christmas cards.
    Christmas Poinsettia Quilt 08907
    I die cut the quilt 3 times..one in white, one in pine green & one in a sheet of the Cozy Quilt paper. After piecing them all together, I attached to a white base die cut w/ the Double Stitched Rectangles, then a larger pine green layer.
    Christmas Poinsettia Quilt xcu 08923
    The poinsettia was die cut using the Peaceful Poinsettias & Merry Mosaics dies & I used a stylus to add a little shape to them before attaching in the center of my quilt. The die cut Merry was added underneath w/ the Christmas attached to a large bow & added below.

    Here’s a look at the inside.
    Christmas Poinsettia Quilt inside 08904

    Supplies:

    Stamps: Our Daily Bread designs – (inside –Let it Snow, Pinecones )
    Paper: Staples 110# white, pine green, red pepper, dp (ODBD – Cozy Quilt paper
    Ink:  (inside -Versafine onyx, Colorbox frost white pigment)
    Accessories: ODBD Flourished Star Pattern, Double Stitched Rectangles, Peaceful Poinsettias, Merry Mosaics, Merry Christmas, Large Bow (retired), Filigree Frames dies, lg red crystal

  • Mosaic Tutorial

    Supplies Needed: (click on any image to enlarge)

    1. Sticker Paper
    2. Various Scraps
    3. Black Embossing Powder
    4. Brayer
    5. Heat Gun
    6. Black Marker (Galaxy Deep Space Black or Permopaque Black)
    Supplies Needed

    Step 1.
    Pick some scraps. I usually use 3 or 4 color groups. Here, I selected some blues, turquoise, and an orchid color for contrast. Scraps that are stamped and/or embossed will work well, too. With scissors, cut some of each color you plan to use. Vary the sizes and angles slightly. I try to leave 2 sides fairly square so they fit around the edges.

    Step 1.
    Step 1.

    Step 2:
    Cut your sticker paper to the size you want. For my example, my sticker sheet measures 3.25″ x 4.25″. I precut to this size because I want to leave a border around the edge of my sticker paper.
    I put a little removable adhesive on the back side of my sticker paper to hold it still while I am working with it. Peel the release sheet off the sticky side of your sticker paper. Start placing your cut mosaic pieces. I start in one corner and work across. Vary the pieces and colors.

    Step 2.

    Note that one piece is hanging over the border. When a piece does not fit correctly, use your scissors to trim it before pressing it down. (Step 2a)

    Step 2a
    Step 2a

    Step 3:
    Finish arranging your pieces. I find it easier to place my pieces on the sticker paper if I use a pair of needle nose pliers. Note the border around my pieces. You do not have to have this border.

    Step 4:
    Place the release paper over your mosaic. Using the brayer, roll over the release paper covered mosaic. This will help to secure the pieces to your sticker paper.

    Step 4
    Step 4

    Step 5:
    Coat your piece with the embossing powder. For my example, I am using detail black powder. Gently tap off excess. Place the release paper over the piece again and repeat the pressing with your brayer. This will help the embossing powder to cover the exposed areas of the sticker paper (“grout lines”).

    Step 5
    Step 5


    Step 6:

    Melt the embossing powder with your heat gun. Note that when using black embossing powder, tiny areas of the white may show through. This is not noticeable with other colors of embossing powder. If you look closely, you can see this, especially around the outer border.

    Step 6
    Step 6

    Step 7:
    Since I am using the black powder, I go over the “grout lines” with a permanent black marker. After testing a number of these, I found that the Galaxy or the Permopaque work the best and do not dull the shine of the embossing powder.

    Step 7
    Step 7
    Finished Mosaic Sheet
    Finished Mosaic Sheet
    Finished card using the mosaic example.
    Finished card using the mosaic example.

    Other Supplies used for this card:
    Spellbinders Nestabilities: Flower set, oval and scalloped oval sets
    Hole punches in 2 sizes
    Sentiment image: Studio G

    Julie2 sig