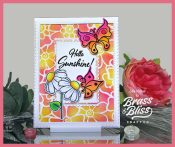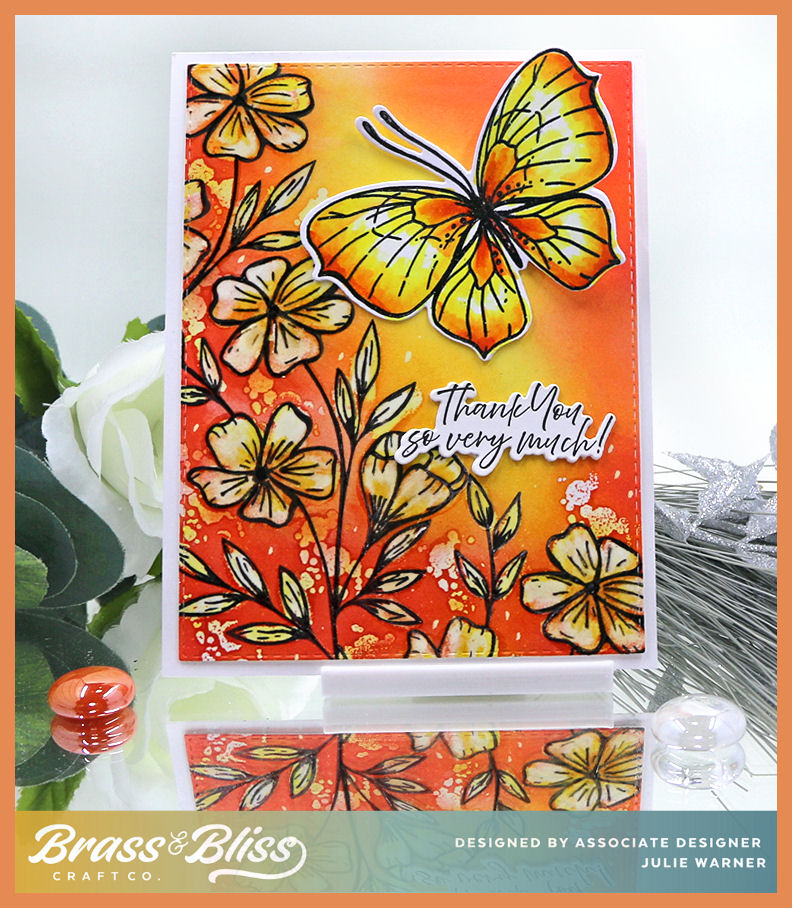

Are you ready for Spring? We’ve had a taste of it here and flowers are starting to bloom. To celebrate the arrival of spring, I have a very bright card all done in vibrant shades of orange. It’s not a hard card to make and best of all, it uses only a couple of stamp sets with their matching dies, some inks & a little clear embossing powder. Change the greeting & make it a birthday, Easter or Mother’s Day card.
For the Inspiration Challenge IC1060 we are visiting Elephant Stock & their Pinterest Board where I was inspired by THIS picture.
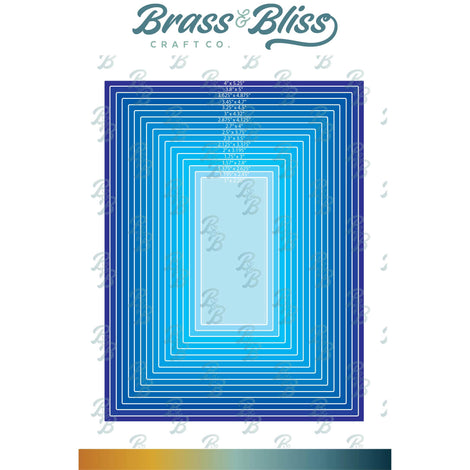
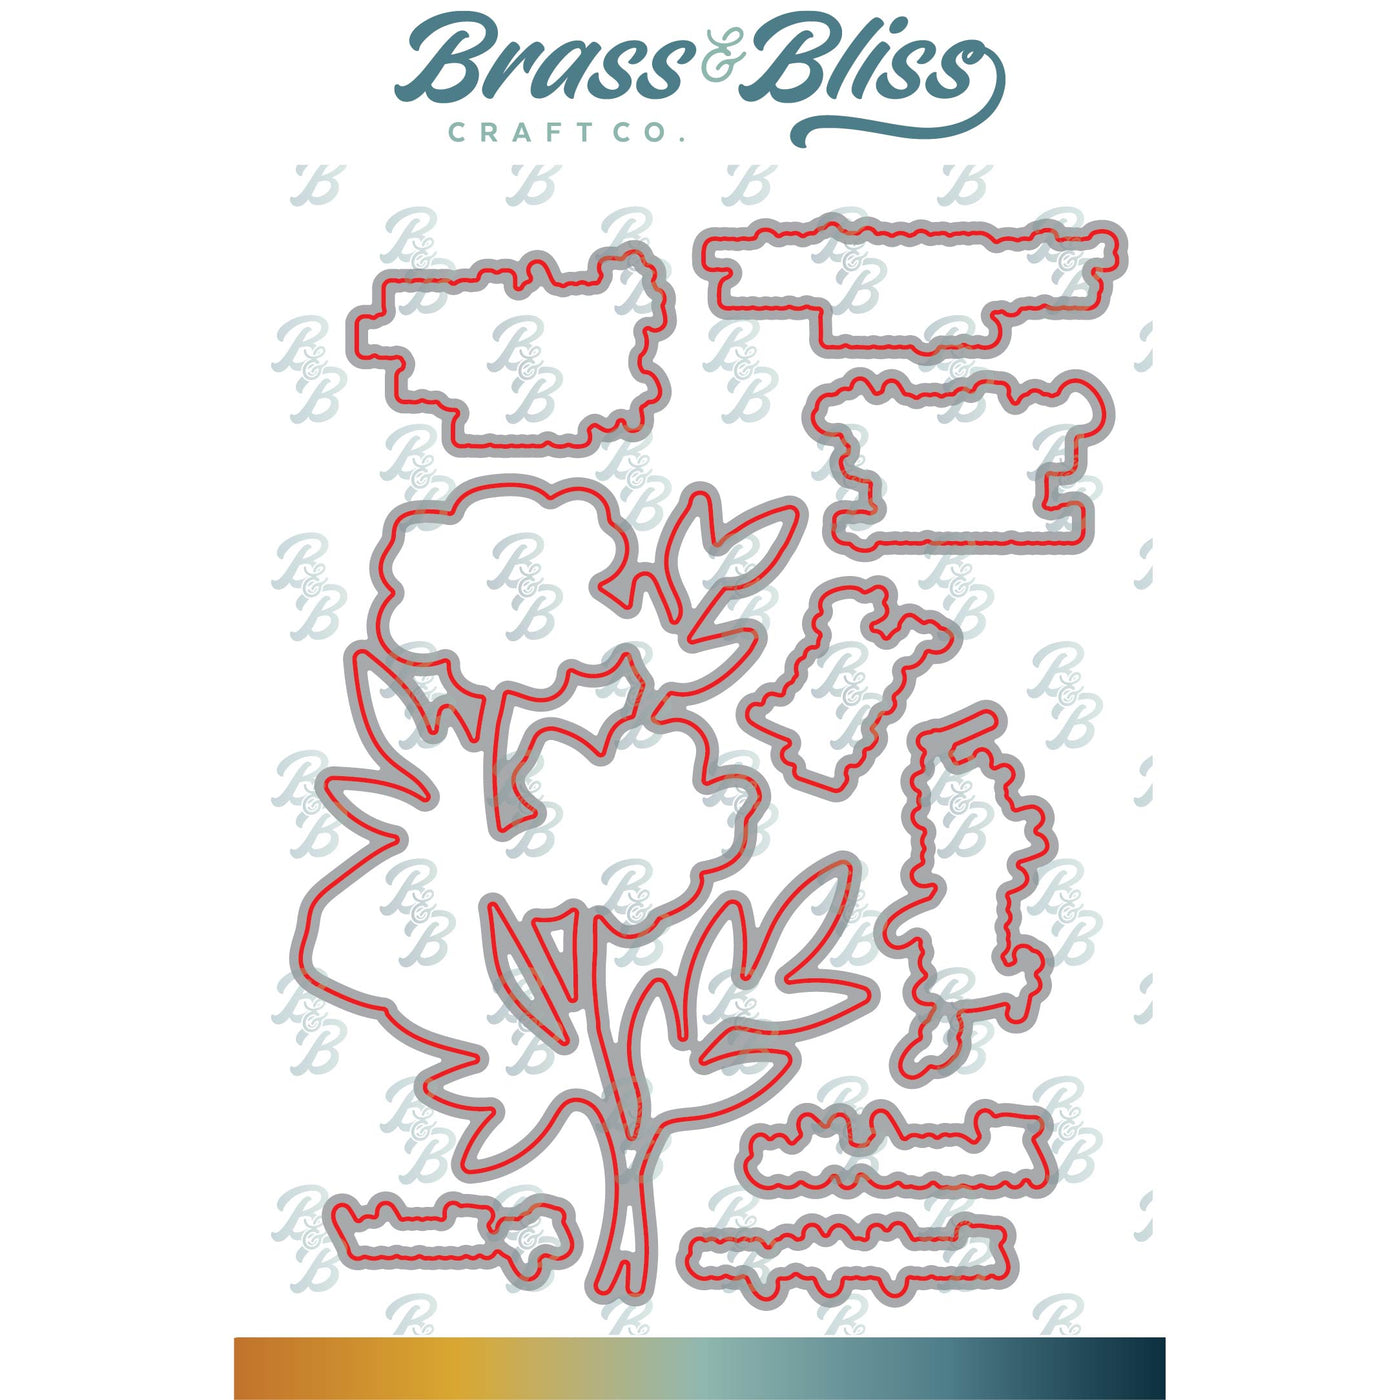
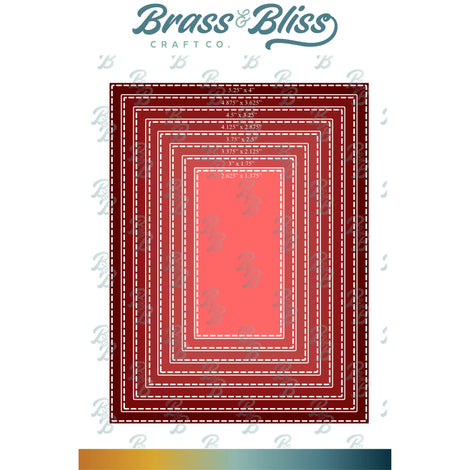
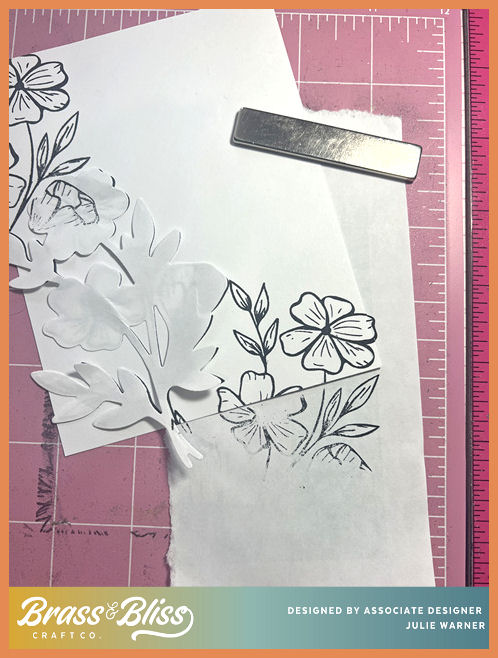
To make my very orangey card, I first die cut a piece of white w/ the largest stitched rectangle. Then I die cut the flower branch from the set out of copy paper to use as a mask. The matching dies are great for more than just die cutting the images! Since I stamped the flowers more than once, I started w/ the middle one, masked it, then stamped the partials above & below as you can see here.
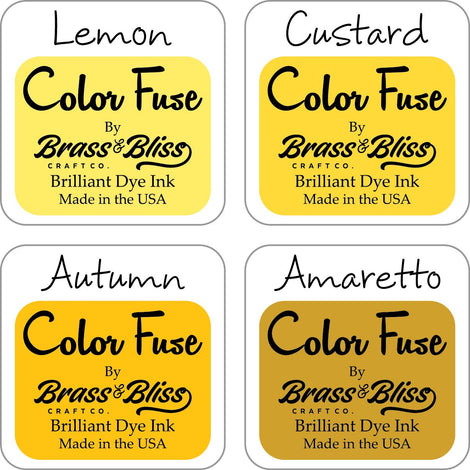
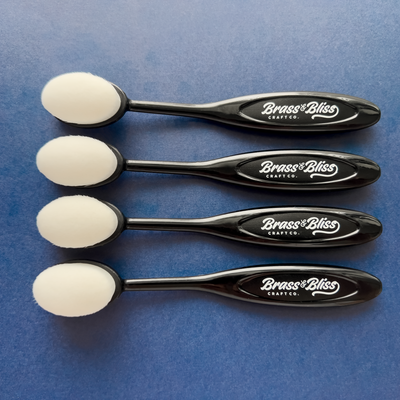
I added just a hint of color to the flowers with some yellow ink. Then I used a Versamark pen to coat the flowers & clear embossed them. The little splatter like dots were stamped in Versamark & also clear embossed. Then I used the large blending brushes to completely coat the entire piece. Starting with the yellow toward the center then working darker as I went outward.
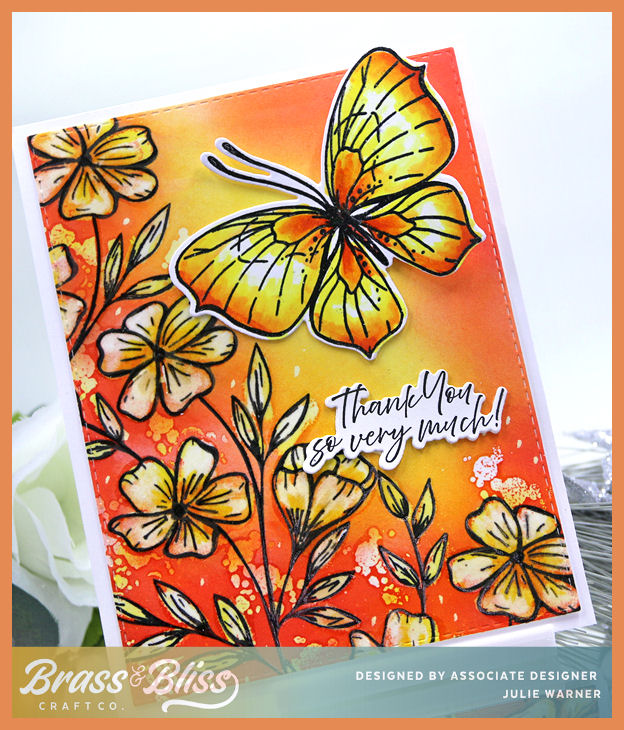
I let it dry for a few minutes, then decided I didn’t want the images to look clear embossed, so I placed the panel between 2 pieces of copy paper & with a craft iron, ironed all of the embossing powder off to make it flat again. The butterfly was colored, die cut & popped up on one side. The black outlines are still shiny because I used a glaze pen to go over the lines.

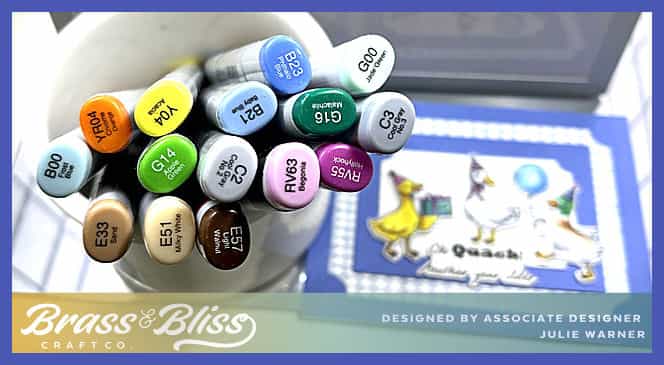
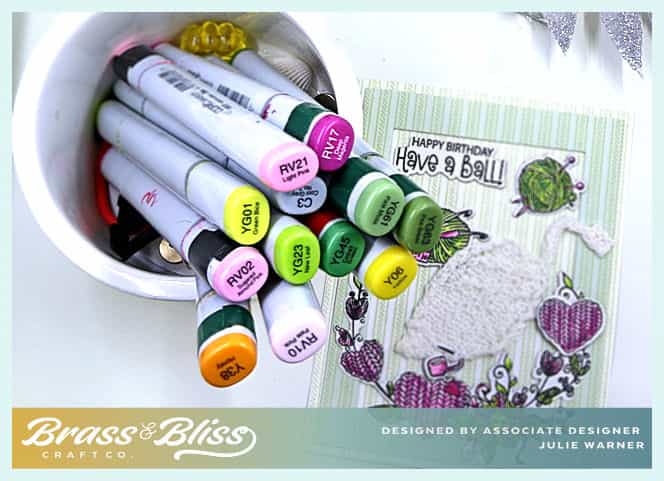
Here are the Copics I used for the butterfly:
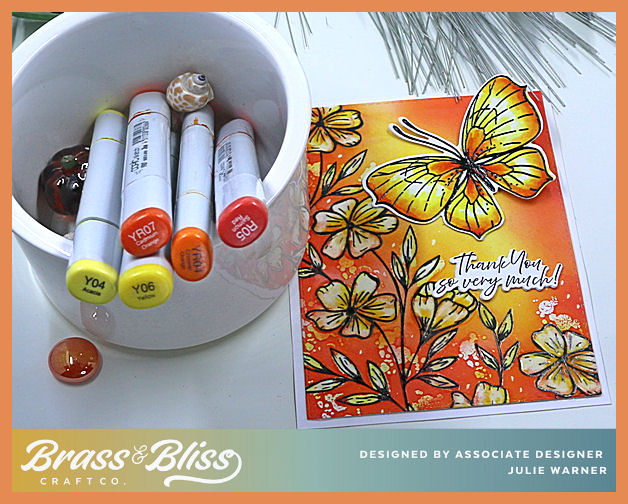
Thanks so much for stopping by!

Supplies:
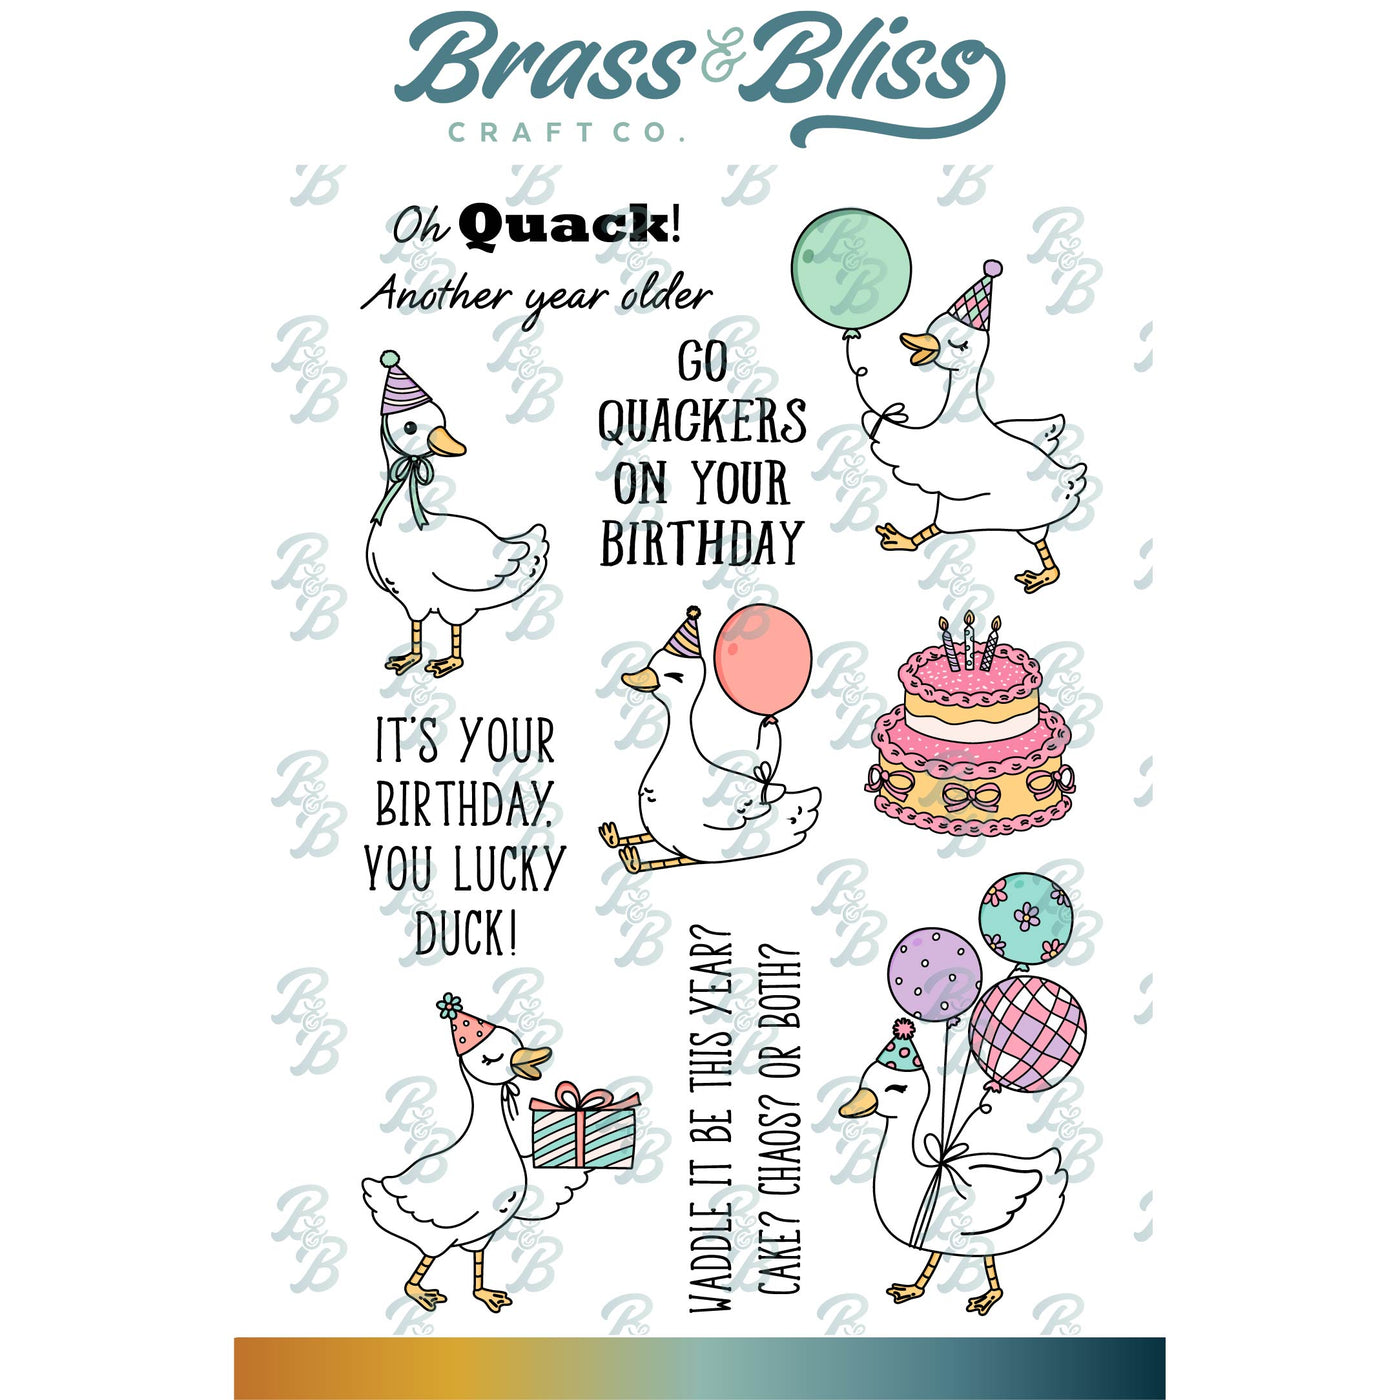
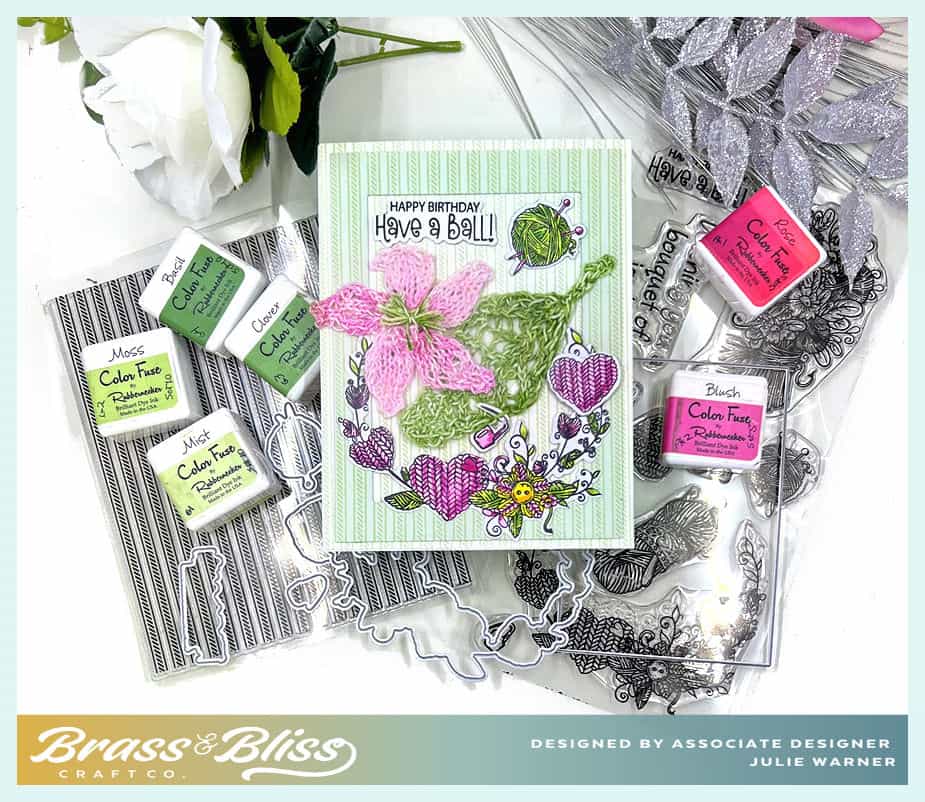
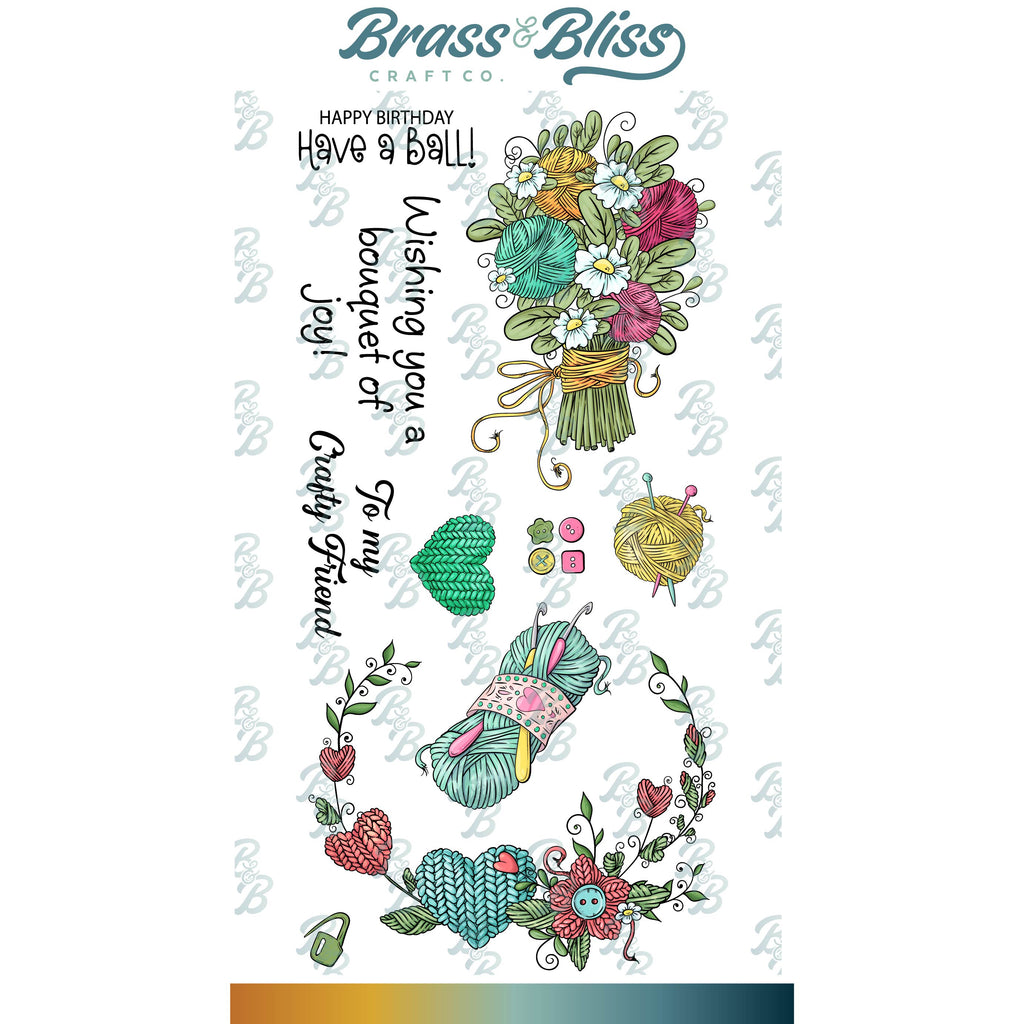
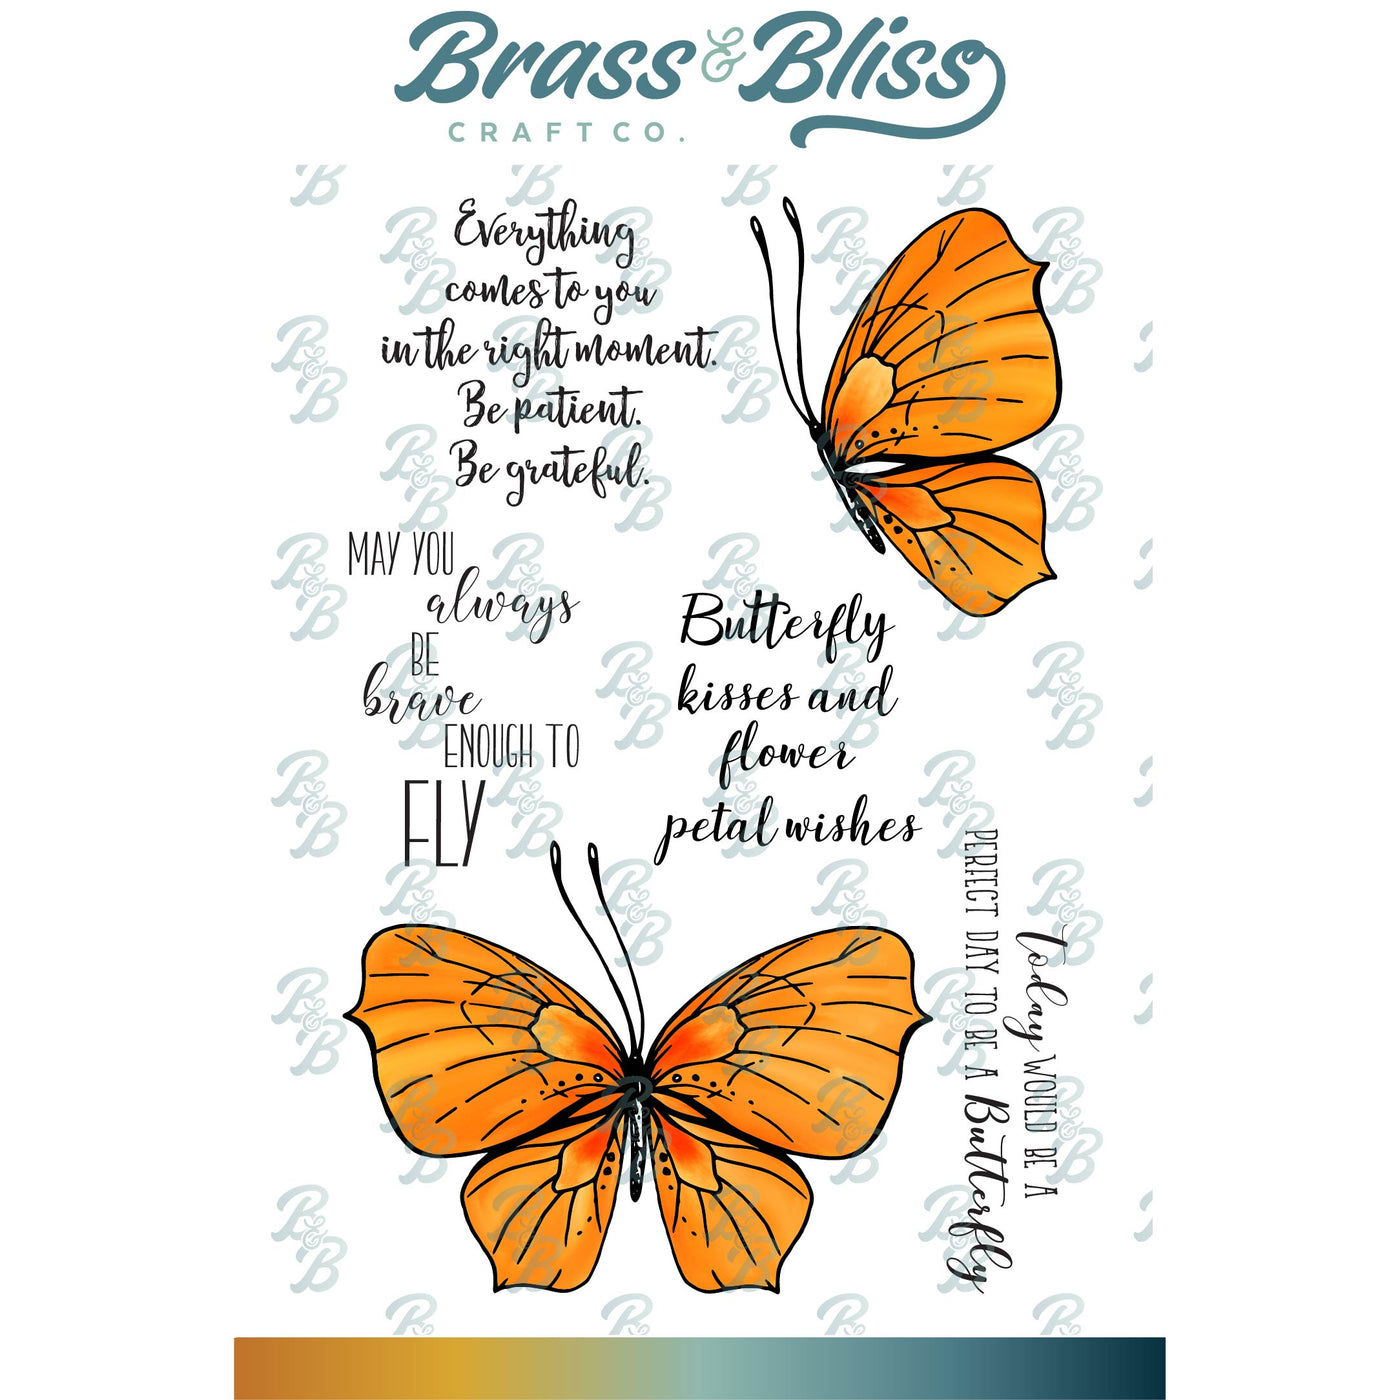
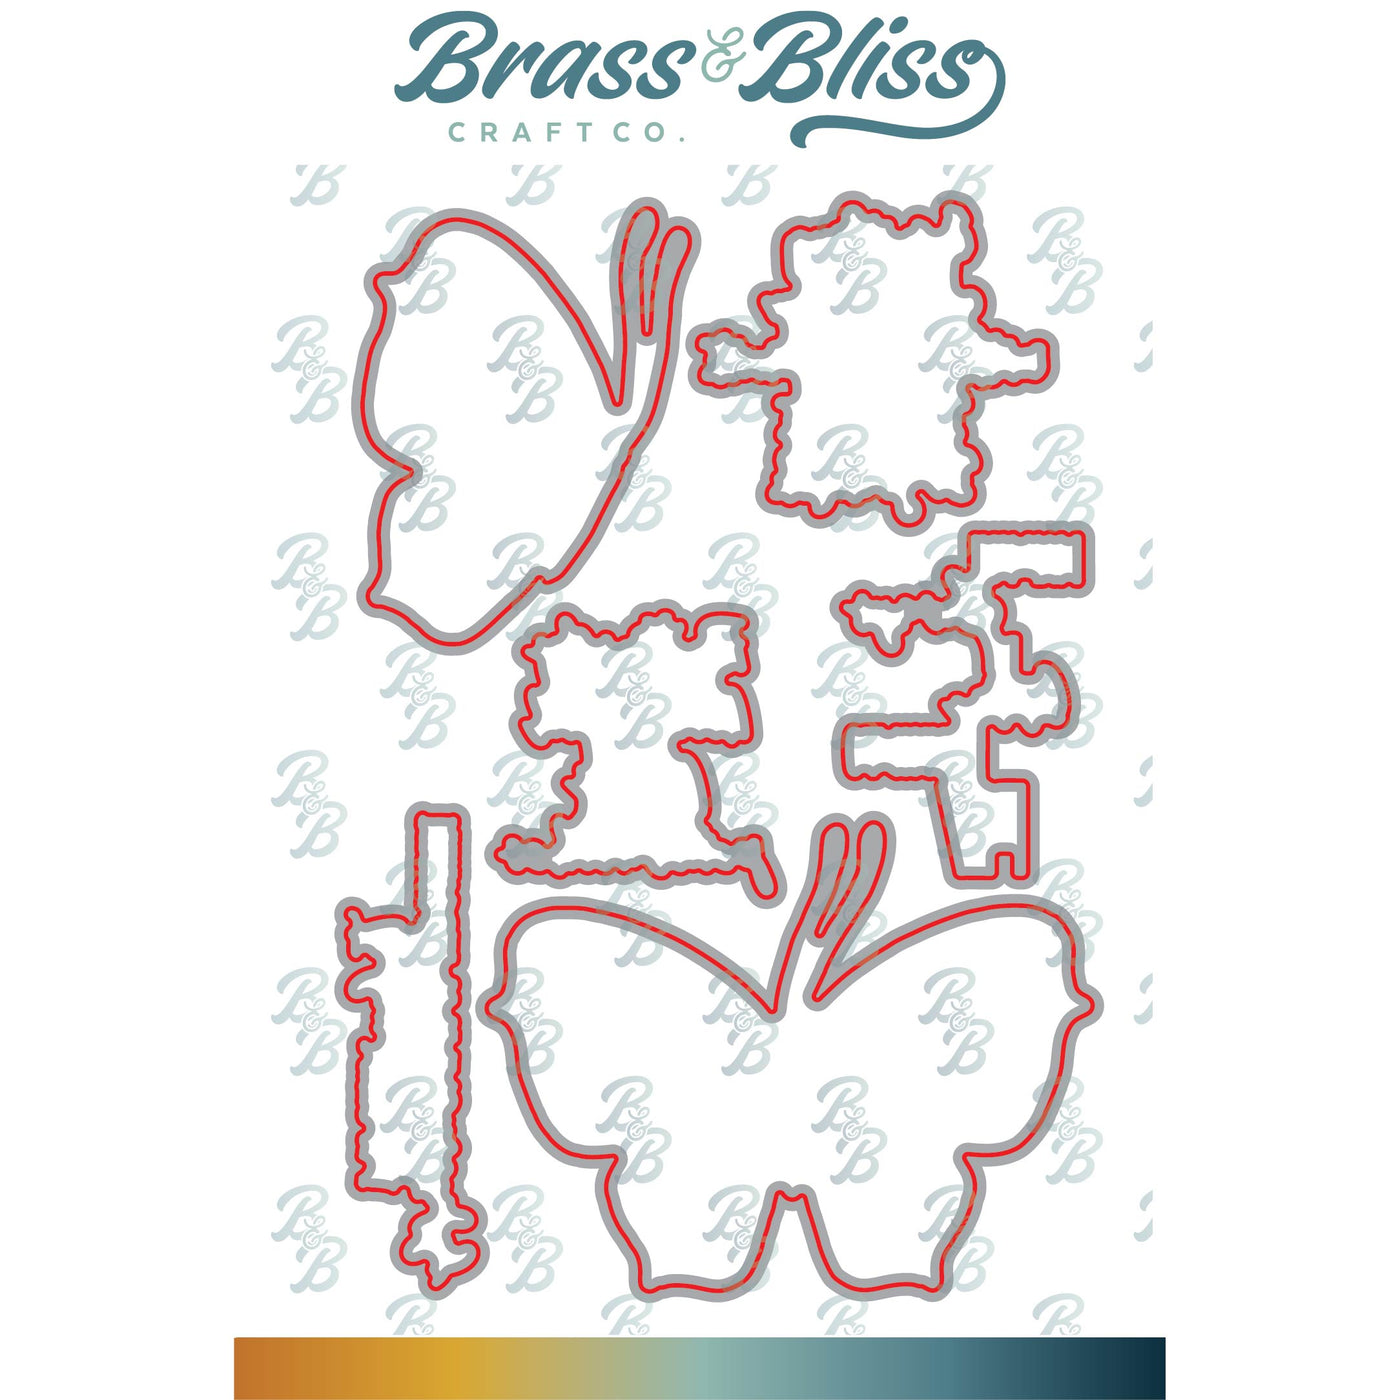
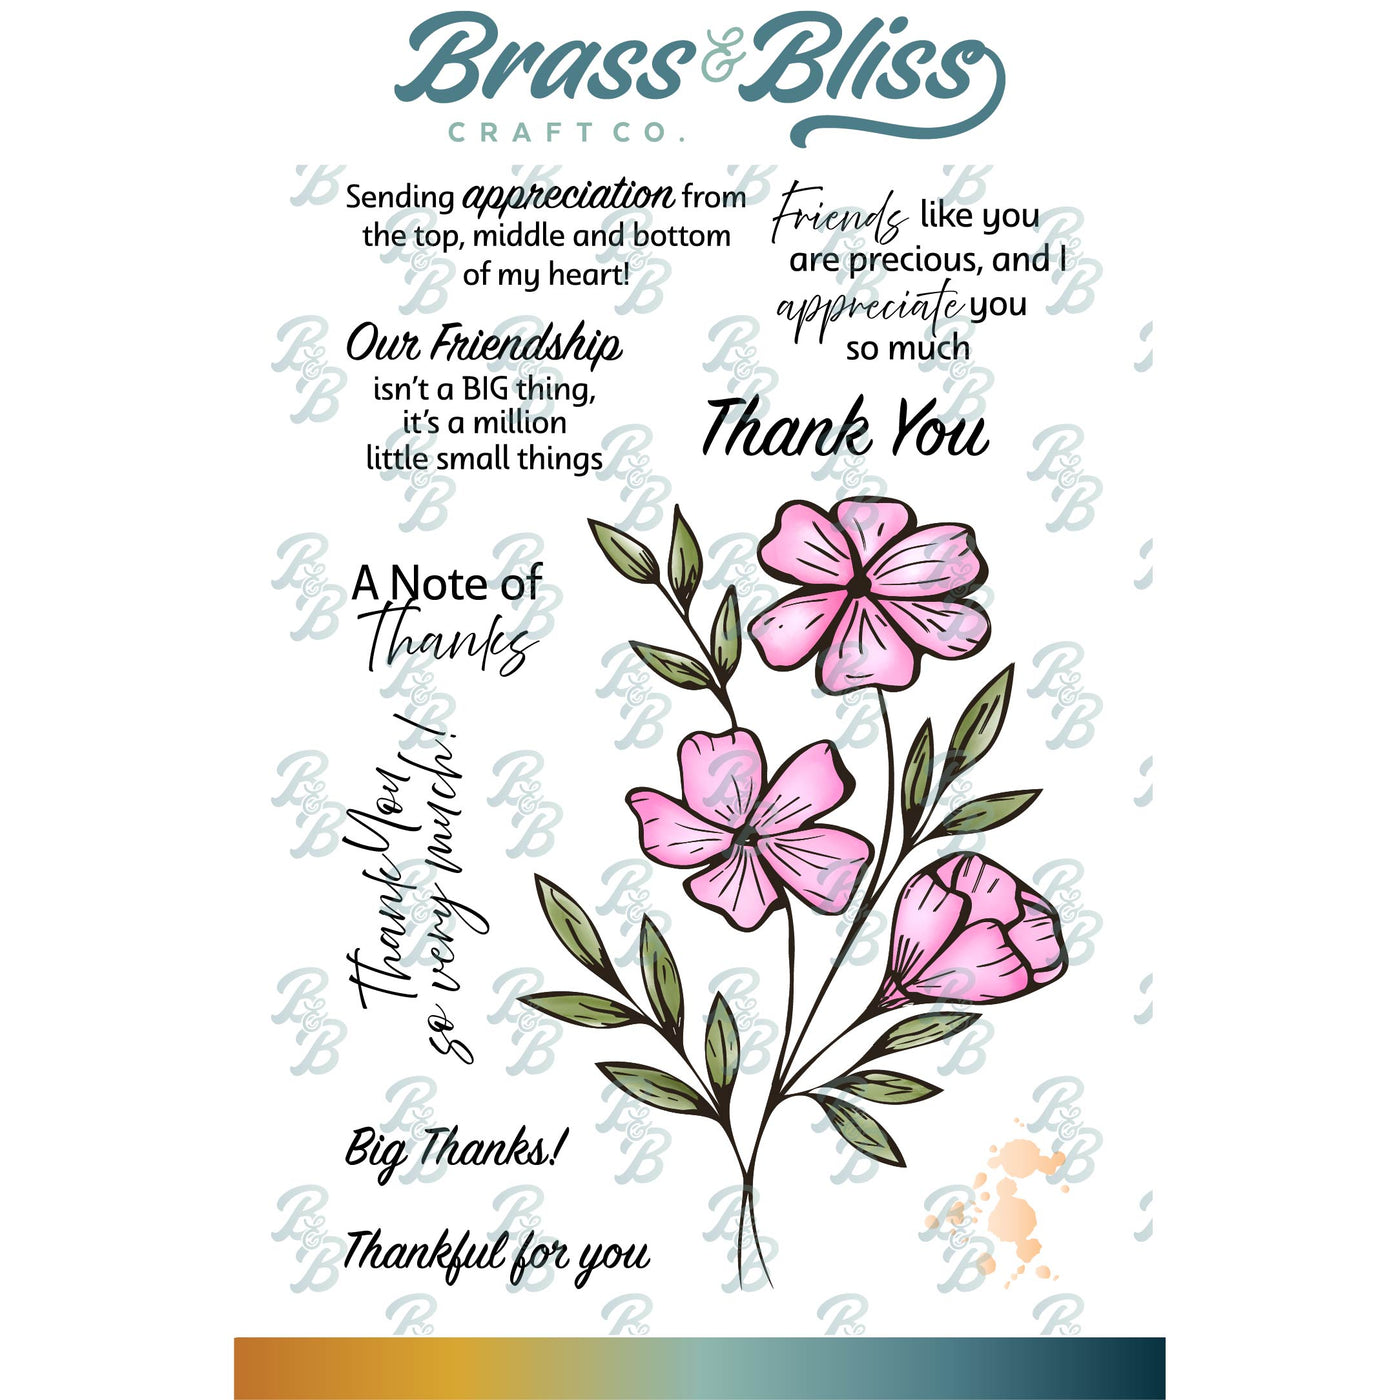
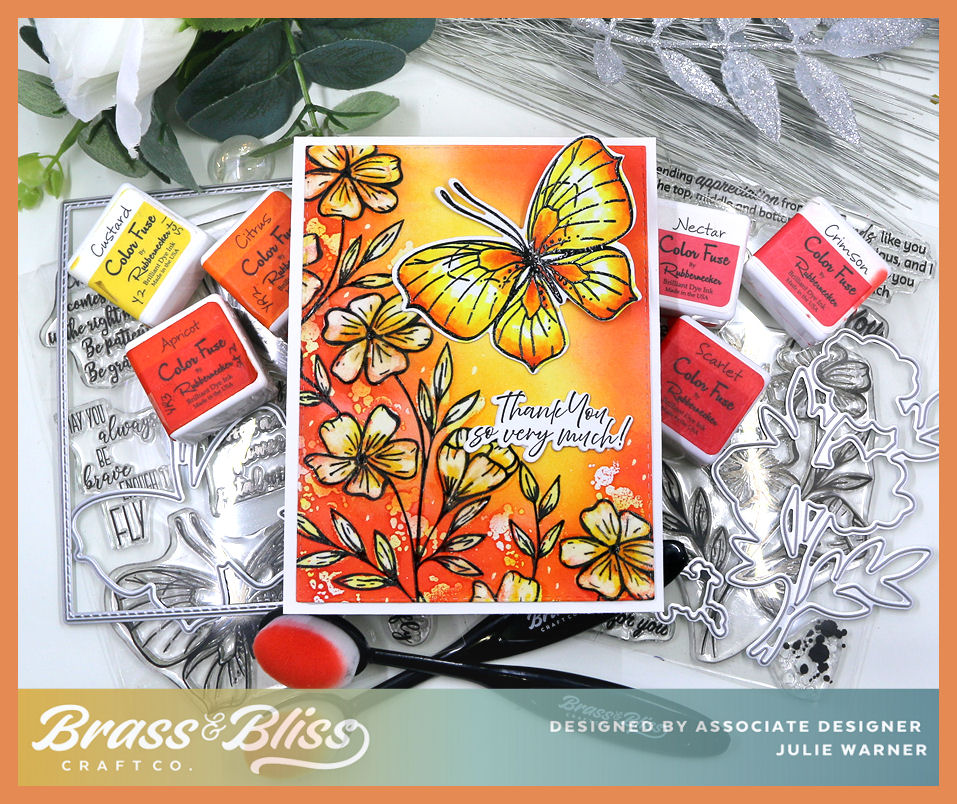
| Stamps: Brass & Bliss: Fluttering Wishes set, Thankful for You set |
| Paper: Staples 110# white |
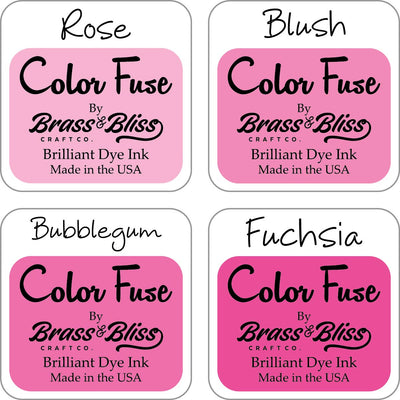
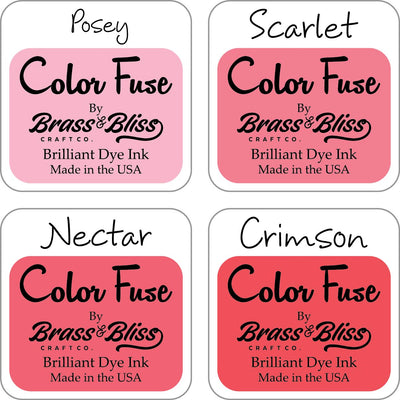
| Ink: VersaClair nocturne, Versamark, Memento tuxedo black, Brass & Bliss/Rubbernecker Stamps: Color Fuse ink set #1, set #2 & set #4 |
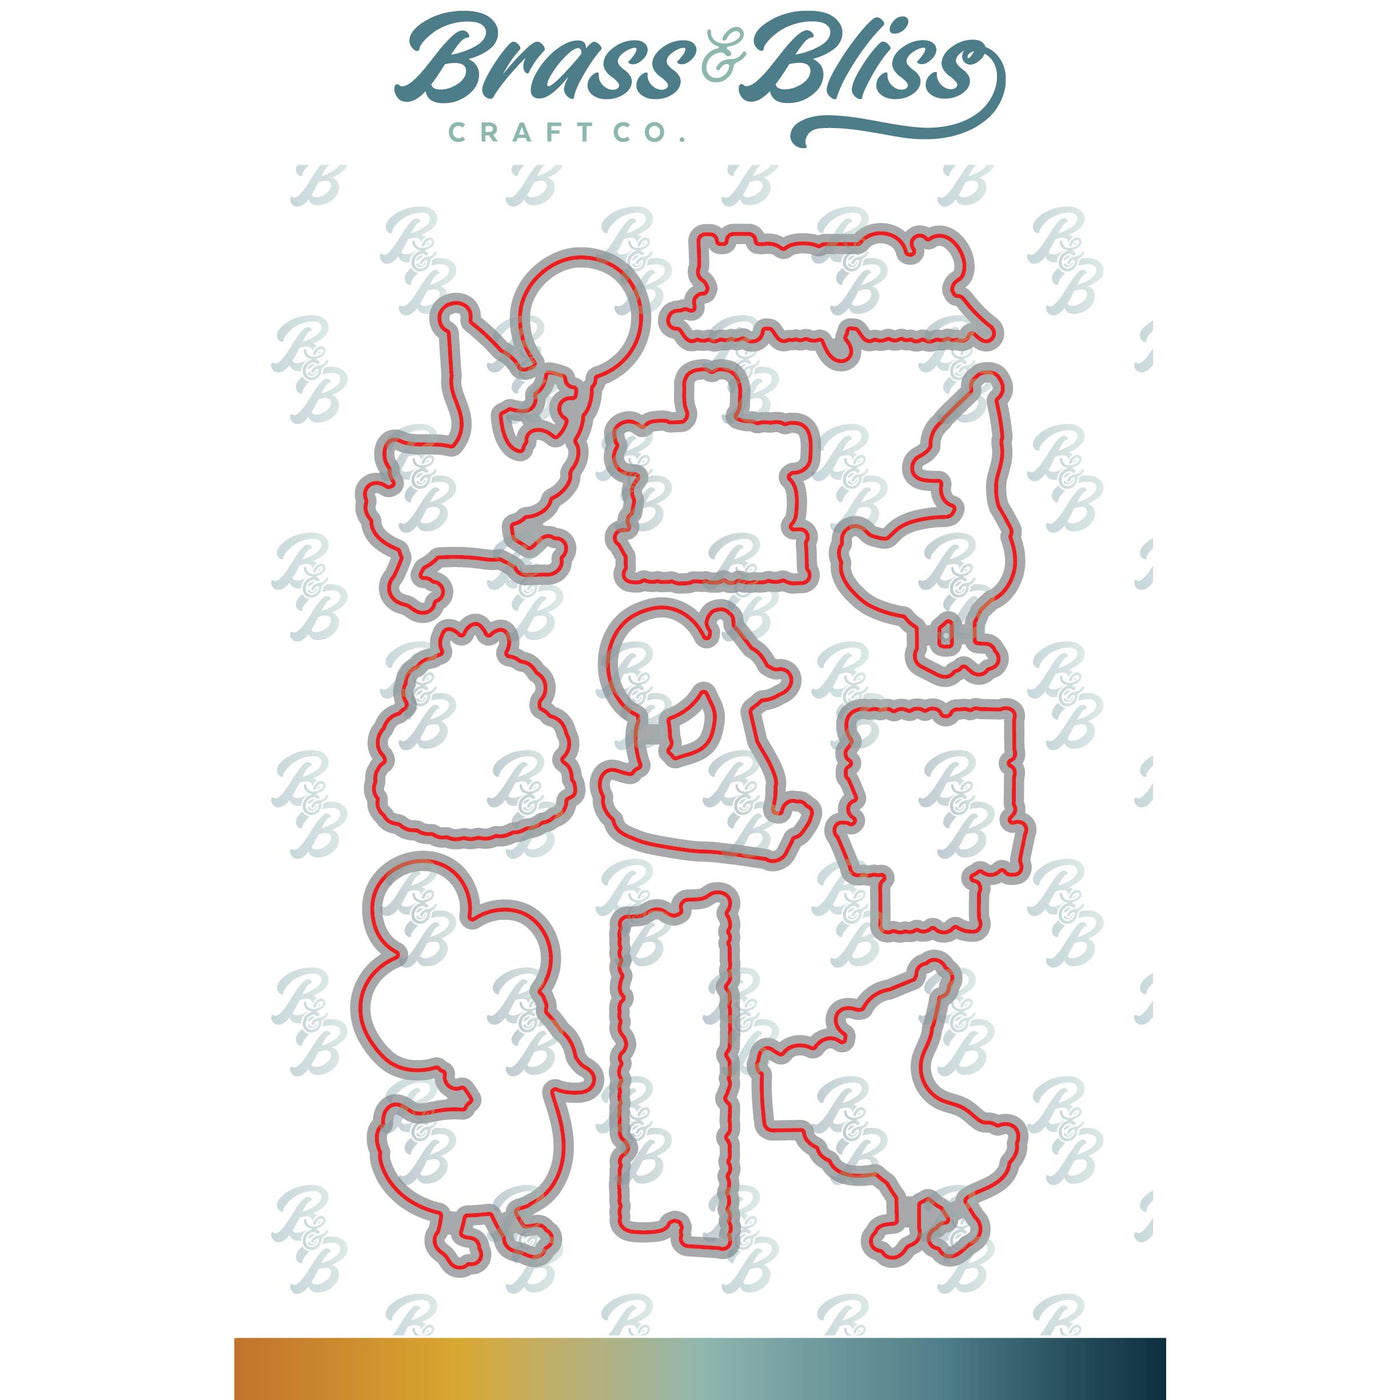
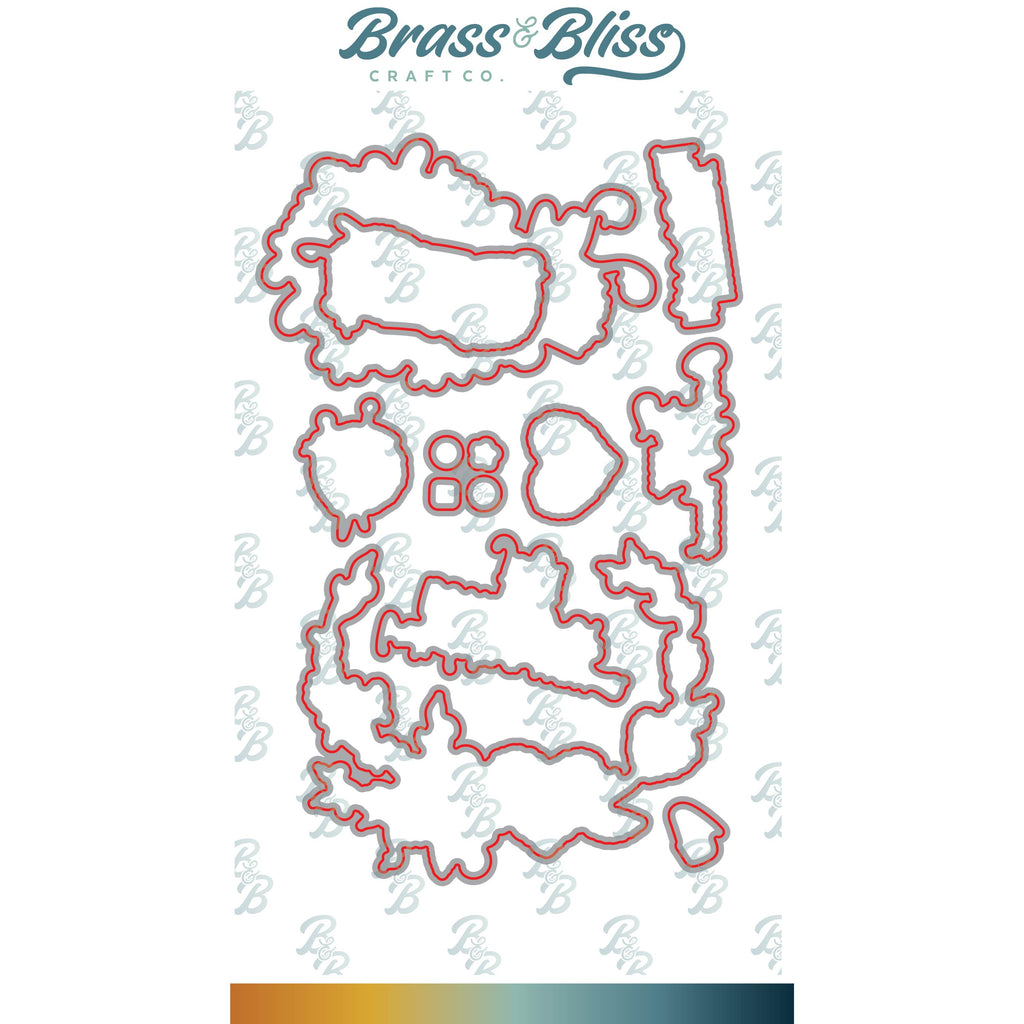
| Accessories: Brass & Bliss/Rubbernecker Stamps: Stitched Rectangles, Fluttering Wishes, Thankful for You dies, Lg Blending Brushes, MISTI , Copic markers, clear embossing powder, Glaze pen, Versamark pen |
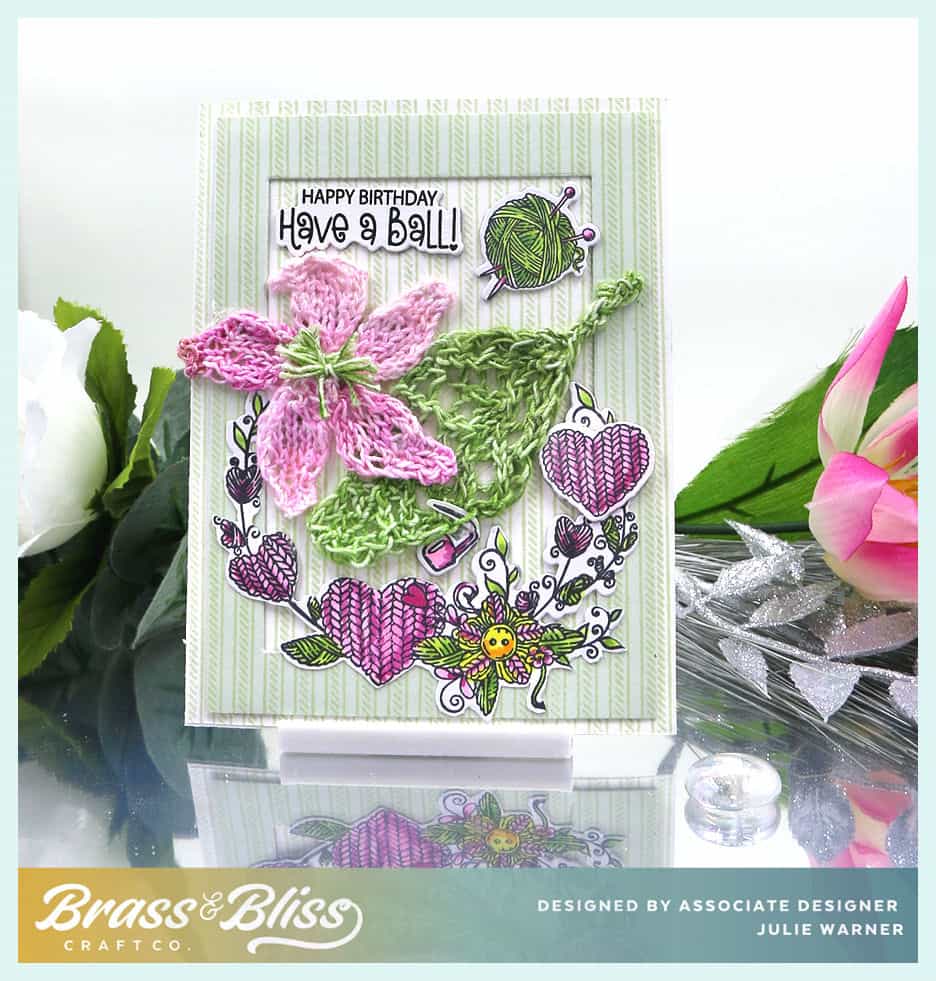
You might also like: