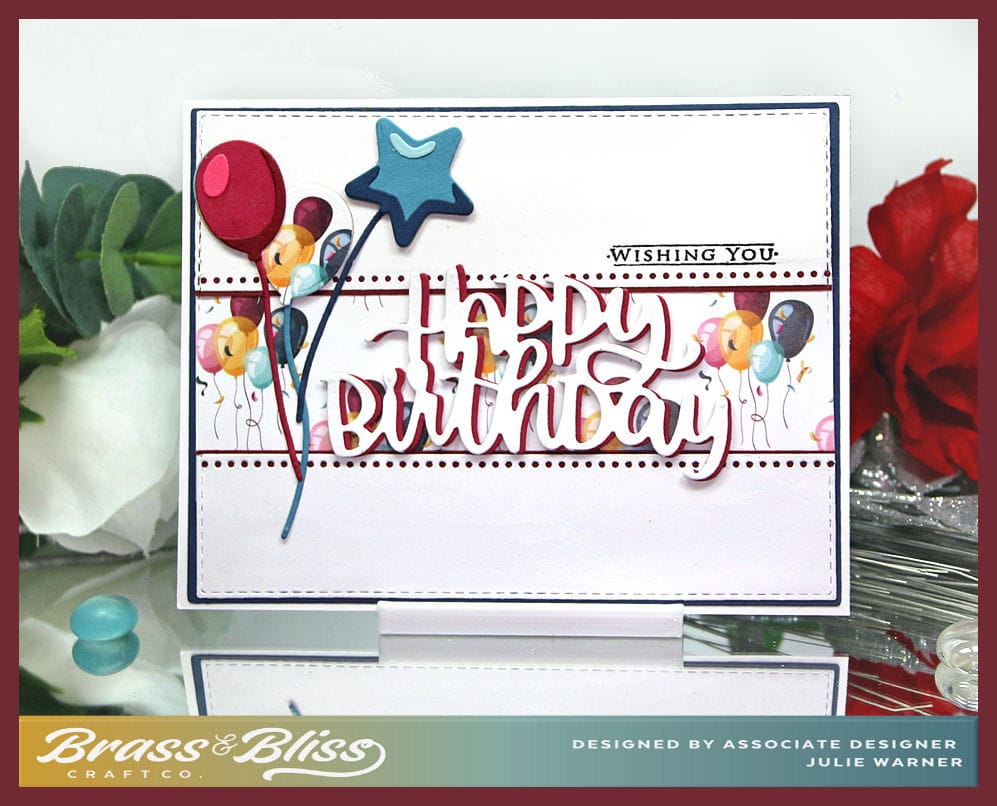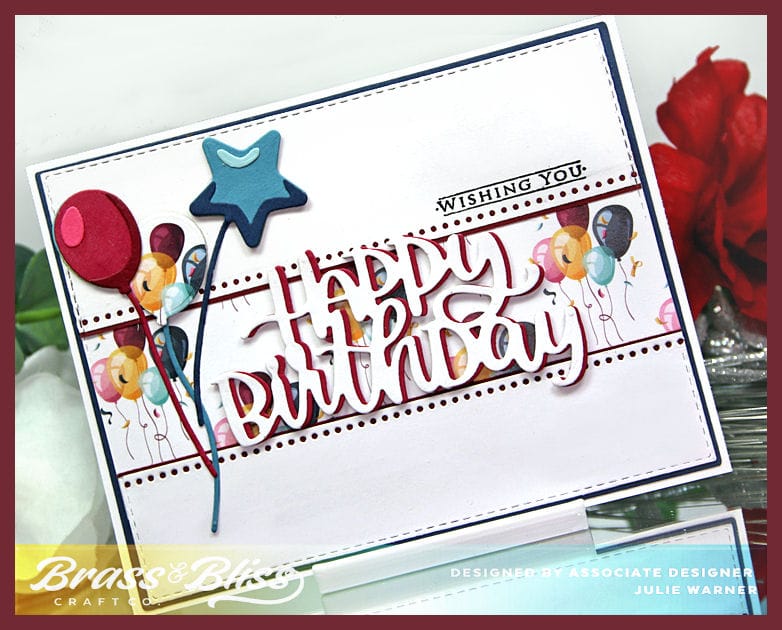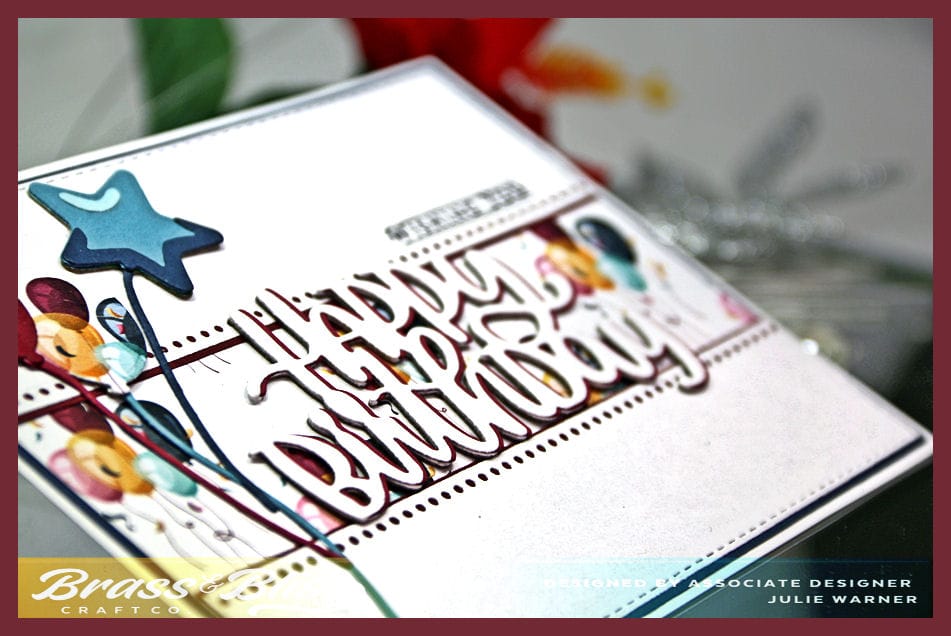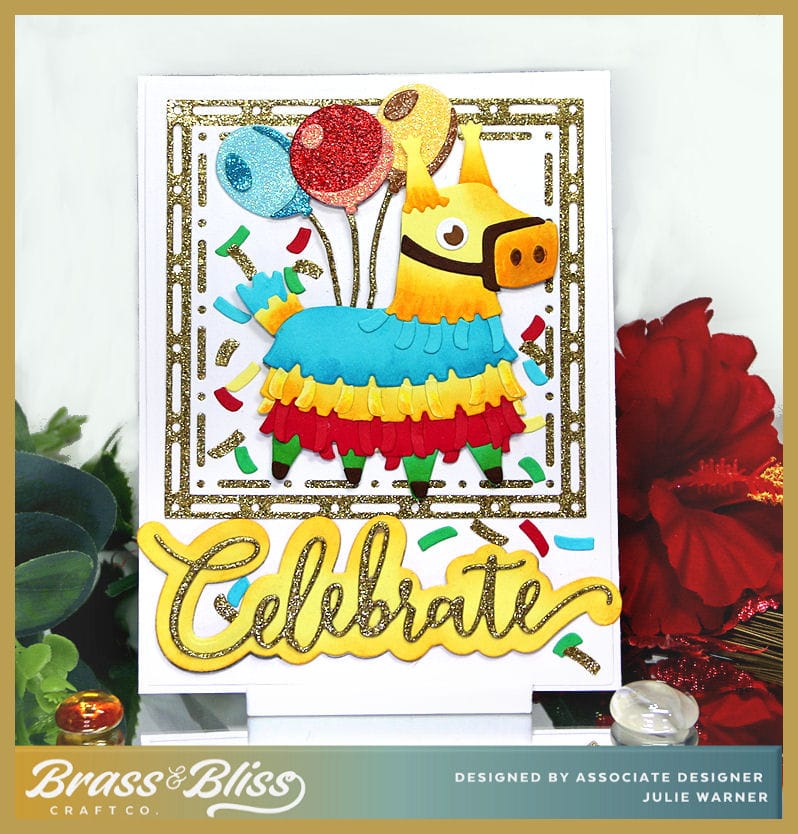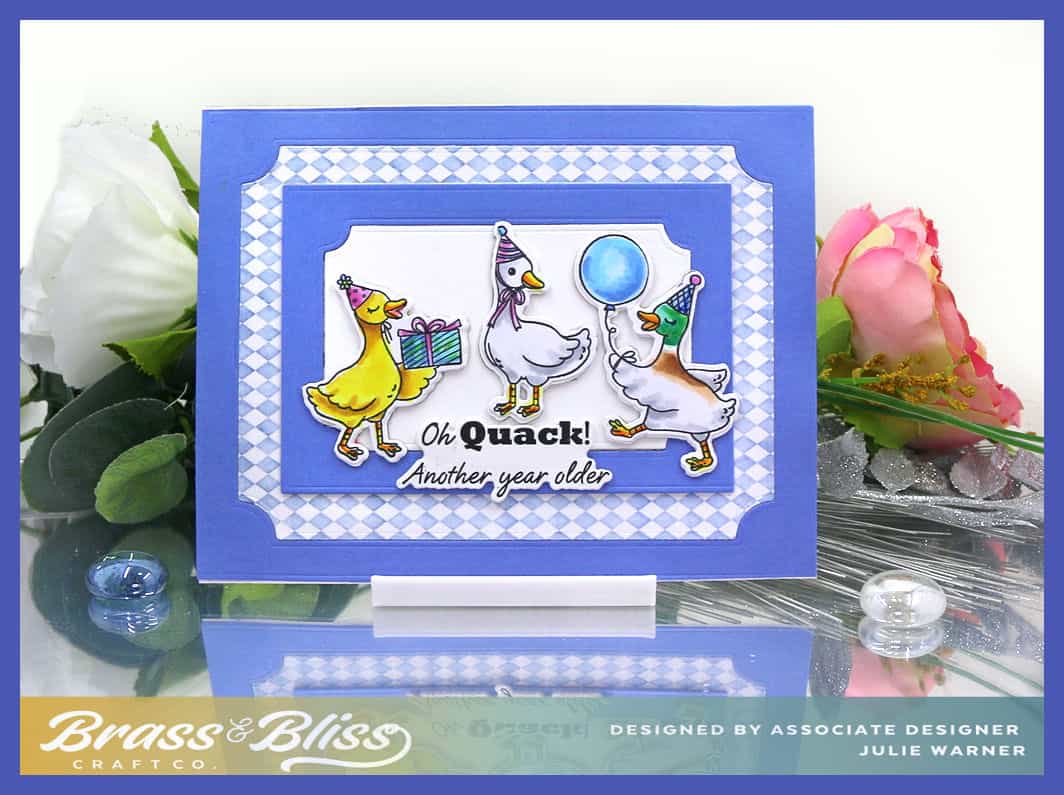


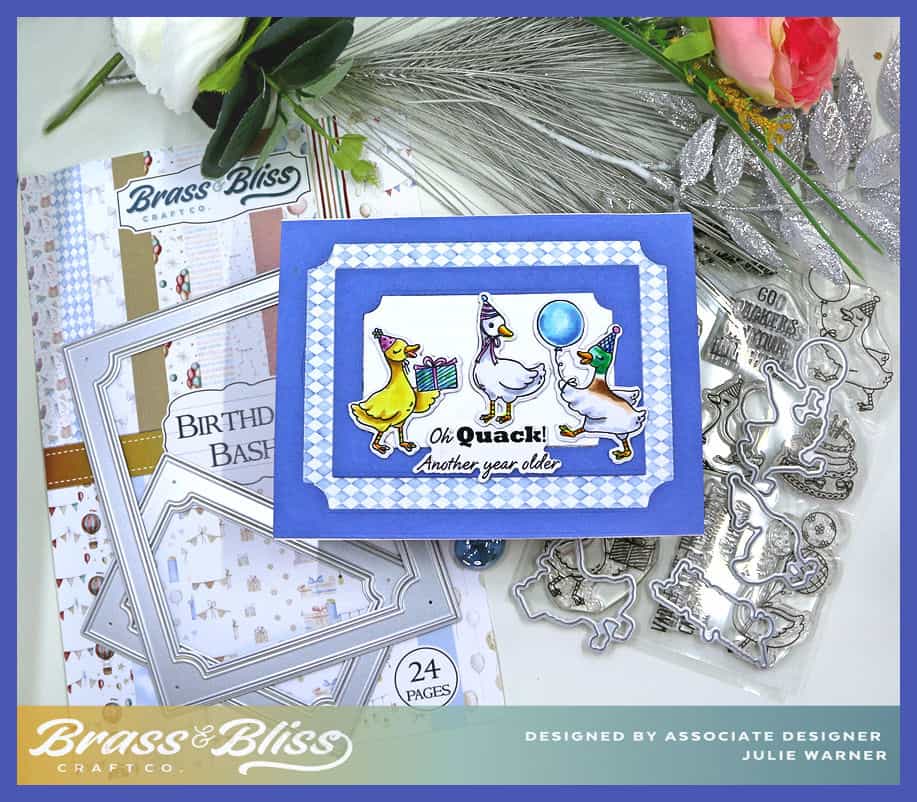
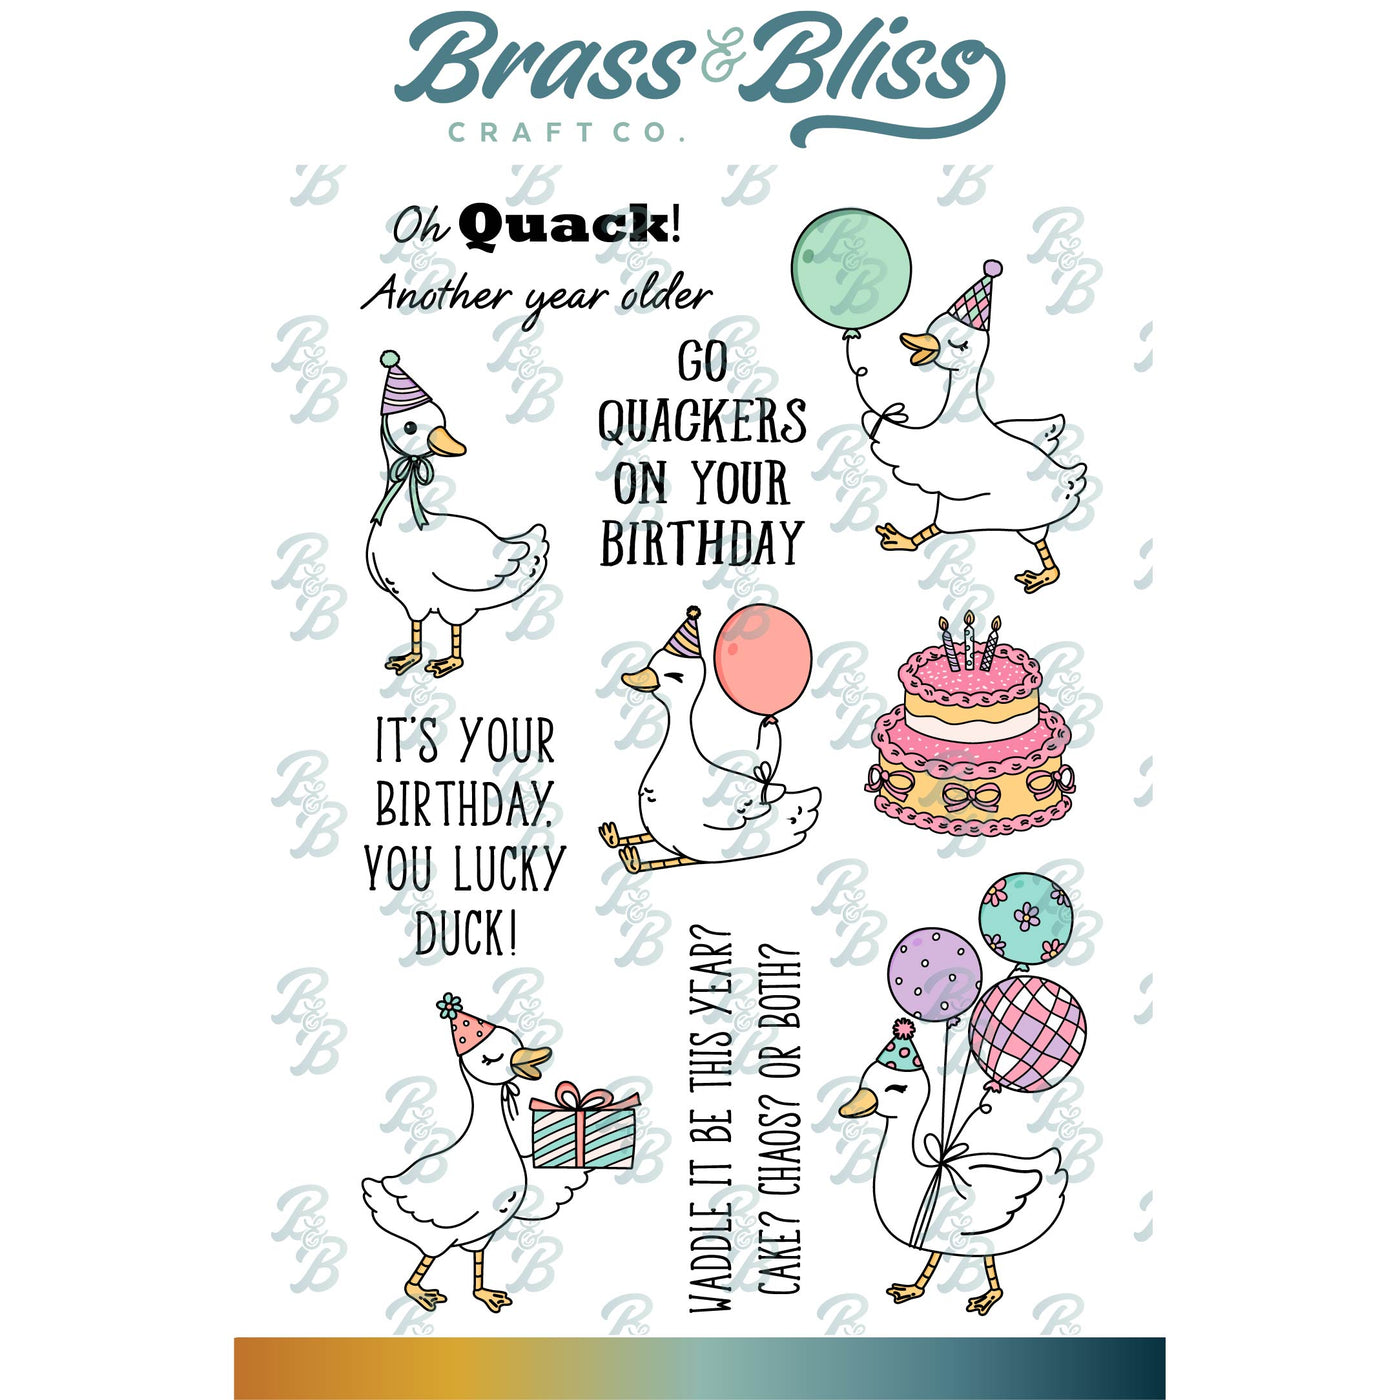
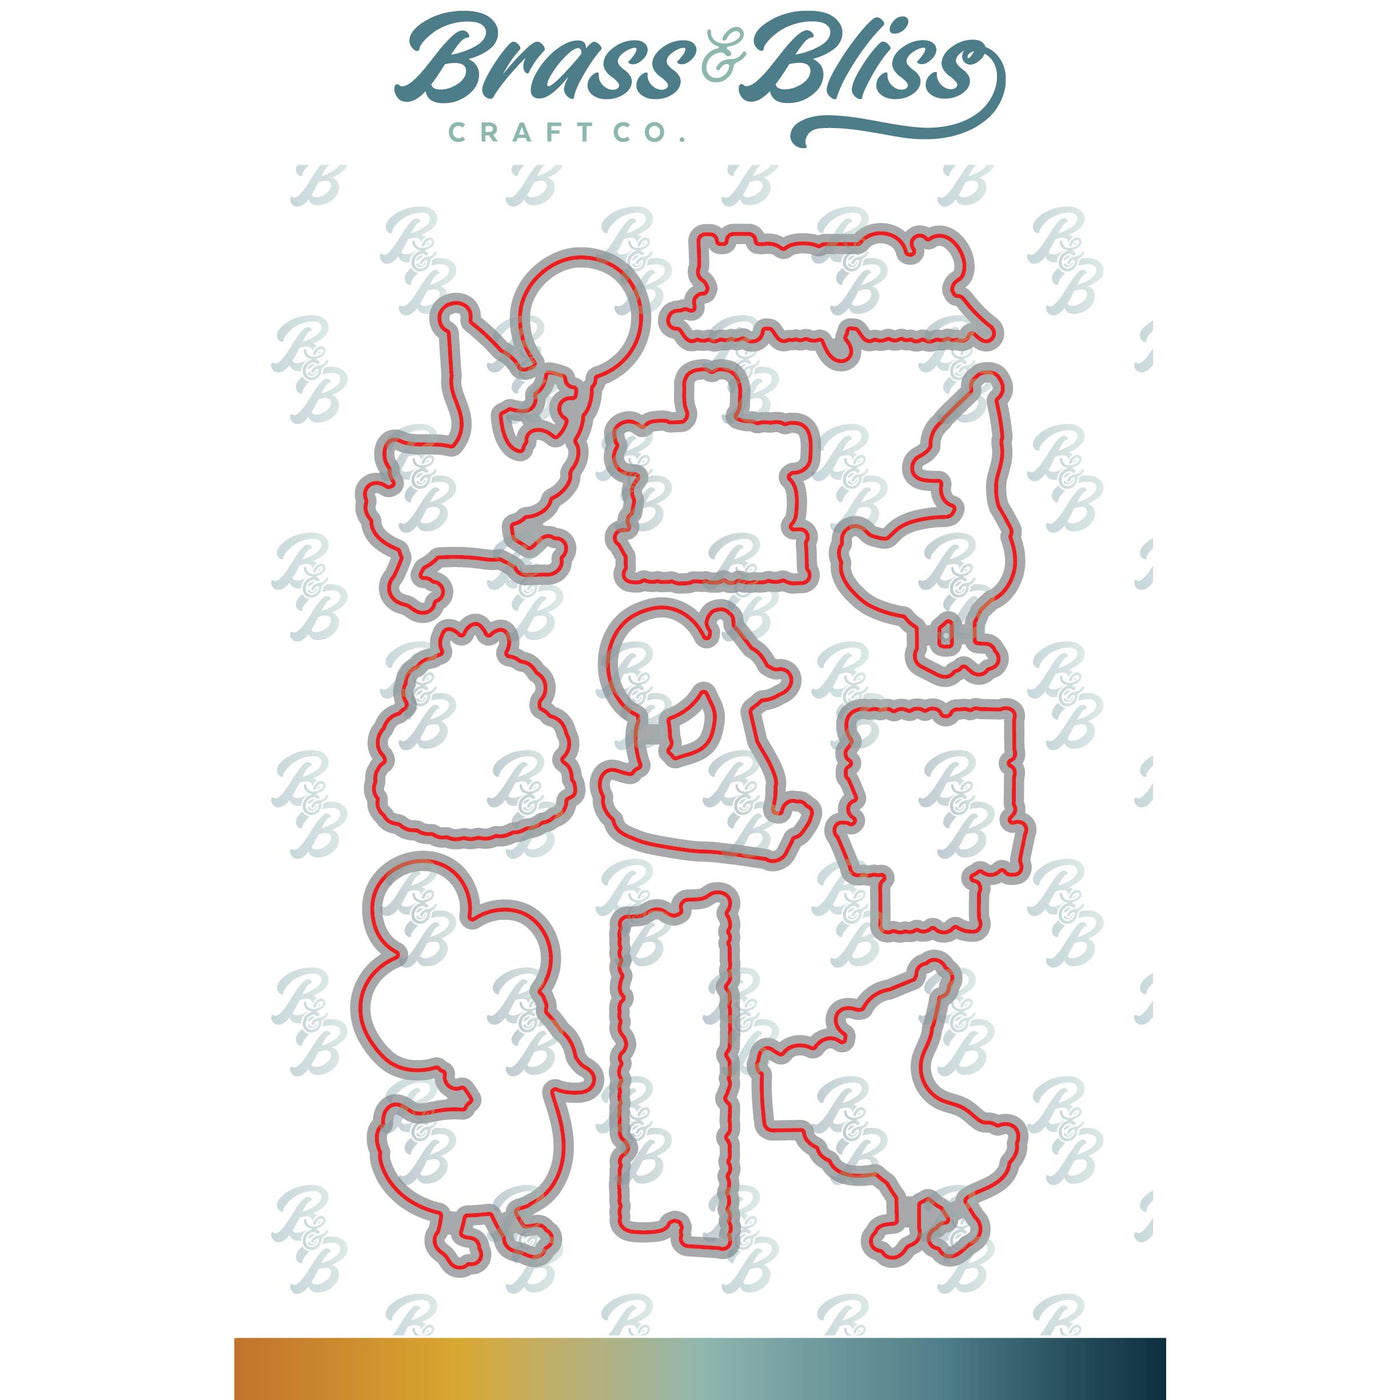
This is a fun little birthday card featuring some adorable little party ducks! The whole set is so cute and the ducks and greetings all have matching dies. How cool is that? Color them up in whichever colors you like, add some frames & paper and done!
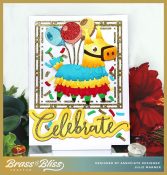
For the Inspiration Challenge IC1064 we are visiting Scully & Scully & their Pinterest Board. THIS was my inspiration.
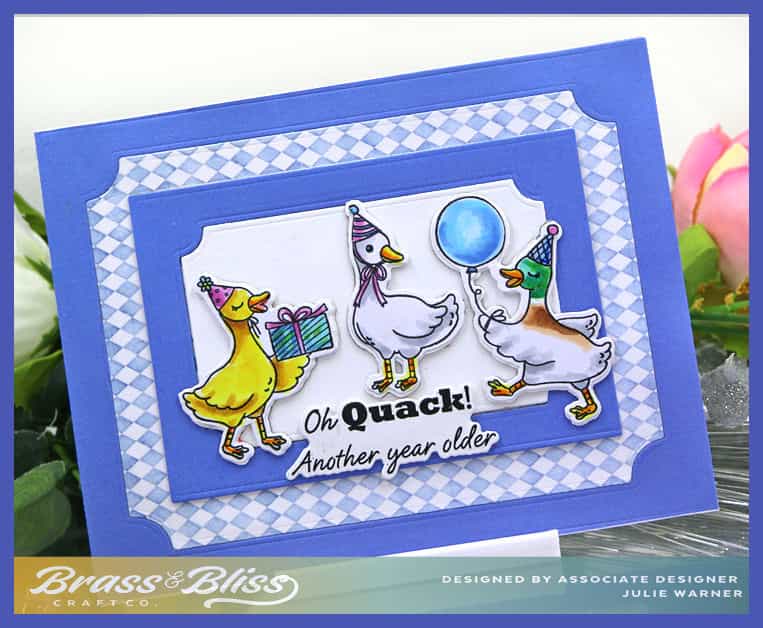
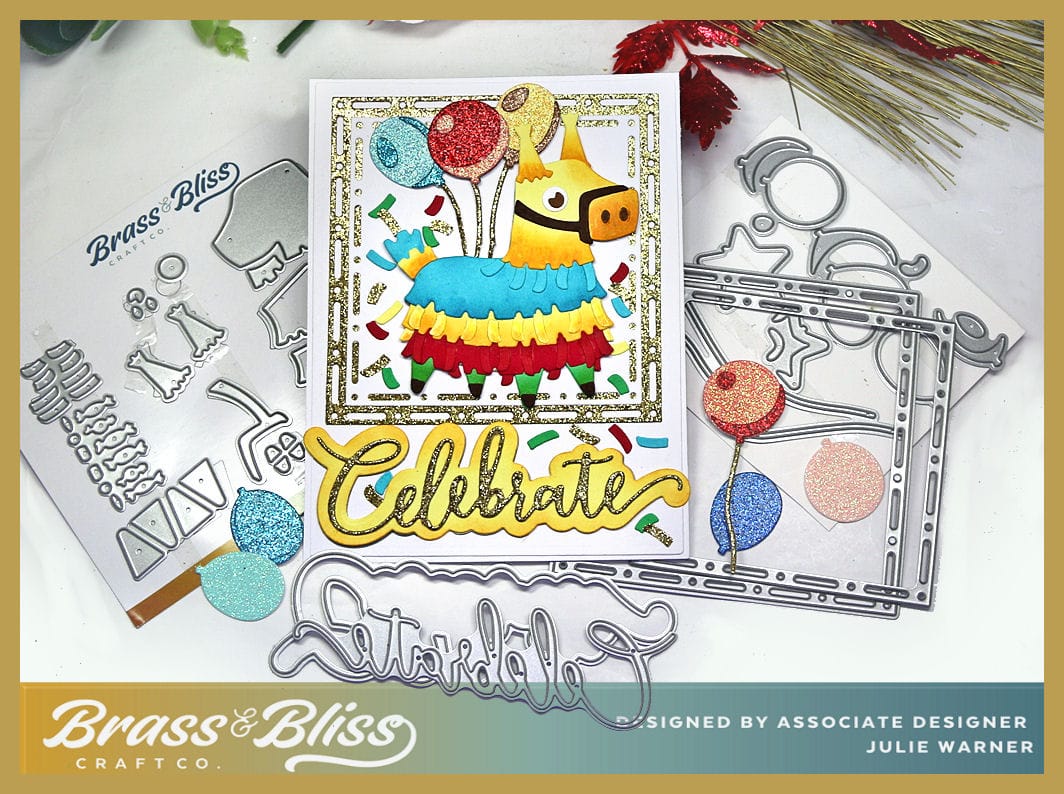
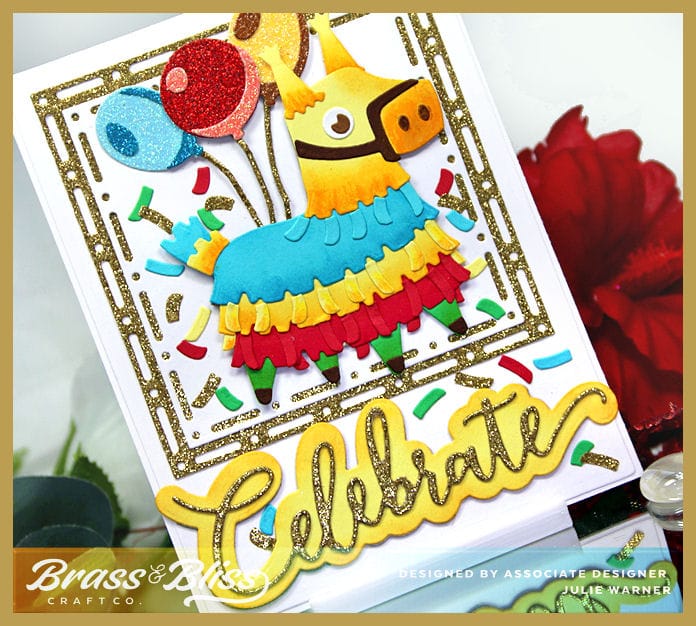
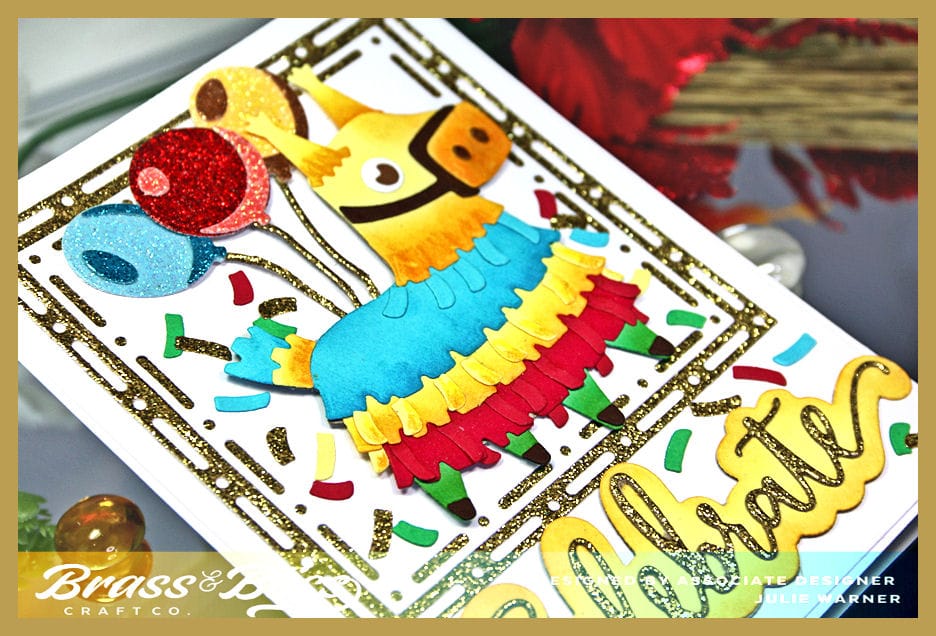
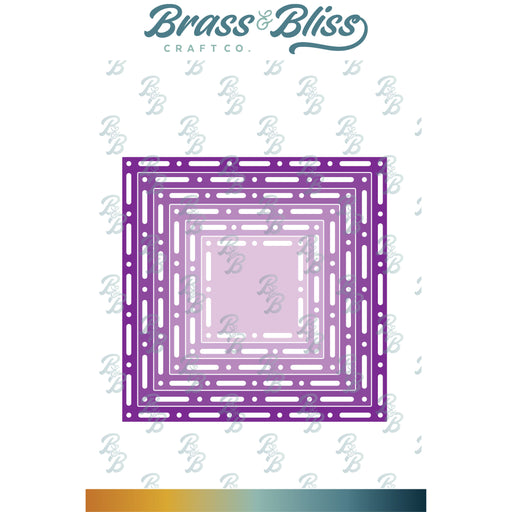
To make my birthday card, I colored & die cut the cute little ducks & the greeting. I cut two frames out of the cornflower blue & a large back panel out of a blue diamond print. Pretty easy! The center panel, the ducks & the greeting are all popped up one layer.
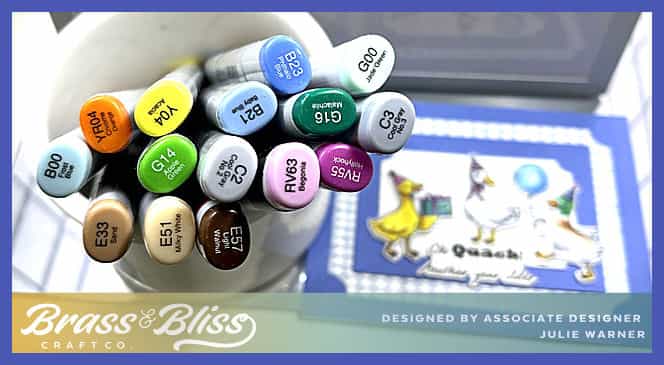
Here are the Copics I used:
Thanks so much for stopping by!

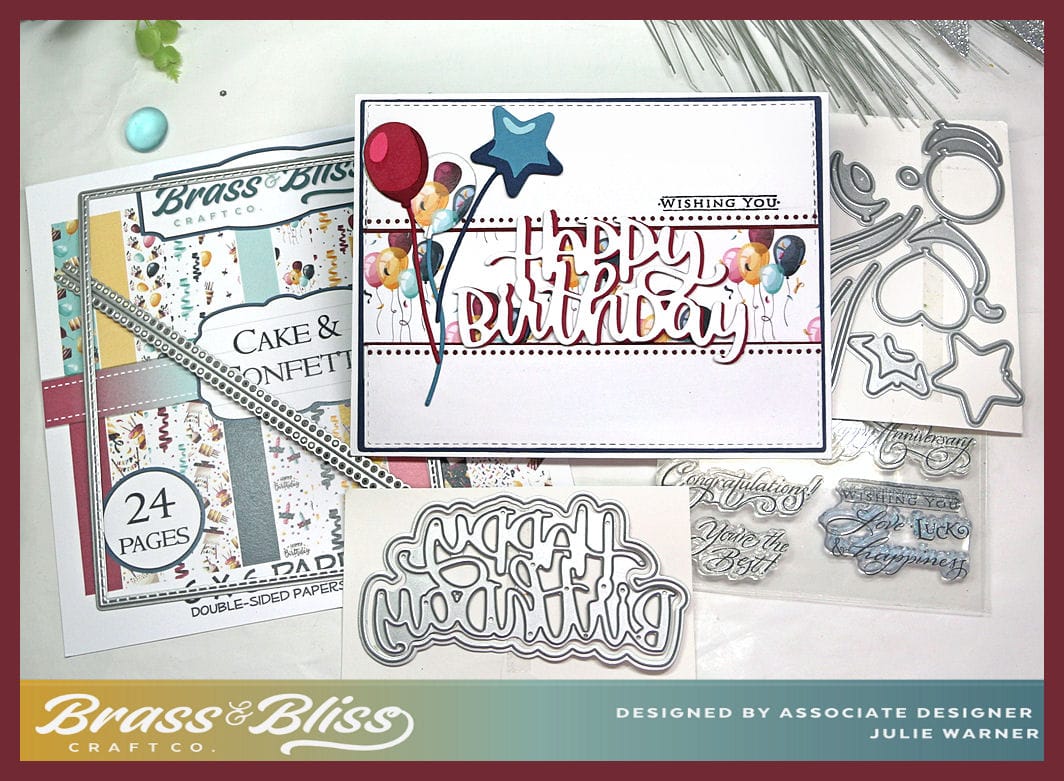
Supplies: (click the names below the pictures to take you to the products)
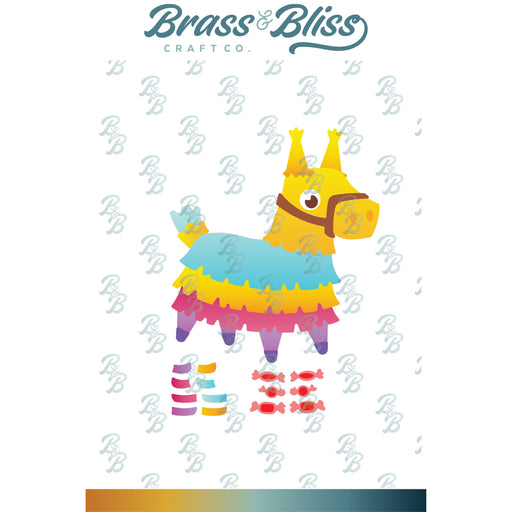
| Stamps: Brass & Bliss: Lucky Duck set |
| Paper: Staples 110# white, cornflower blue, Brass & Bliss: Birthday Bash paper pad |
| Ink: Memento tuxedo black |
| Accessories: Brass & Bliss: Lucky Duck, Tag Frames dies, Copic Sketch Markers, Misti |
|
|

|

|

|

|

|

|

|
You might also like: