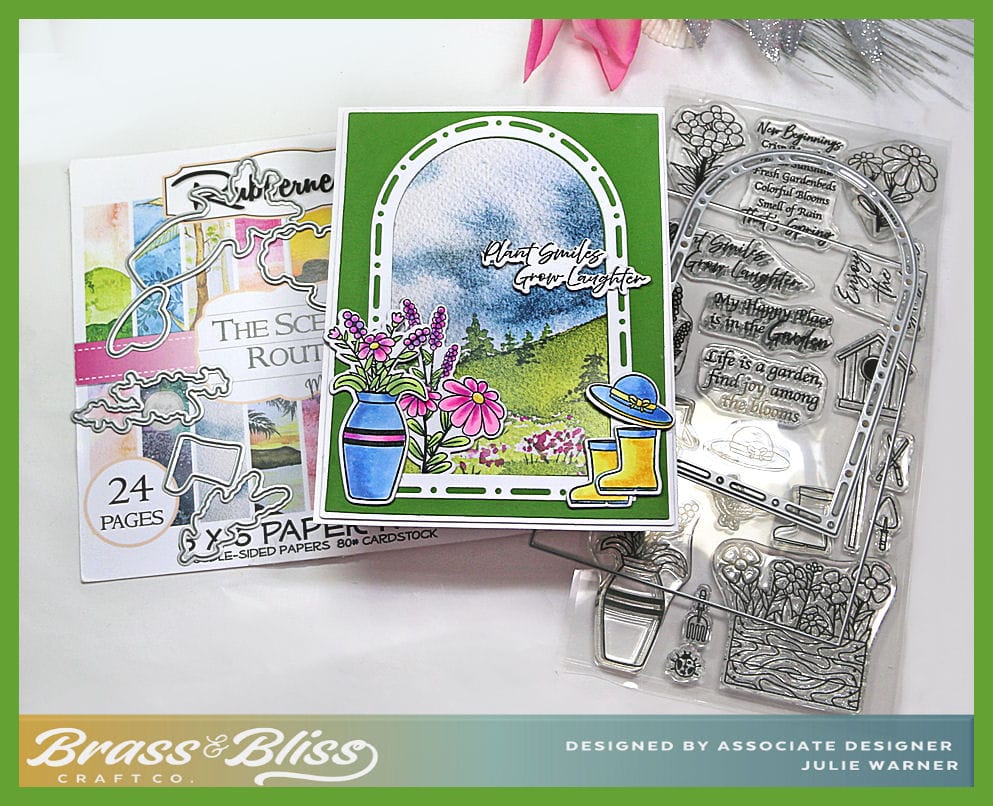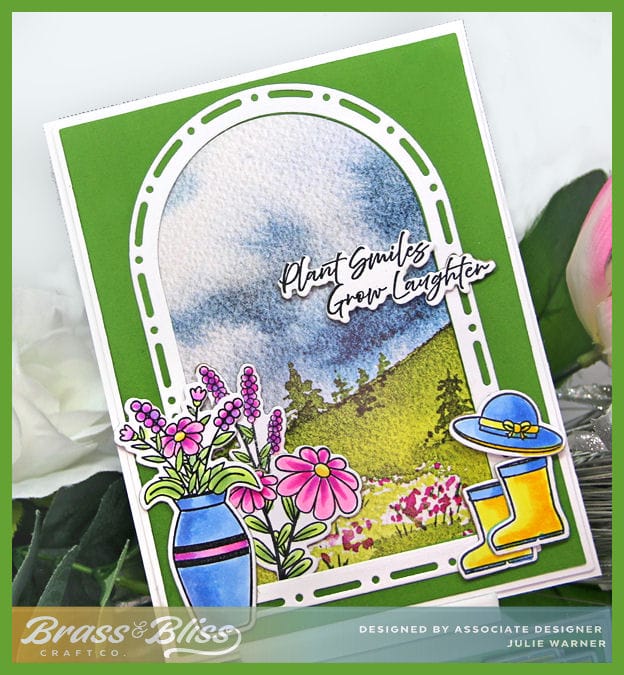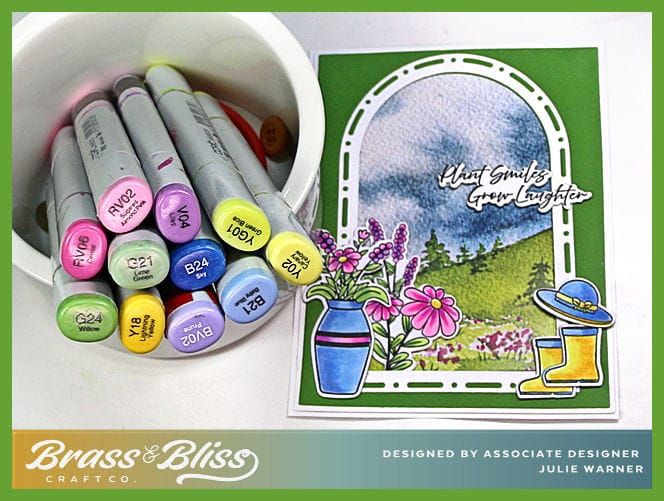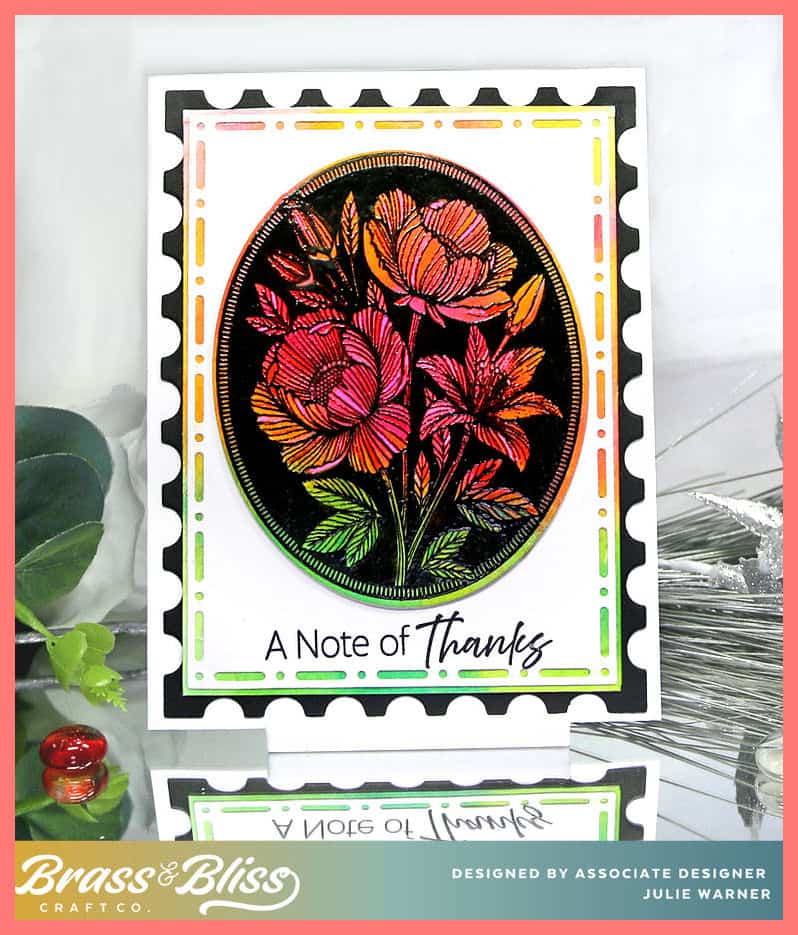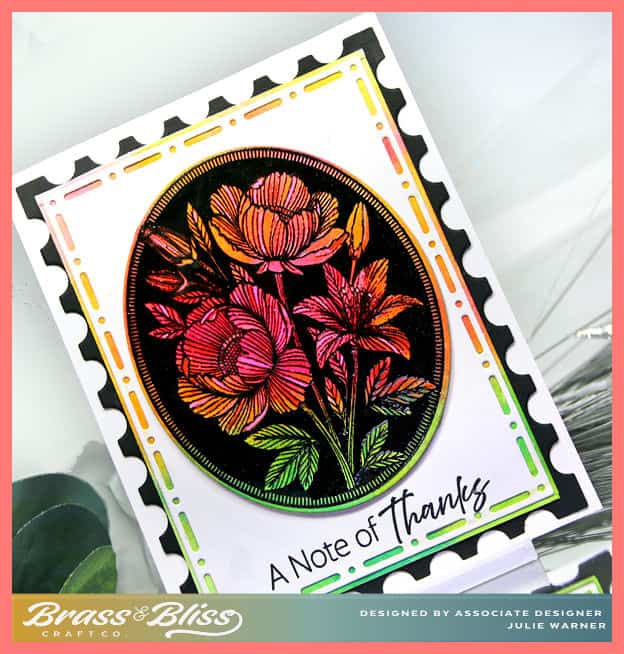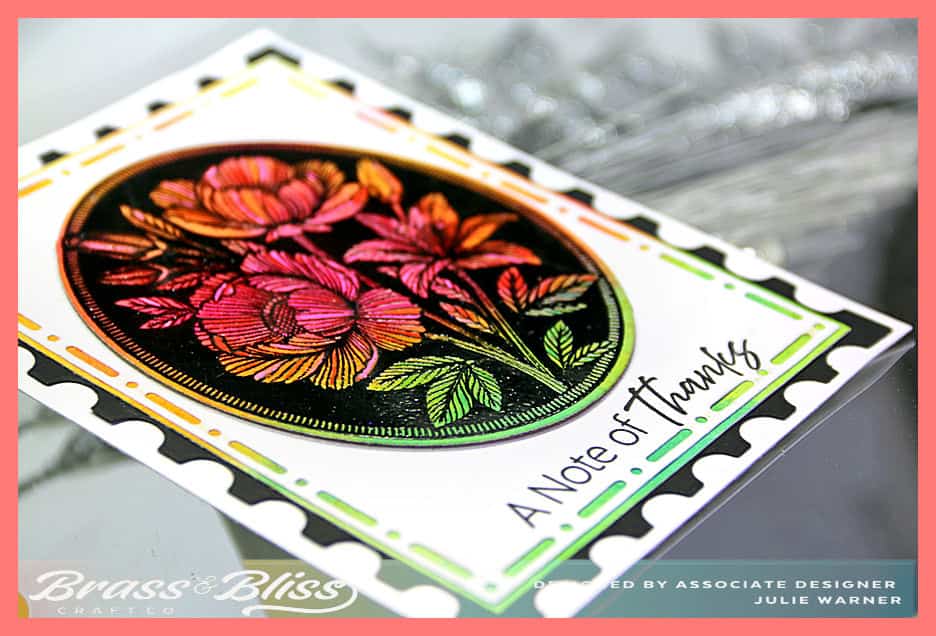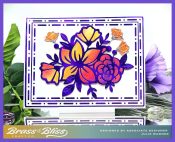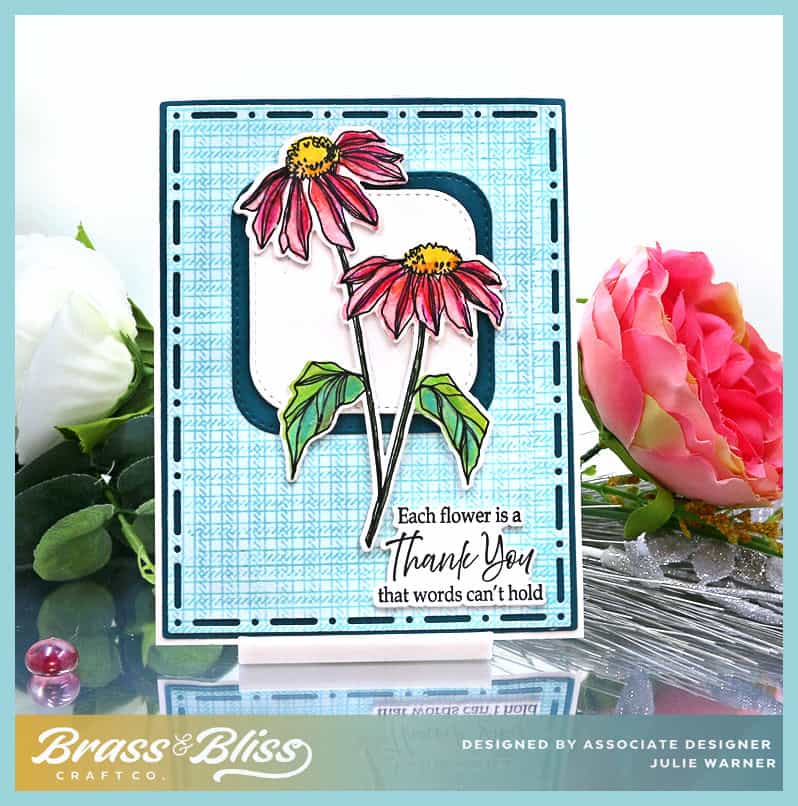

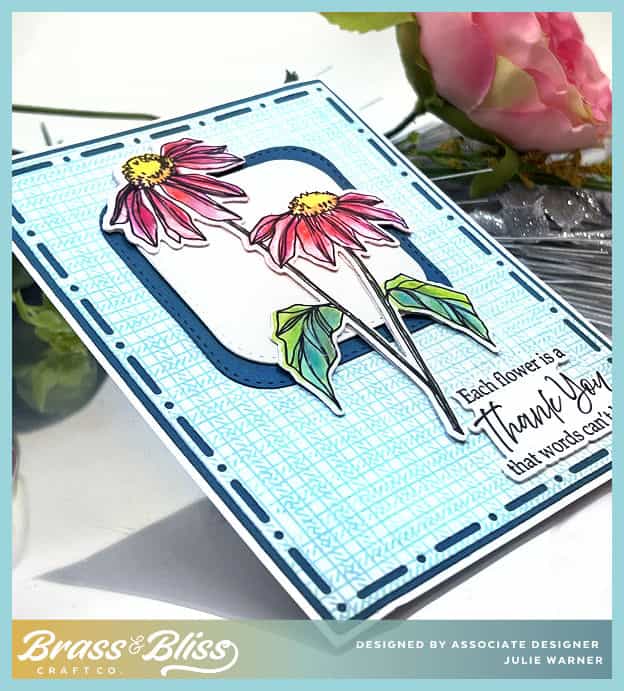
My card today is an easy thank you. The colors are perfect for spring or summer, but you could use any colors you prefer. These lovely flowers do not require hand coloring. This is a two part stamp set w/ the outline & a solid to ink up & fill in. The matching dies make this quick & easy.
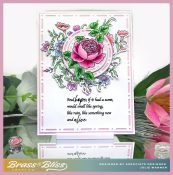
It’s my turn to host the Featured Stamper Challenge FS1002, so a big congrats to Donna! She has a big beautiful gallery & I chose THIS card to case. I kept the big flower centerpiece & the smaller panel behind the flower. I used a stamped flower instead of die cut one, made the small panel smaller, made my own background instead of printed paper & changed the greeting.
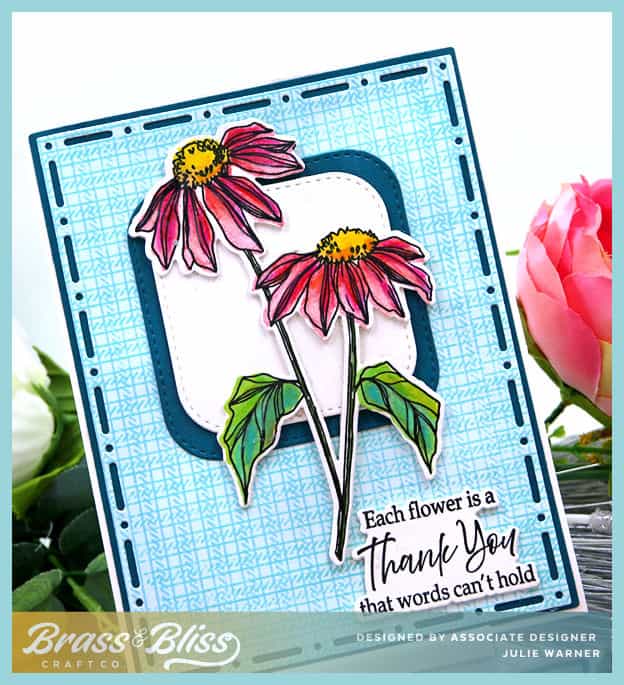
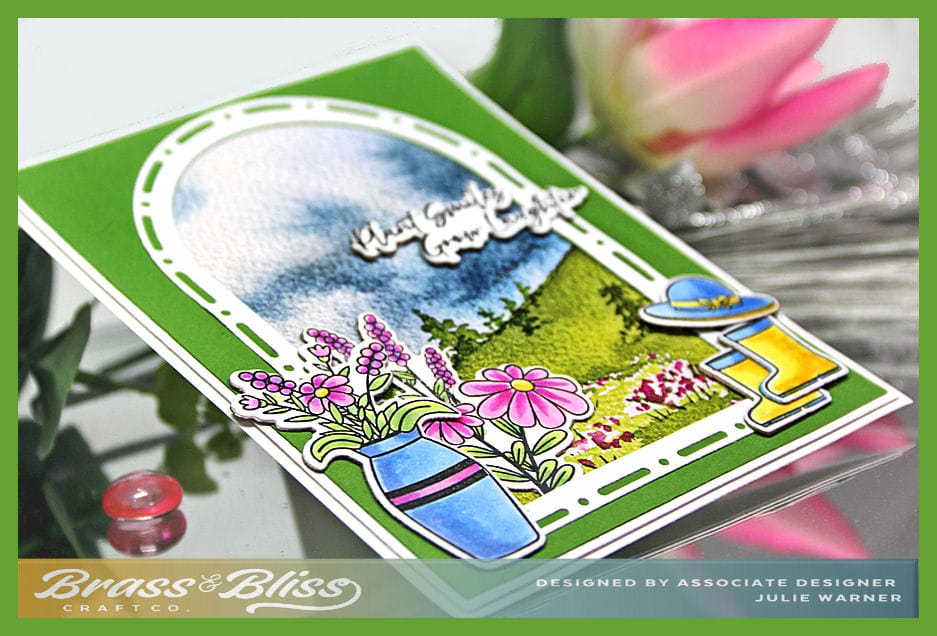
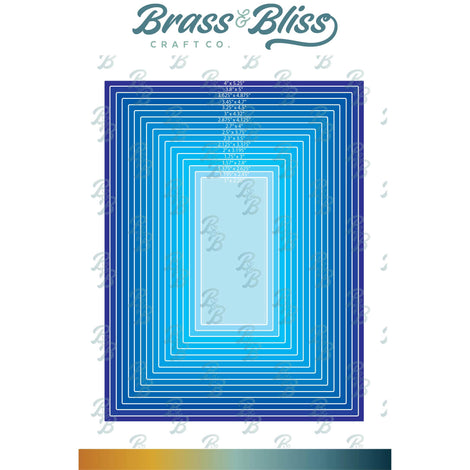
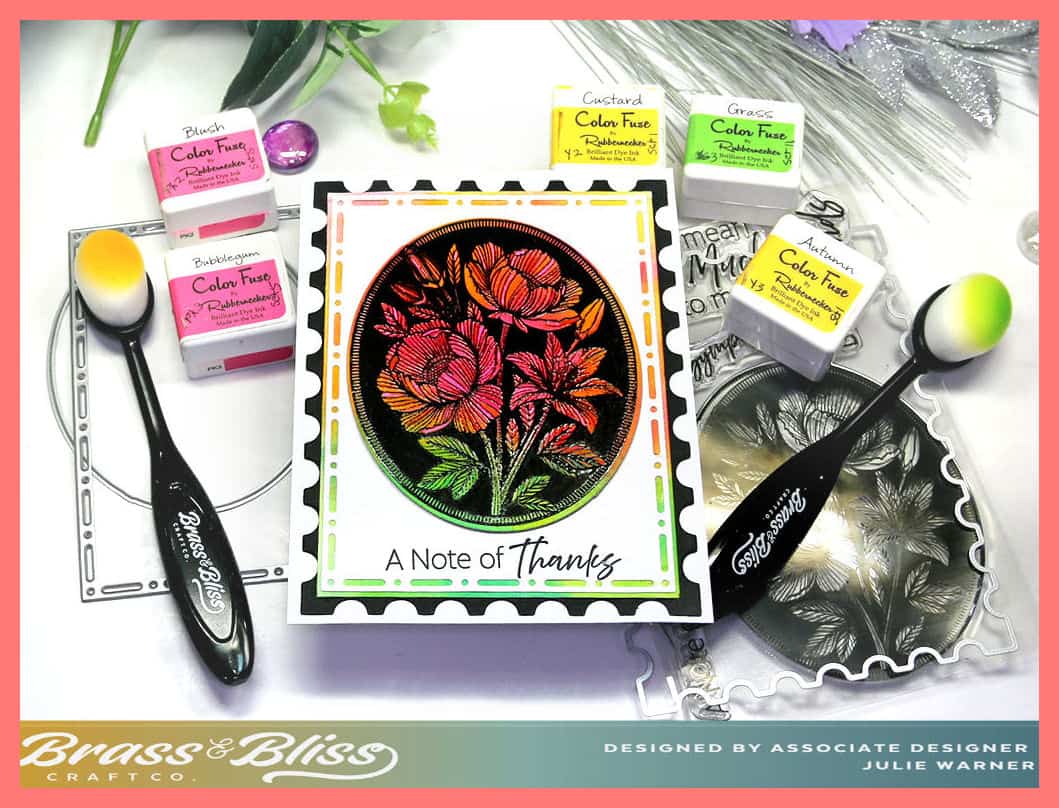
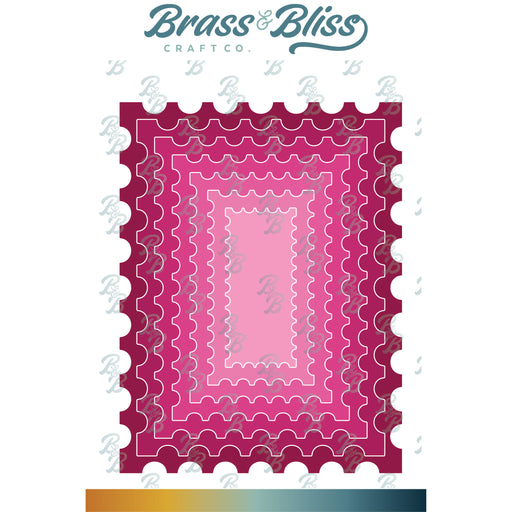
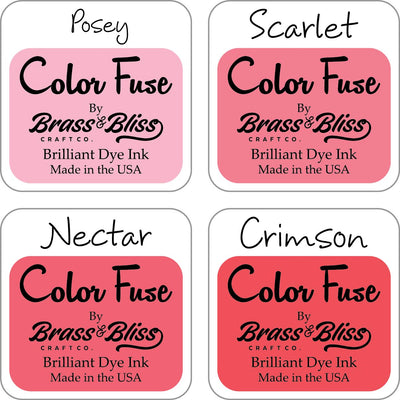
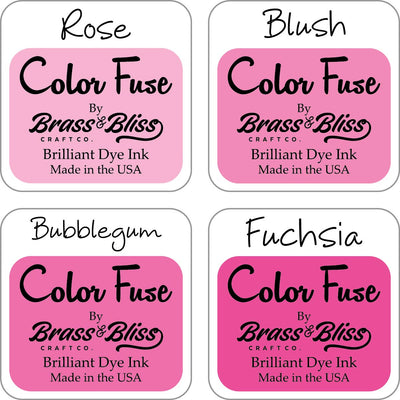
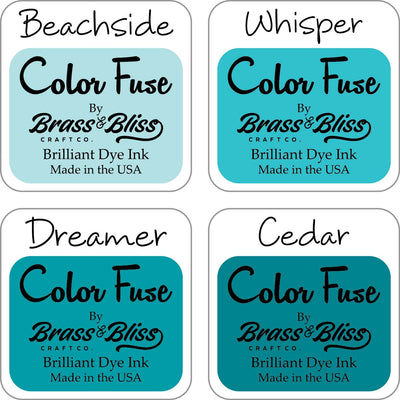
To make my card, I stamped the flower outline then used several pink & 1 yellow ink to stamp the solid fill in of the petals. I used the greens & a little of the pale turquoise for the leaves. The same pale turquoise was used to stamp the tick lines on a pale blue panel. I turned the paper 90 degrees & stamped it again. It was die cut w/ a Dot Dash rectangle & backed w/ a dk teal. I used rounded stitch squares for the panel behind the flowers & added the greeting as shown. The flowers & greeting are popped up one layer.
Thanks so much for stopping by!

Supplies: (click the names below the pictures to take you to the products)
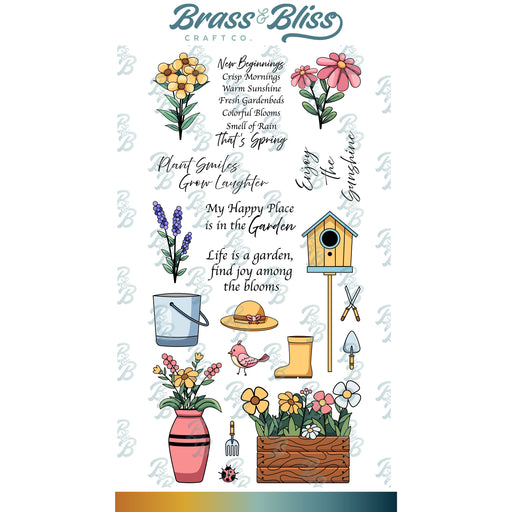
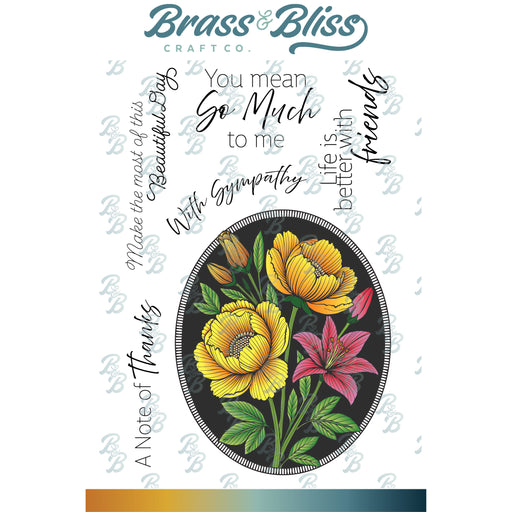
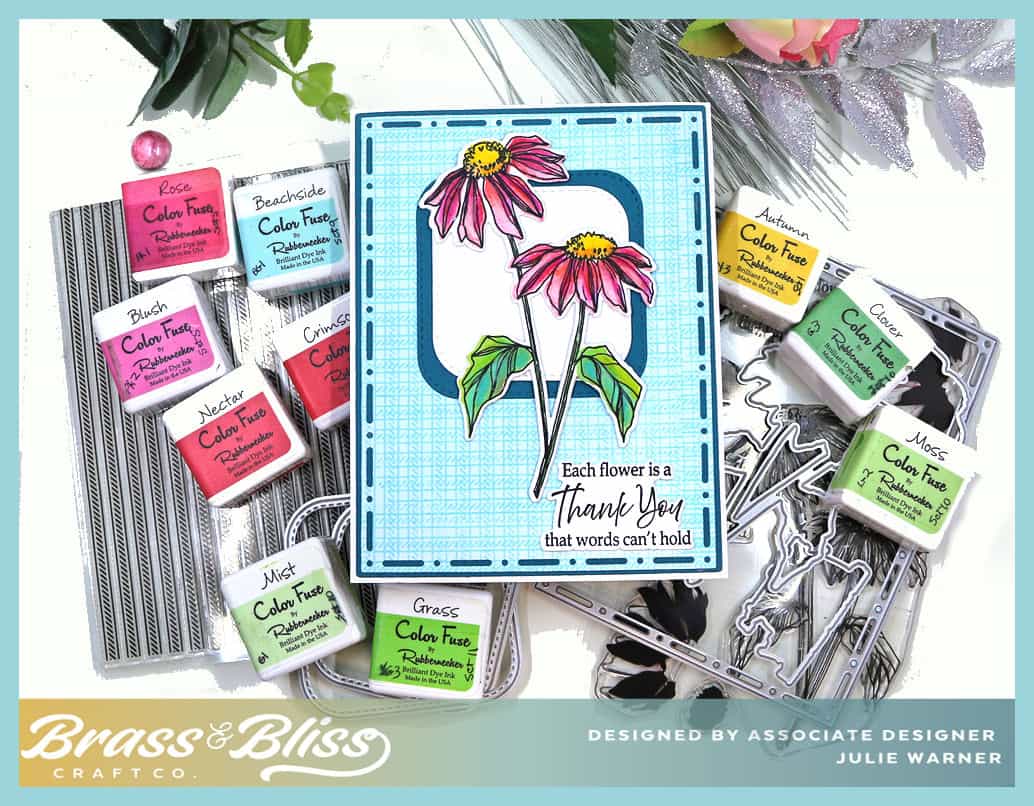
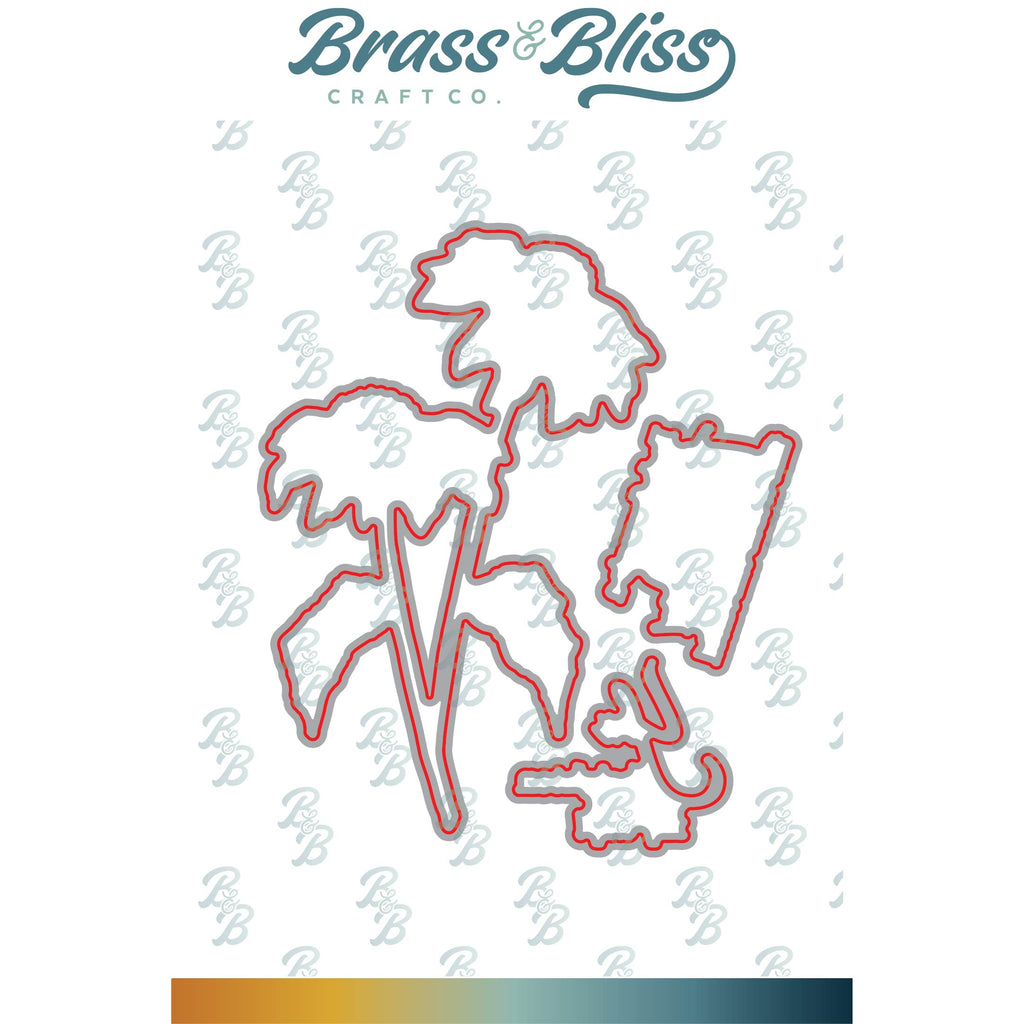
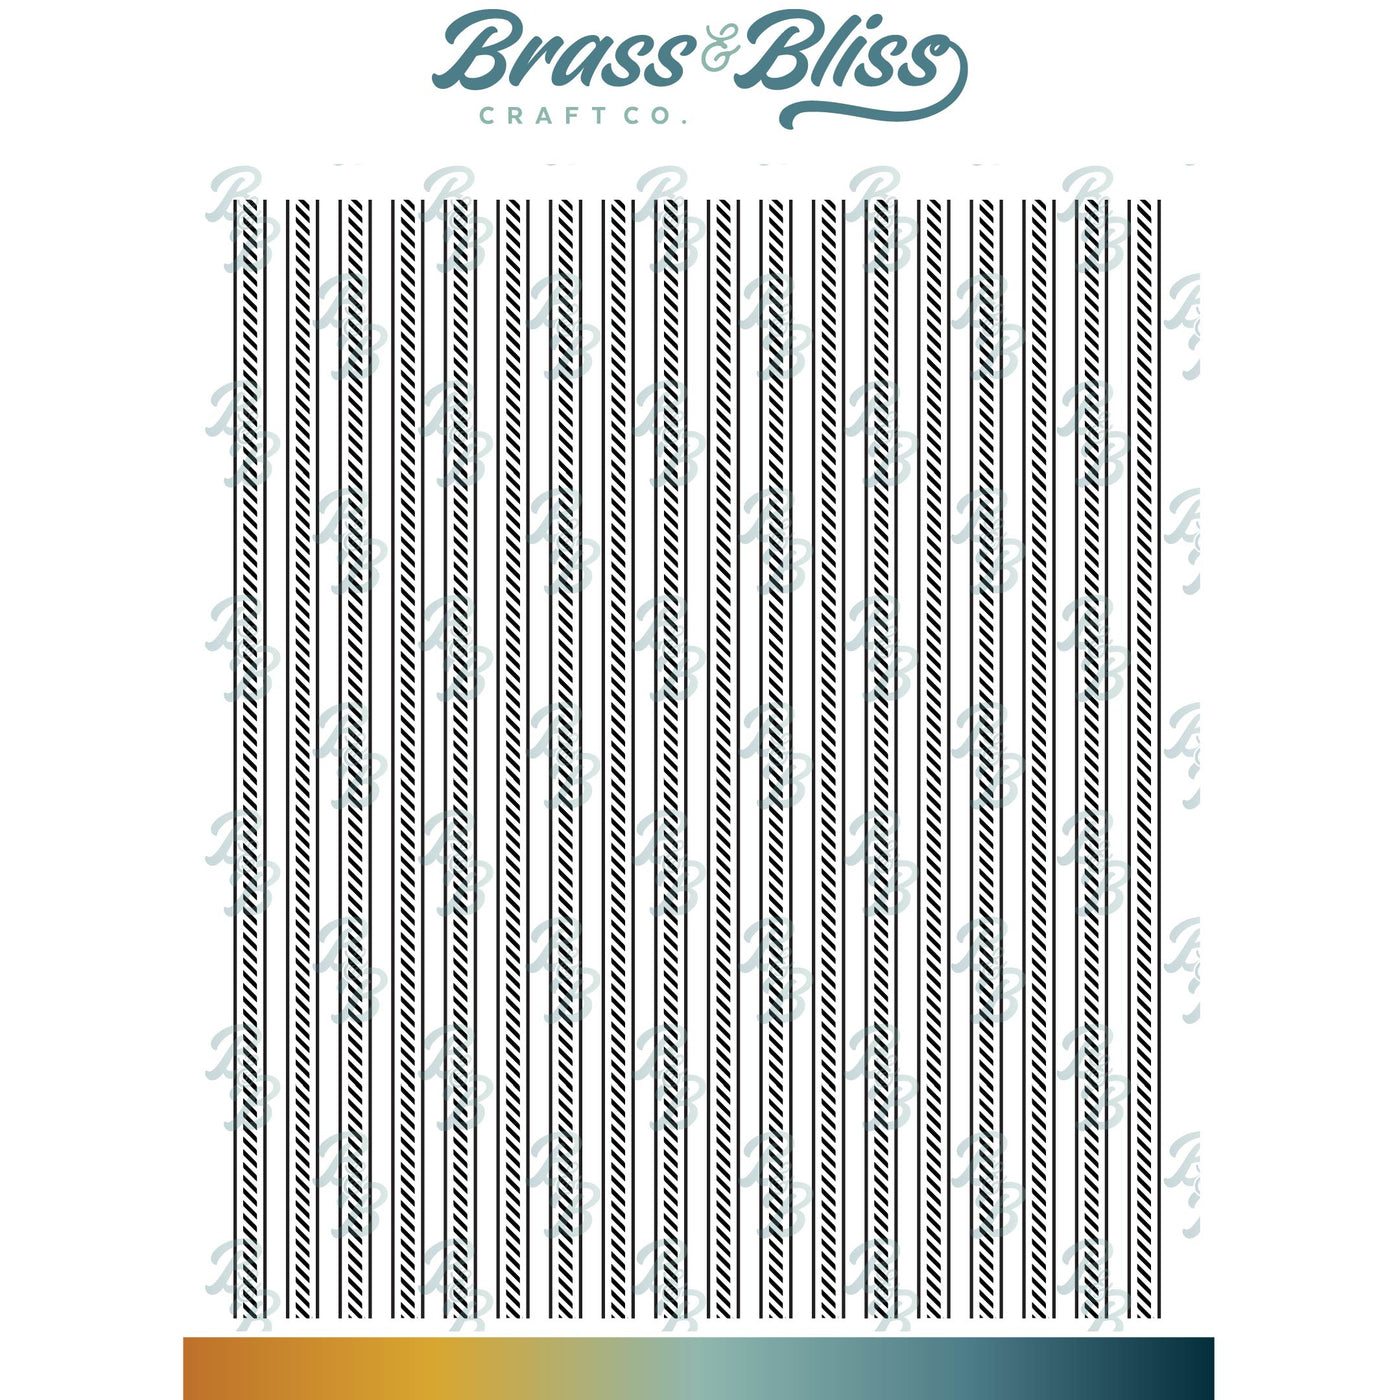
| Stamps: Brass & Bliss: Layered Echinacea set, Ticking Background |
| Paper: Staples 110# white, pale blue |
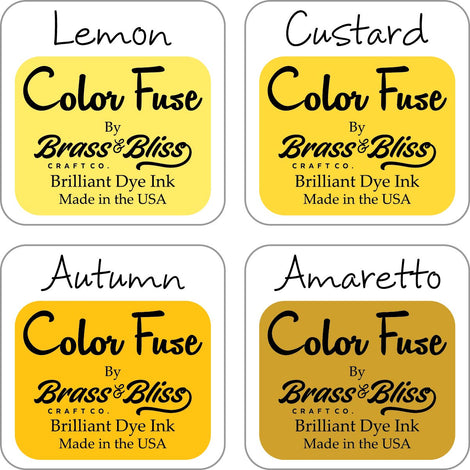
| Ink: Memento tuxedo black, Brass & Bliss: Color Fuse inks set #1, set #4, set #5, set #9 |
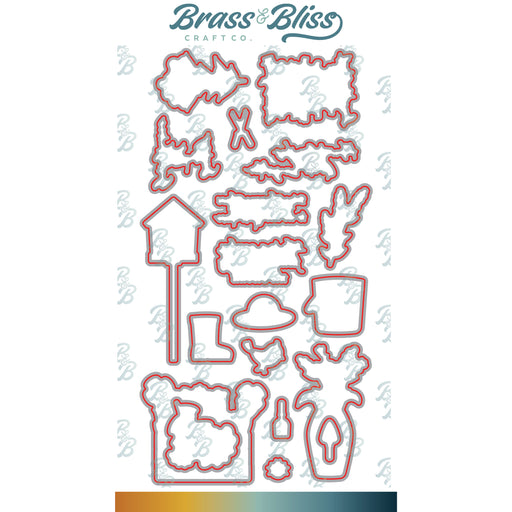
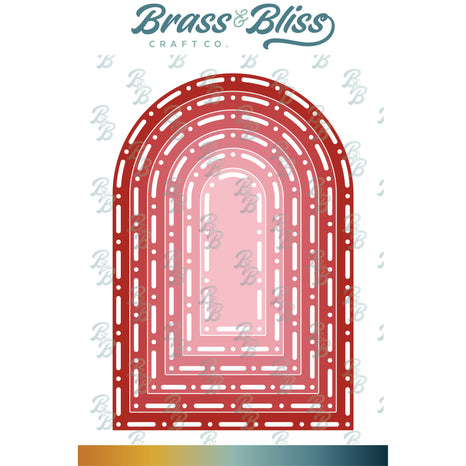
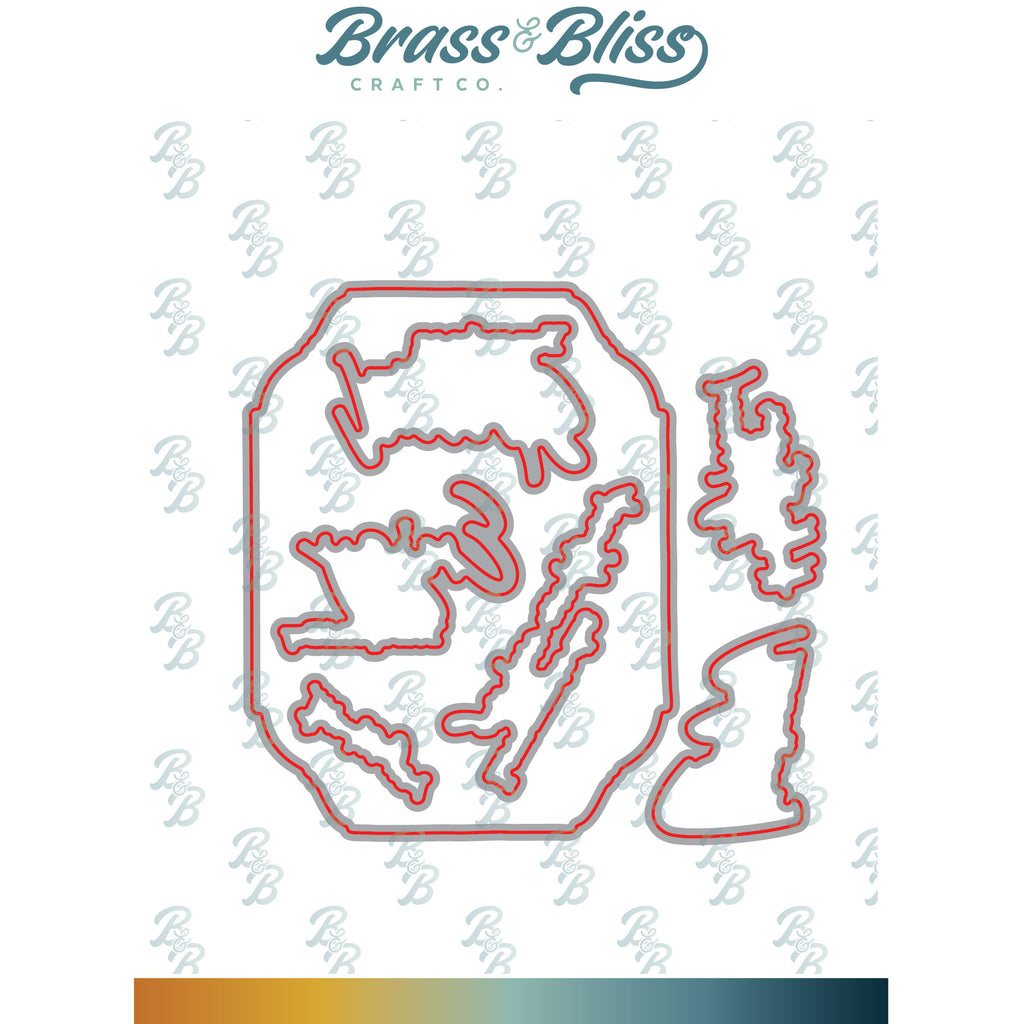
| Accessories: Brass & Bliss: Layered Echinacea set, Dot Dash Rectangles, Rounded Stitch Squares dies, Misti, |

|
|
|

|

|
|
|
|
|

|

|

|

|

|
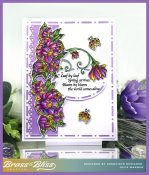
You might also like:

![]()