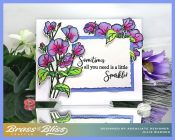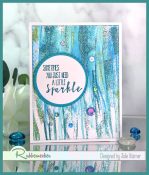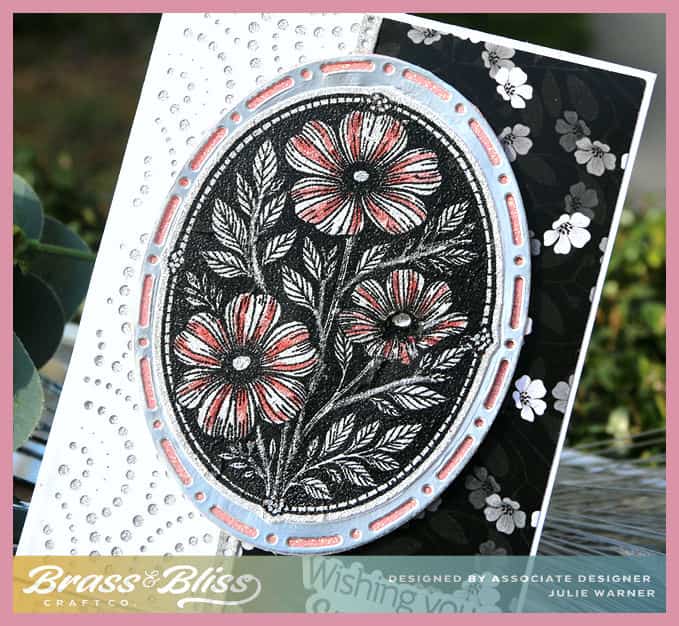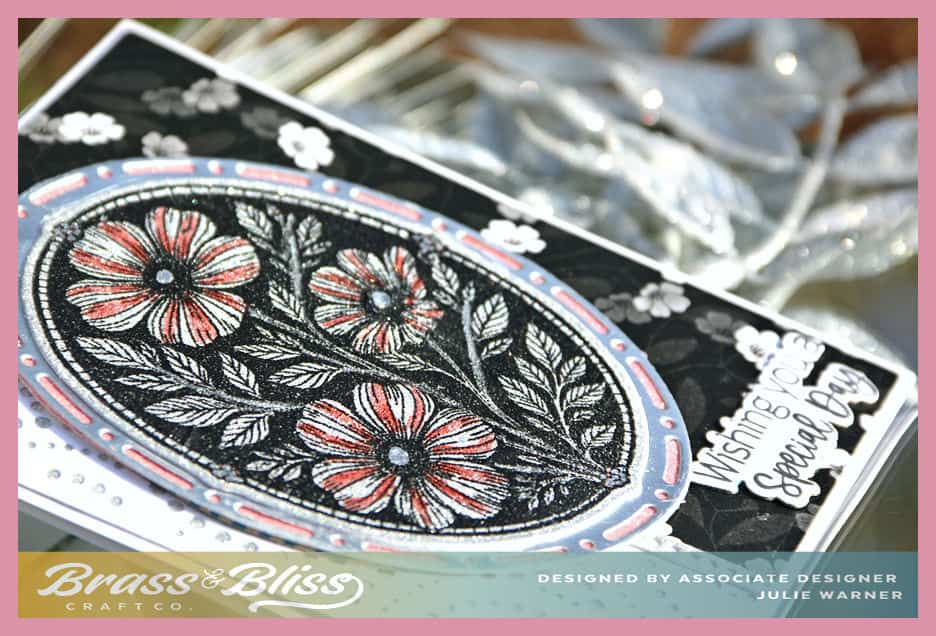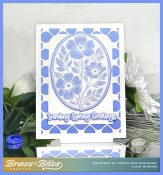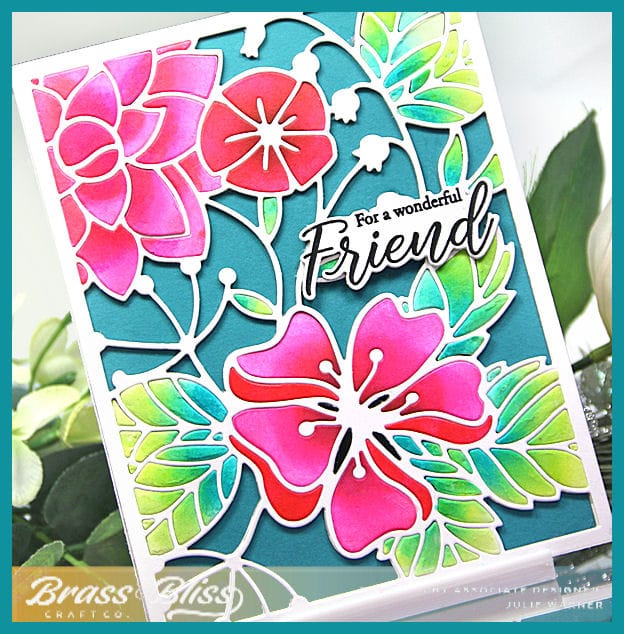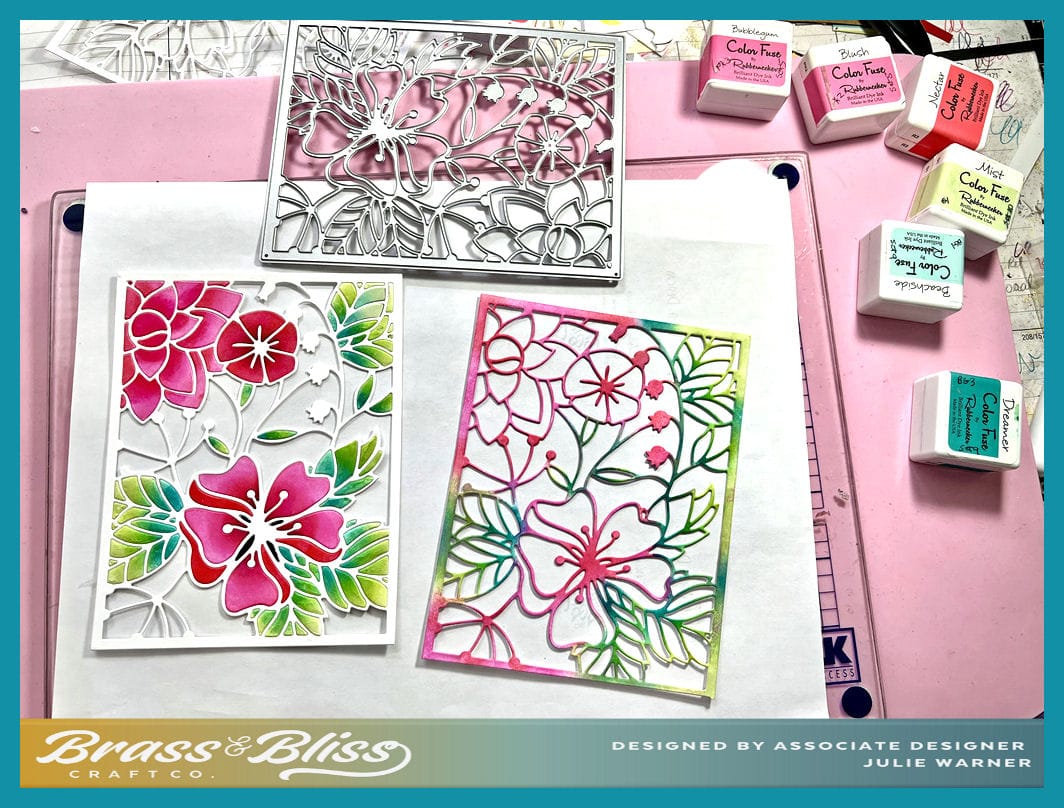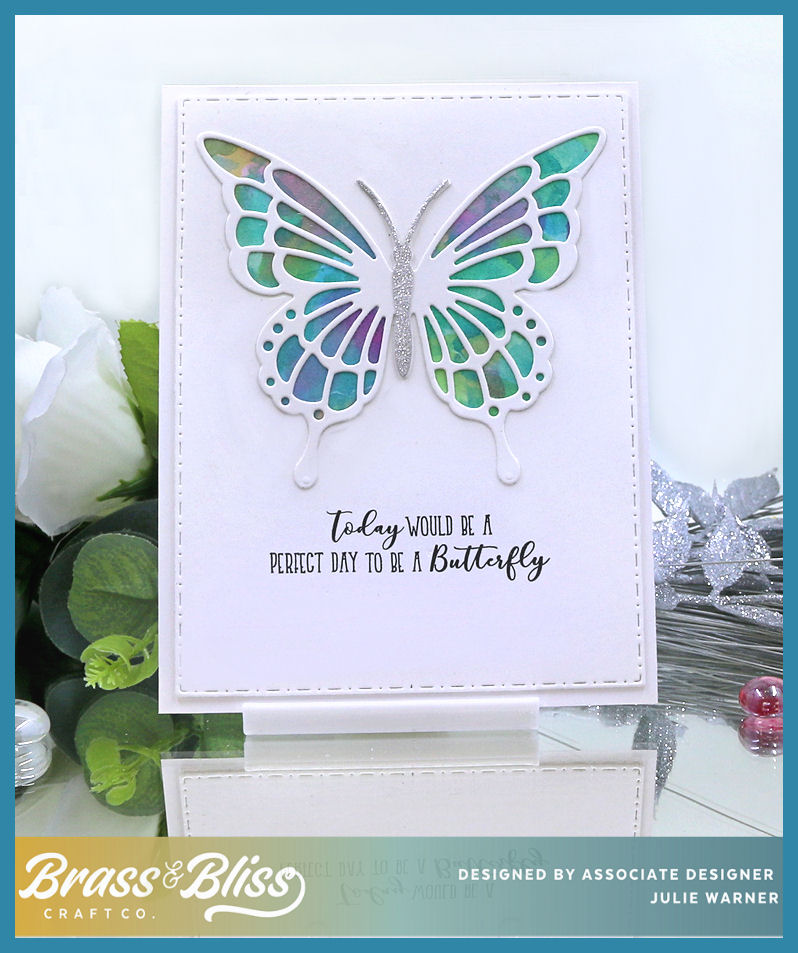
 Spring has mostly arrived here. Some days are a little warmer, but today it’s on the cool side. Flowers are starting to bloom & I saw the first butterfly of the season today! This is a clean & simple card, all die cut out of white with a shimmery watercolor behind for the back layer of the butterfly. The best part, you only need 2 dies & 1 stamp set plus some pretty paper for the back butterfly layer.
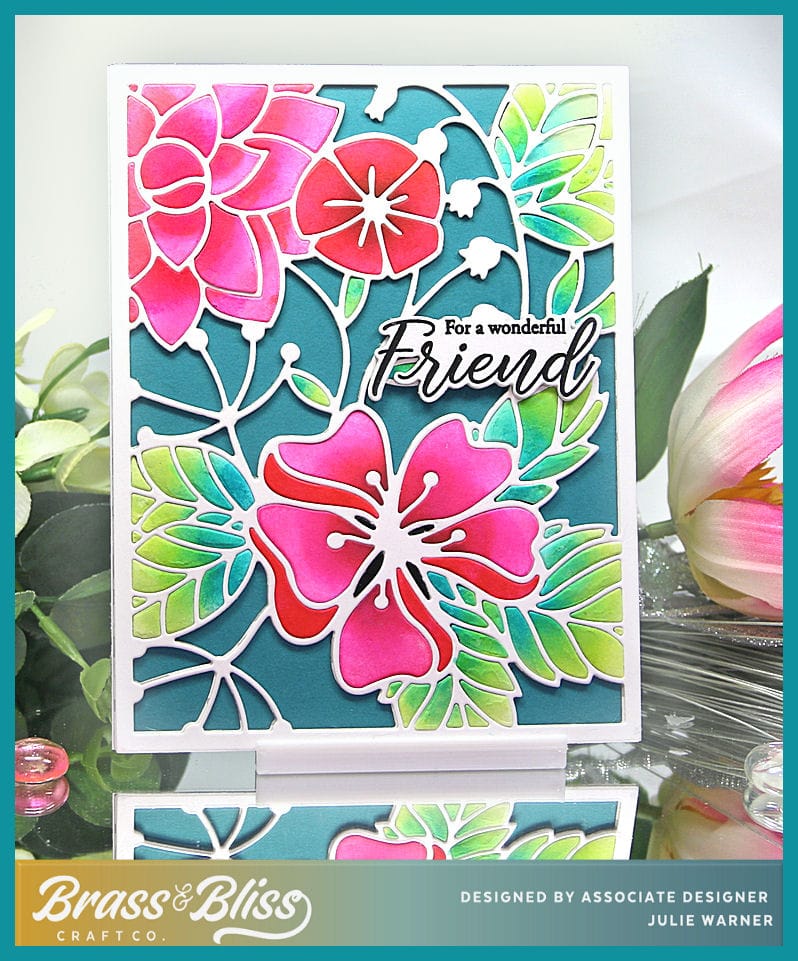
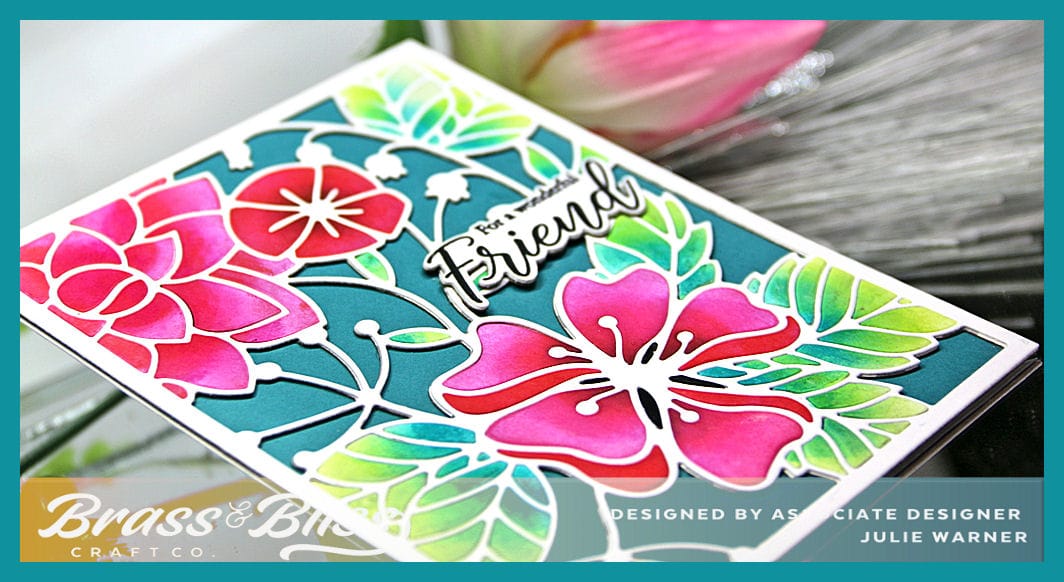
For the Featured Stamper Challenge FS999, since it’s the 5th week, we are revisiting one of three past FS (either FS101, FS102 or FS103). I went w/ FS101 JulieHRR. Besides having a very cool first name, I like her style. I chose THIS card to case, I kept the all white front w/ just the pretty colors confined to the middle. I used different dies, different stamped greeting & moved it up under the image.
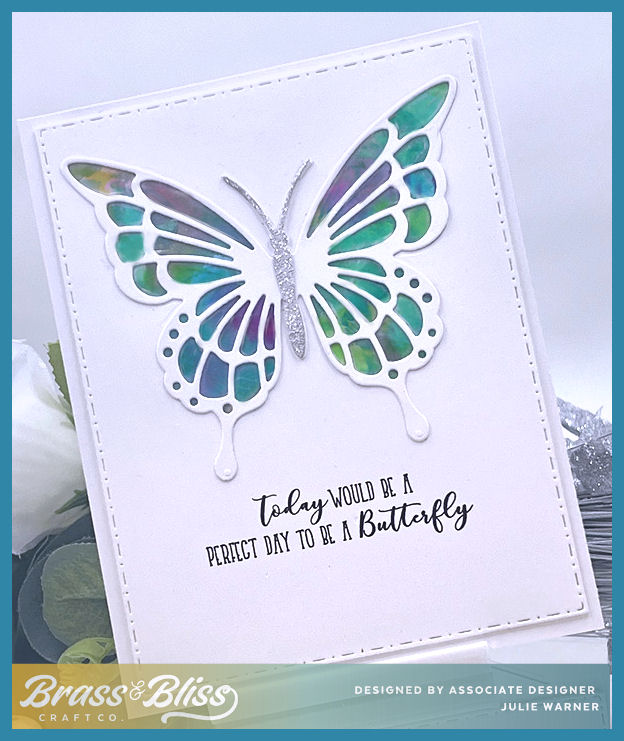
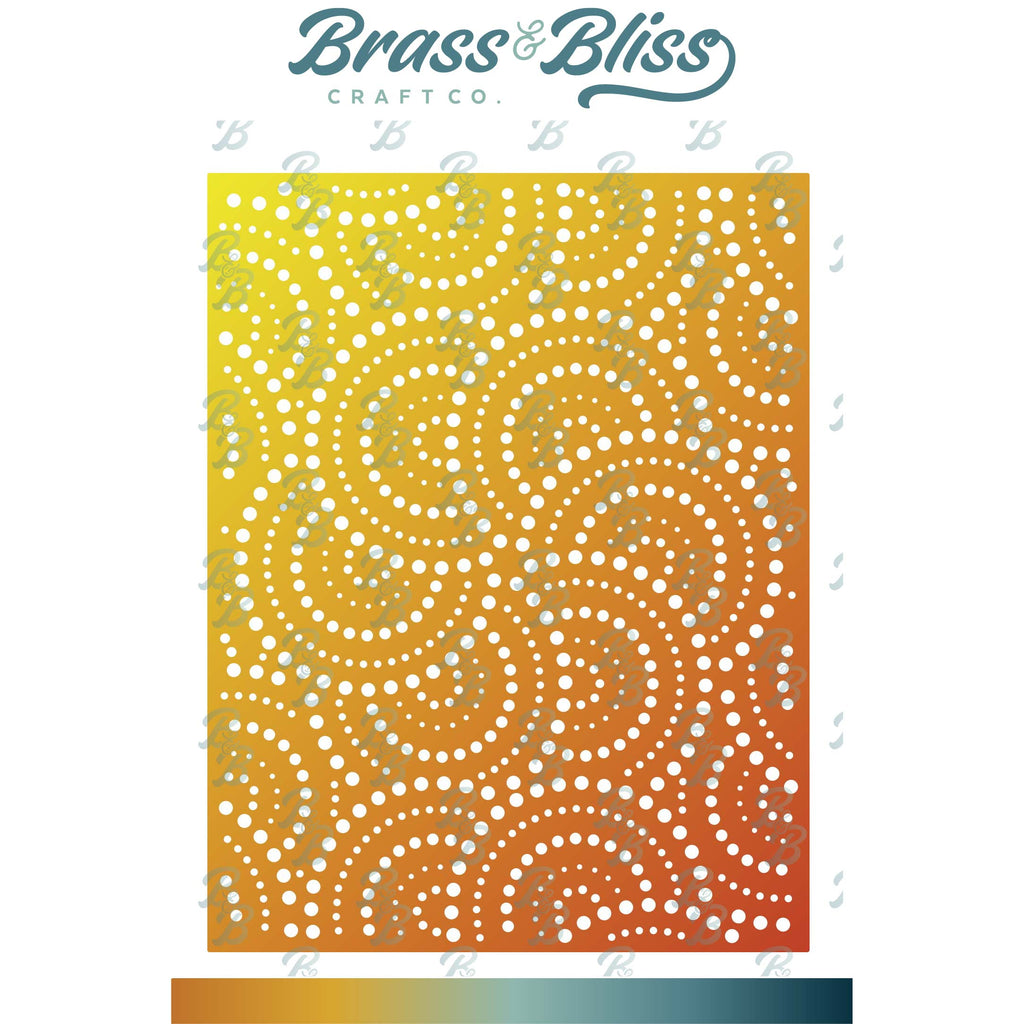
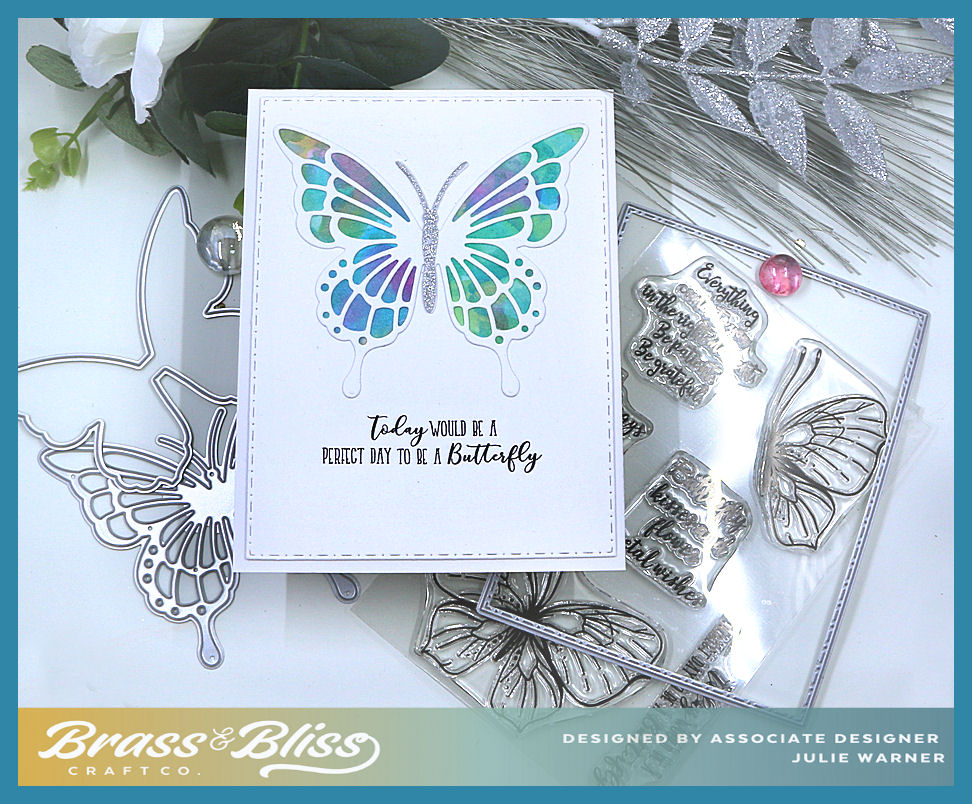
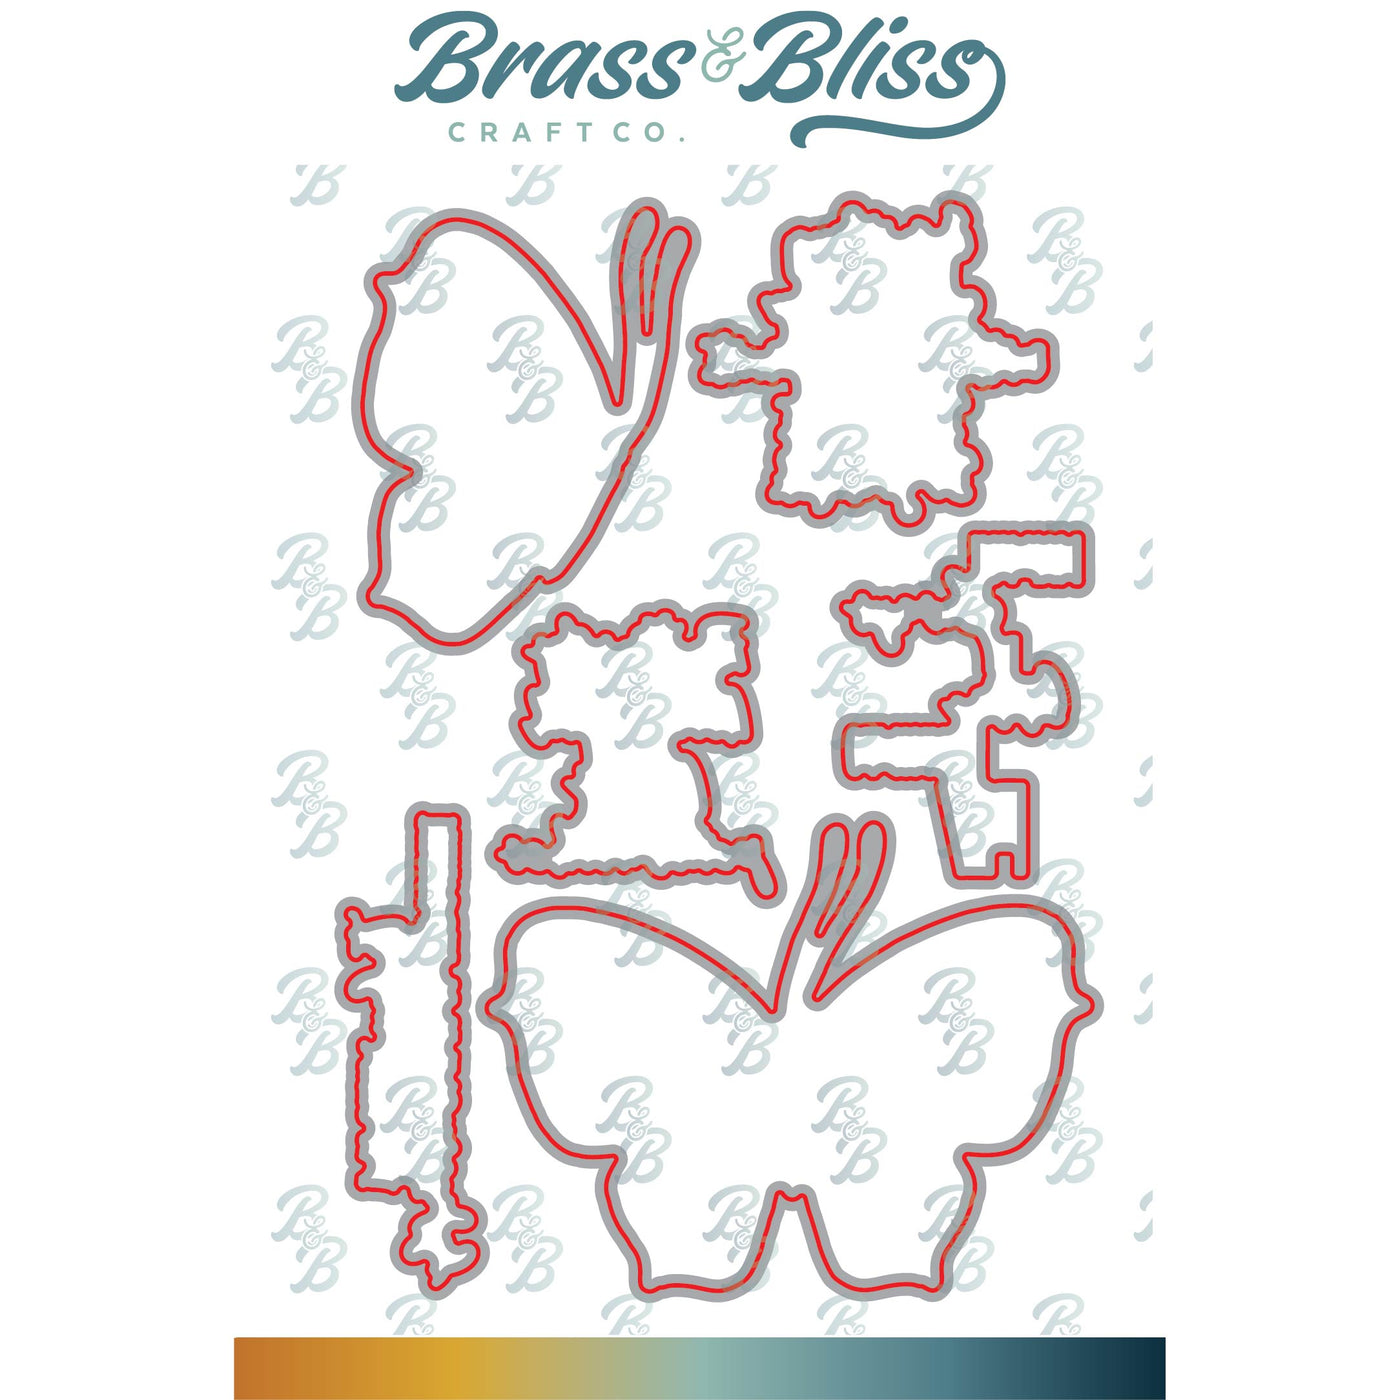
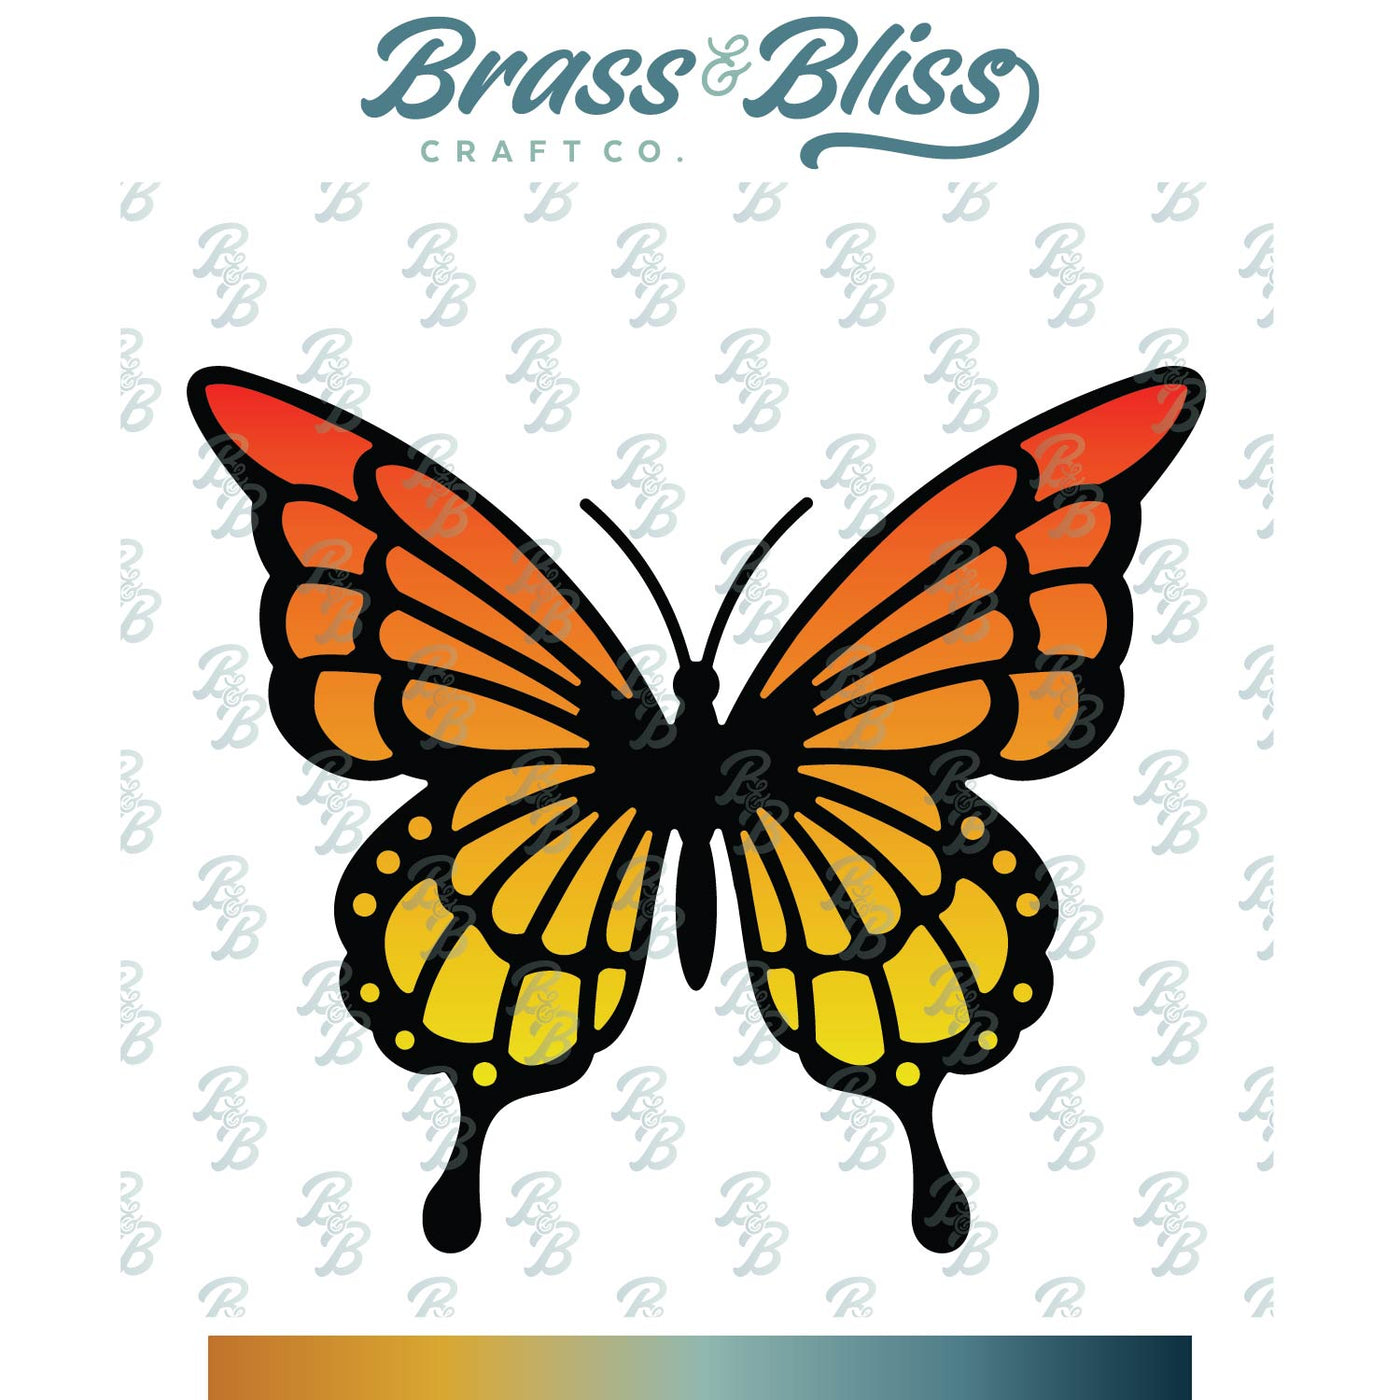
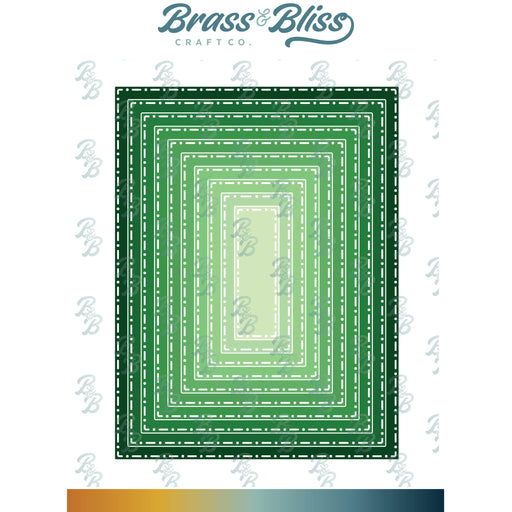
To make my very easy card, I die cut the white front with a stitch dot die, then cut the outline of the butterfly in the top center. I was going for a modified inlay look. I found a piece of shimmery watercolor back ground I die cut it w/ the solid butterfly shape & attached it behind the white outline. The greeting was stamped underneath it & this whole front was popped up one extra layer. I used the butterfly outline die to cut the body out of silver glitter, then trimmed away the rest of the outline. Super simple!

Thanks so much for stopping by!

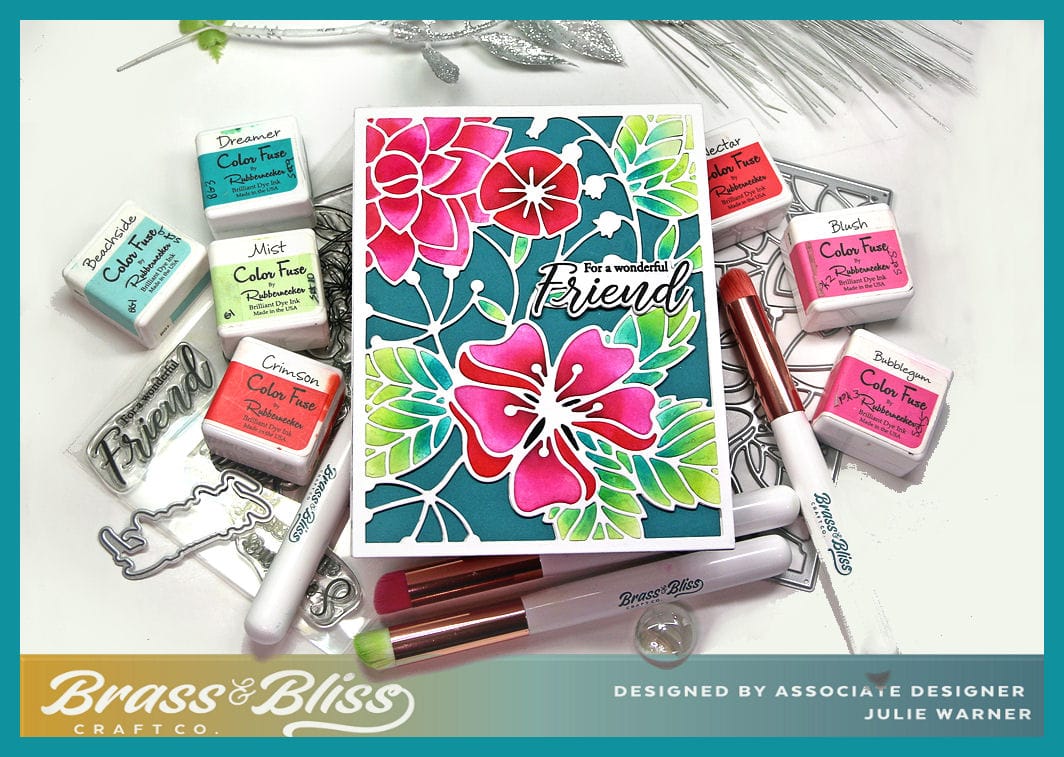
Supplies:
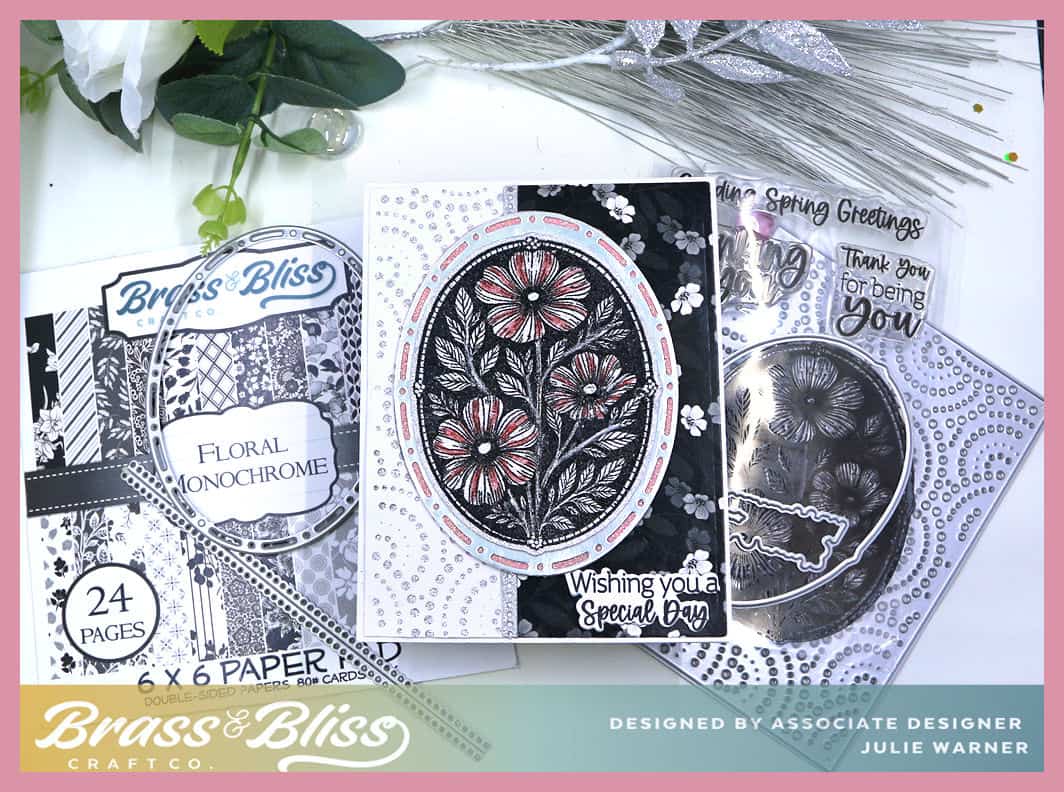
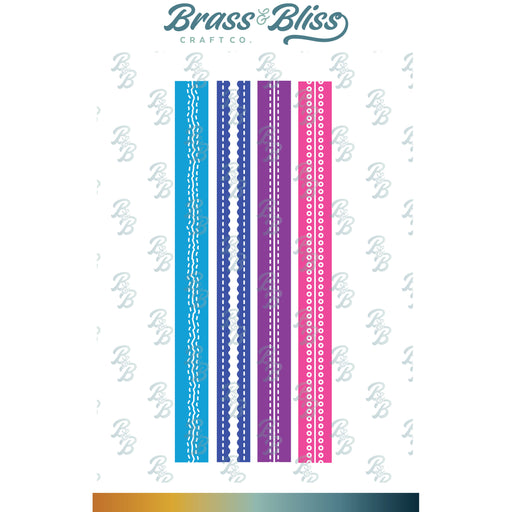
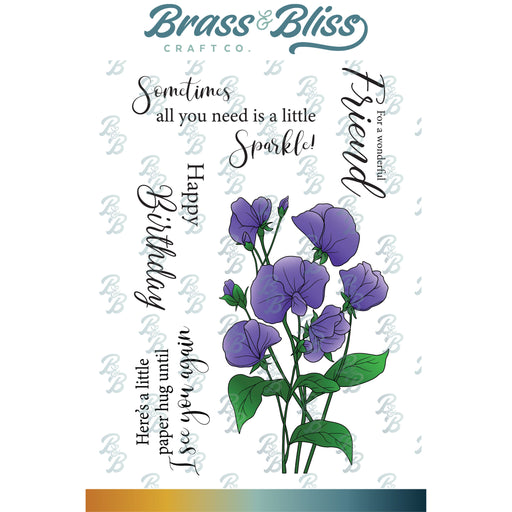
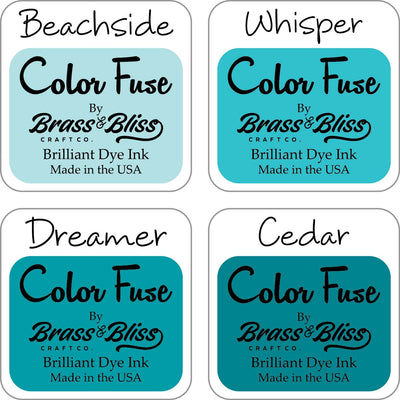
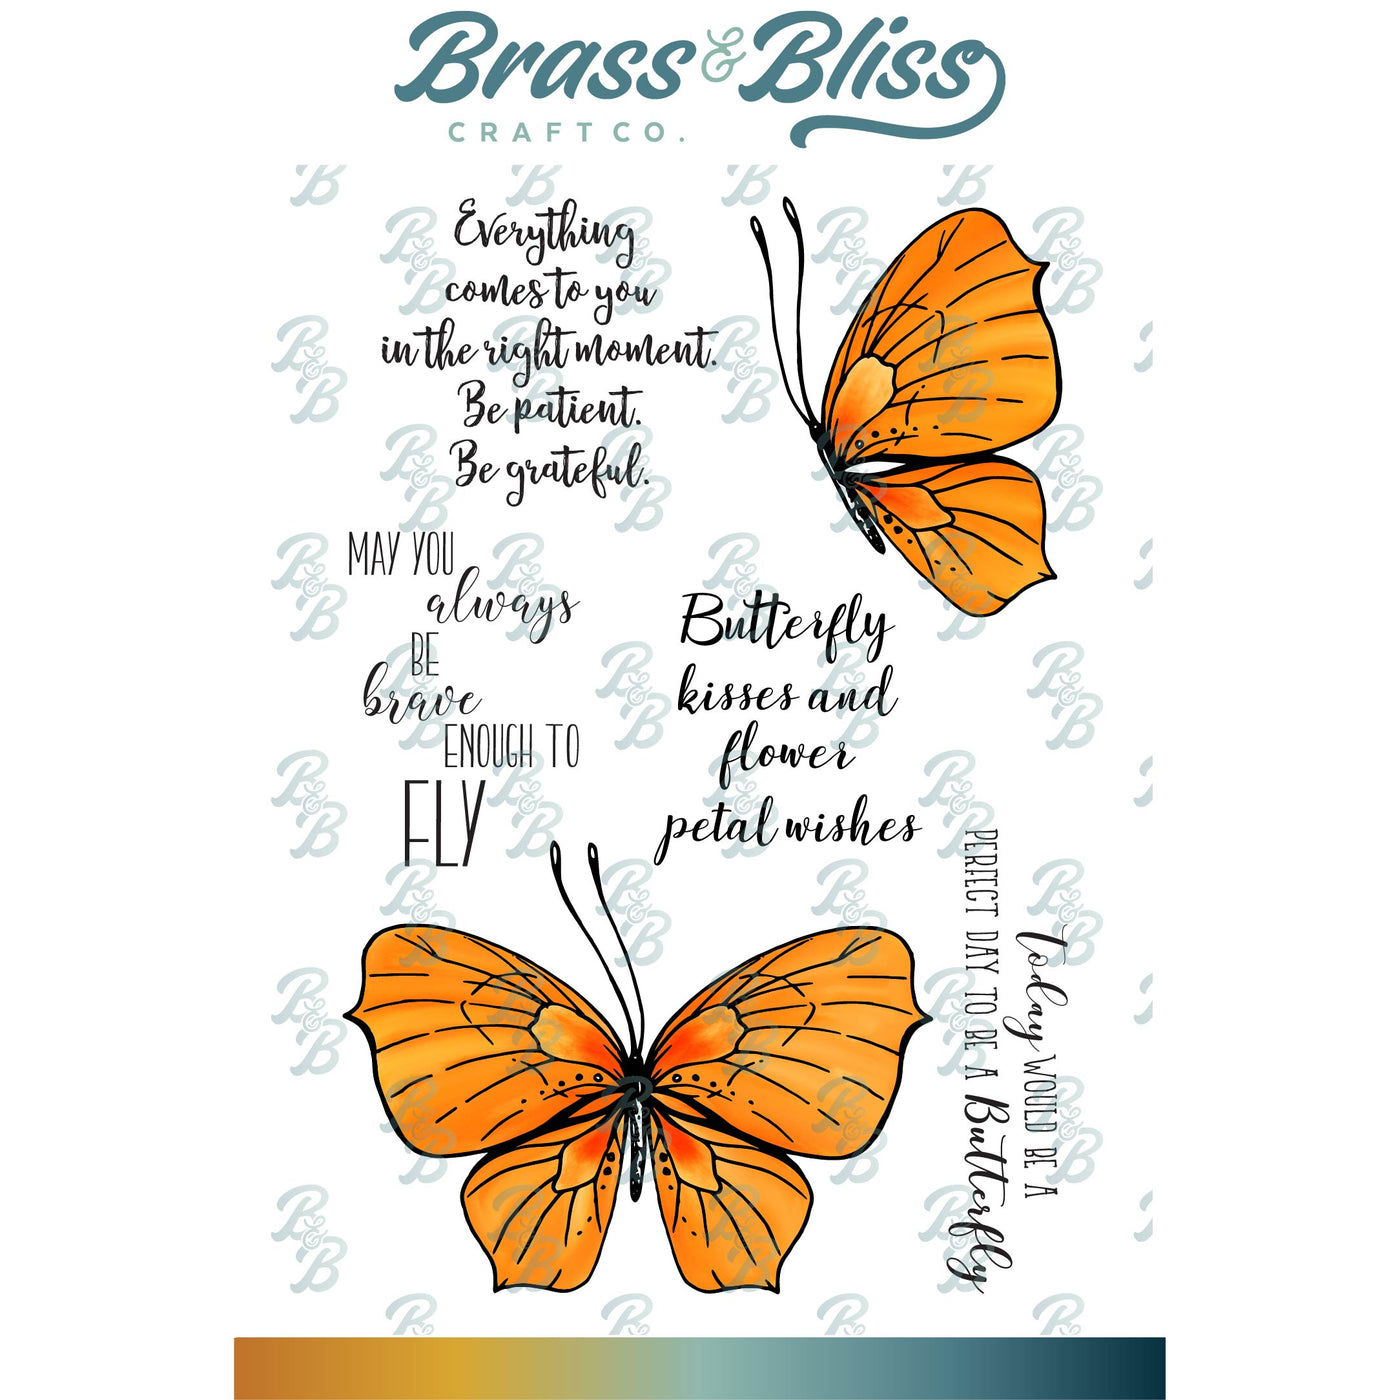
| Stamps: Brass & Bliss: Fluttering Wishes set |
| Paper: Staples 110# white, scrap of silver glitter, watercolor bg |
| Ink: VersaClair nocturne |
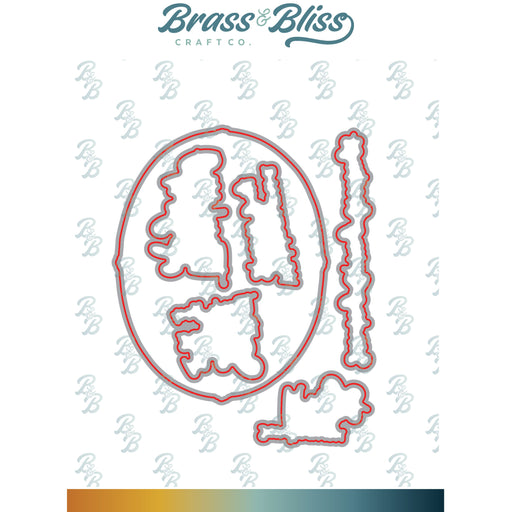
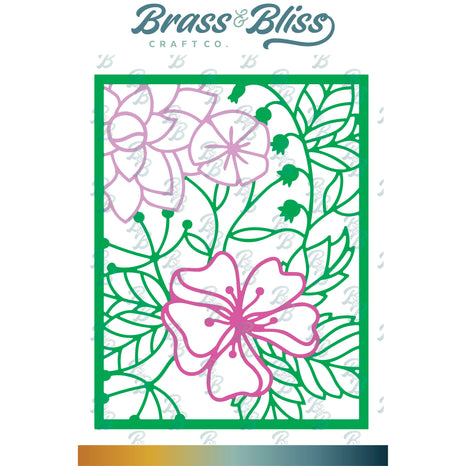
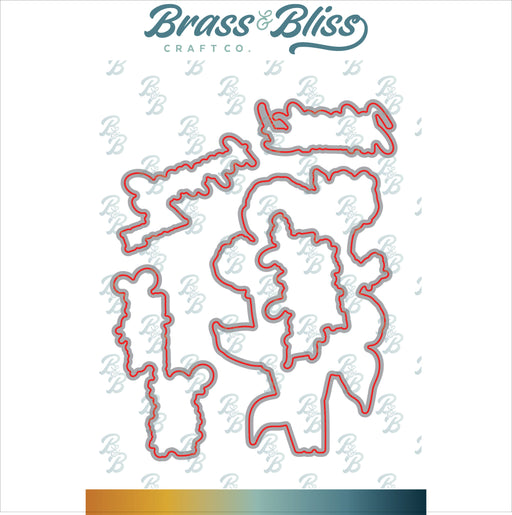
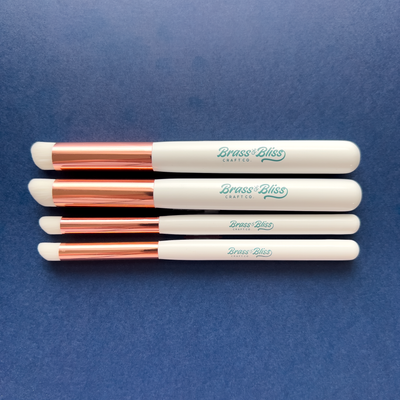
| Accessories: Brass & Bliss/Rubbernecker Stamps: Stitched Rectangles, Monarch Butterfly, Fluttering Wishes, dies, MISTI |
|
|
|
|

|
|

|

|

|
You might also like: