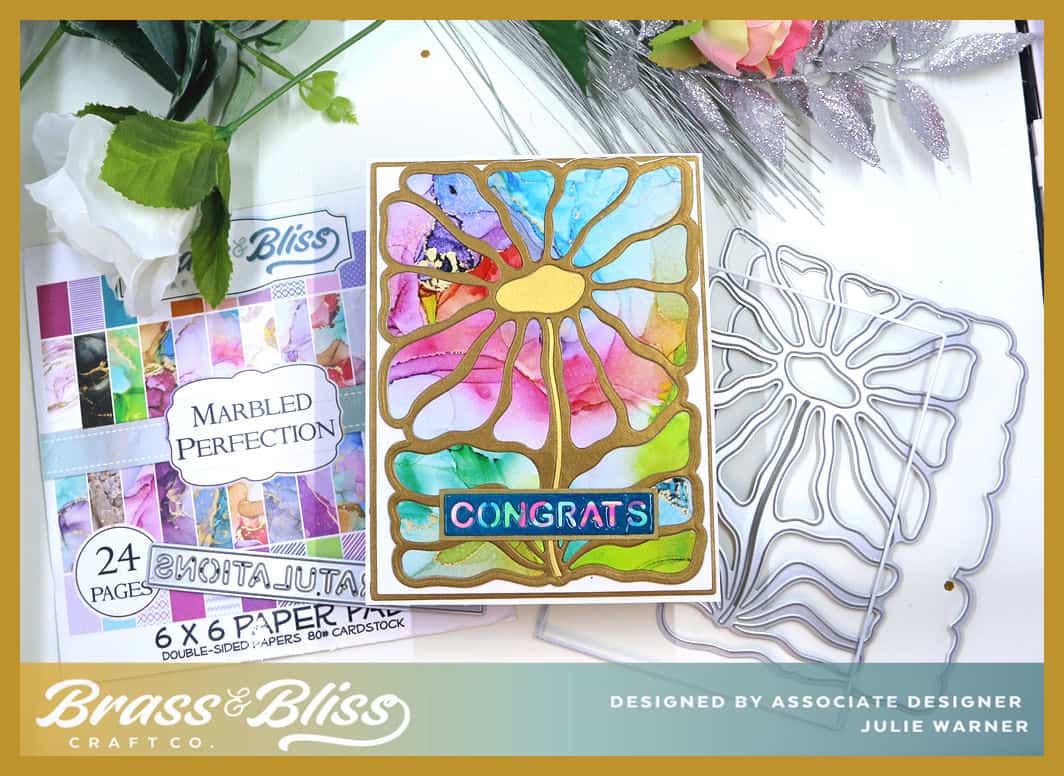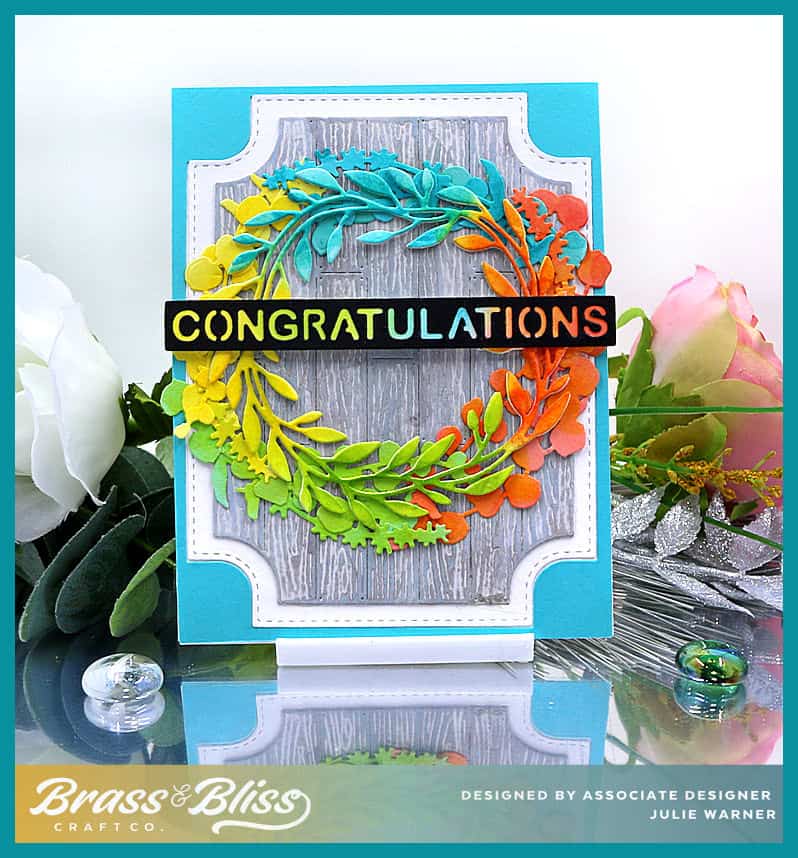

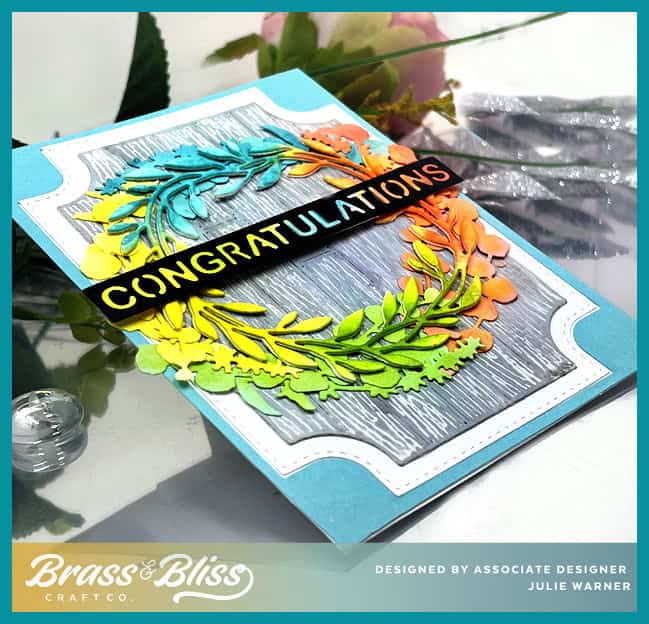
This is a very colorful wreath card! I love these bright colors, especially against the neutral gray woodgrain background. This would be perfect for graduation, retirement, promotion or wedding/anniversary. Pretty much any milestone. It would also be easy to swap out the greeting for another occasion.
It’s my turn to host the Inspiration Challenge IC1065, and we are visiting A Pretty Fix & her Pinterest Board. I chose THIS picture as my inspiration.
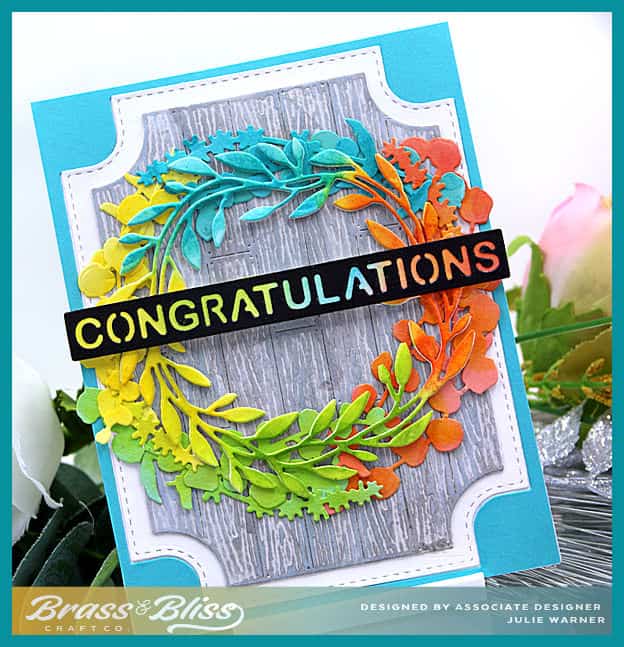
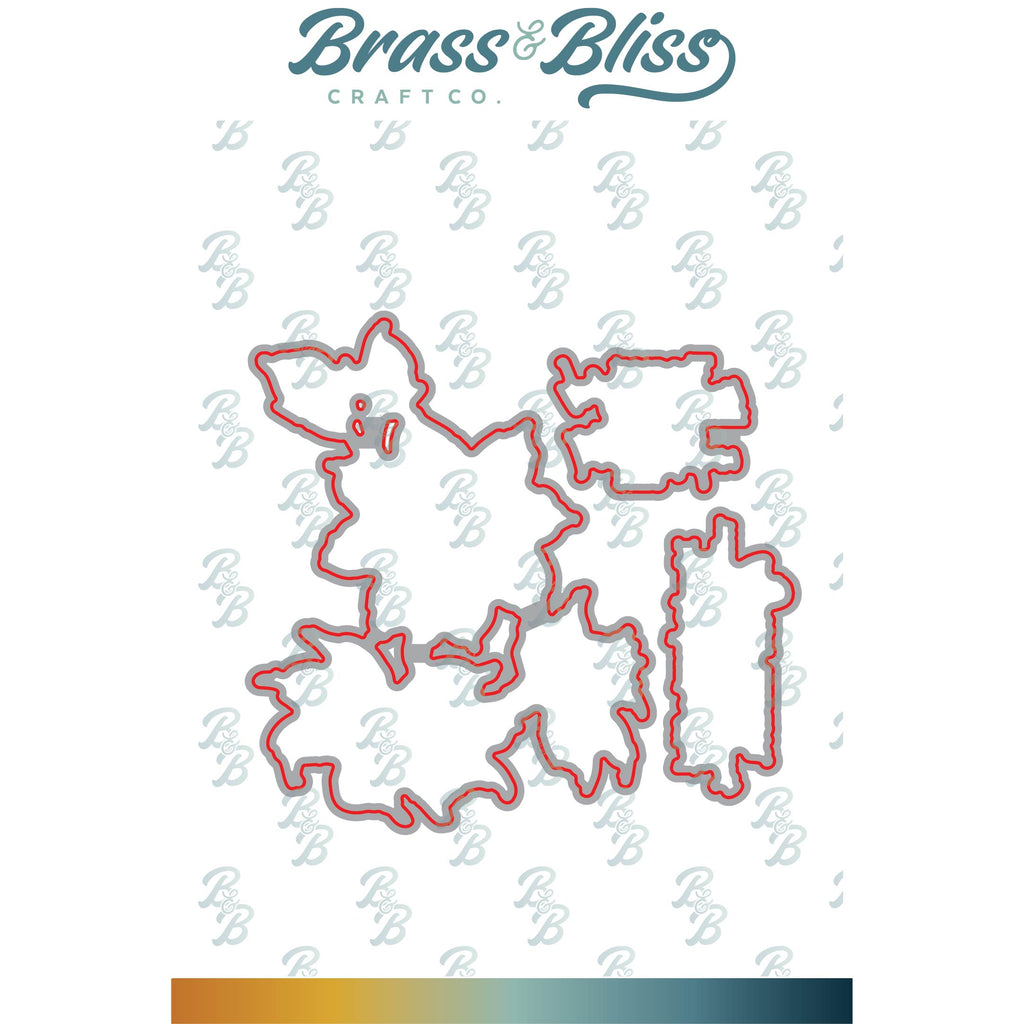
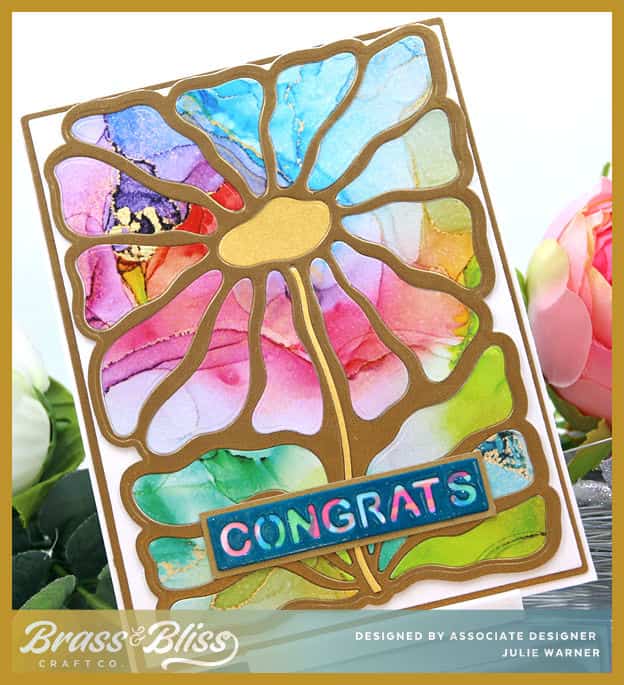
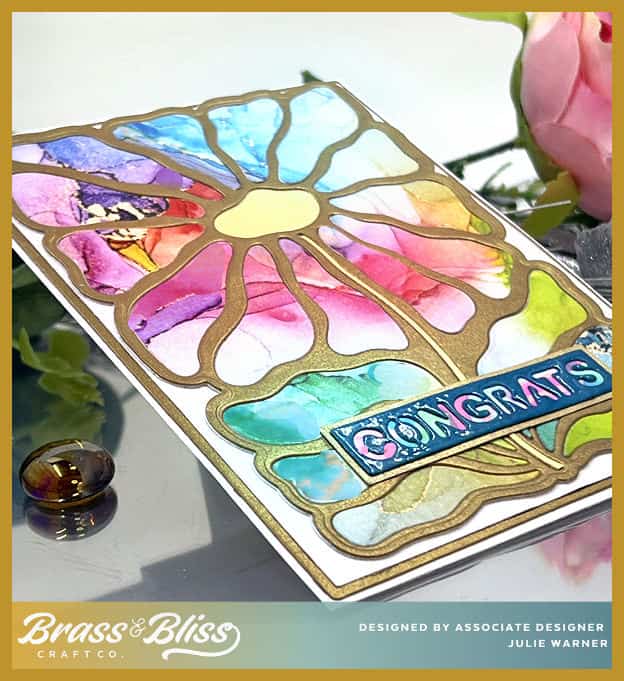
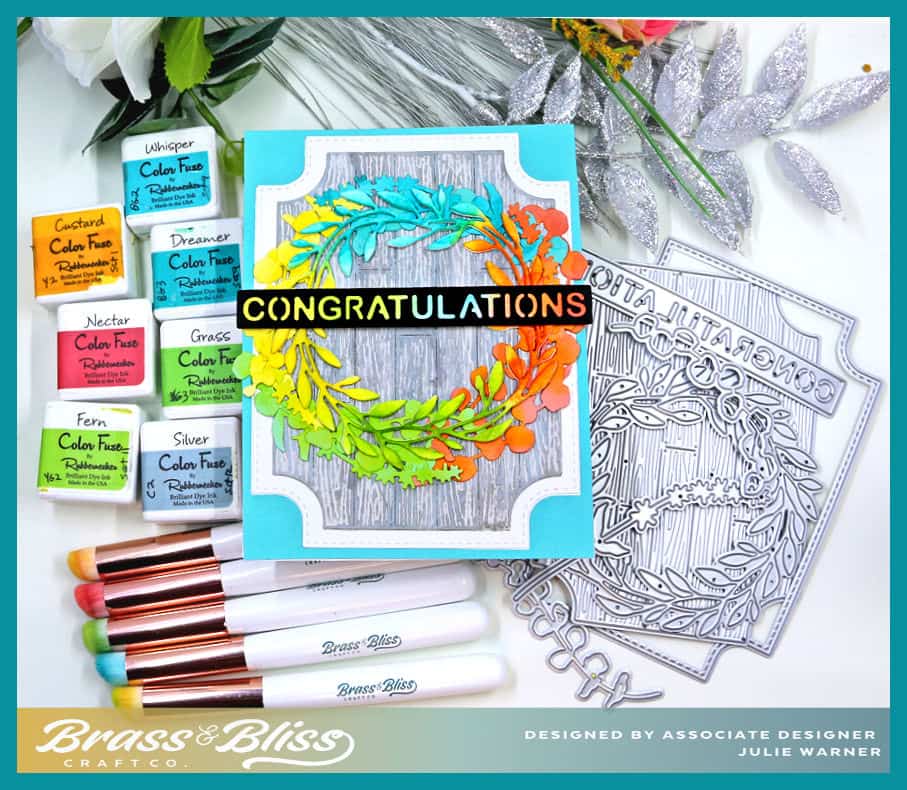
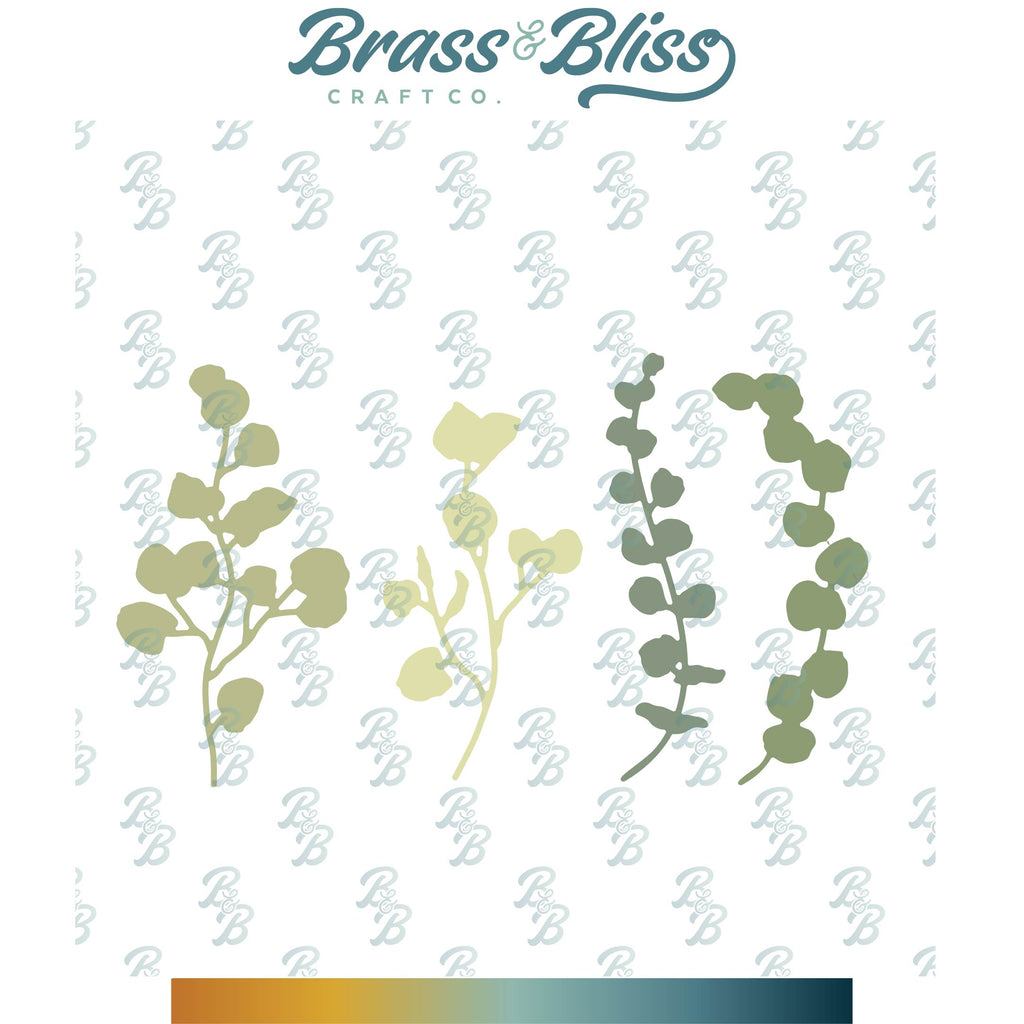
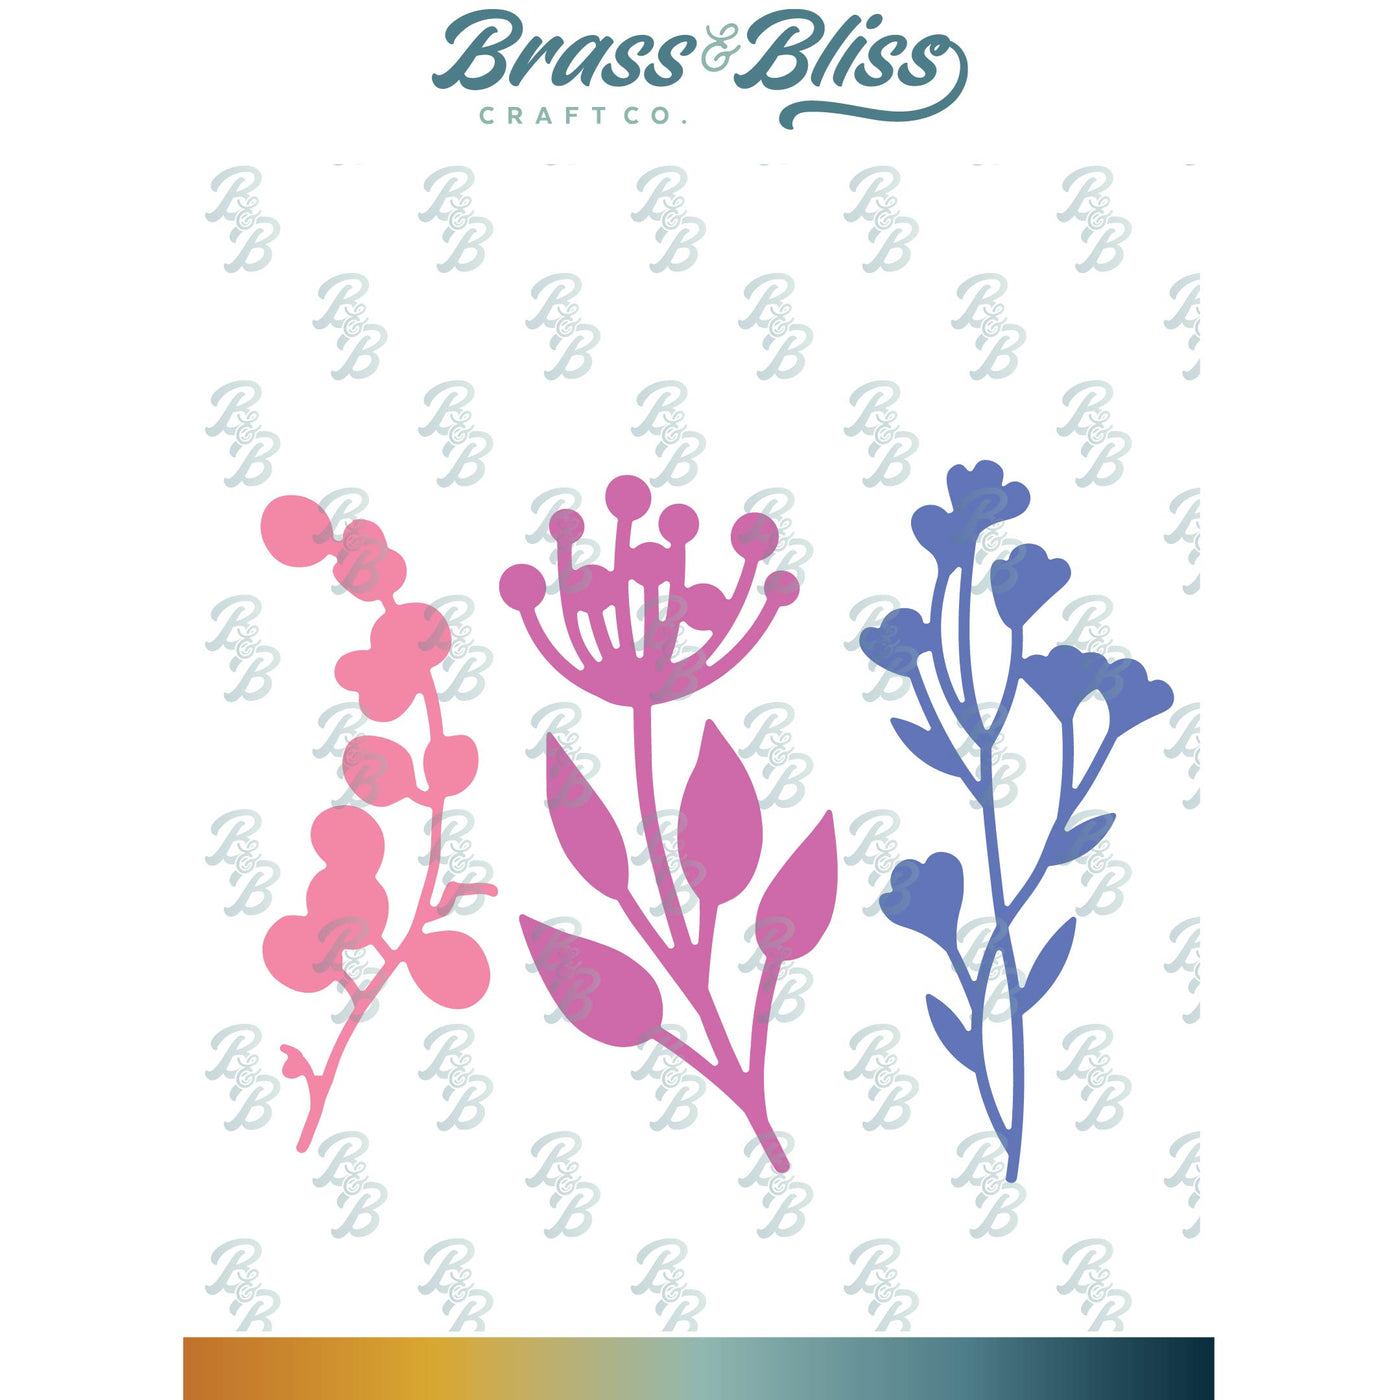
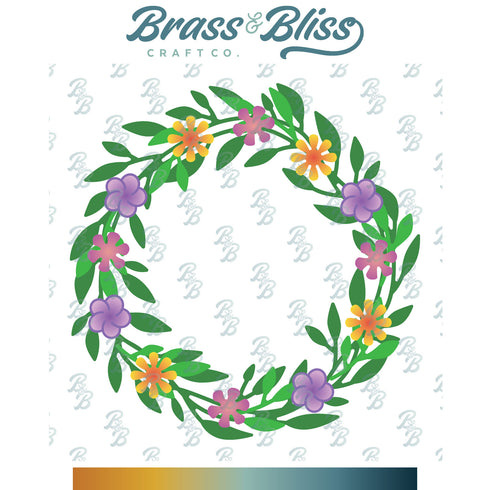
To make my card, I first die cut the woodgrain panel out of a very pale gray & the larger outline out of white. To make the woodgrain stand out more, I also ran it thru the embossing cycle, then used the silver ink directly on it. I just took the little ink cube & ran it up & down over the entire panel. Not too hard, just enough to catch the high points. I used a white pigment ink very lightly over it to give it more of a washed look. The wreath was cut out of white and a bunch of eucalyptus branches & 1 flower branch were cut out of yellow, lt green, pale orange & turquoise. They were inked w/ the blending brushes & the other colors of ink to pump up the volume of the color. For the sentiment strip, I cut it out of black then used the same inks on a white strip to put behind it. Everything was put together as shown & backed by a large turquoise panel.
Thanks so much for stopping by!

Supplies: (click the names below the pictures to take you to the products)
| Stamps: none |
| Paper: Staples 110# white, turquoise, pale orange, yellow, lt green, black, pale gray |
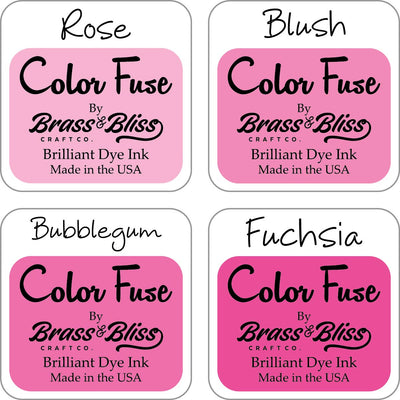
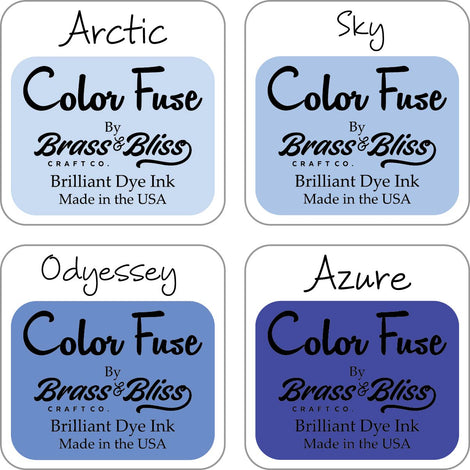
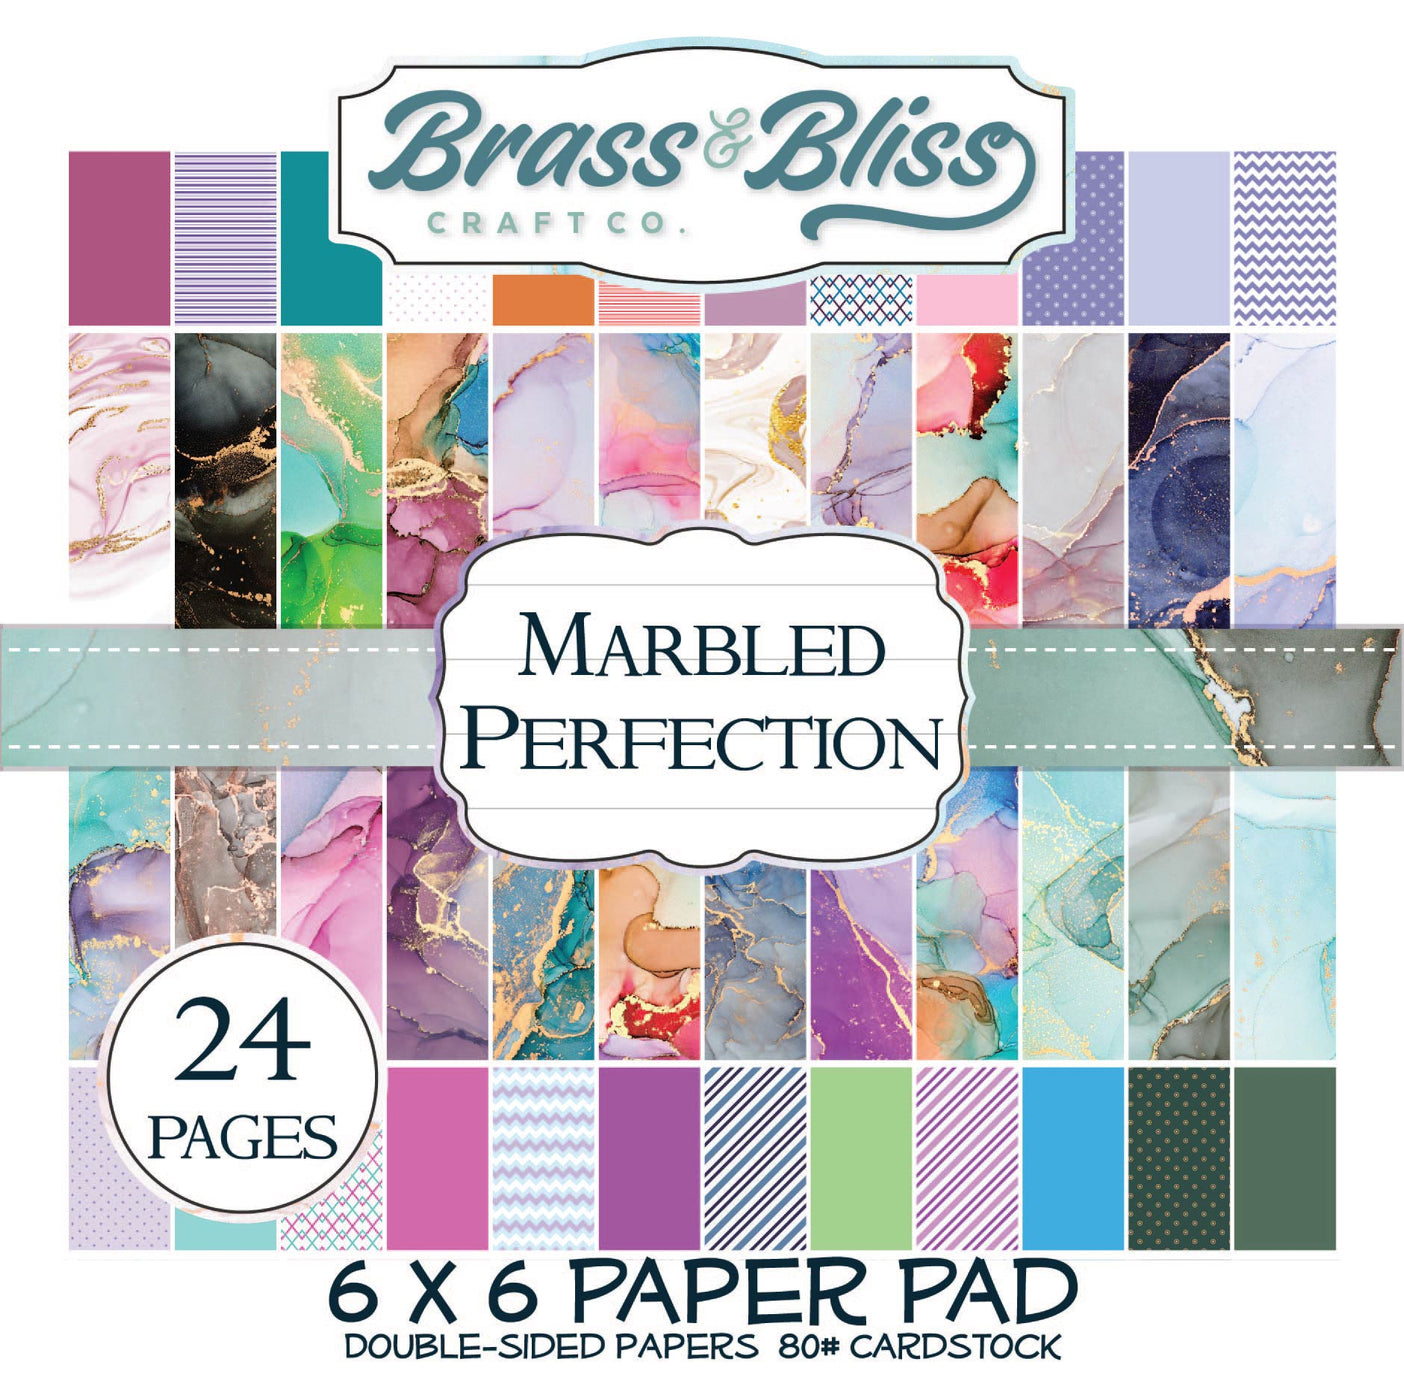
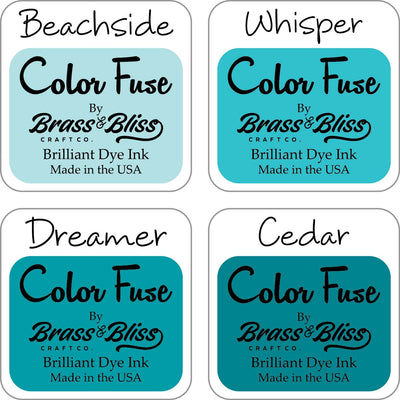
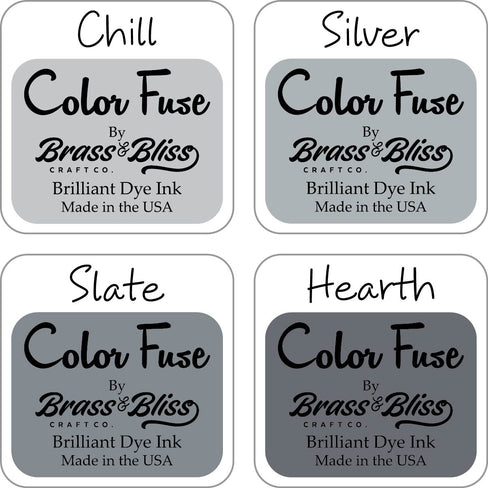
| Ink:, Distress Ink picket fence, , Brass & Bliss Color Fuse inks: set #1, set #4, set #9, set #11, set #12 |
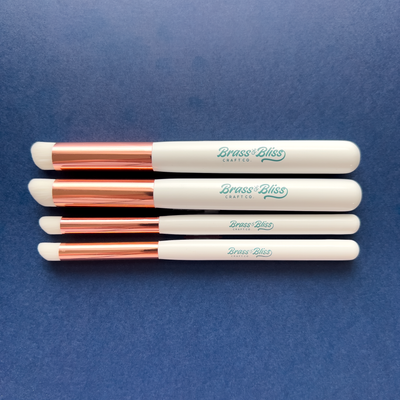
| Accessories: Brass & Bliss: Greenery Wreath w/ Flowers, Eucalyptus Leaves, Bunch of Blooms, Woodgrain Sign, Timeless Words dies, Detail Blending Brushes |

|
|
|
|

|
|
|
|

|
|
|

|

|

|

|
You might also like:
![]()