 x3
x3
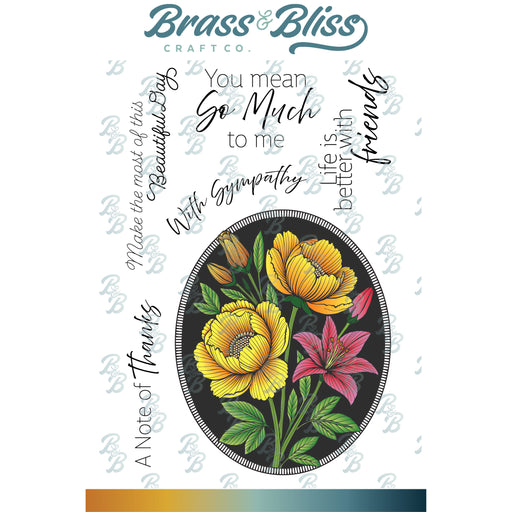
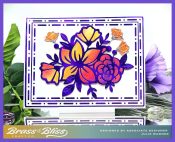
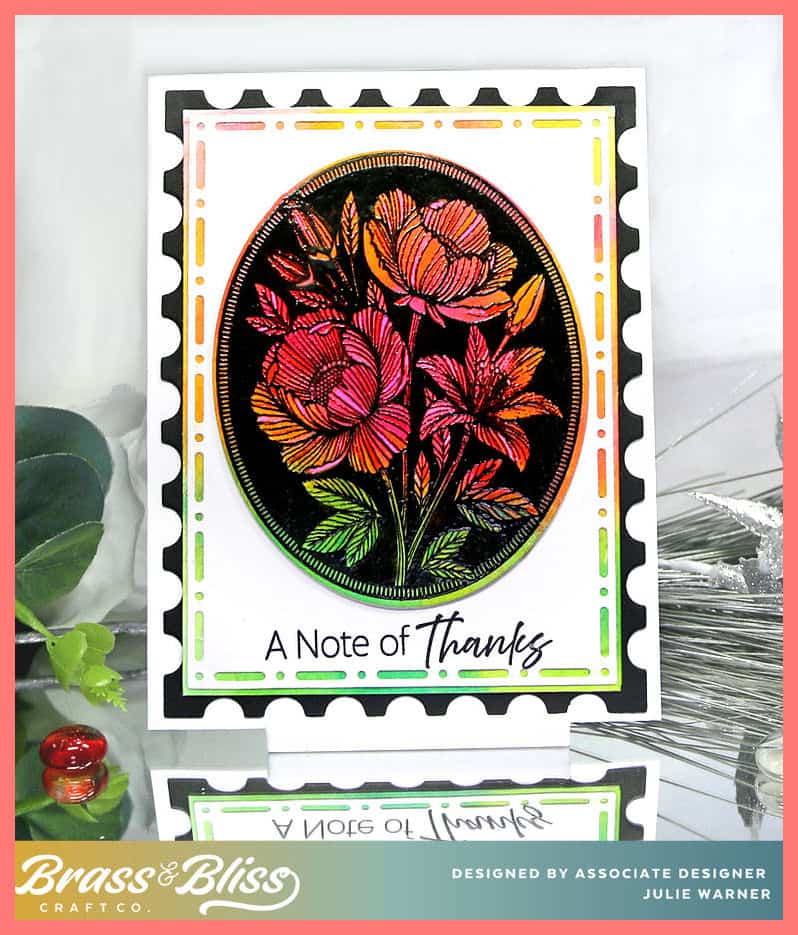
This is one of the new floral oval sets and they are perfect to make an easy card with a lot of impact. Use a colorful background, stamp the negative image on top and you have instant art! The black is clear embossed on mine to add that extra bit of shine & sharpness.
It’s my turn to host the Inspiration Challenge, IC1009, and we are visiting Raspberry Creek Fabrics & their Pinterest Boards. THIS wallpaper was my inspiration. I liked the bright flowers on the black background.
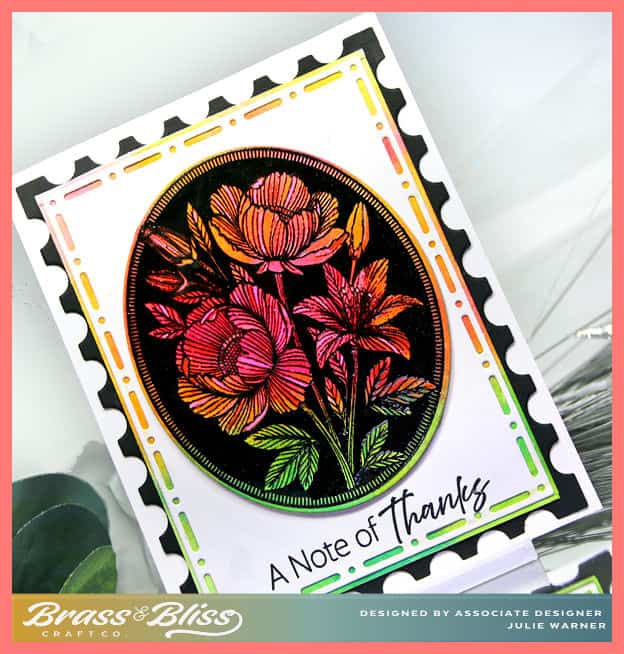
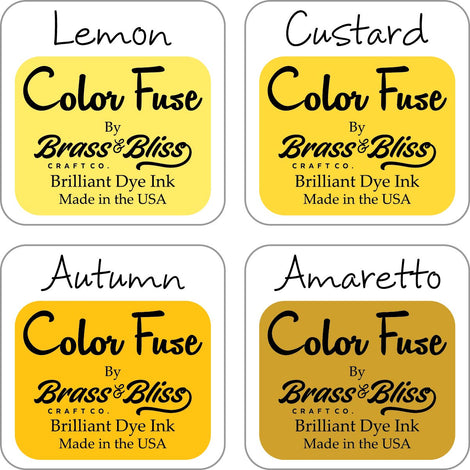
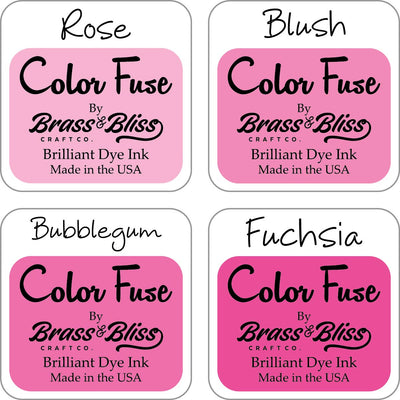
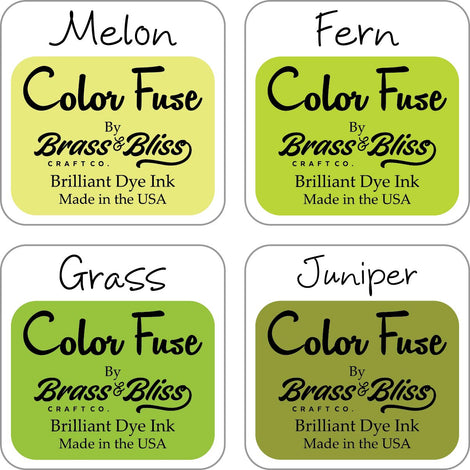
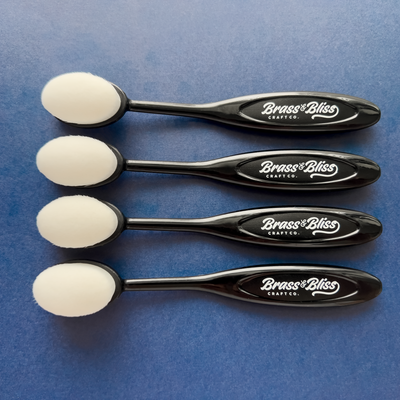
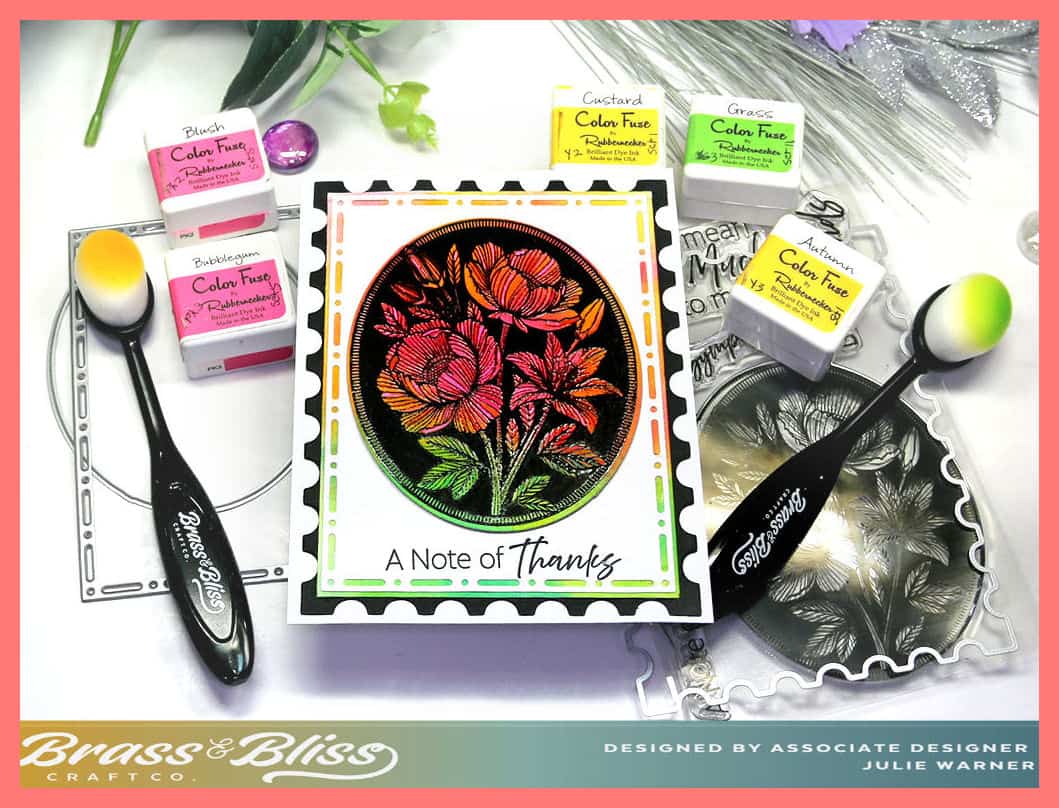
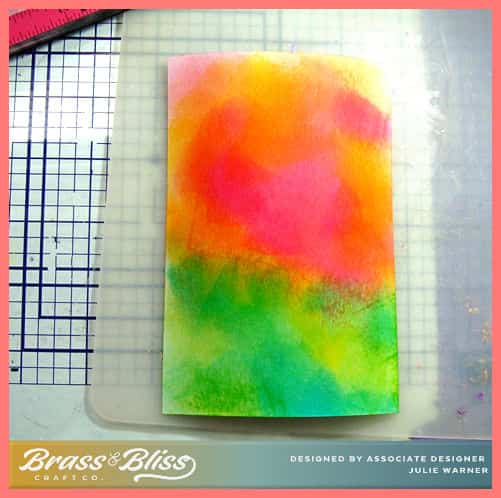
My card was fairly easy. I used some little ink cubes & large blending brushes to make a colorful background. I started w/ the yellows, then pinks & finally green at the bottom. Below is how it looked before I stamped on it. I did let the background dry first, then went over it w/ my embossing buddy before putting it into the Misti & stamping the oval multiple times for good coverage. It was coated w/ clear powder then heat embossed.
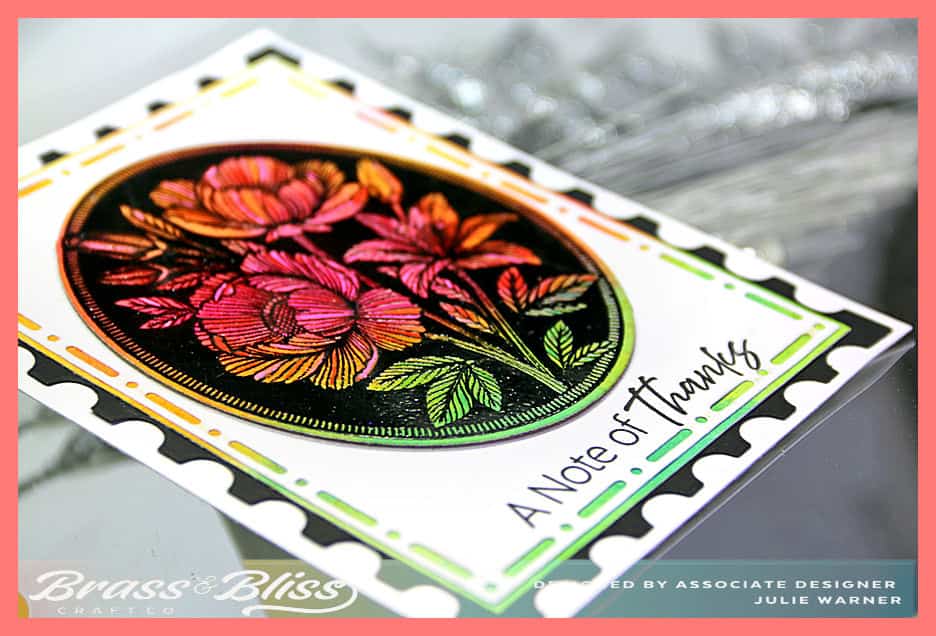
The floral oval was die cut then added to a white rectangle w/ the dot dash pattern. I placed the rest of the background behind it to let the colors show thru, before adding it to a black postage rectangle. The greeting was stamped on the bottom underneath the floral oval, which is popped up just a bit.
Thanks so much for stopping by!

Supplies: (click the names below the pictures to take you to the products)
| Stamps: Brass & Bliss: Beautiful Day set |
| Paper: Staples 110# white, black |
| Ink: Versaclair nocturne, Brass & Bliss: Color Fuse Inks set #1, set #5, set #11 |
| Accessories: Brass & Bliss: Dot Dash Rectangle, Postage Stamp, Beautiful Day set dies, MISTI, clear embossing powder |
