Welcome to the Our Daily Bread designs April Release Blog Hop! We have some beautiful images & fabulous dies for you this month, no fooling!

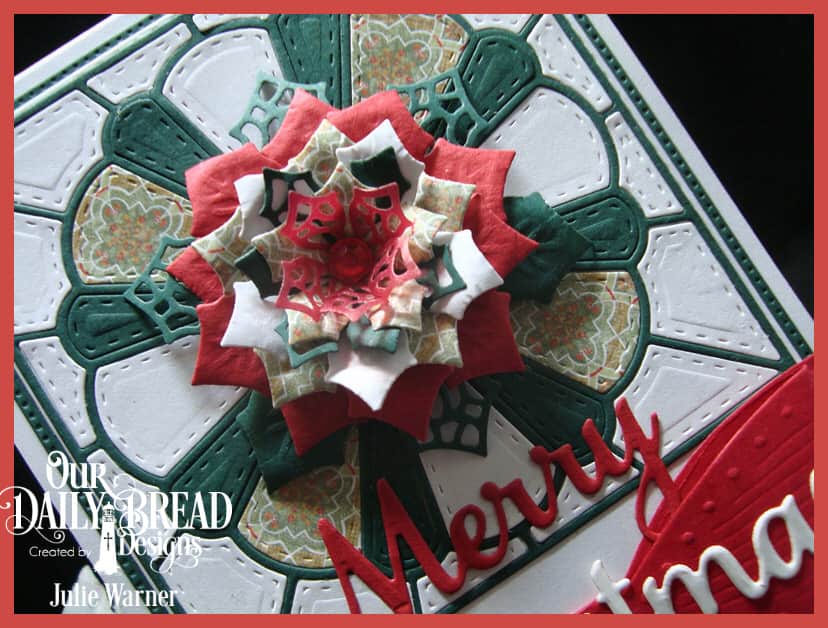
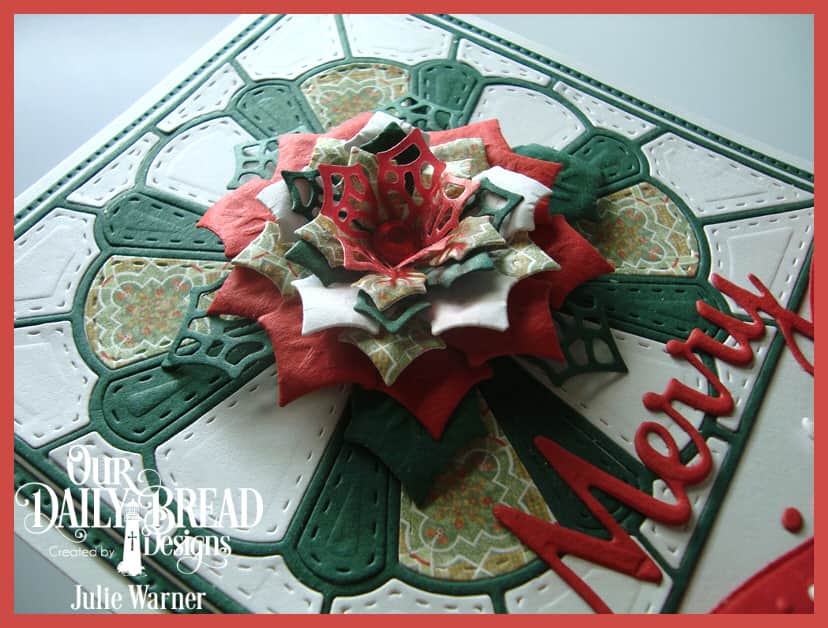
For both of my cards today, I’m featuring the beautiful new Star Quilt stamp & the Star Quilt die. Now technically, they don’t fit together, but on this first card, I did use the die to emboss only on top of the stamped image. I stamped the Star Quilt image on heavy white c/s..once using the seaglass ink, twice using the celadon ink & once using the whisper gray ink. Please note, since I used pigment ink on these, I made sure to heat set it w/ my heat gun so it wouldn’t rub off.
Here’s the part where I embossed the Quilt die on top of the stamped image. I die cut one of the celadon stamped images using the next to largest Square die to use as my base quilt image.
As I mentioned, the die & image don’t fit together for die cutting, but I noticed they do line up pretty well for embossing & I wanted that stitched fabric look. In order to line them up, I used a piercing tool to poke a small hole in the center of the image.

Then I lined it up w/ the center hole in the die w/ the image face down on the cutting side of the die. In this position, I lined up the edges of the image so they would be square on the die. I placed it like this on the magnetic sheet & placed the rubber embossing mat on top & embossed it.

I repeated this embossing on the seaglass & other celadon stamped quilts. I fussy cut parts of the whisper gray version (the squares & triangles around the borders) then positioned them inside a Double Stitched Square die to get the stitching cuts. I know it seems like a lot of work, but that’s the look I wanted. The angled star quilt center was fussy cut & attached offset from the base star. I also die cut the Star & Double Stitched Star & buttons out of leftover quilt image parts.
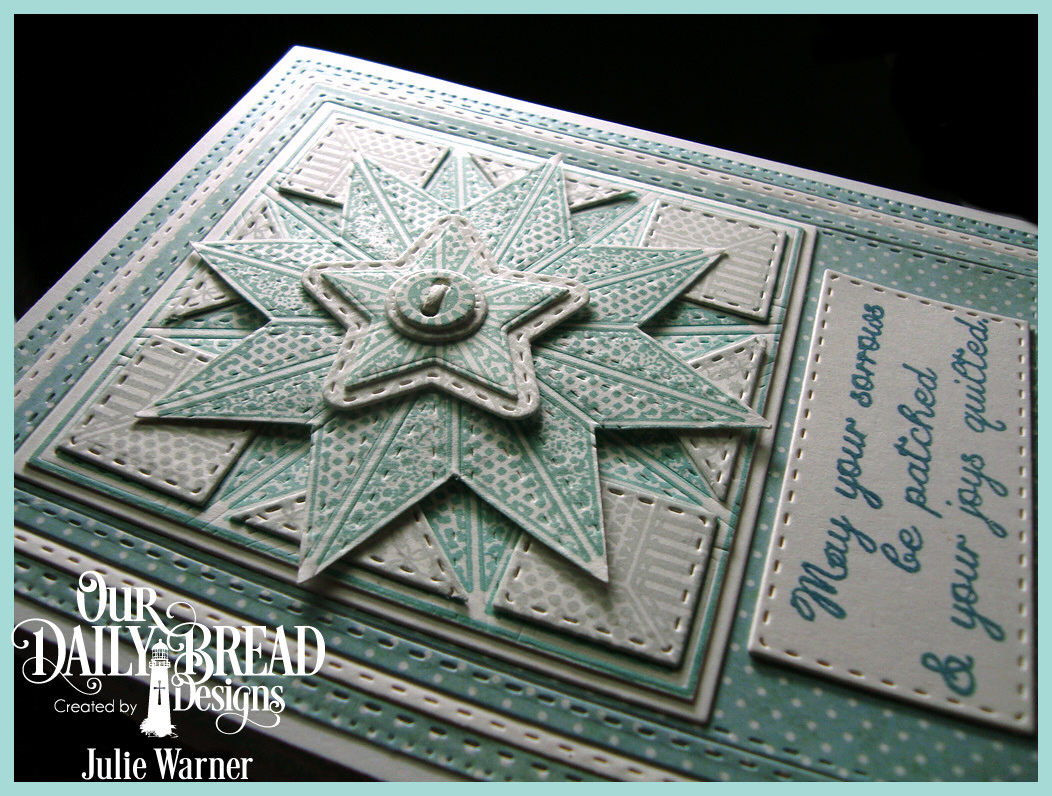
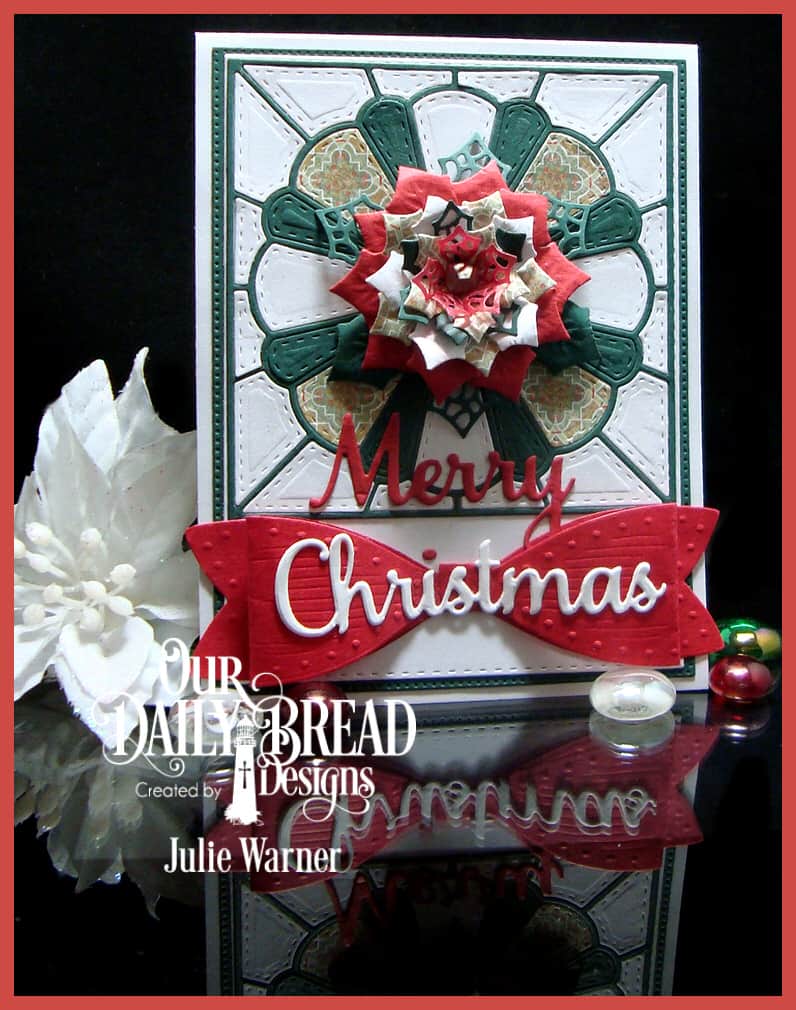
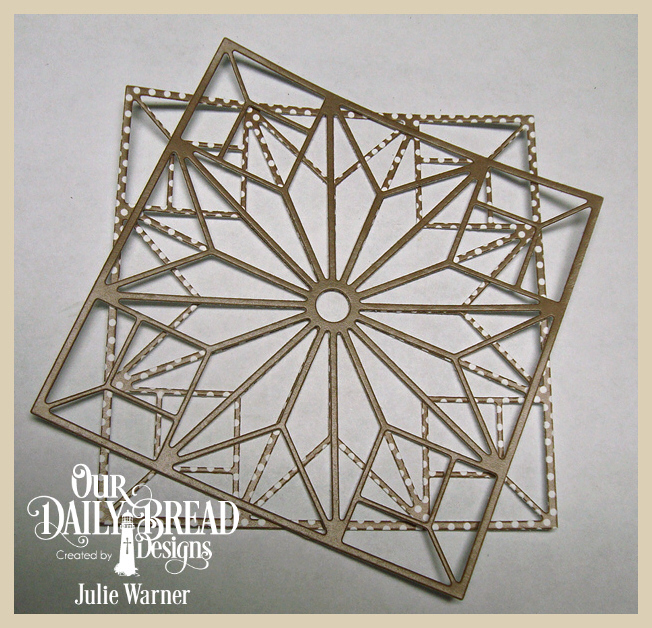
The polka dot paper was die cut first w/ the Flourished Star Pattern & that piece was repeatedly cut down using smaller Double Stitched Rectangles & Rectangles with one white layer inserted between them.
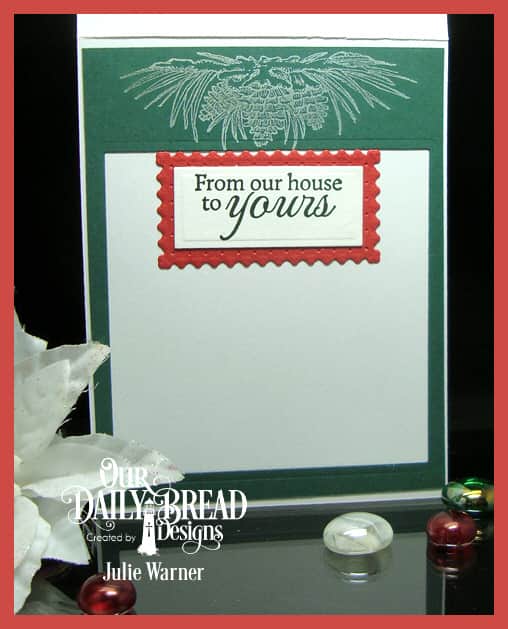
Here’s a look at the inside using another fussy cut Star Quilt centerpiece.

Supplies:
Stamps: Our Daily Bread designs – Time to Mend, Star Quilt (inside –Sewn with Love )
|
| Paper: Staples 110# white, Recollections heavy white, dp (ODBD – Christmas Collection 2014) |
| Ink: Colorbox whisper gray, celadon & seaglass pigment inks, Versafine deep lagoon |
| Accessories: ODBD Flourished Star Pattern, Star Quilt, Double Stitched Stars, Double Stitched Rectangles, Sparkling Stars, Double Stitched Stars, Squares, Double Stitched Squares, Rectangles, Matting Circles dies, Misti |

For this quilt card, I went with a more dramatic color combo & I used the Star Quilt die and not the image this time. I die cut the Star Quilt in black (twice), and one each in 3 solid shades of tan/brown & 3 polka dot shades of tan/brown (all from the Ephemera Essentials paper).

I also die cut one Star Quilt out of ivory to use as my base so I would have something to attach them all to. Sort of like doing a 100 piece puzzle, lol. After I arranged the pieces like I wanted & attached them, I attached one of the black grids of the quilt on top of the pieces. The other black grid fell on top at an angle, & I thought…hmmm..that looks pretty good! So just for fun, behind some of the pieces (the black ones & the one directly next to them) I added other tan colors to make a complicated paper piecing even more intricate! Then I attached this black grid on top, turned at about a 20 degree angle then trimmed off the corners that stuck out.
Here’s what the angle at which the two were attached looks like. The polka dot would be the squared frame & the solid is the angled one. The corners that stuck out were trimmed off.
I added a Double Stitched Square frame on top to have a little bit heftier border then added it to my card. the tan sun shape & one of the polka dot centers were attached in place.

The greeting was rearranged a bit & I replaced the Q w/ a Flourished Alphabet Q. In order to die cut the greeting, I had to do a little resizing using a Double Stitched Square die.
Here’s a look at the inside.