X3!
X3!
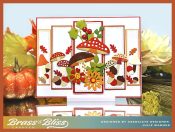
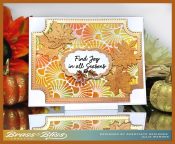
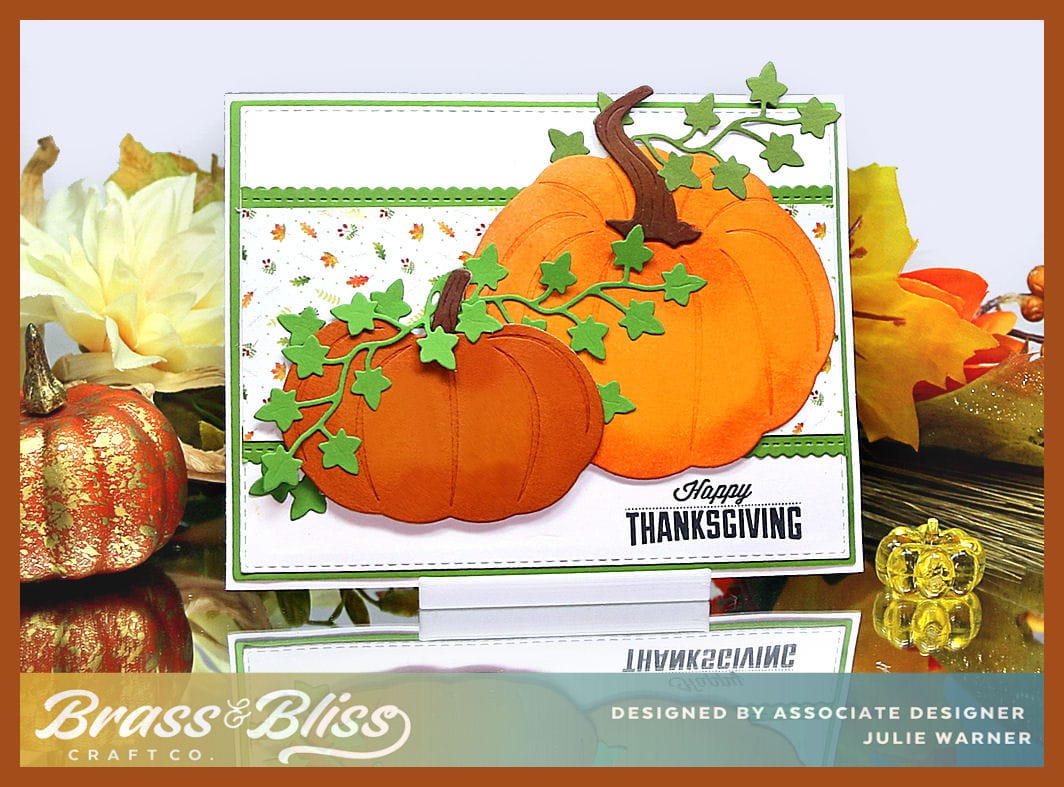
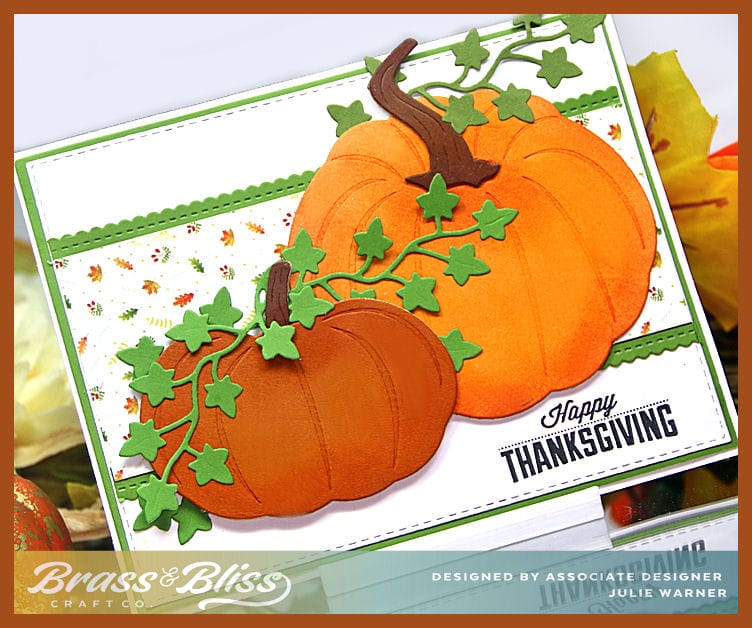
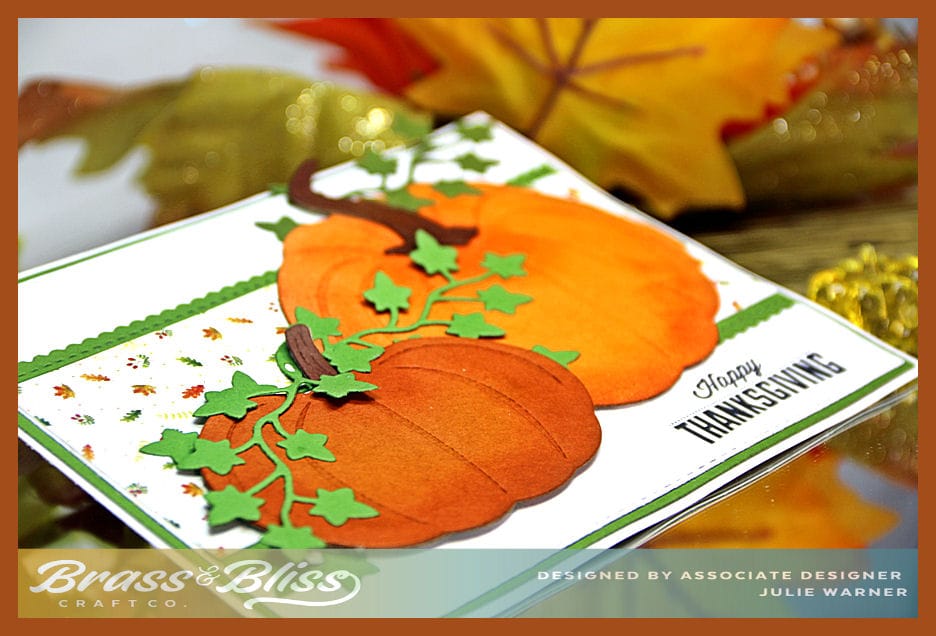
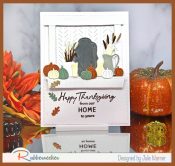
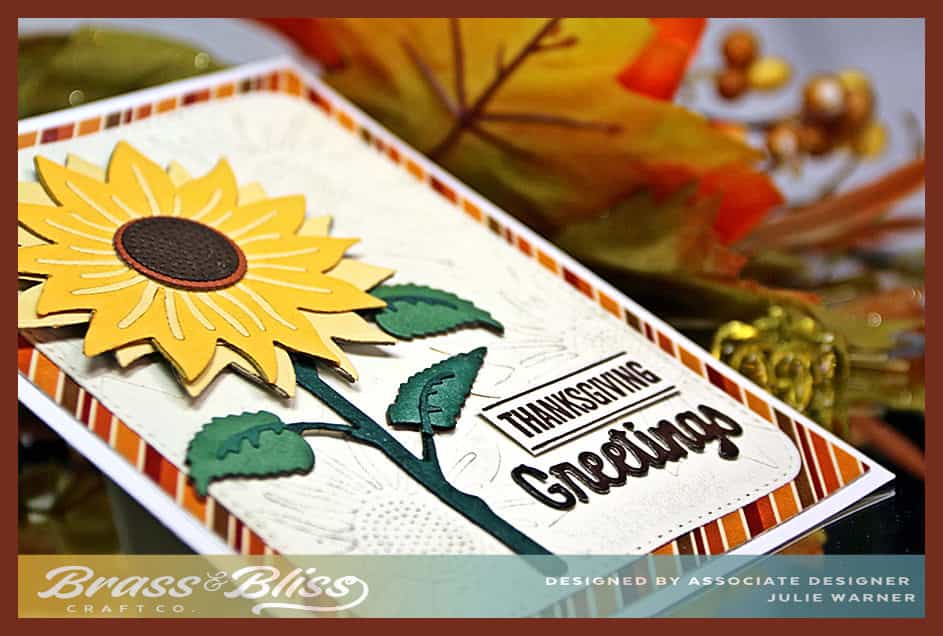
Ever wanted a dry embossed background to go with your main image and were unable to find what you wanted? That’s what inspired this background. I wanted some texture but did not want it take over, just a little something extra. So I set out to make a “faux embossed” background using the same die I used for the main image. I made this a Thanksgiving card, but it would easy to swap out the greeting for a birthday or just fall.
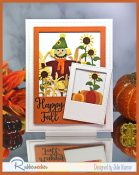
It’s my turn to host the Inspiration Challenge IC1039 so we are headed to GEC Designs & their Pinterest Board. THIS was my inspiration.
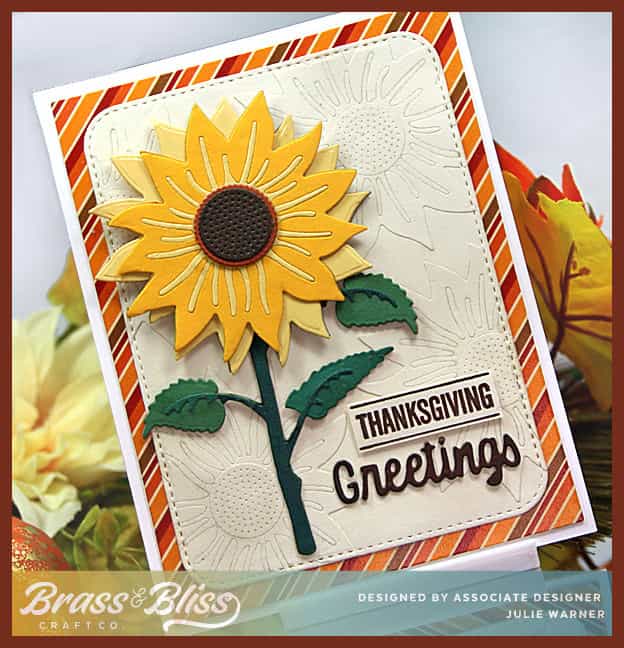
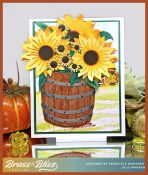
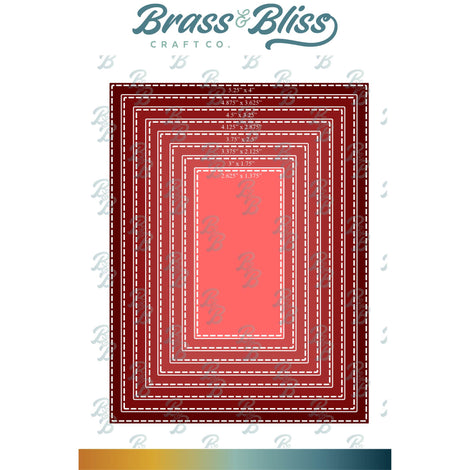
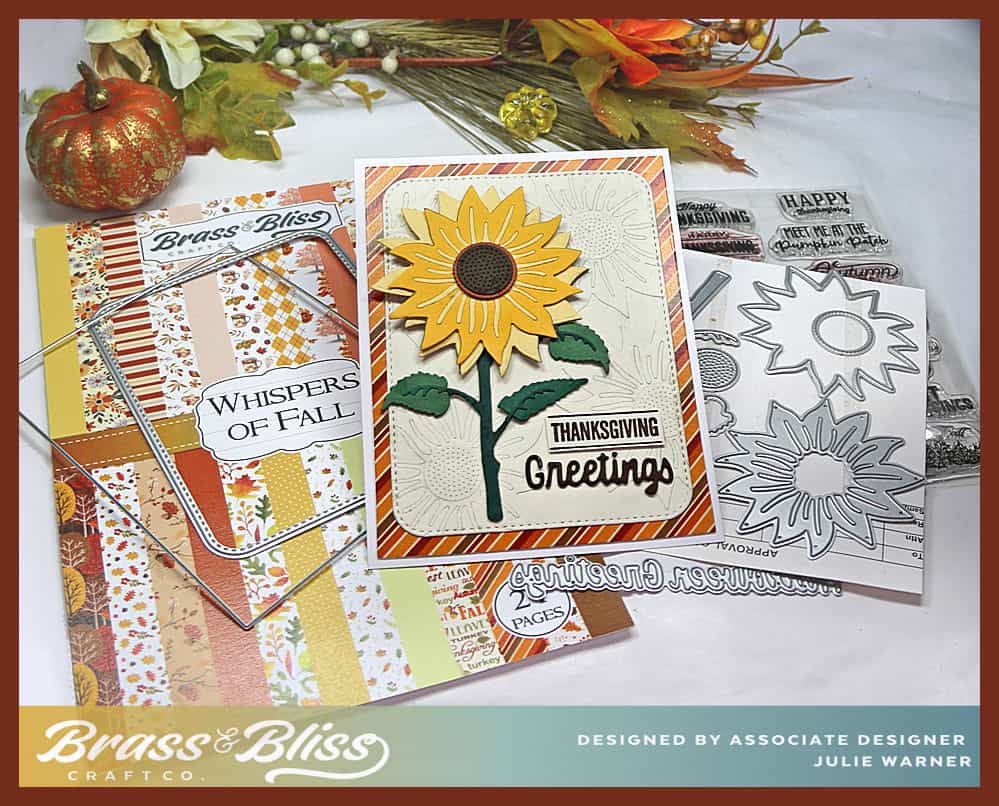
To make my card, I die cut 4 sunflowers & their centers out of vanilla & glued them to a matching piece of card stock. You can see a tutorial I did on Faux Embossing. Then I die cut it w/ the second largest of the rounded stitch rectangles. I also ran it through the embossing cycle to fuse the sunflowers to the matching background. This gives the impression of an embossed background. Then the sunflower & all its parts were die cut out of yellows, brown, rust & greens and glued together. I also attached a layer of card board behind it to elevate it & give it strength. The greeting was put together by cutting out the just the stamped Thanksgiving part & then die cutting the Greetings. Both are also popped up one layer. It’s all attached to a piece of designer paper.
Thanks so much for stopping by!

(You can go directly to the products by clicking the name under the pictures below my supply table.)
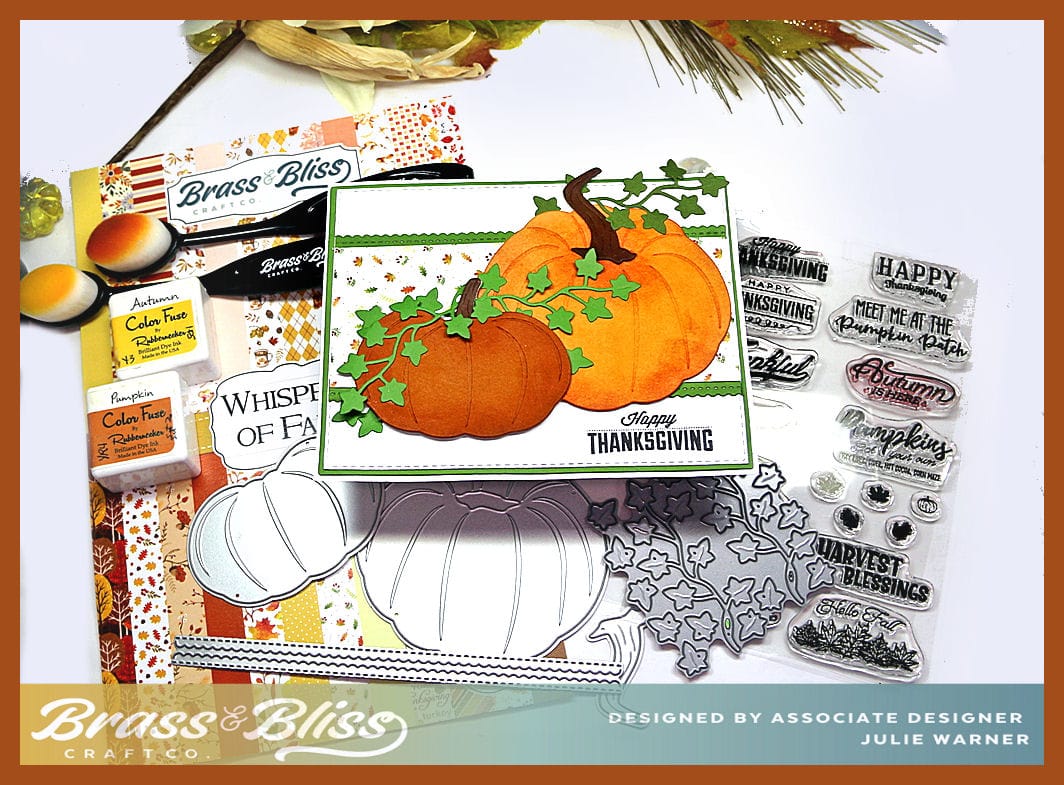
Supplies:
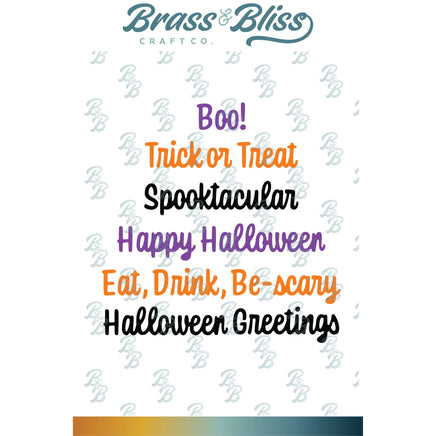
| Stamps: Brass & Bliss: Hello Fall Sign Sayings |
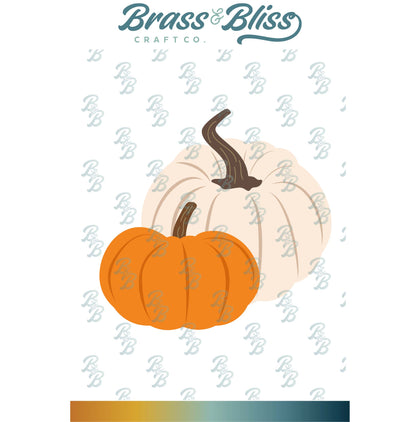
| Paper: Staples 110# white, 2 shades of yellow, dk brown, dk rust, grass green, vanilla, Brass & Bliss: Whispers of Fall paper pad |
| Ink: Versaclair Acorn |
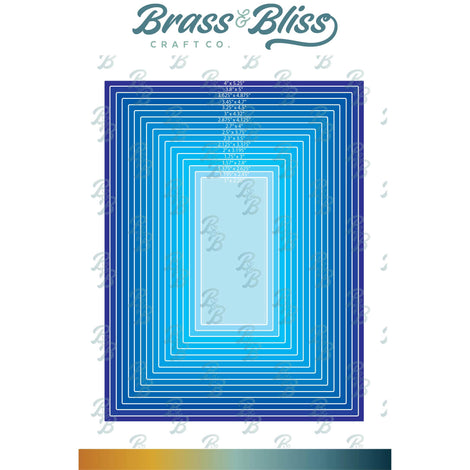
| Accessories: Brass & Bliss: Lg Sunflowers, Rounded Rect w/ Stitch, Halloween Greetings dies, MISTI |

|
|
|

|
|

|

|

|

|
You might also like: