 X 5!
X 5! 
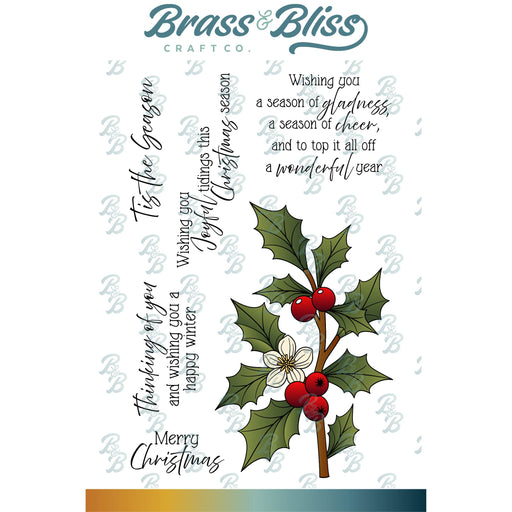
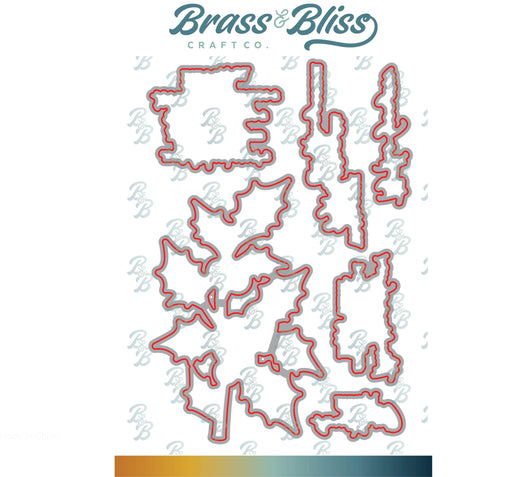
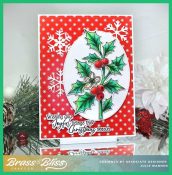
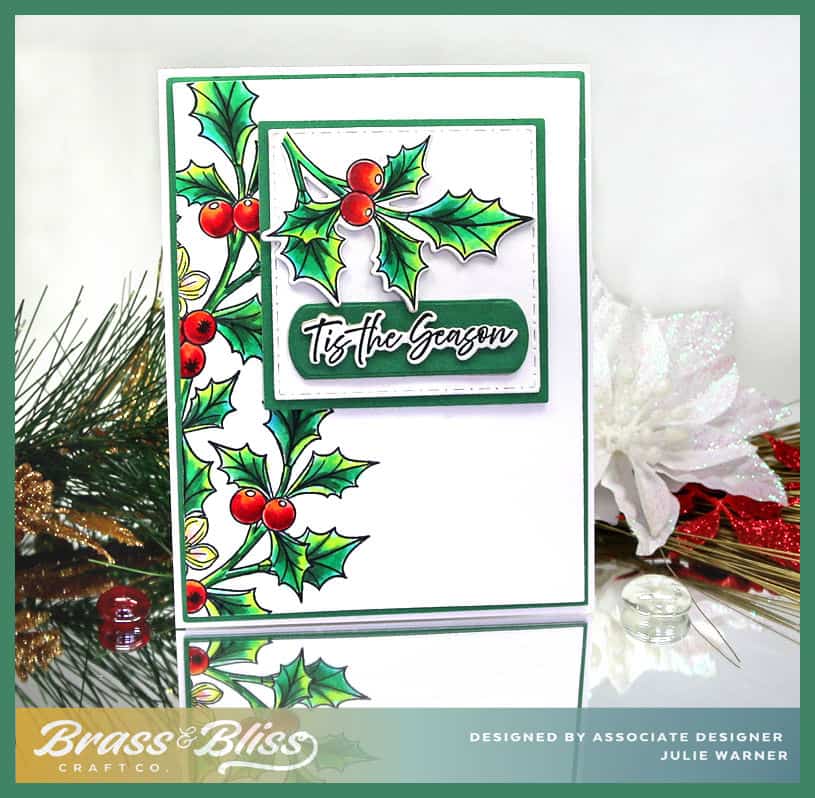
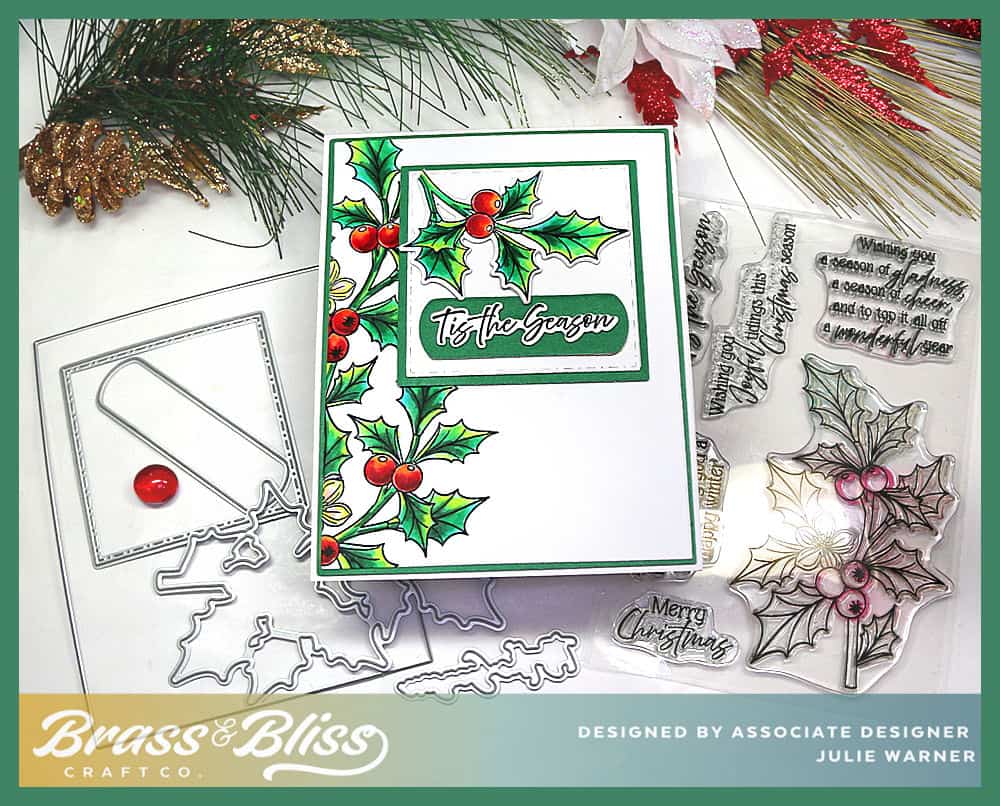
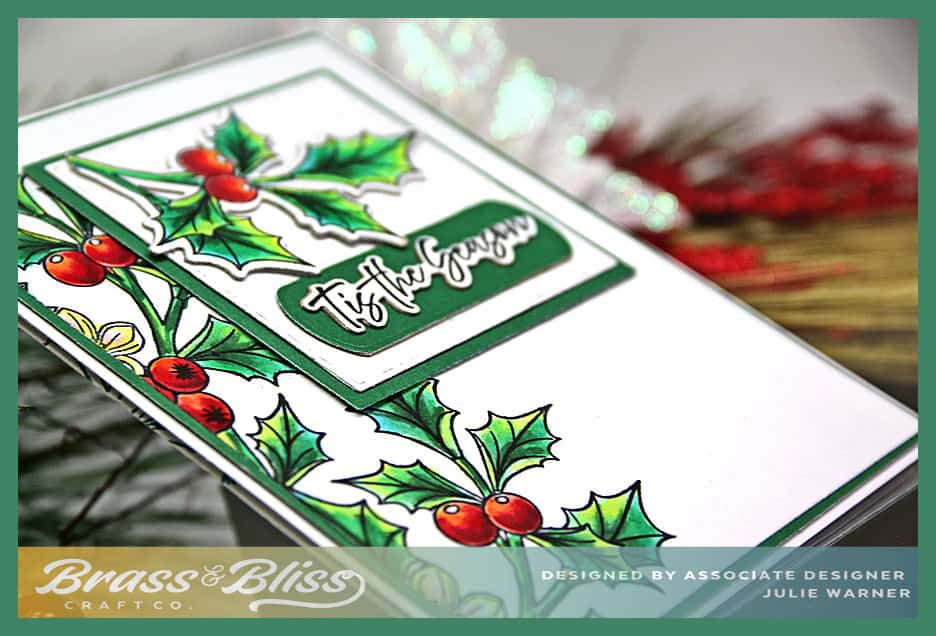
I love this holly set and I love coloring it. I think it would also look terrific done with watercolors. Or make a background using a solid color ink and leave it uncolored. All you need is this one stamp set with its coordinating dies, a few basic shaped dies and some markers to color it.
For the Featured Stamper Challenge, FS969, it is the 5th Sunday so we are revisiting the Featured Stampers from the first half of 2008- (FS48-FS70). I chose my friend Laura who was FS60 & also one of the first people I met on Splitcoast back in 2007!. I’m also happy to see she uploaded a couple of cards this year. I chose THIS card to case. I kept the layout & image down the side, but I used different images, dies, colors & made mine a Christmas card.
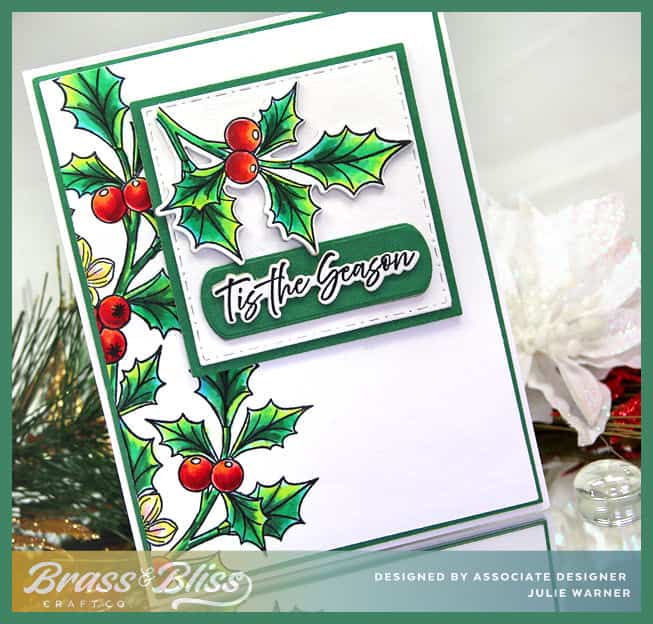
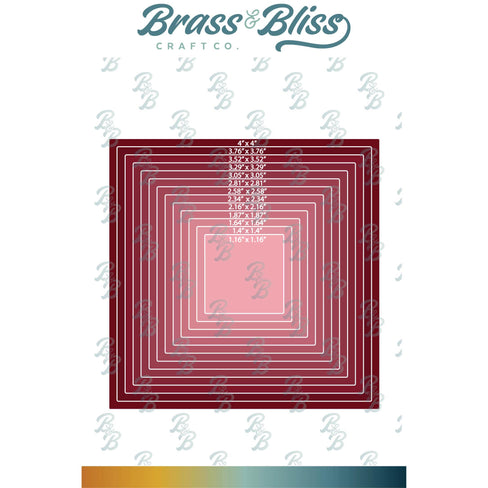
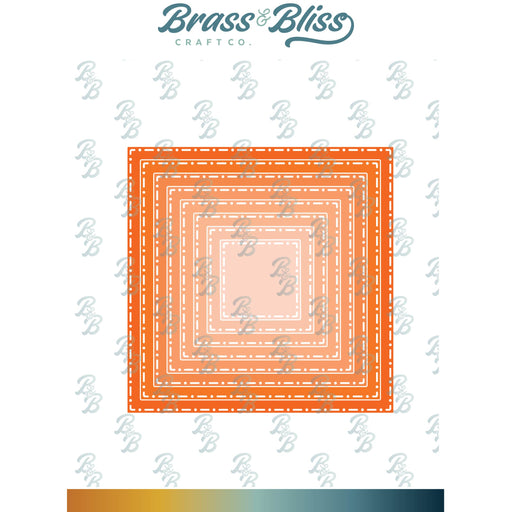
To make my holly card, I die cut a white panel with the largest plain rectangle die, and a square with one of the medium size stitch dot square dies. The square green layer was cut with a plain square. The white panel was stamped twice with the holly image, going over the side edge & colored. I stamped, colored & die cut a separate holly but trimmed off the lower half of it to pop up on top of the square. The greeting was die cut & added to the smallest of the swanky oval. I also moved the end of this die in about half an inch & cut only 1 side to shorten it a bit. The squares, the little holly on top & the greeting were all popped up one more layer.
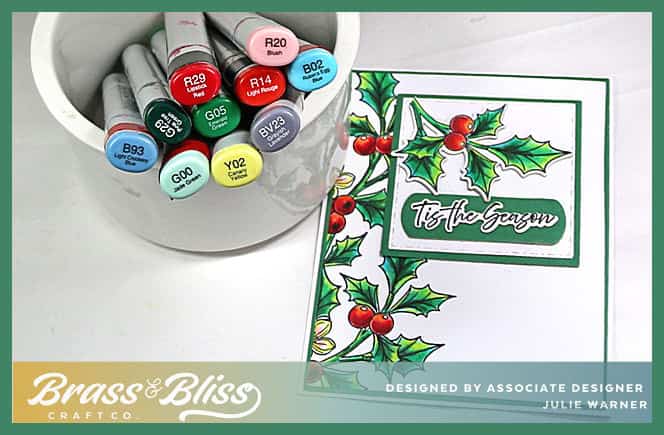
Here are the Copics I used: (if you wonder about the B93 & BV23, they were used to underpaint the shaded areas in the berries & leaves, respectively. The B02 was used on some areas of the leaves, as was the Y02.)
Thanks so much for stopping by!
Supplies: (click the names below the pictures to take you to the products)
| Stamps: Brass & Bliss: Holly & Cheer set |
| Paper: Staples 110# white, Neenah white, pine green |
| Ink: Memento tuxedo black |
| Accessories: Brass & Bliss: Holly & Cheer set, Rectangles, Stitch Dot Squares, Squares, Swanky Ovals dies, Misti, Copic markers |

