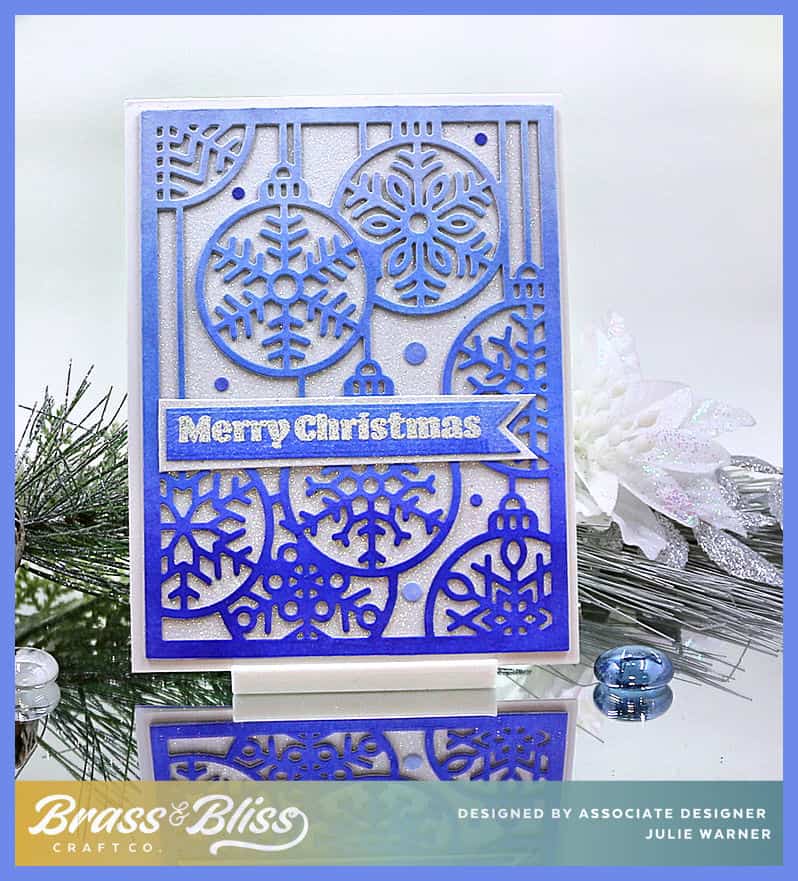
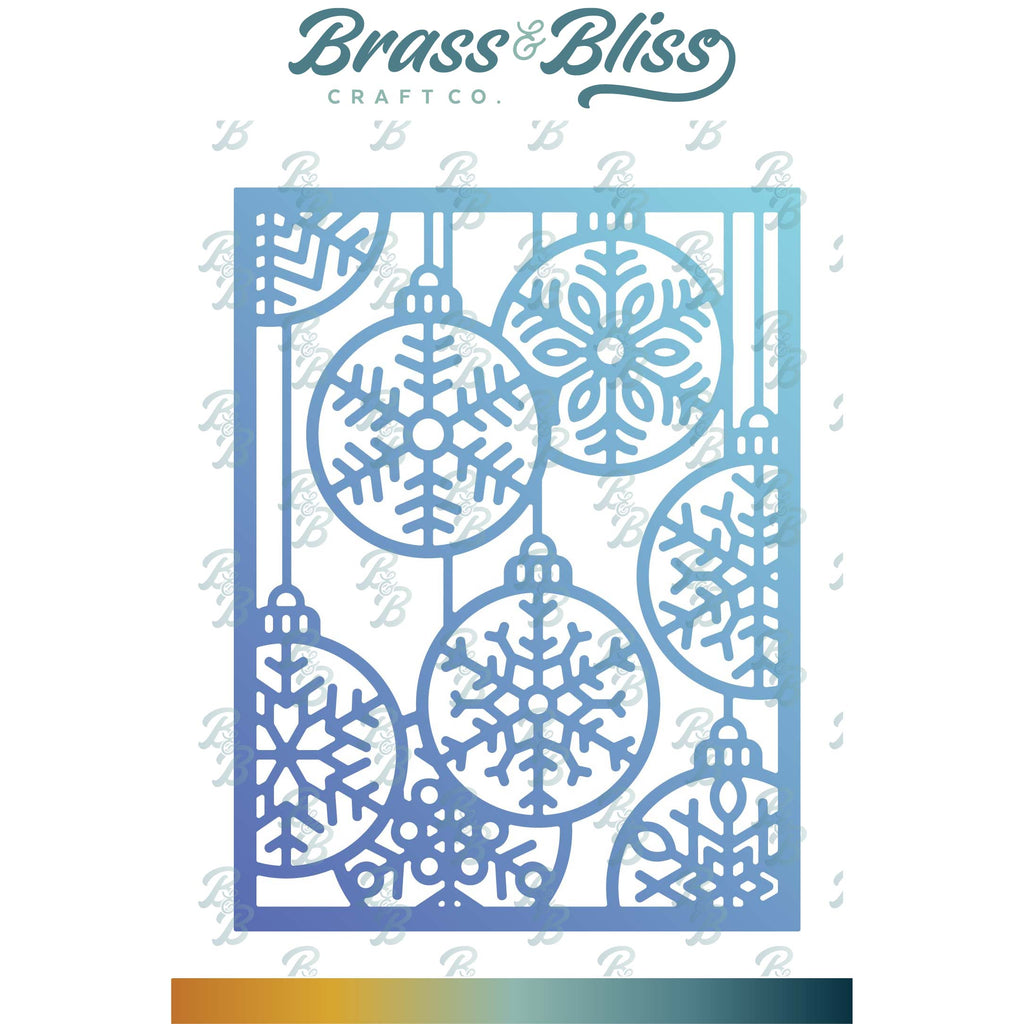
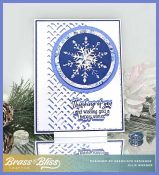
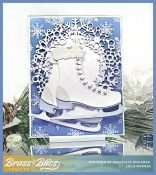
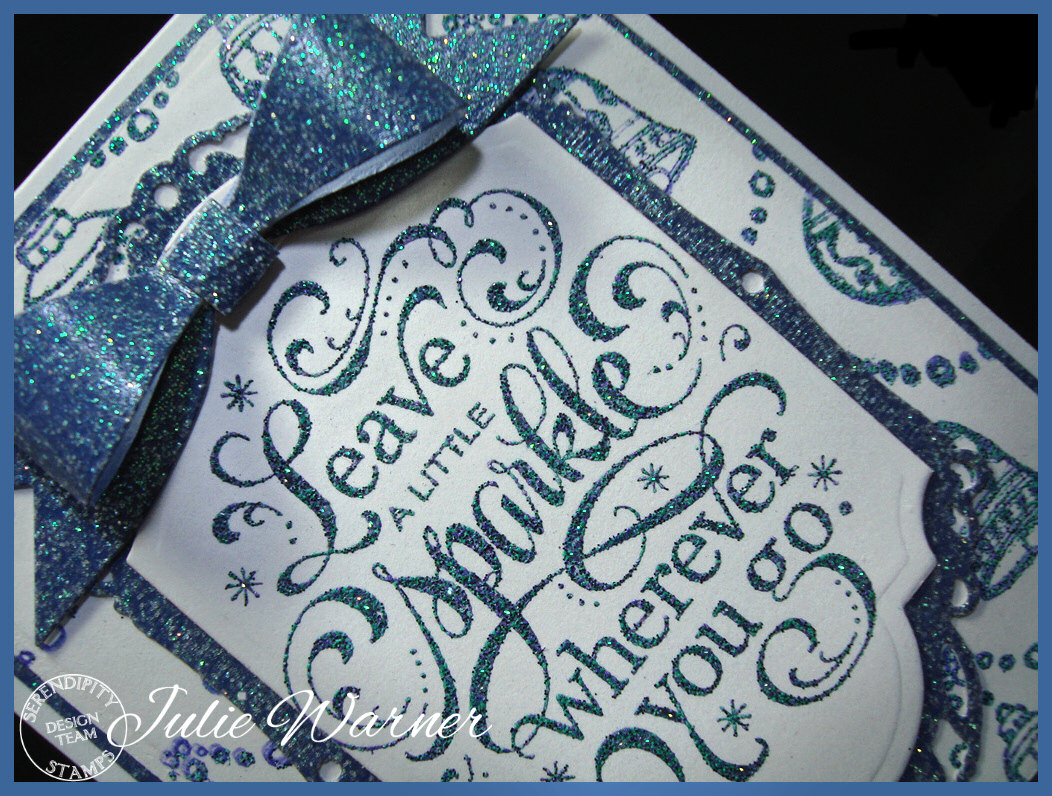
If, like me, you happen to need a festive, but quick card for the Holidays, I have an ornament card all done in shades of blue. It’s on top of a very sparkly white glitter background. This cover die would be great in all of your favorite holiday colors. I’ll mention, this cover die, as intricate as it is, cuts like a dream!
It is my turn to host the Featured Stamper Challenge, FS985. So a big congrats to Cathy! I chose THIS to case. I kept the blue snowflakes & wintry theme, but I used a snowflake ornament cover die & made mine a Christmas card instead of a calendar page.
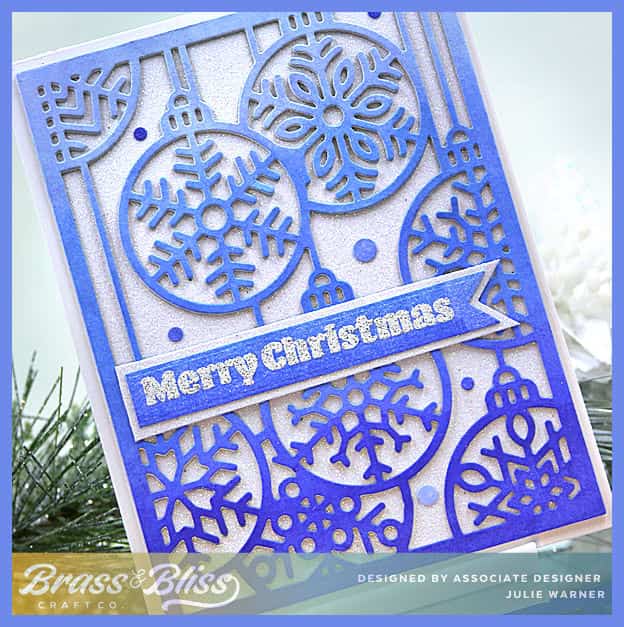
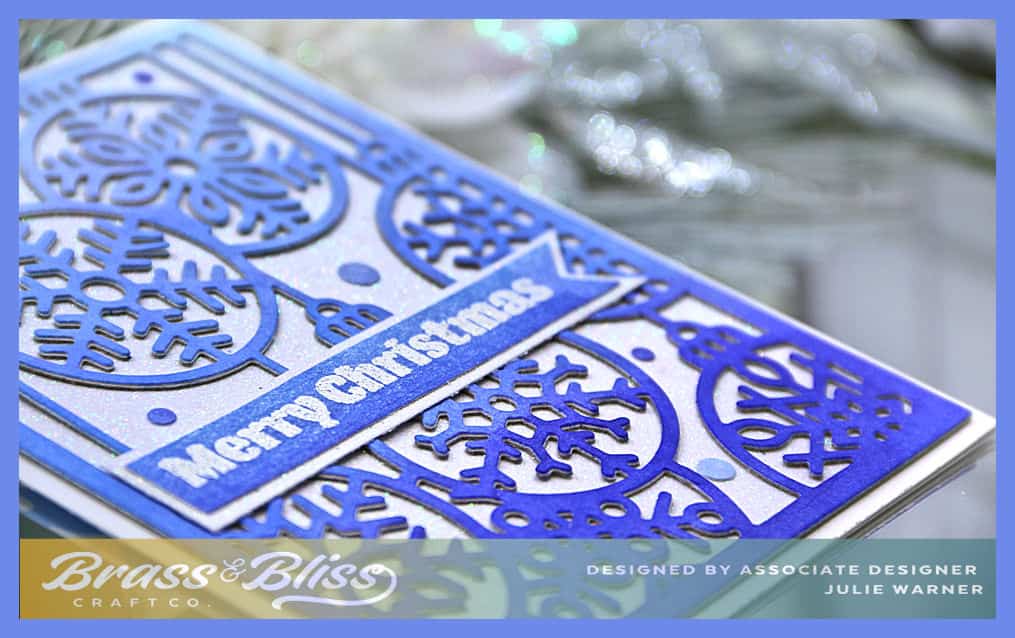
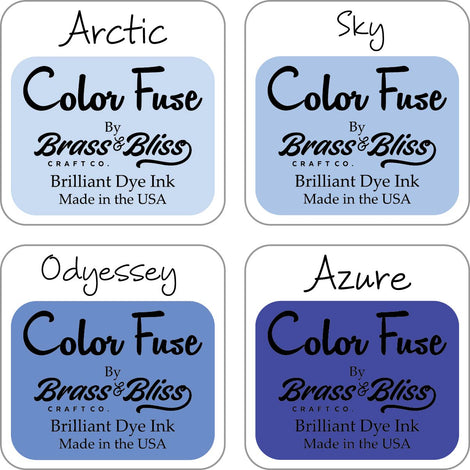
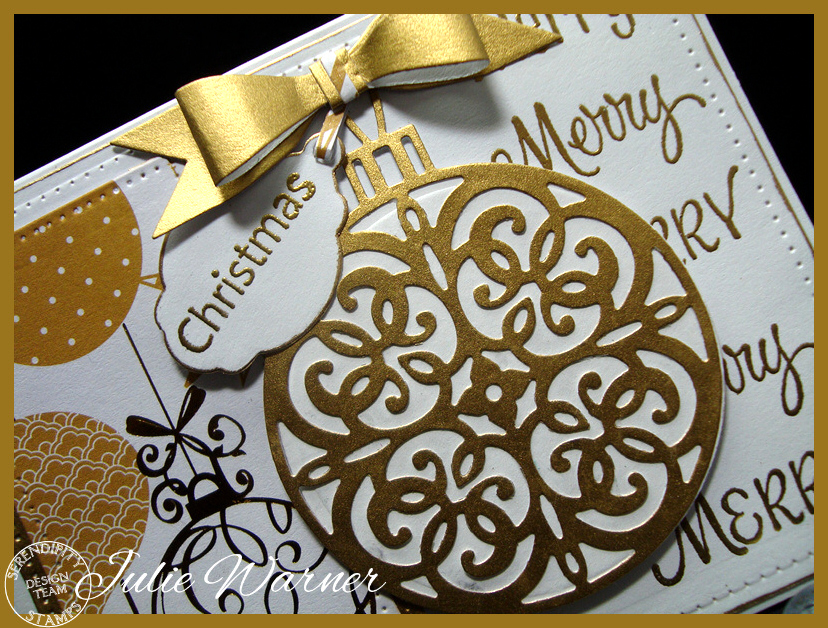
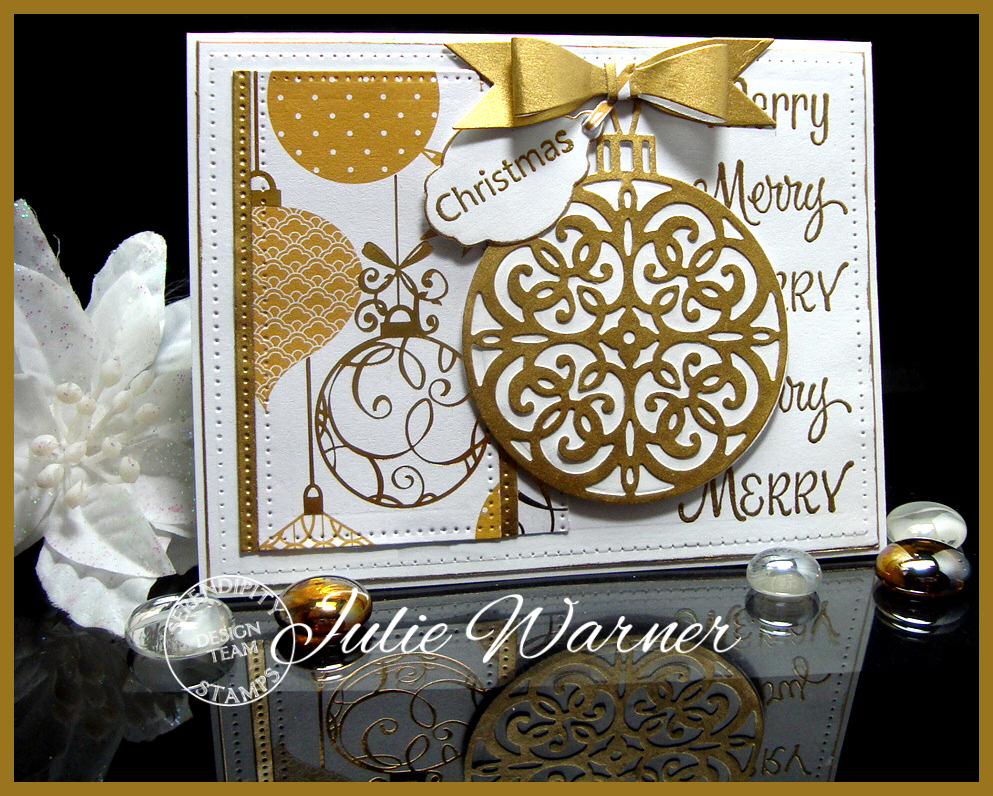
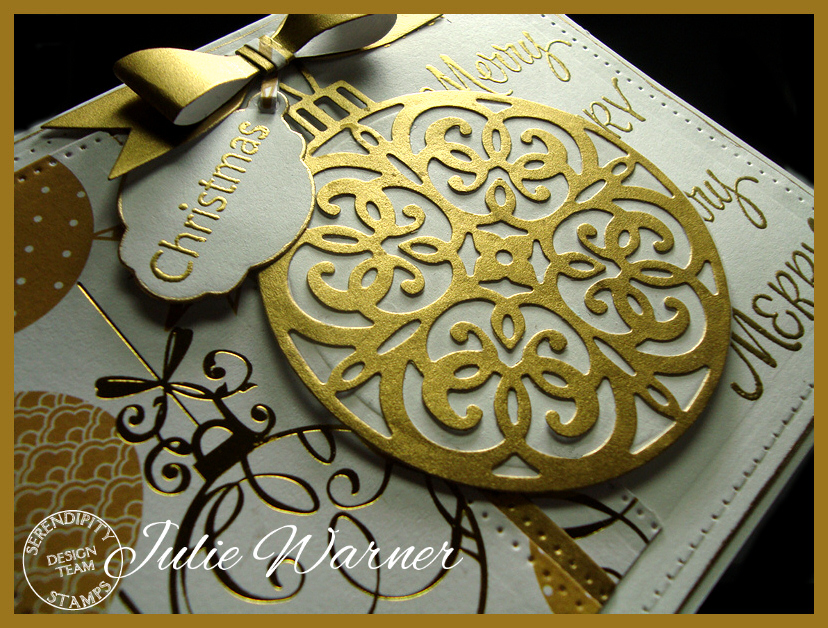
My card is fairly easy. I color blended a piece of white card stock with 4 shades of blue, going from the lightest at the top to the darkest at the bottom. I let it dry for a minute, then die cut it w/ the large cover die. A piece of cardboard was also cut to attach under it. Then it was attached to a piece of white glitter card stock. The greeting was embossed on a leftover piece of the blue using a white glitter powder. It also is attached to a larger glitter tag & attached across the front. Some of the leftover circles from the ornament centers were attached here & there.
Thanks so much for stopping by!

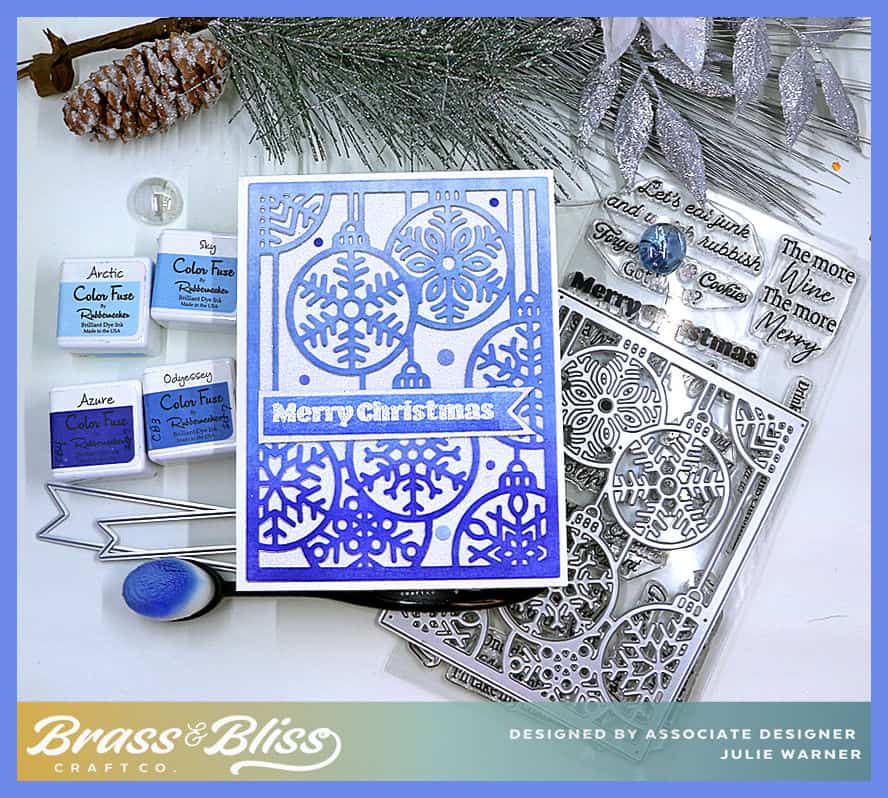
Supplies: (click the names below the pictures to take you to the products)
| Stamps: Brass & Bliss: Very Snarky Christmas set |
| Paper: Staples 110# white, white glitter |
| Ink: Hero Arts Unicorn, Brass & Bliss: Color Fuse ink set # 7 |
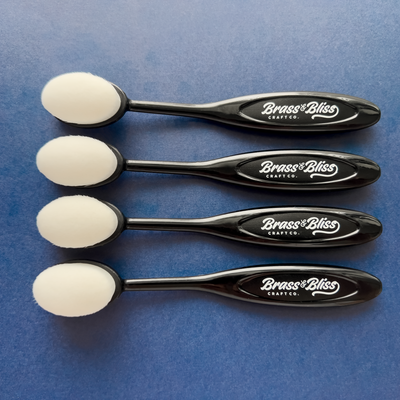
| Accessories: Brass & Bliss: Ornament Panel, Offset Tags dies, Lg Blending Brushes, Misti, white glitter embossing powder |

|
|

|
|
|

|

|

|

|

|
You might also like:


