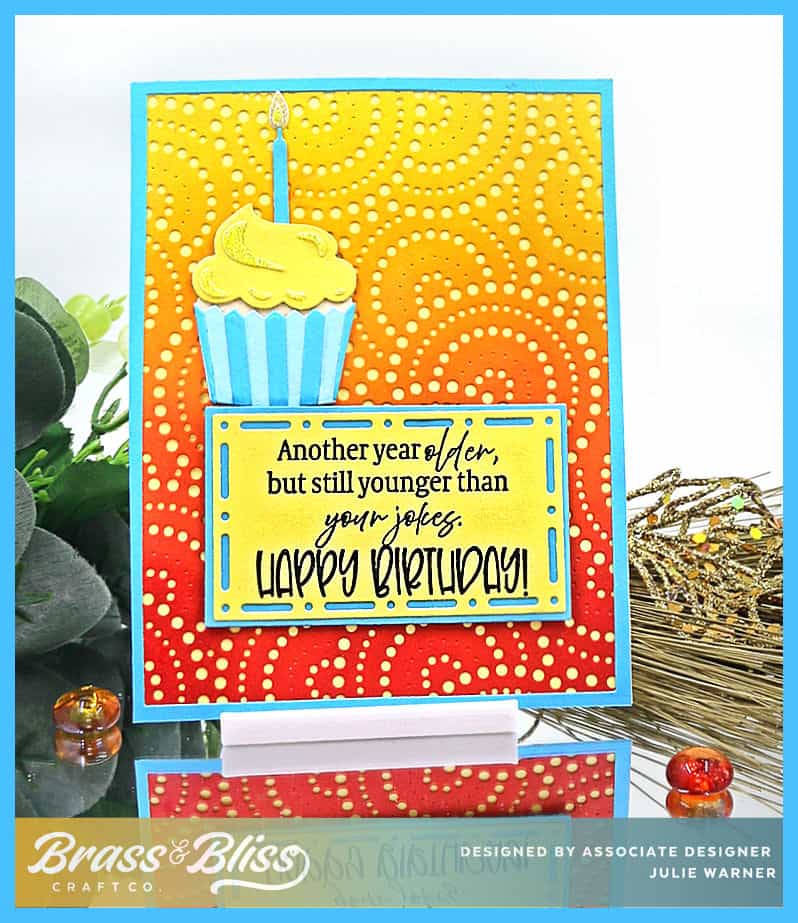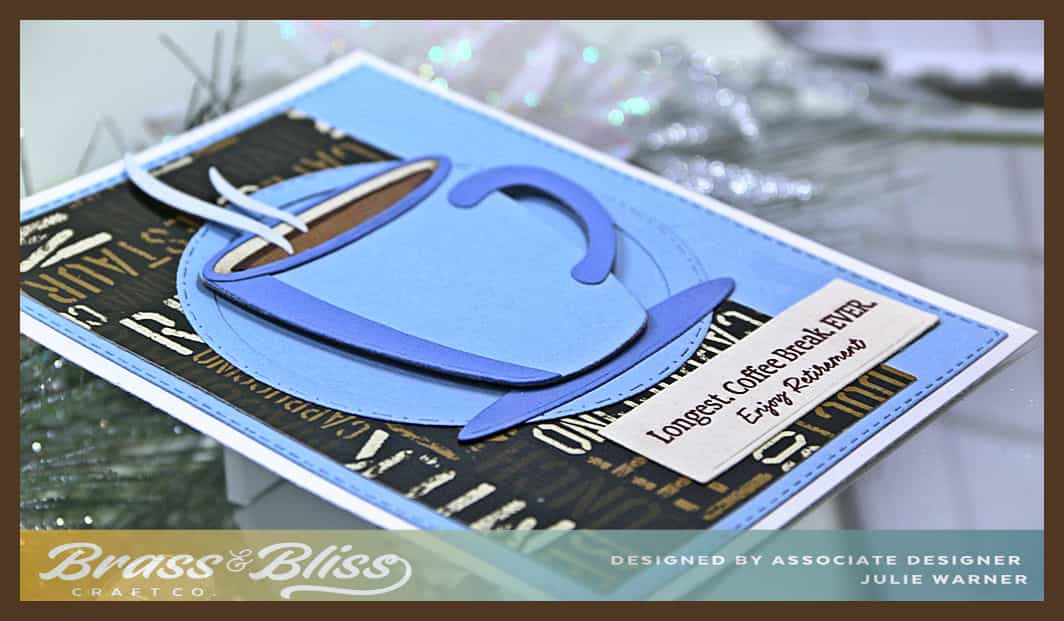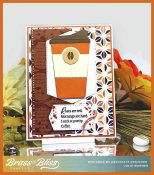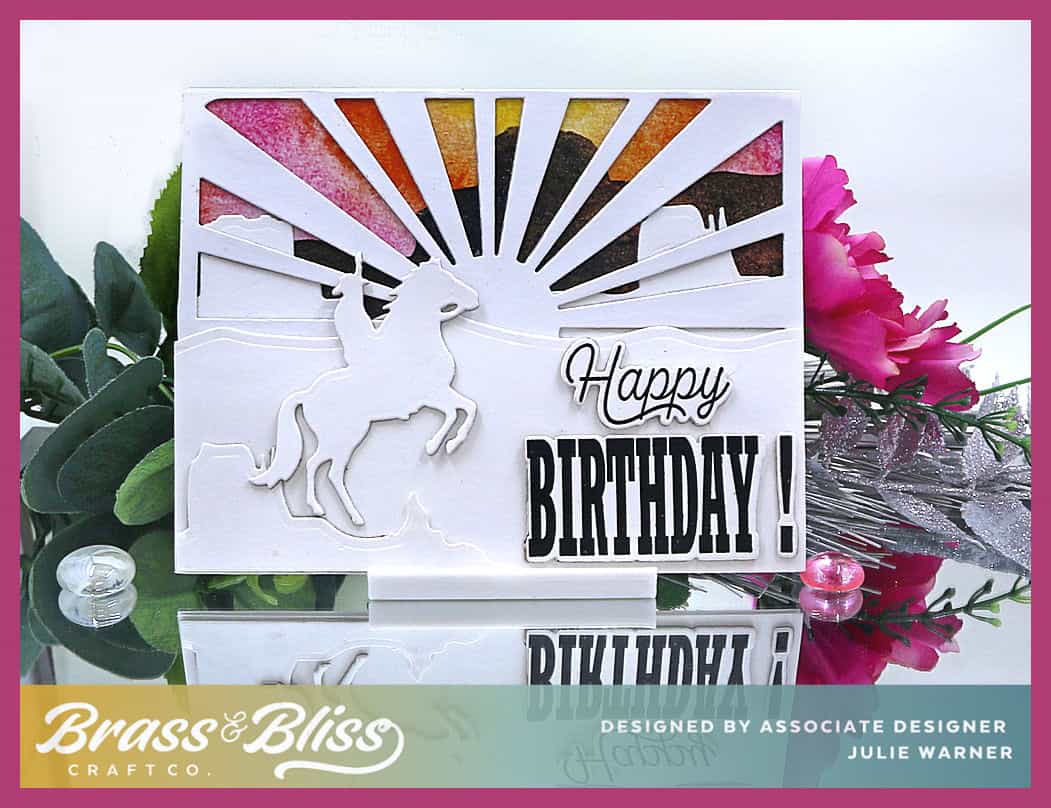
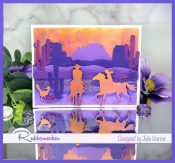
Today I have fun birthday card, perfect for those men or boys in your life. Masculine cards can sometimes be difficult to make but this is really easy. This cowboy die set also comes with a cowgirl silhouette so you’ll have all your bases covered. The new sunburst die is such a wonderful addition and you’ll find lots of uses for it.
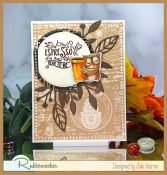
A big congrats to Robyn, the newest Featured Stamper FS995! She has a fun little gallery & I chose THIS card to case. I kept the white silhouette with a background color, but I used different dies, colors & turned mine horizontal instead of vertical.
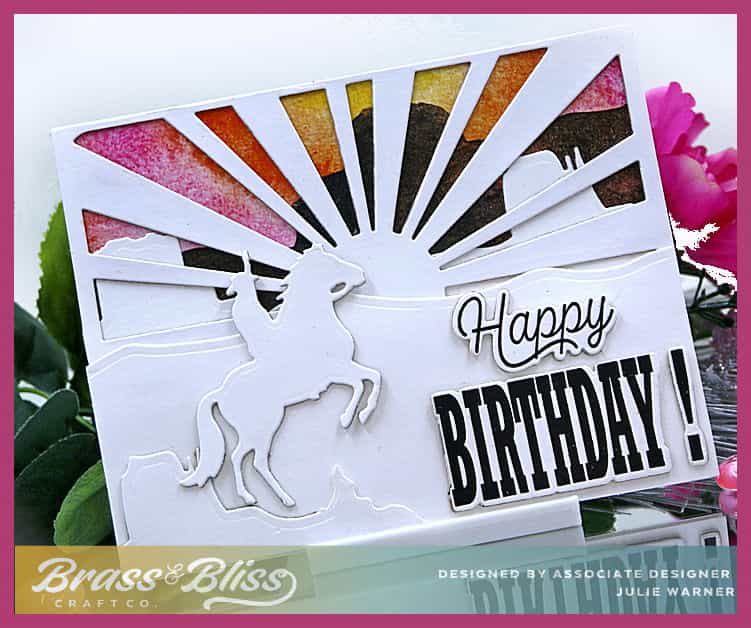
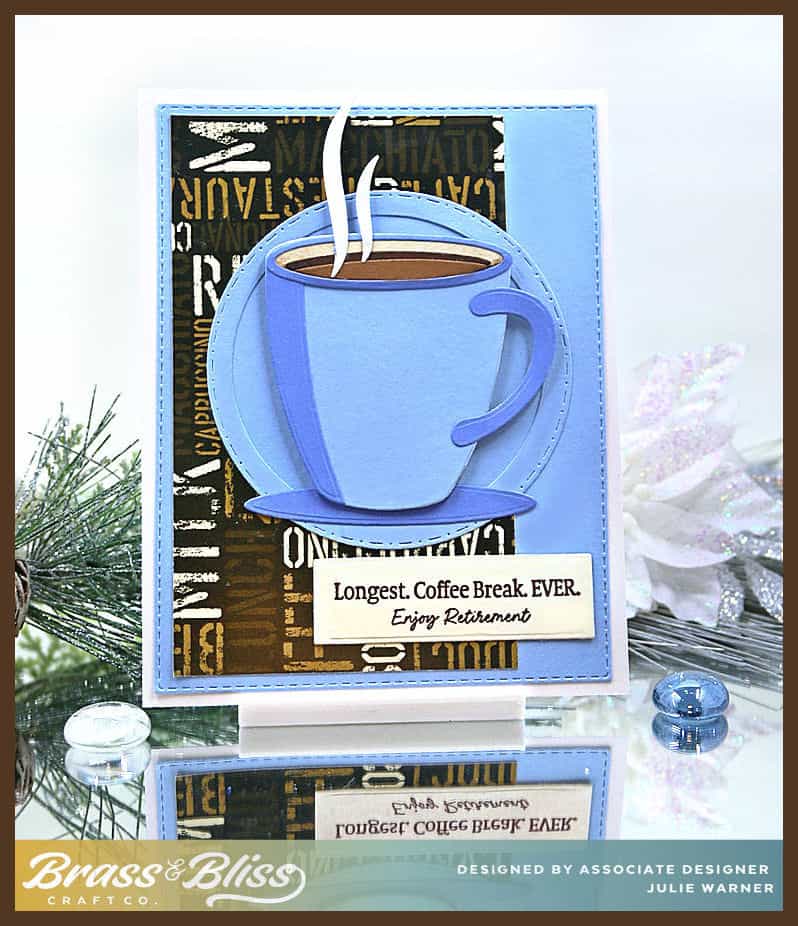
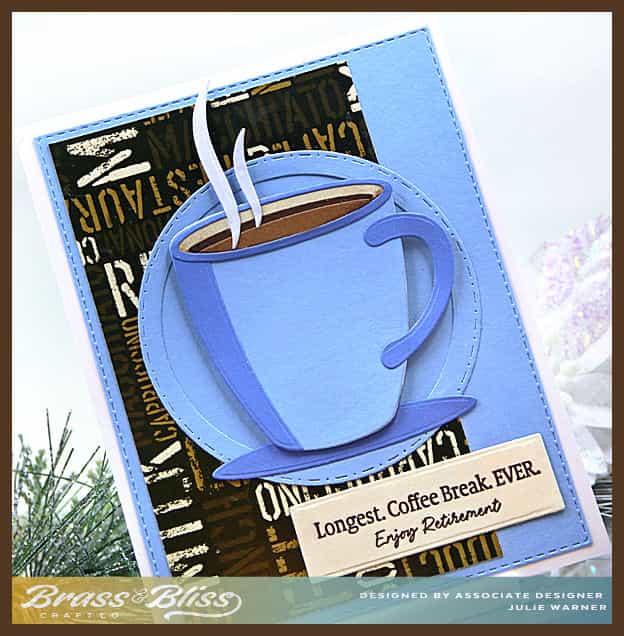
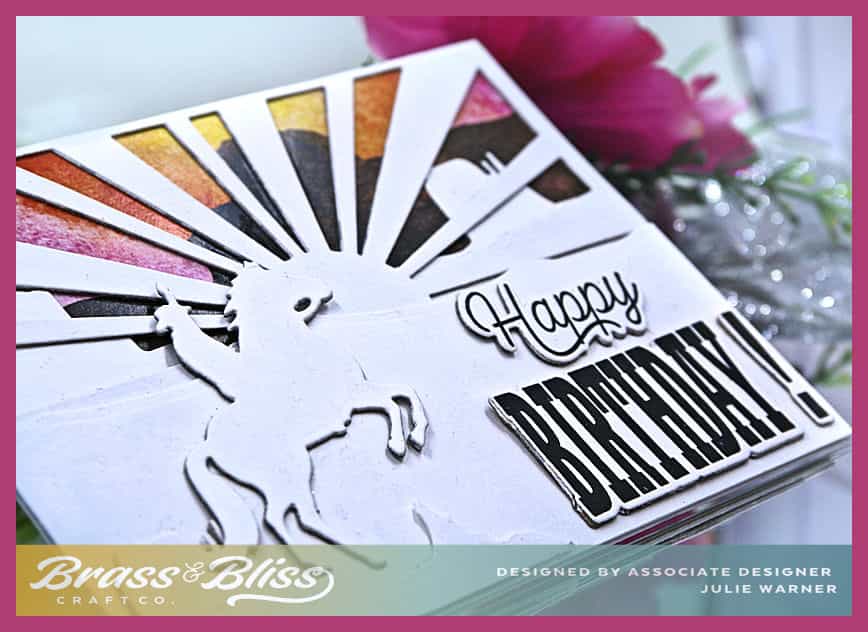
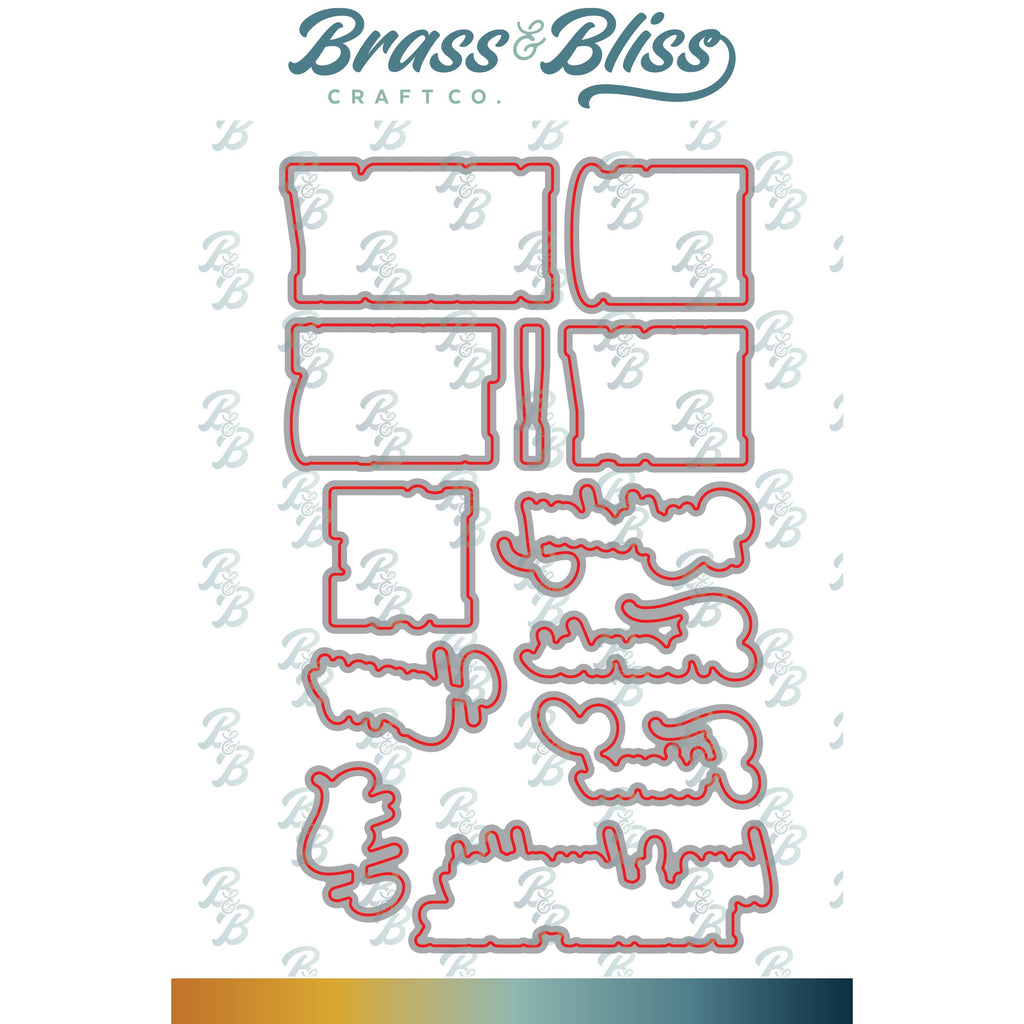
To make my cowboy card, I die cut the cowboy, sunburst cover & southwest hills out of heavy white. I added an additional layer behind all of them except the sw buttes behind the sunburst die. A piece of designer paper was used behind the sunburst. A large hill panel was added on top of the sunburst w/ a smaller one placed under the cowboy. The greeting was stamped & die cut w/ its coordinating dies & popped up one layer before attaching to the lower right.
Thanks so much for stopping by!

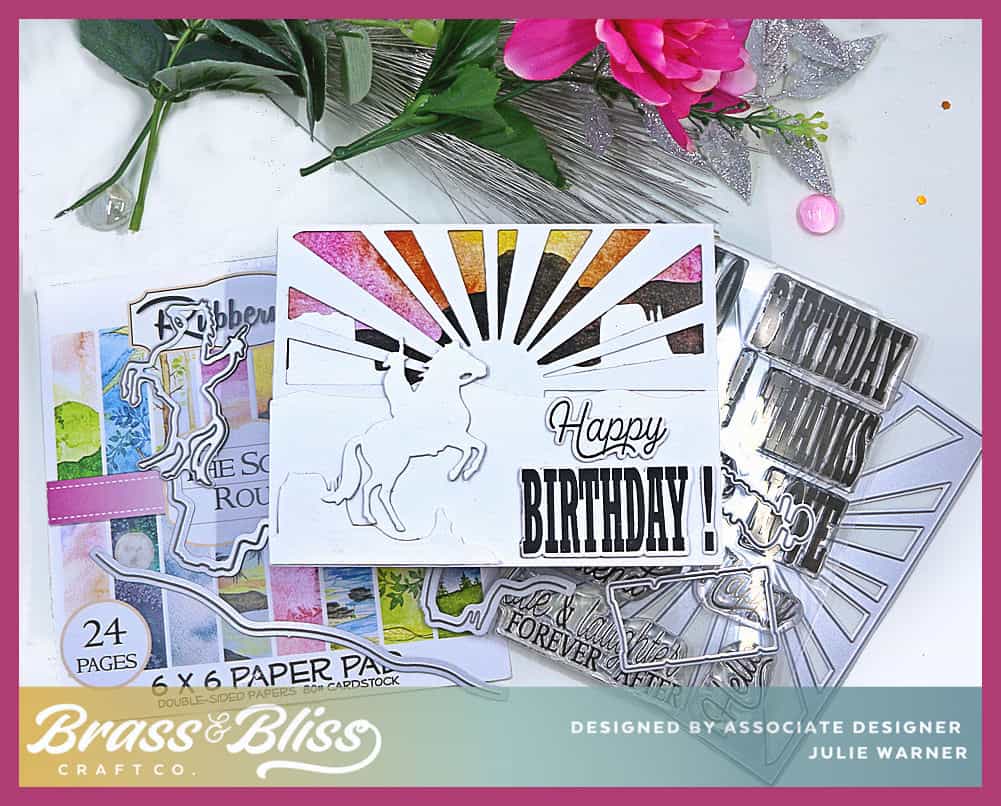
Supplies:
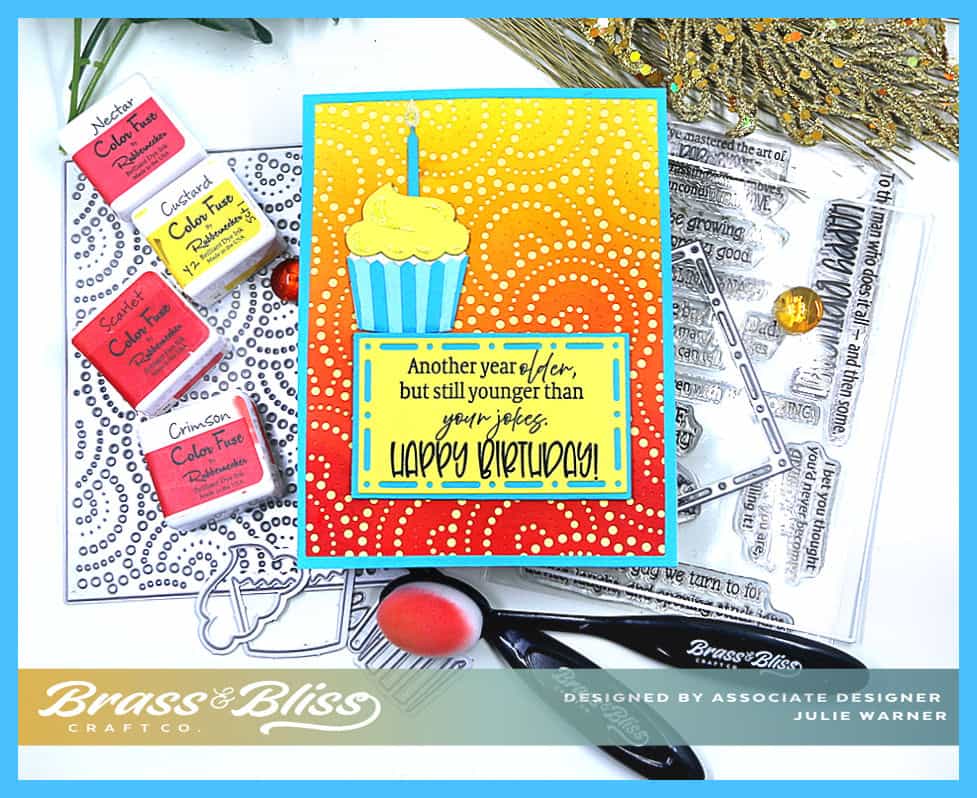
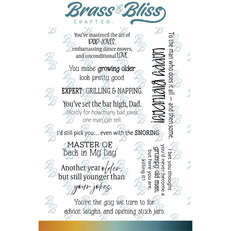
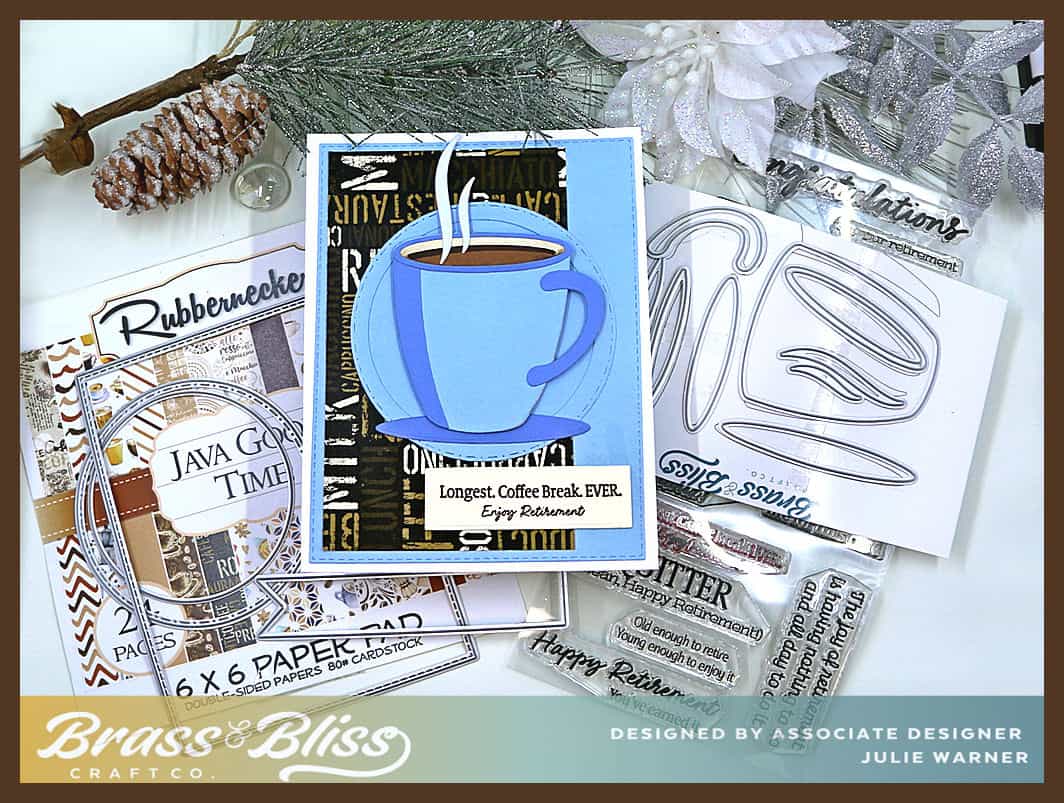
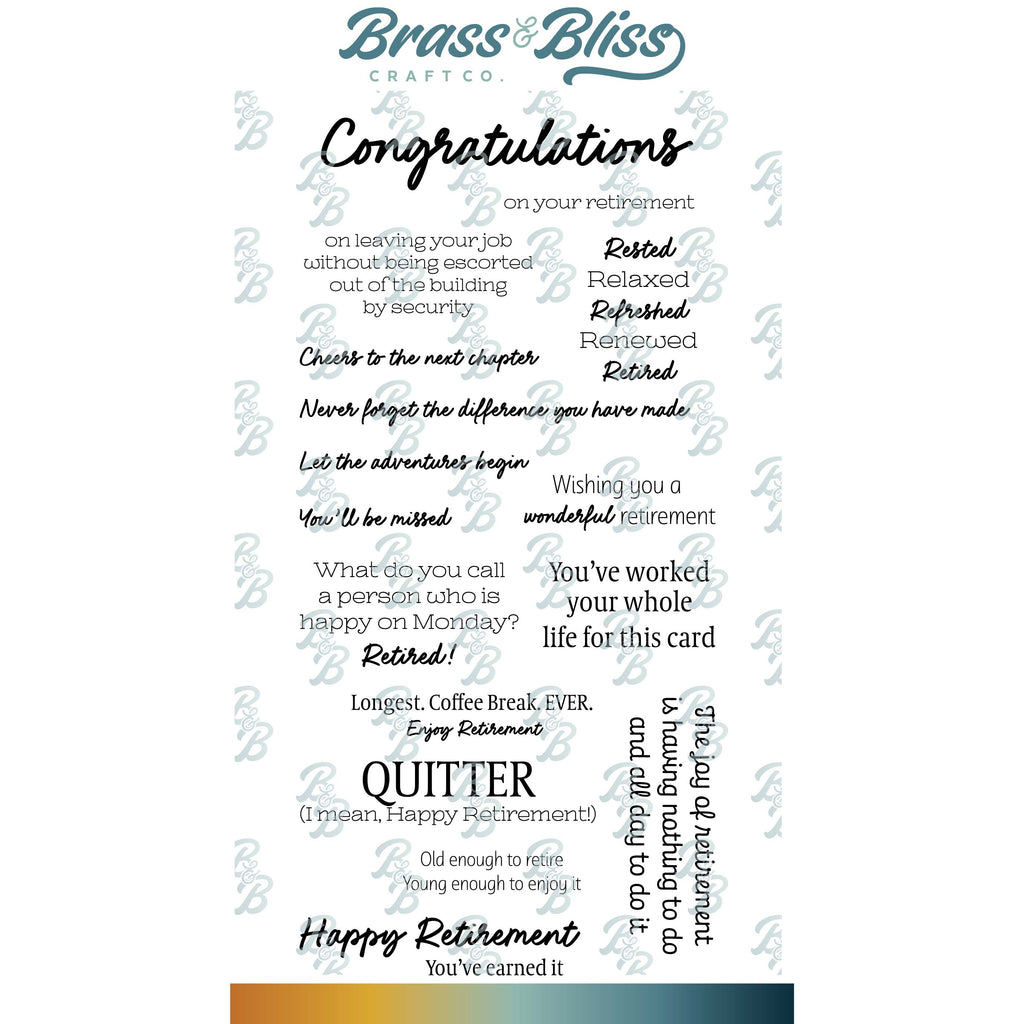
| Stamps: Brass & Bliss: Mix & Match Sayings |
| Paper: Staples 110# white, heavy white, dp (Brass & Bliss: The Scenic Route paper pad) |
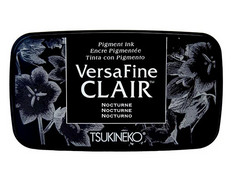
| Ink: Versaclair nocturne |
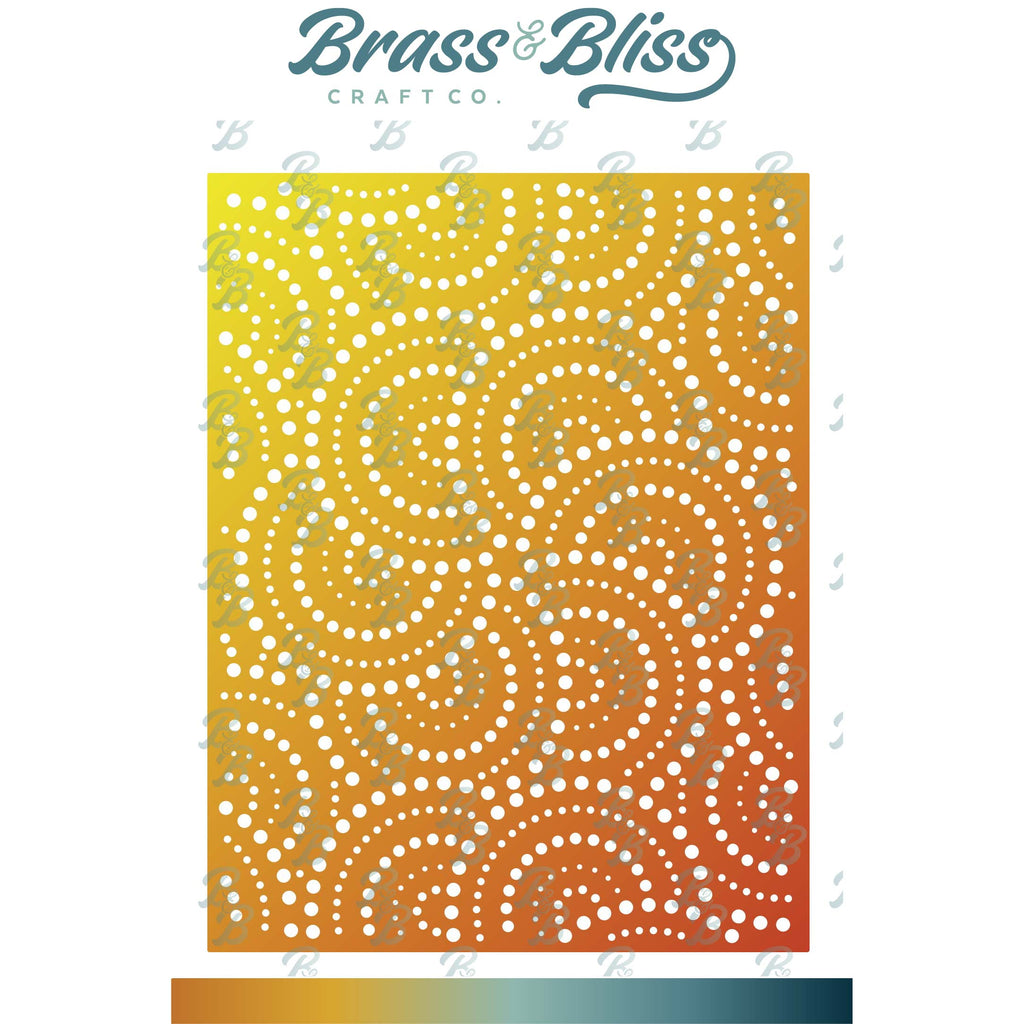
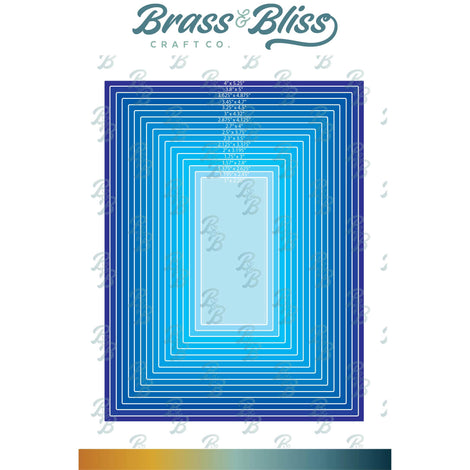
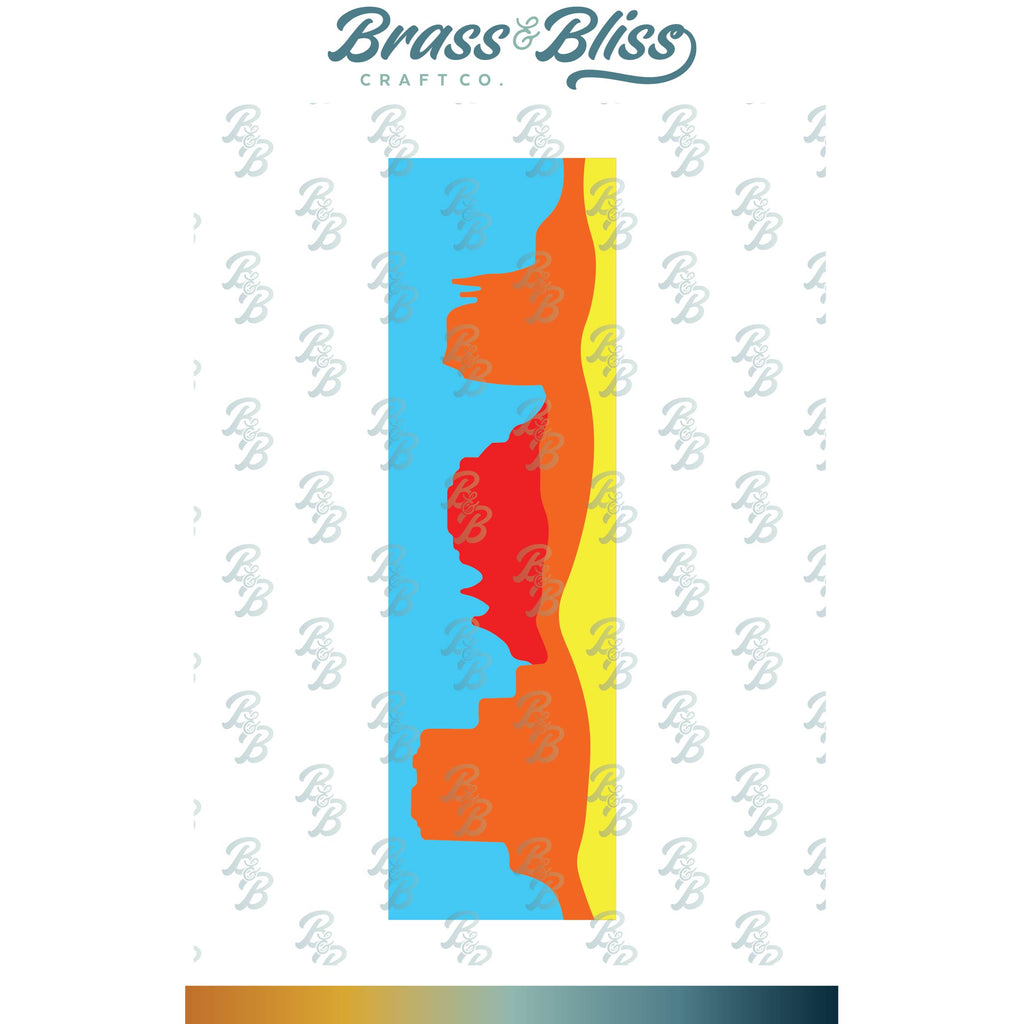
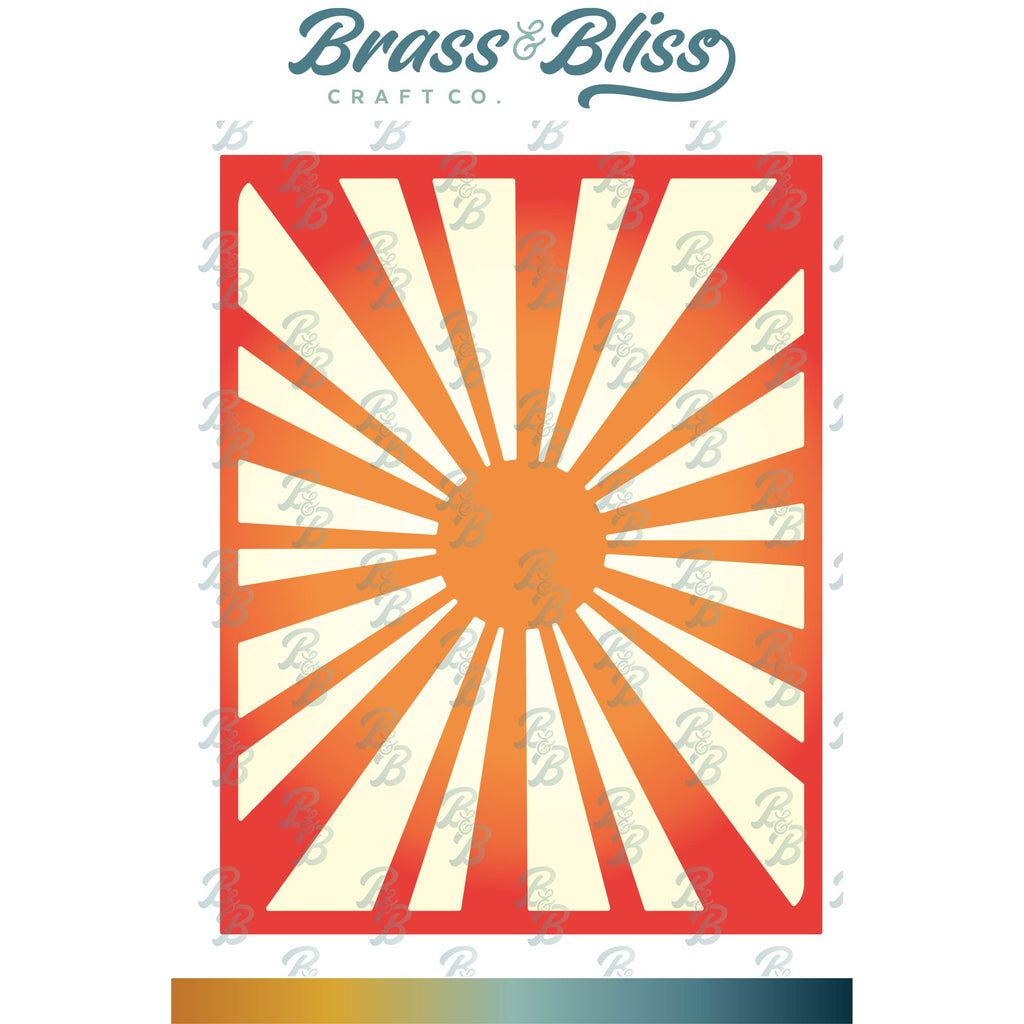
| Accessories: Brass & Bliss: Sun Burst Cover, Mix & Match Sayings, Cowgirl & Cowboy, Southwest Hills dies |

|
|
|

|
|

|

|

|

|
|
You might also like:
![]()