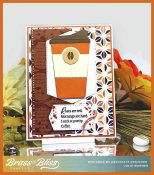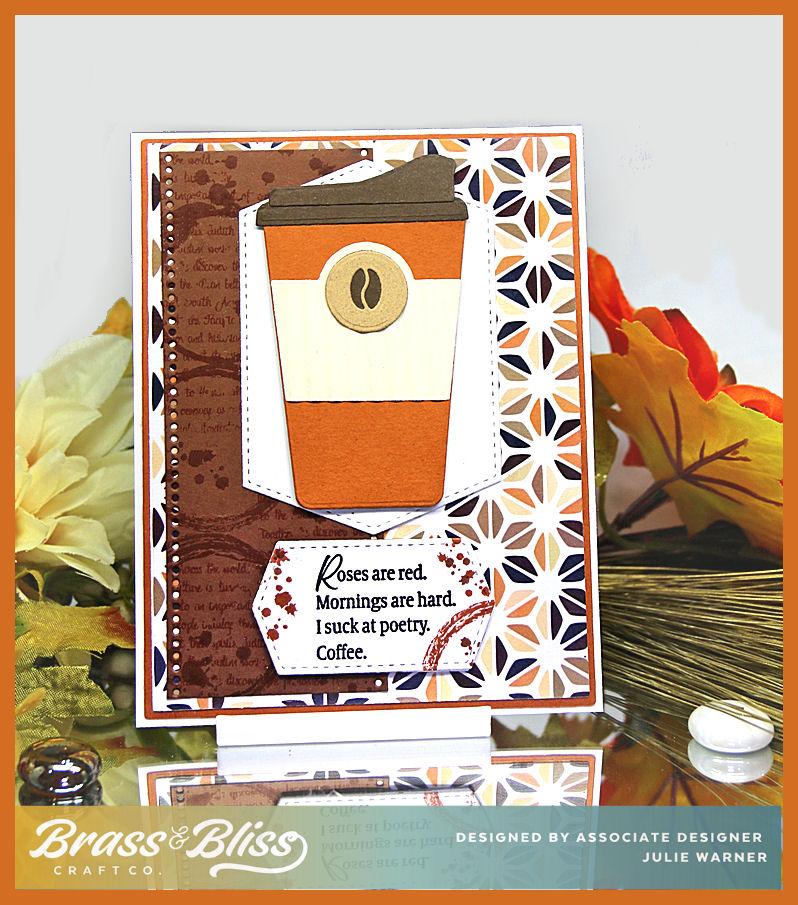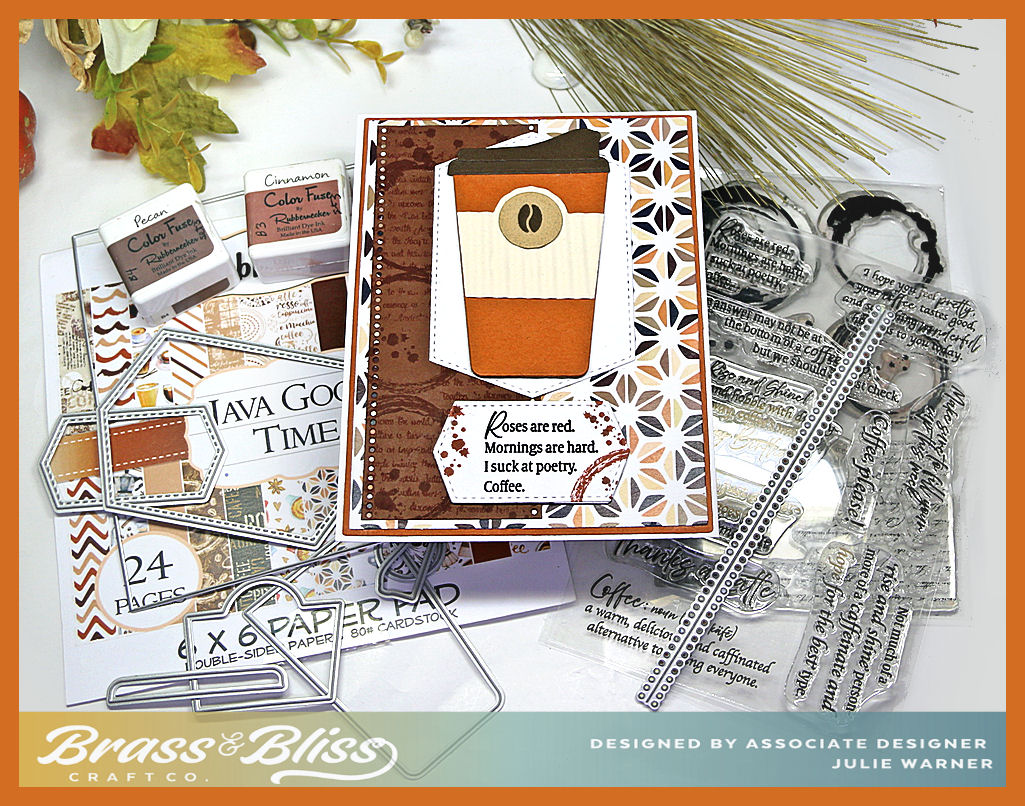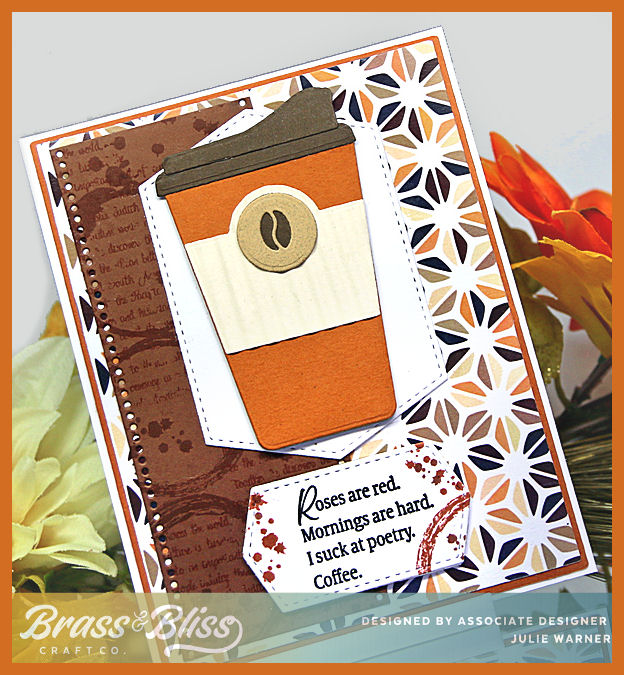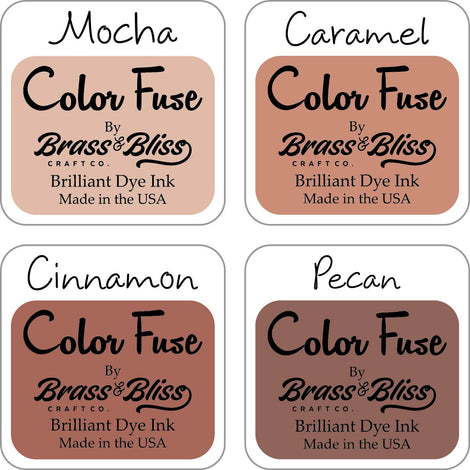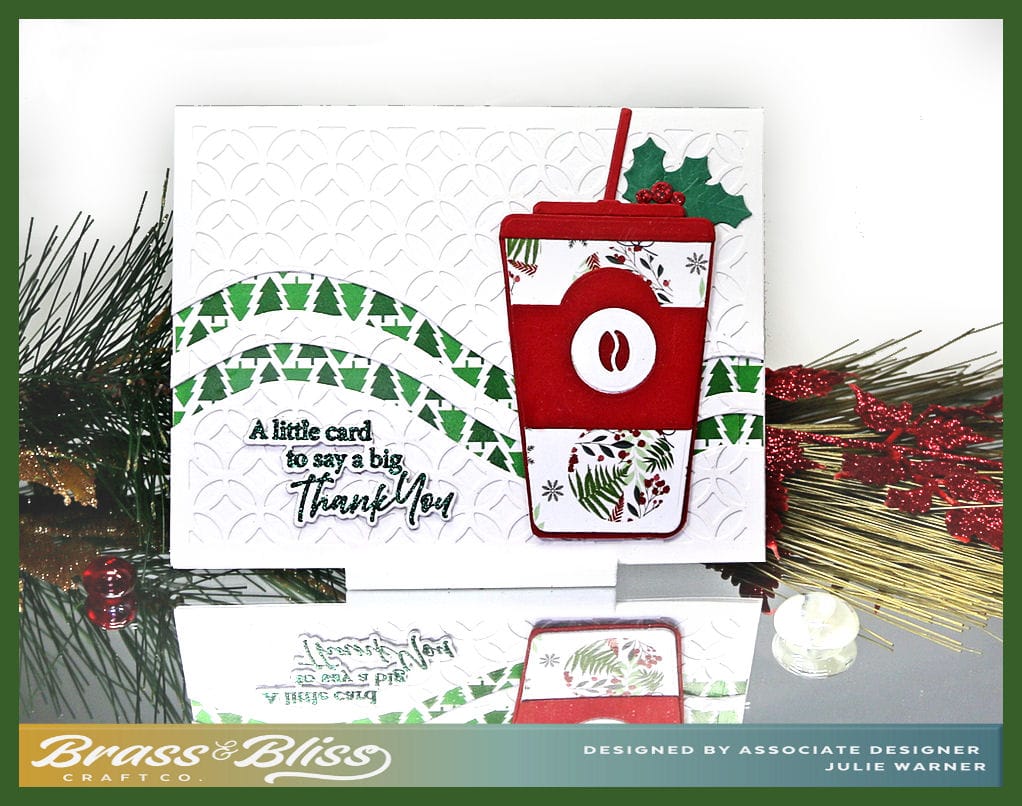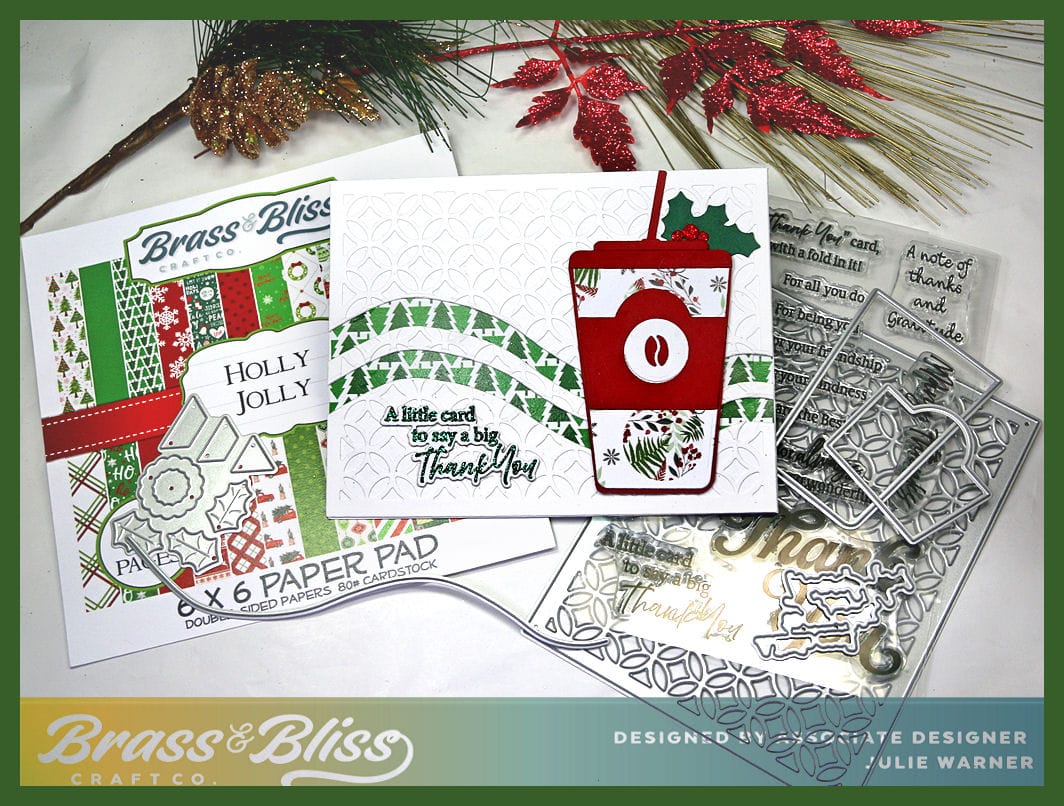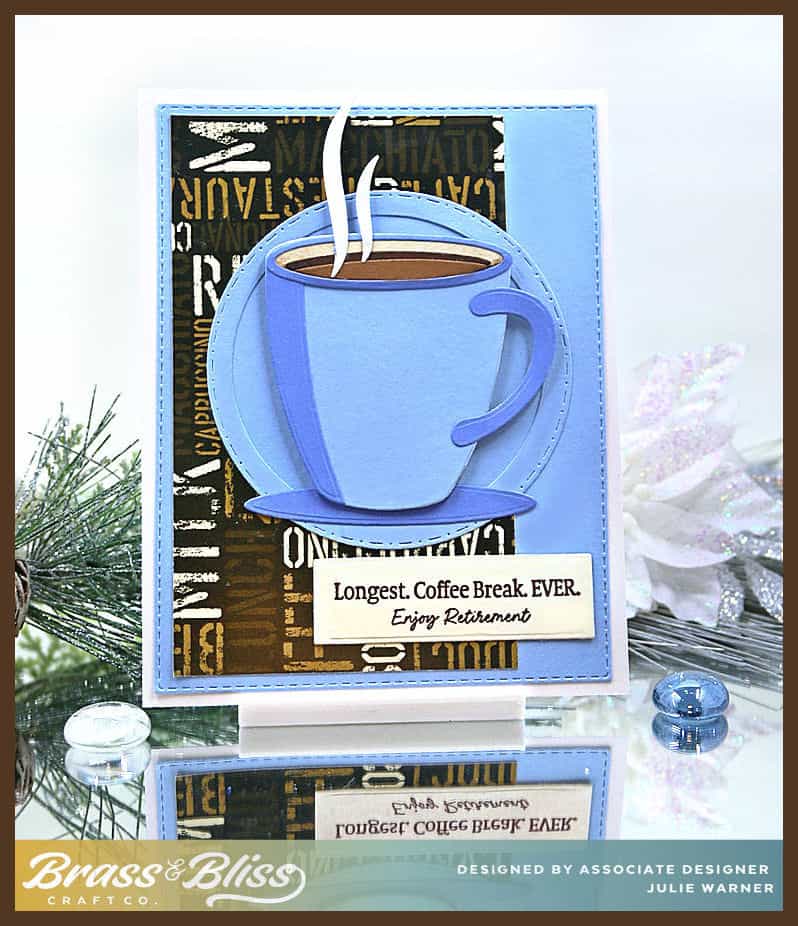
Today, I have a coffee themed retirement card. Perfect for a coworker or friend who is hanging up their work hat in favor of taking up a sunhat or fishing hat. Or just off to enjoy life and travel. These colors work great for guys as well as gals. Change the greeting and you have a totally different theme.
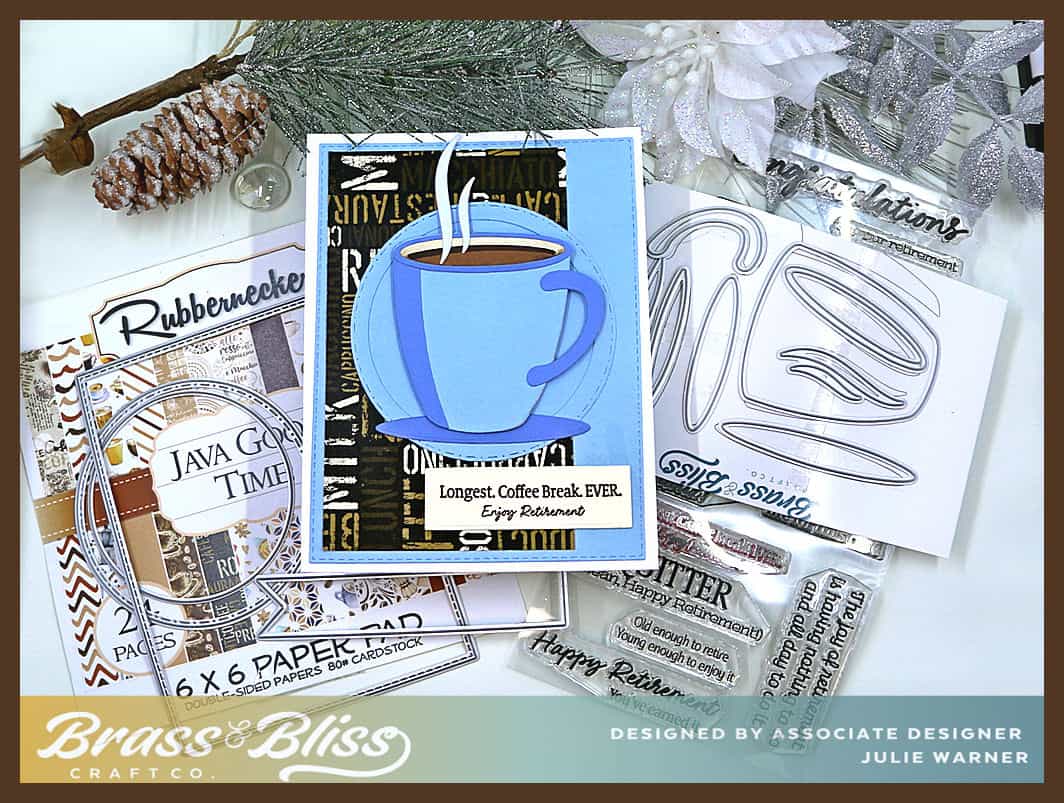
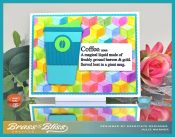
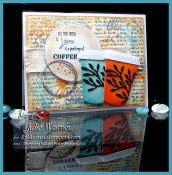
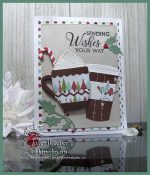
A big congrats to Tracy, the newest Featured Stamper FS986! She has a very inspiring little gallery & I chose THIS card to case. I kept the coffee theme but changed most everything else. It started out much more similar, but things happened. My cup is bigger & fit better vertical than horizontal, so I changed that. And my designer paper was only partial & had a circle cut out of it. I decided to use it as is & just put a circle frame around it. My greeting wouldn’t fit stamped on the paper so I put it on a separate layer.
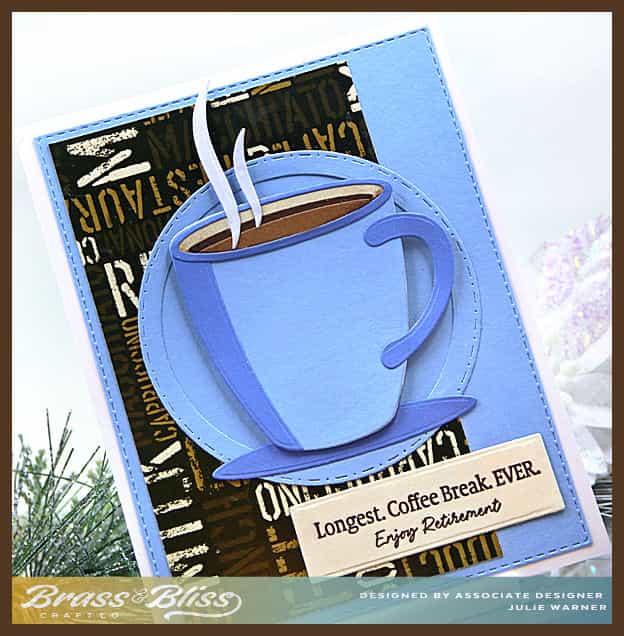
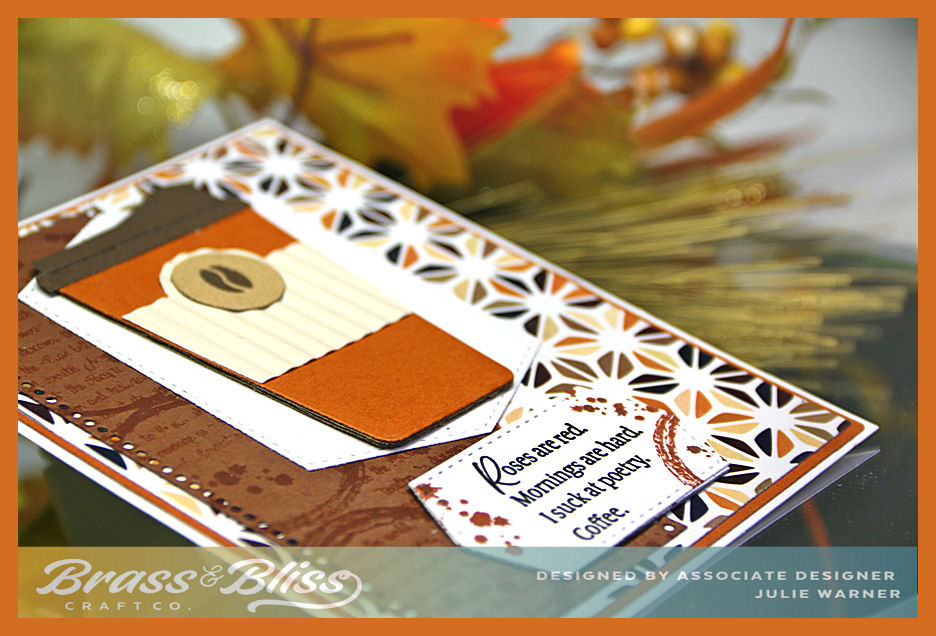
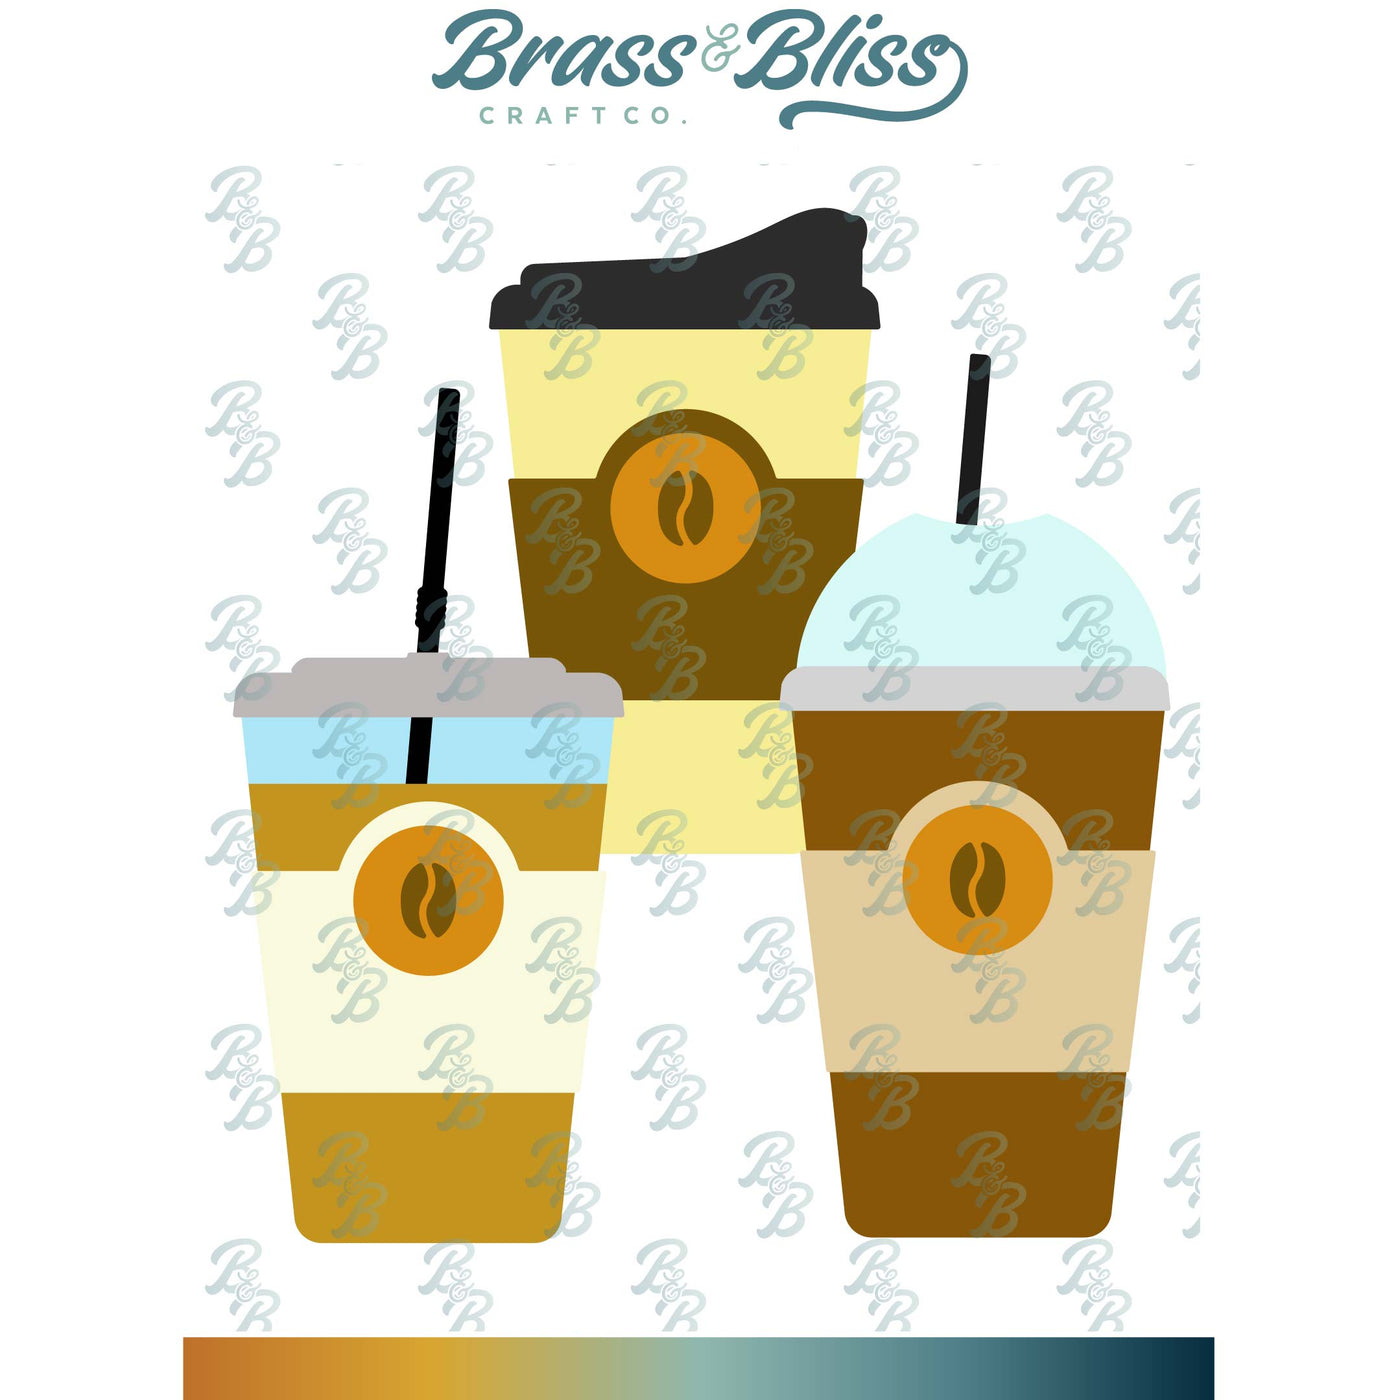
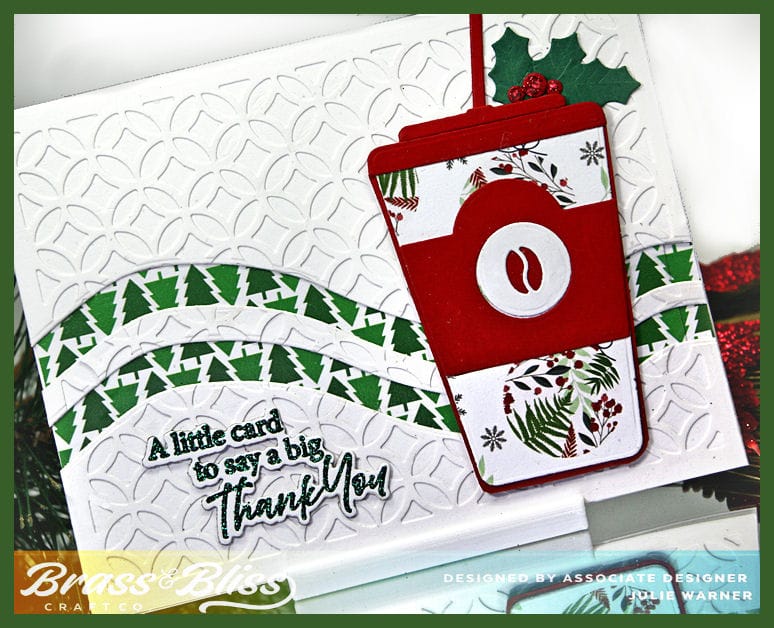
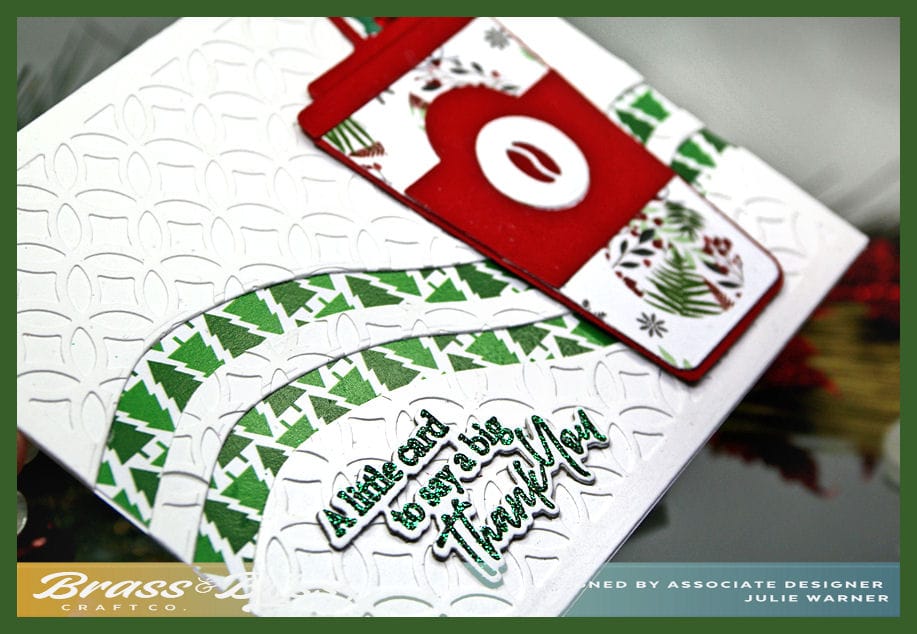
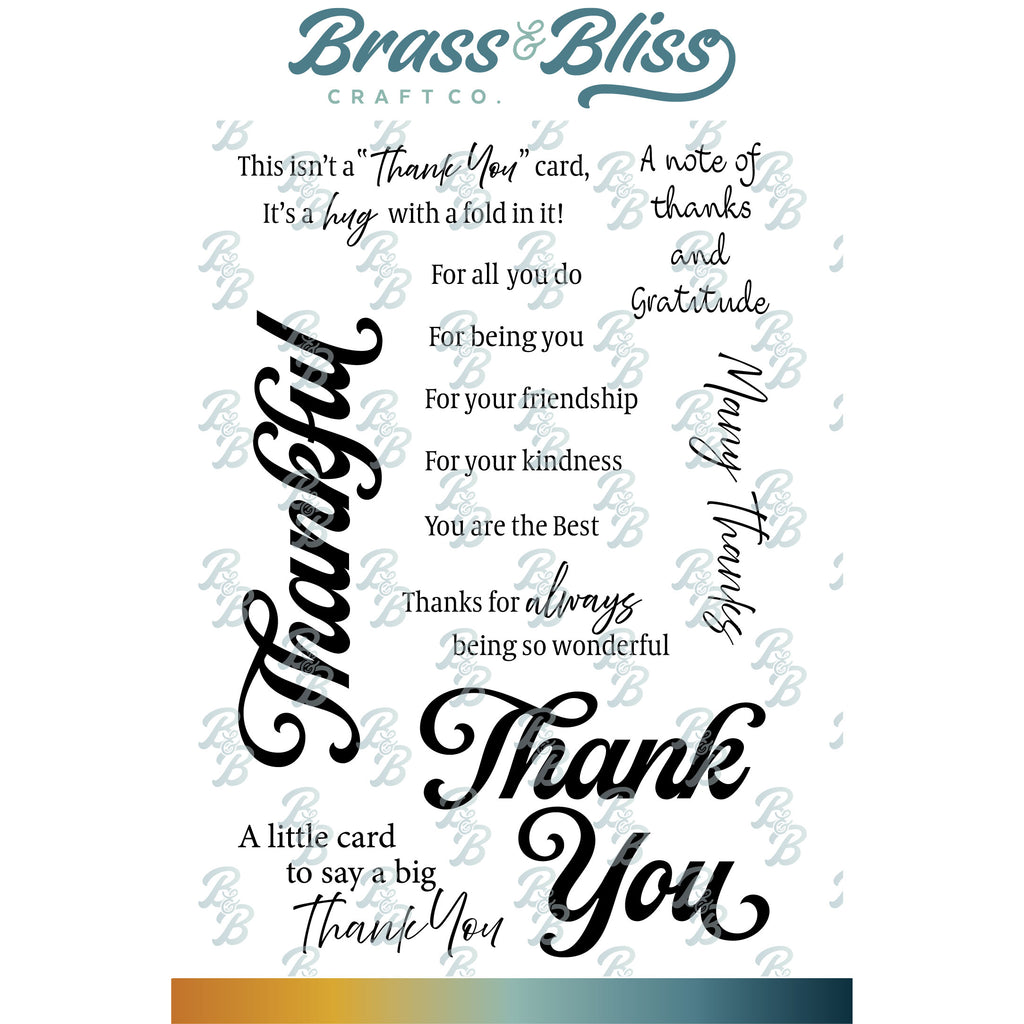
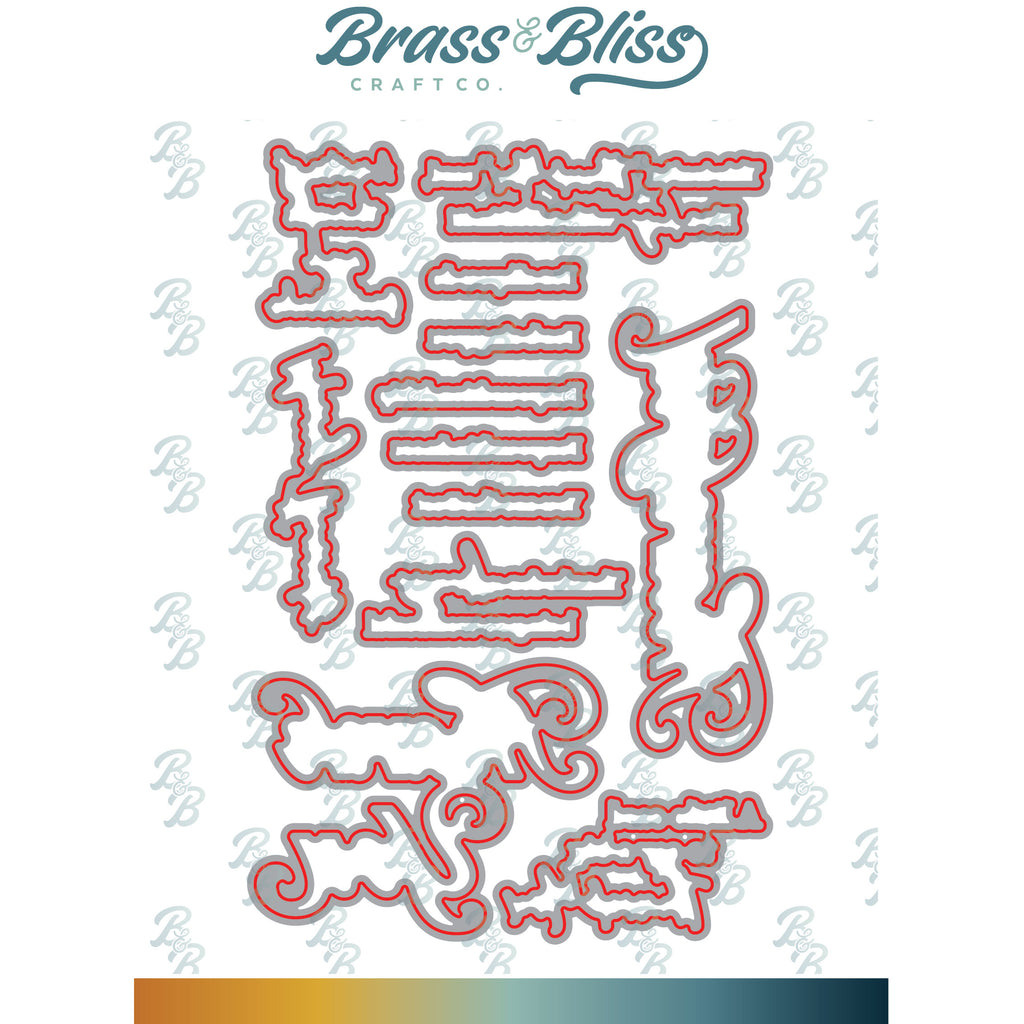
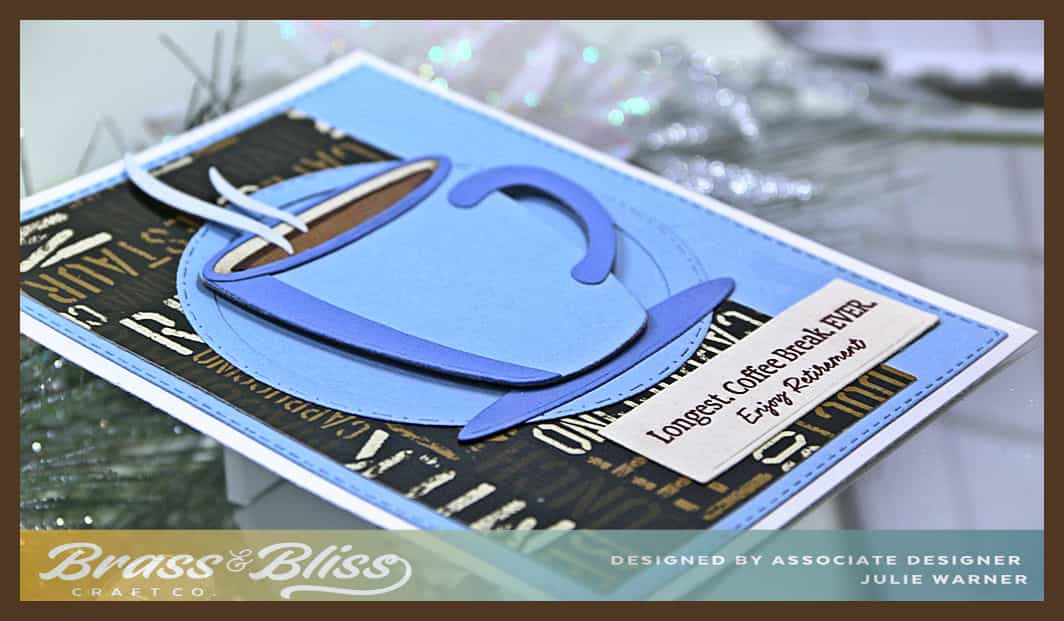
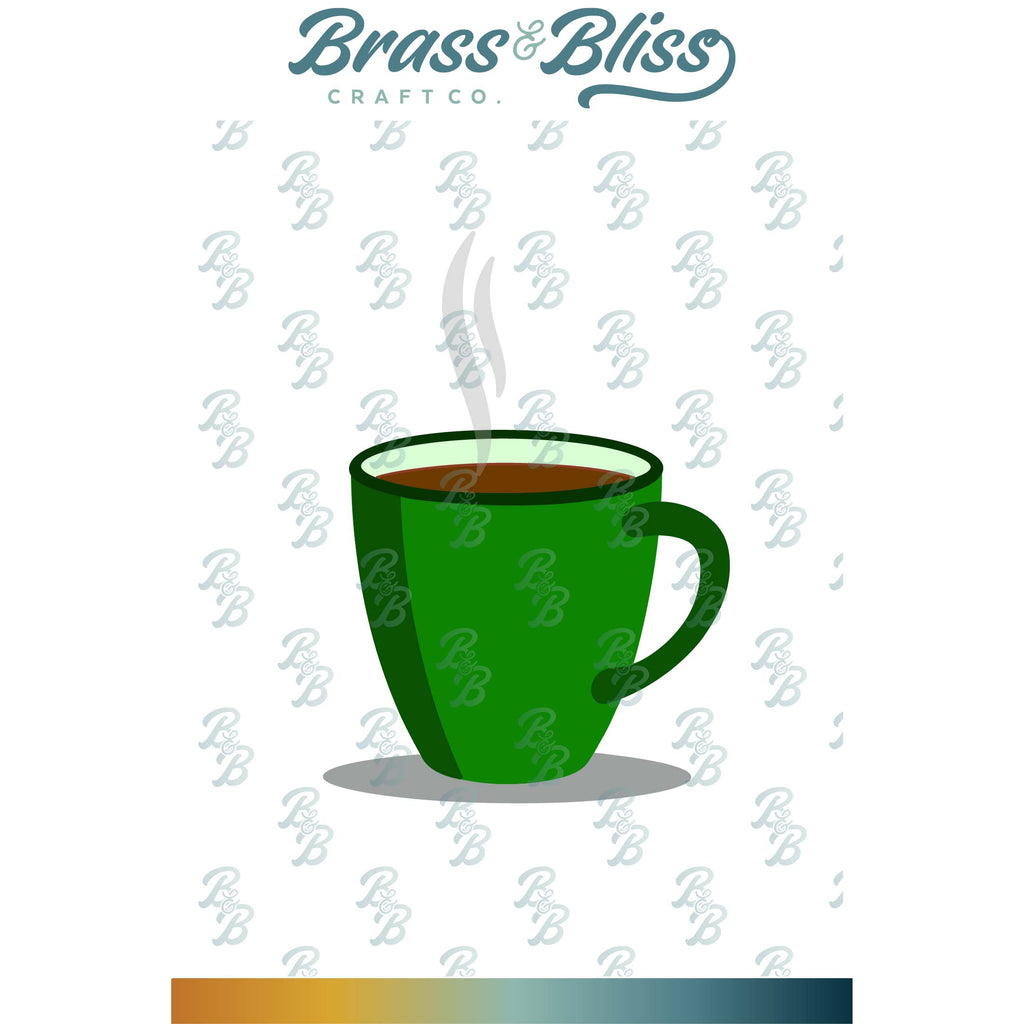
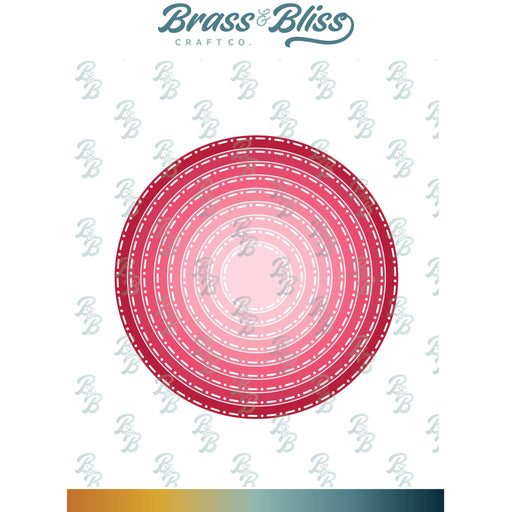
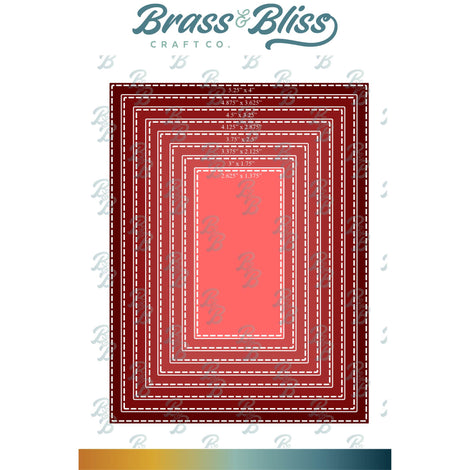
After die cutting all the cup pieces, I put them together. The hardest part is just deciding which colors to use for the cup. Just pick 2 shades of a color & you’re good to go. I used blues because I thought they’d be a nice contrast to all the browns. Instead of adding a circle or oval to cover the cut out in the designer paper, I decided I liked it as is, so I cut a blue circle big enough to go around it, then used a smaller circle to cut out the inside to make a frame. The greeting (love how snarky it is), was stamped on a piece of vanilla & cut w/ a tag die. It was cut half way, then die turned around & cut the rest of the way, making both sides the same. The cup is popped up 1 layer & everything was attached to a large blue background.
Thanks so much for stopping by!
( You can go directly to the items by clicking the name under the pictures below.)

Supplies:
|
|

|
|
|
|
|

|

|

|

|
You might also like: