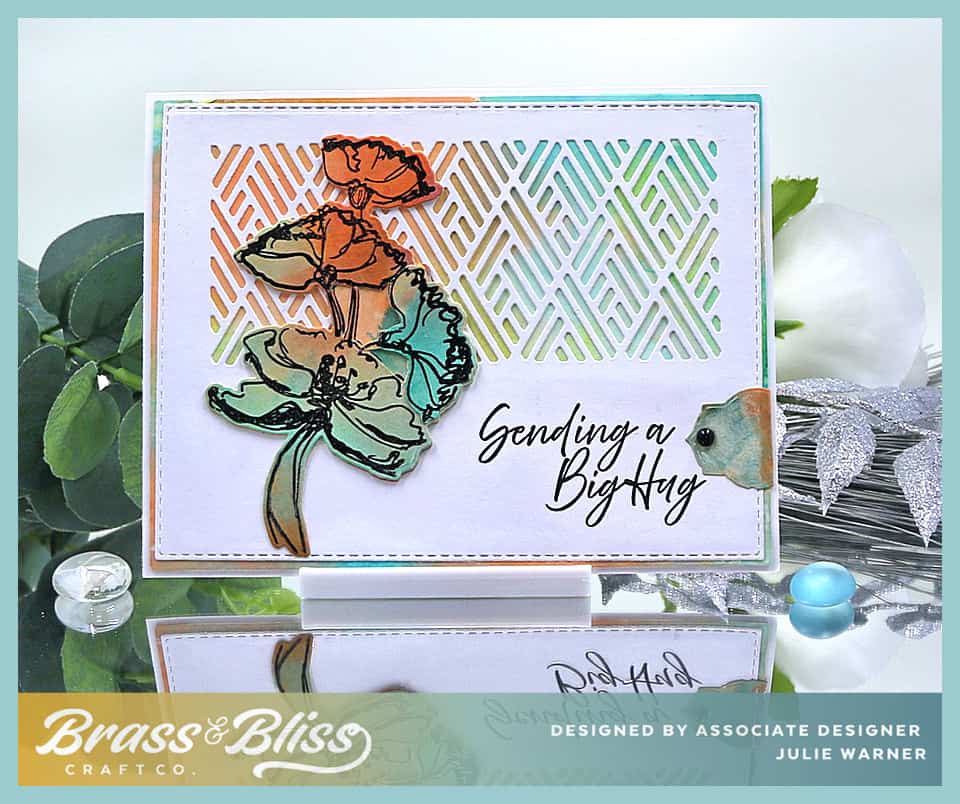

I have a special technique to show today. So there are a few more pictures than usual. Sometimes I like to shorten or lengthen a particular die cut to fit what I’m doing. I used this technique to adjust the length of the cut made with this Victorian Lattice inset die. It’s a handy trick you may find useful!
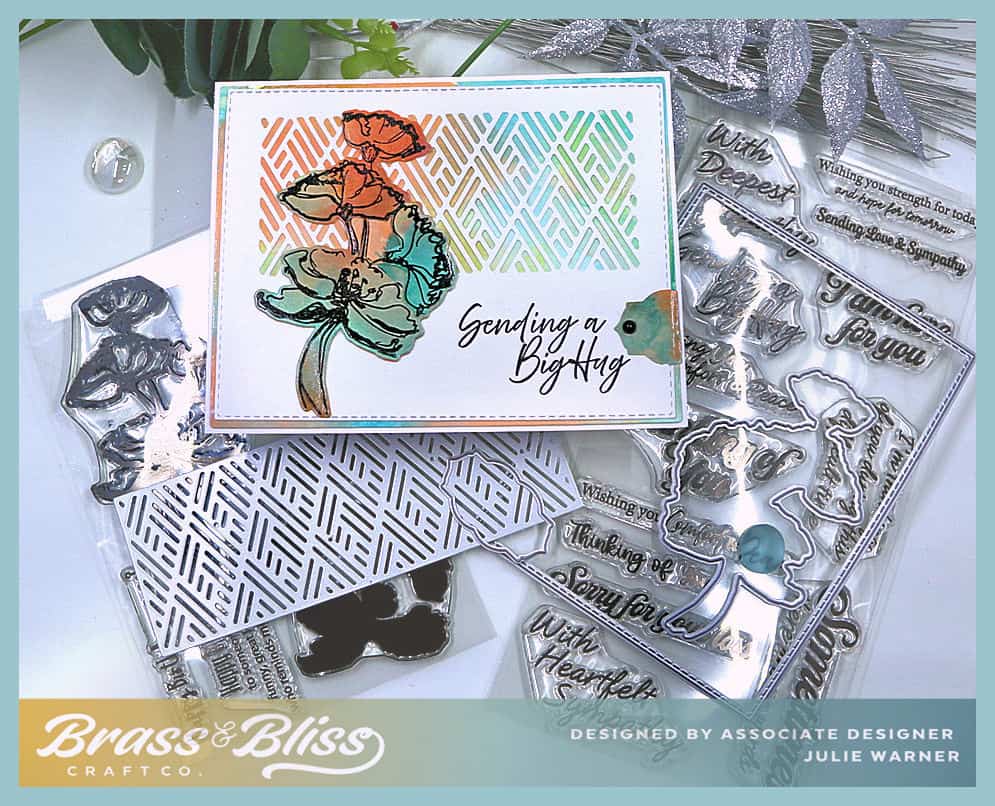
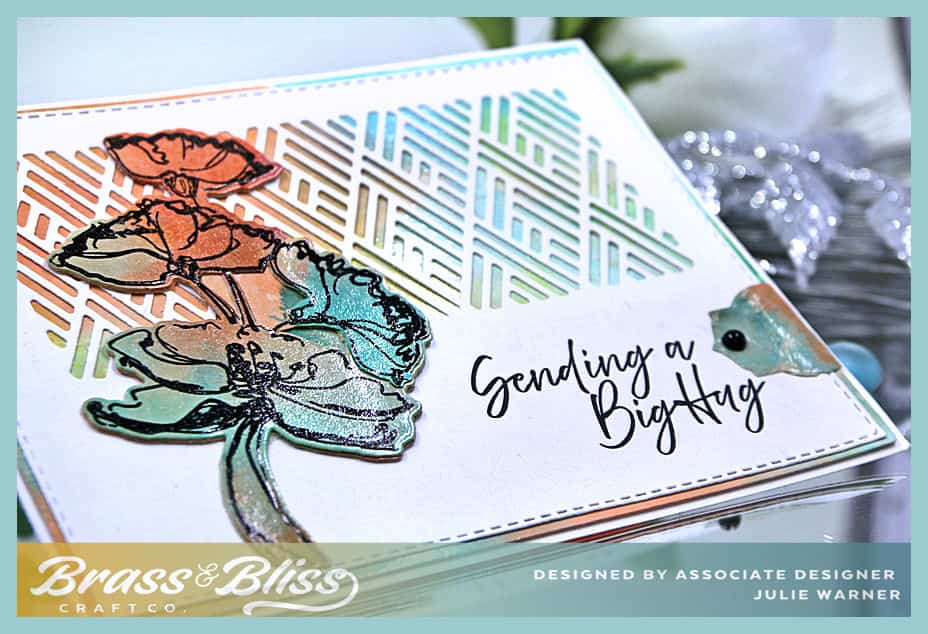
For the Inspiration Challenge IC1049 we are visiting Factory Direct & their Pinterest Boards. THIS picture was my inspiration.
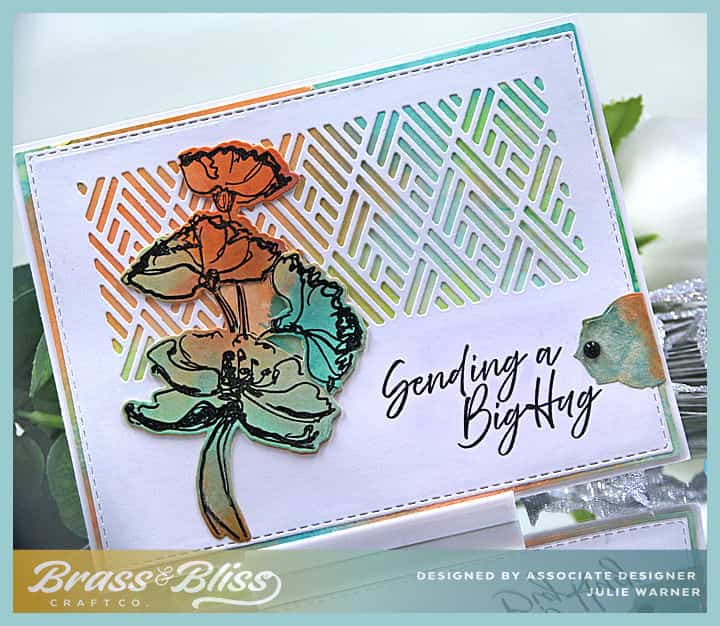
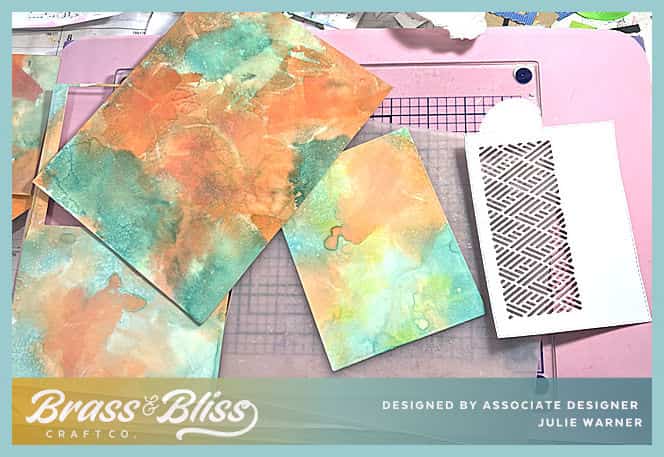
To make my card, I stamped the flowers on part of a background I made ages ago. It was made w/ dye reinkers on semi gloss card. The ink was spritzed on a teflon sheet then the card was applied face down. Here is a before picture showing what it looked like. I used the lighter piece just to the left of the white lattice. I tested different inks on this before I stamped the flowers. Memento did not work. I knew pigment inks would not work since it’s a coated surface. Ancient Page & Archival inks DO work equally well. I just picked the Ancient Page. To make certain it didn’t smear, I also heat set it. As I said, if you don’t have or can’t find Ancient Page, the Archival works equally well.
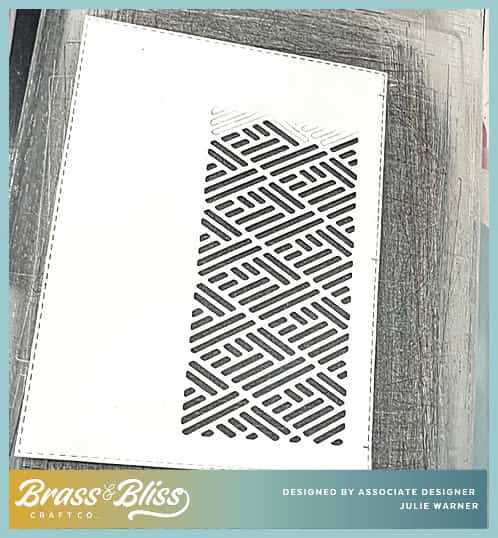
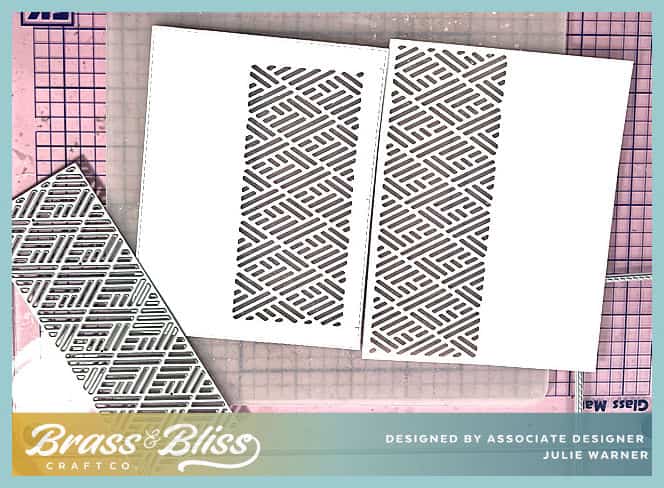
For the partial lattice panel, I used an inset die that normally measures 5 3/8″ long. So I made it shorter. Here is how I did that. I cut the card stock w/ a rectangle stitch die. It measures approximately 4″ x 5.25″. The die would not fit this size, so I measured the repeat of the pattern which is 7/8″, which means I’ll have to shorten the cut by 7/8″, making the total cut length 4.5″ (it normally cuts 5 3/8″ long). I marked the center of my card then used a centering ruler to make a mark 2.25″ on either side of the center mark. I placed one end of the die on the mark of one end. Placed a small top plate over it & cut it about 2/3 of the way. Where the plate doesn’t extend over the die, it won’t cut.

This is what it looks like after the first cut.
Then I turned the cut around, placed the other end on the mark, & made sure it lined up. You can feel when the die “clicks” into the already cut part & see it is in the correct position. Again, I placed the top plate, just over the part I wanted to cut & ran it thru again.

This is how it looks when finished. Perfect! You can see the shortened cut on the left & a full cut on the right.
I placed the background behind it & cut it slightly larger than the white lattice topper. The greeting was stamped on the lower right & the stamped & die cut flowers were popped up and added to the left. I cut a small tag out of more of the background & wrapped it around the right side & added a black pearl on top.
Thanks so much for stopping by!
( You can go directly to the items by clicking the name under the pictures below.)

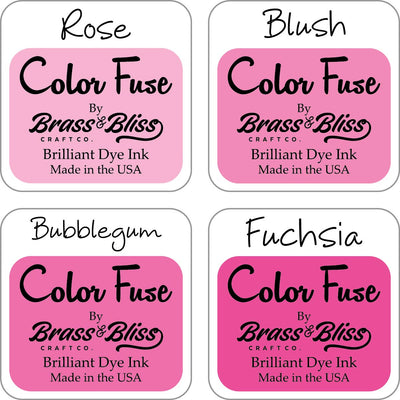
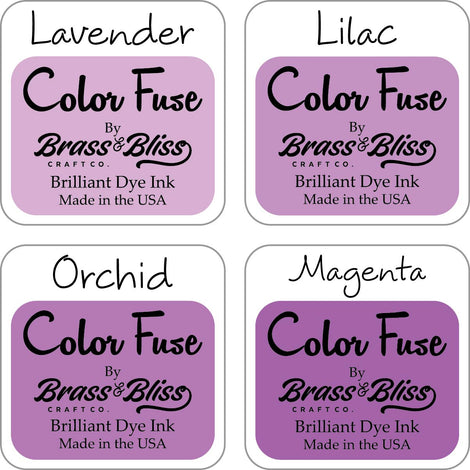
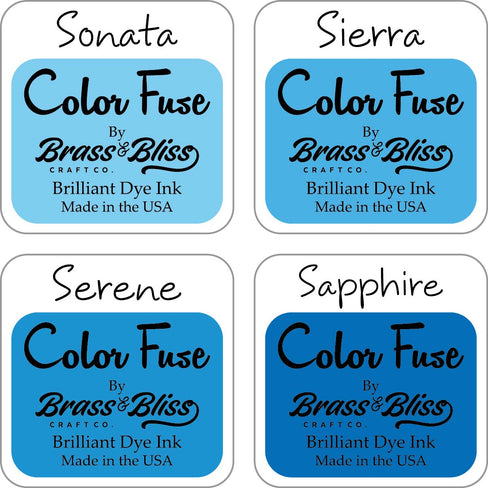
Supplies:

|
|

|
|
|
|

|
|

|

|

|
You might also like: