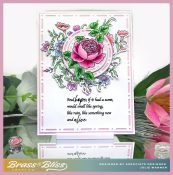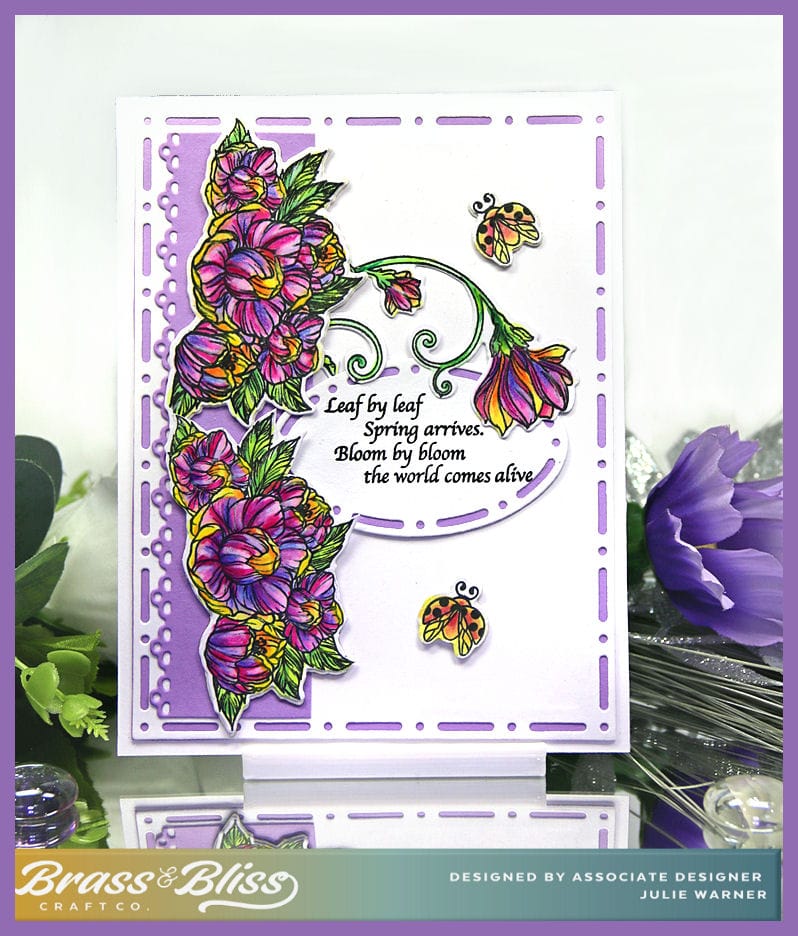

Are you ready for spring? Even thought it’s been cold, I can see tulips & hyacinths starting to push up through the dirt in the flowerbeds. Won’t be too much longer. In honor of the coming spring I have a very flowery card today colored in using mostly complementary colors. A little unusual but I’m liking how the colors look together. Keep reading for a mini art theory tutorial using these colors.
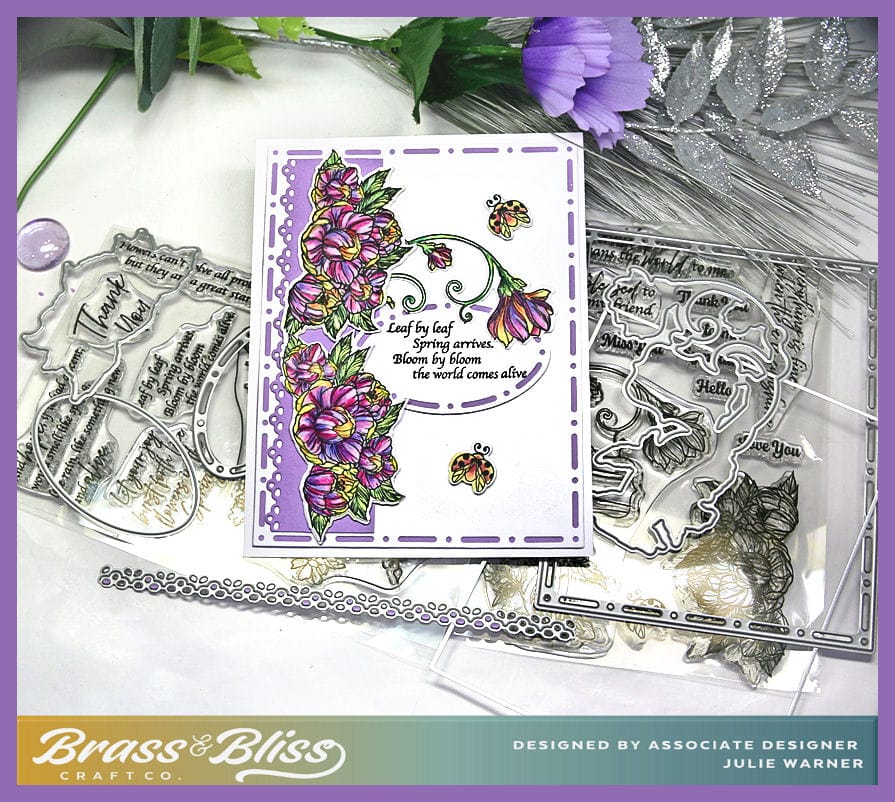
It’s my turn to host the Featured Stamper Challenge, FS941. So a big congrats to Patti! She has a wonderful gallery & I chose THIS card to case. I kept the floral theme & layout, but I used different images, dies, colors & made mine a spring card.
 \
\
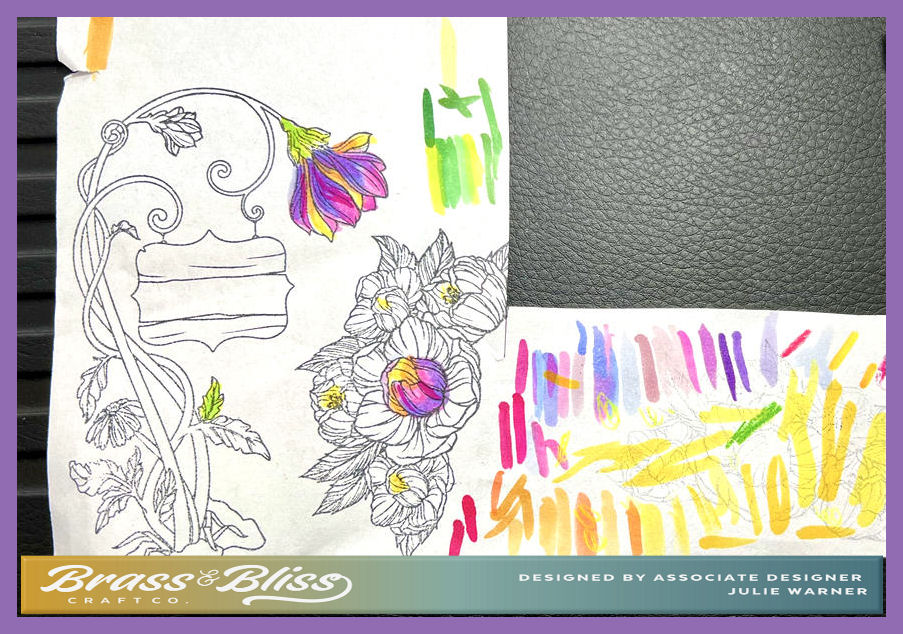
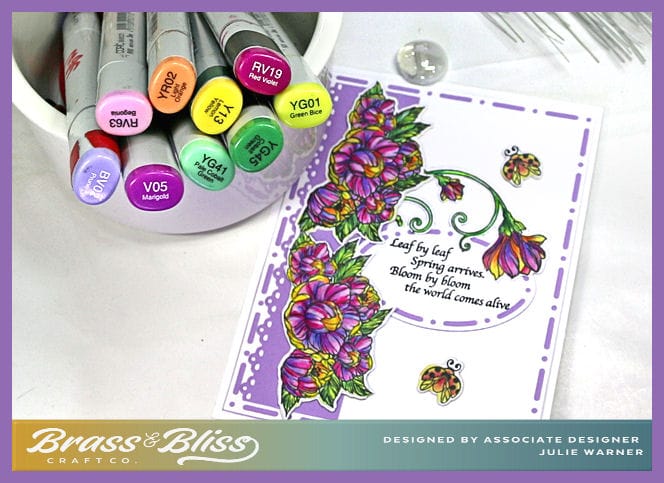
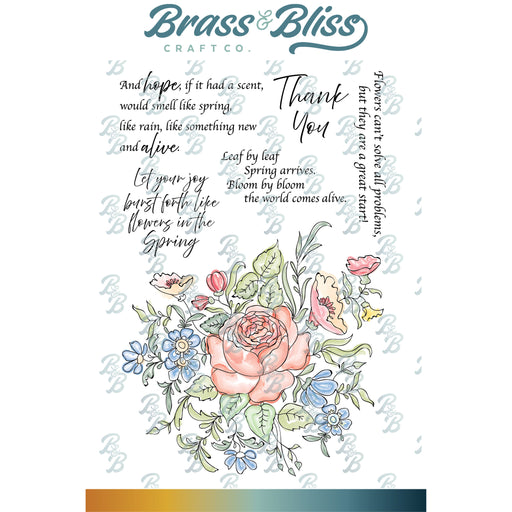
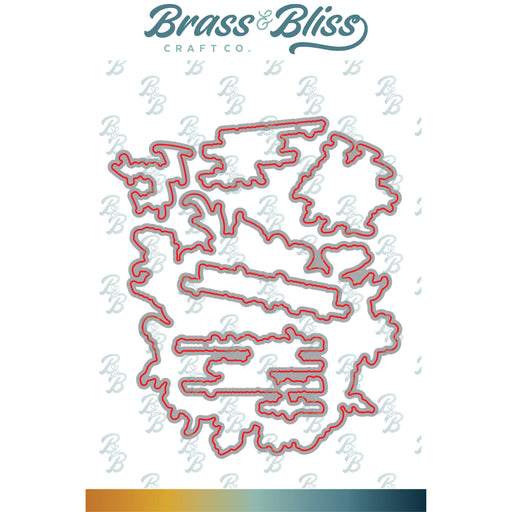
To make my card, I colored & die cut all the flowers with their coordinating dies. The one flower hanging over the greeting oval is actually part of a larger image (you can see it on the set in the product list at the bottom). I just couldn’t make it work as is, so I trimmed off everything except what you see now. The greeting is from another set, but I liked how fit w/ the card & also fit onto the oval. The scratch sheet below gives you a bit of an idea how I arrived at the colors I used. Before coloring, I almost always stamp onto printer paper & try out my color combos. Even though I have a chart showing all the Copic colors, it helps me tremendously to test them out. Since it’s thin paper, I don’t really blend much, just test enough to see how they work w/ each other. (The colors I used are in the last picture.) I will mention, when using complementary colors (opposites on the color wheel, like purple & yellow), it’s a good rule to not color them over each other, you will end up with mud. You can get away with a little bit, but not much & they won’t blend well unless you want a dirty, muddy color. One thing complementary colors do well is brighten each other & the contrast catches your eye.
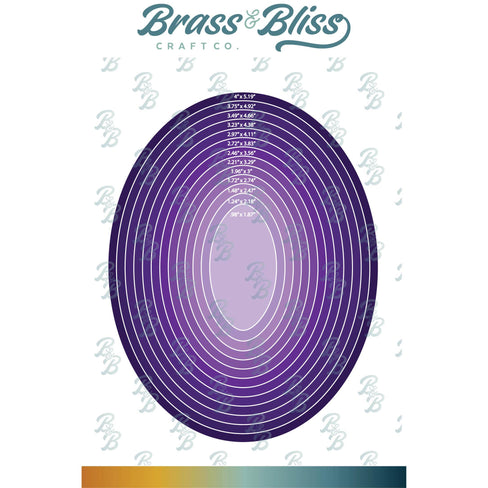
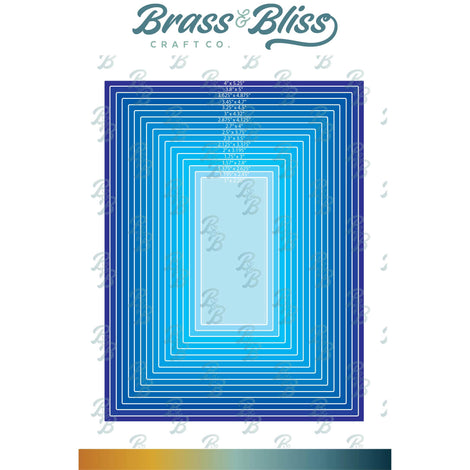
After I had all my flowers, I cut the white panel & a purple one to go behind it. I did the same w/ the greeting then went about putting them all together. I really like how the dot dash rectangle & oval let the color behind show through. The flowers on the side are popped up one more layer.

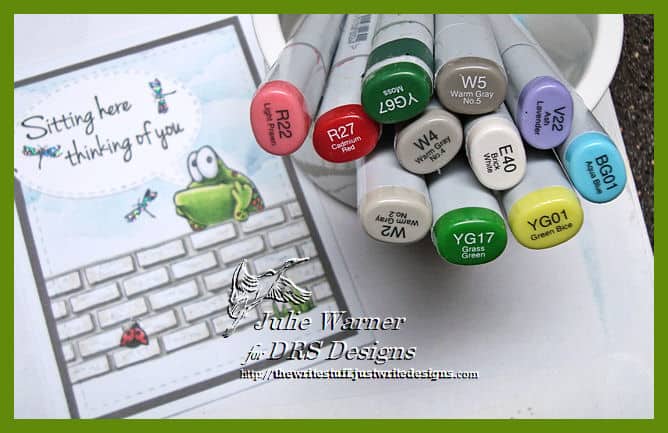
Here are the Copics I used:
Thanks so much for stopping by!

Supplies: (click the names below the pictures to take you to the products)
| Stamps: Brass & Bliss: Welcome Flower set, Sketch Flower set (greeting) |
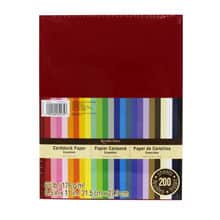
| Paper: Staples 110# white, lt purple |
| Ink: Versaclair nocturne, Memento tuxedo black |
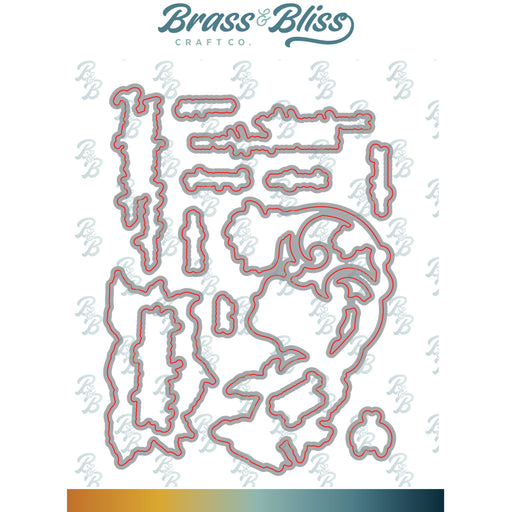
| Accessories: Brass & Bliss: Dot Dash Rectangles, Dot Dash Ovals, Rectangles, Ovals. Welcome Flower set, Sketch Flower set, Floral Edge Cuts dies, Misti |

|
|
|
|

|

|
|
|
|

|

|

|

|
|

|

|
You might also like: