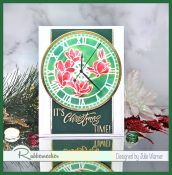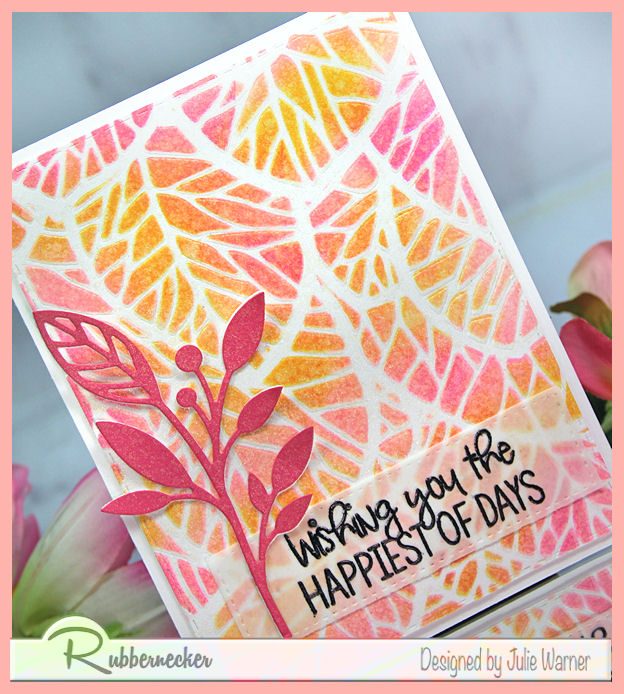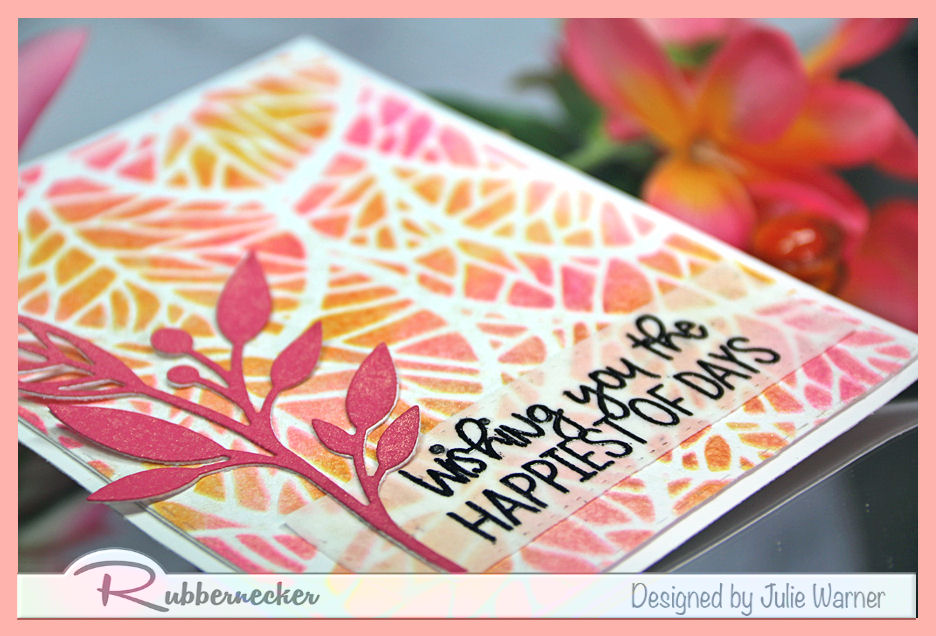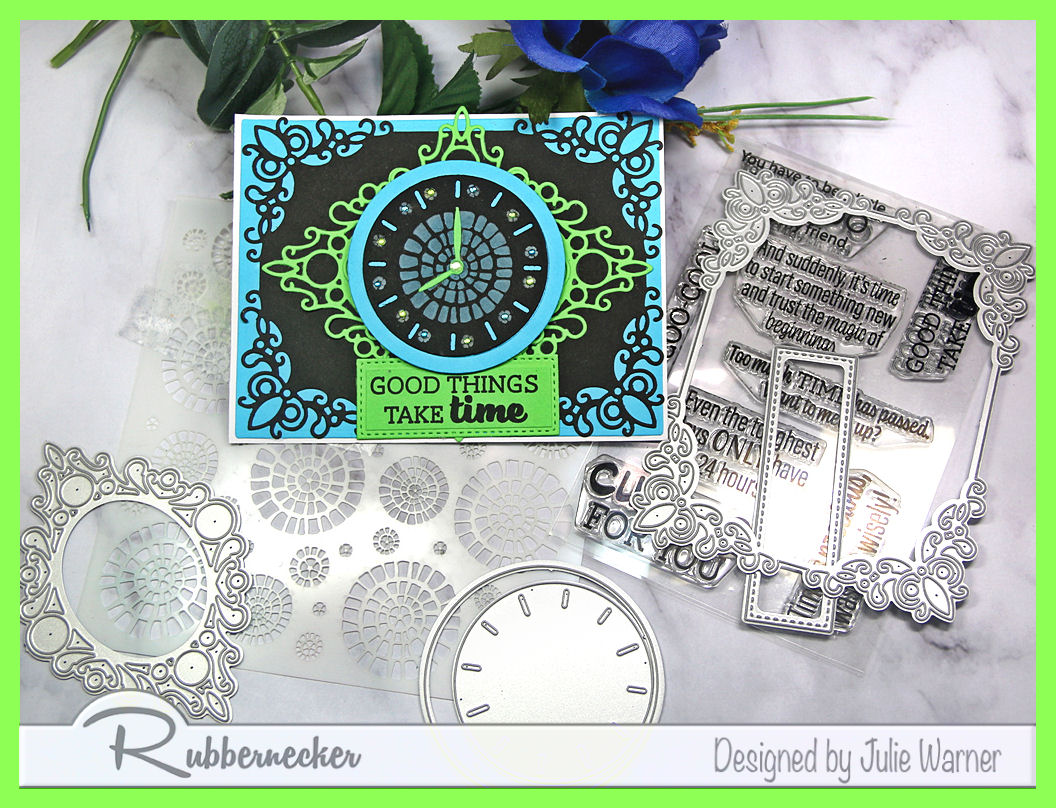
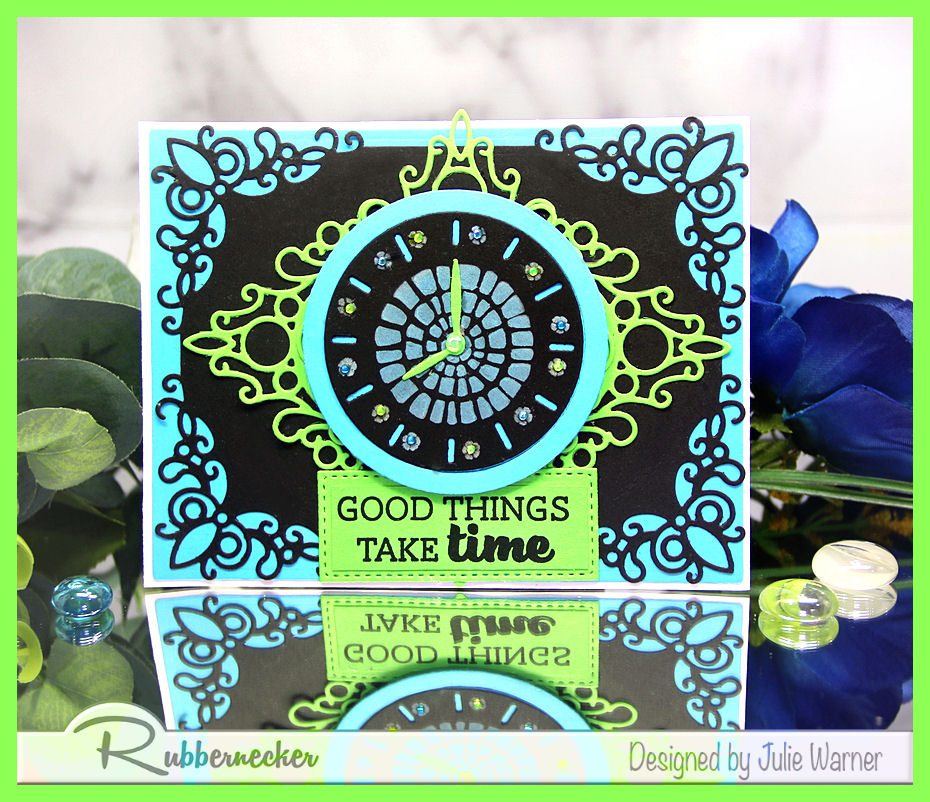
A bright “time” card using some fancy dies & stenciling for the pretty clock face. Perfect for a birthday or graduation.
For the Inspiration Challenge (IC913), we’re visiting My Modern Met & their Pinterest Board where I found THIS clock to use as my inspiration.
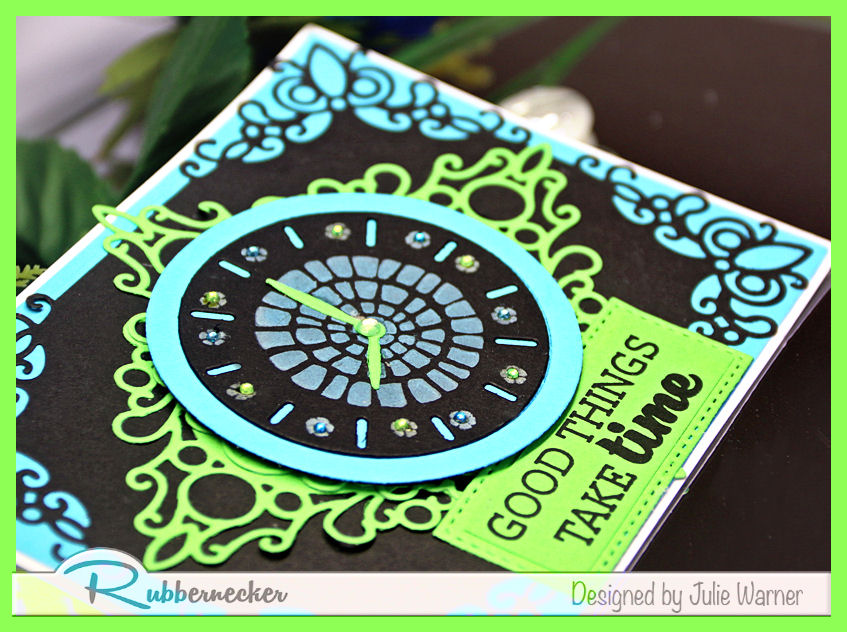
I loved the colors in the inspiration clock so I tried to keep them. I die cut the clock face out of black then used some Distress Oxide inks to sponge the patterns on it, since the oxide ink is pretty much the only ink that will show up on black. I added the fancy die cut black rectangle & cut 2 of the fancy ovals out of lime green, then arranged them behind the clock face.
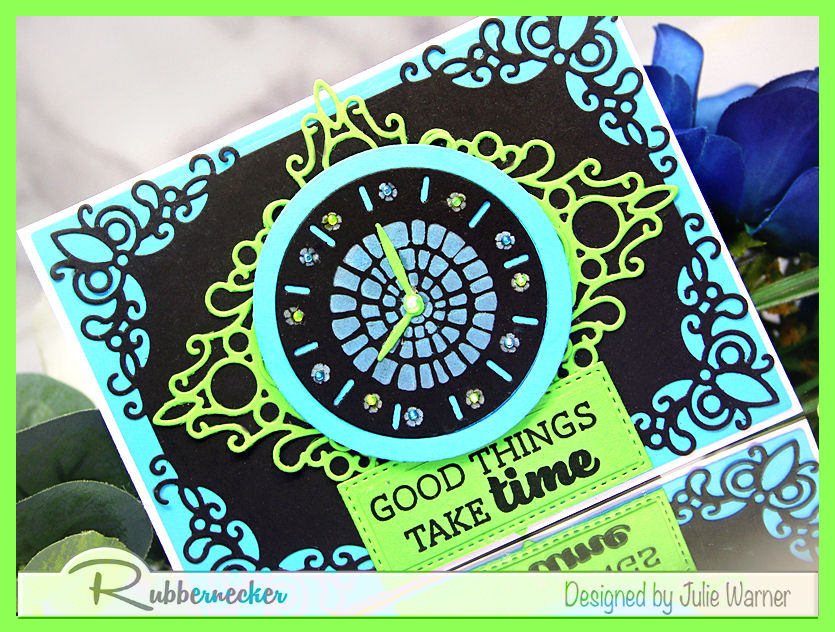
I added some turquoise & lime rhinestones around the clock face & resized the die for the greeting panel.
Thanks so much for stopping by!
![]()
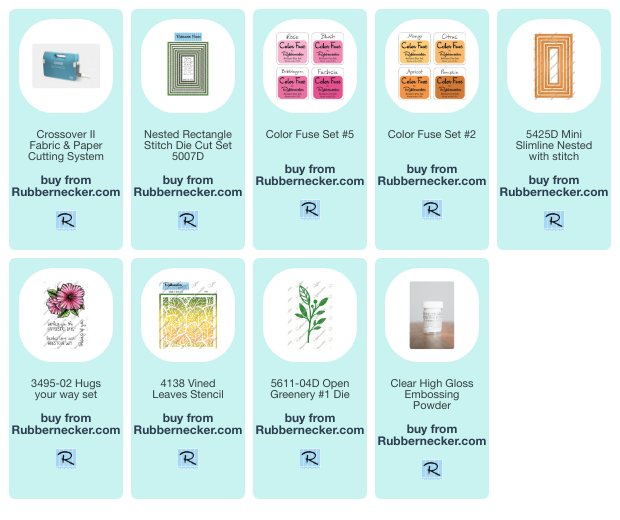
Supplies:
| Stamps: Rubbernecker Stamps: Cuckoo For You |
| Paper: Staples 110# white, black, lime, turquoise |
| Ink: VersaClair nocturne, Distress Oxide inks twisted citron, peacock feathers, salvaged patina |
| Accessories: Rubbernecker Stamps: Mini Slimline Stitch, Decorative Rectangle, Alarm Clock dies, Circled Paver Stencil, MISTI, |


|

|

|

|

|

|

|
You might also like: