 X2!
X2!
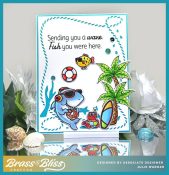
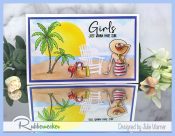
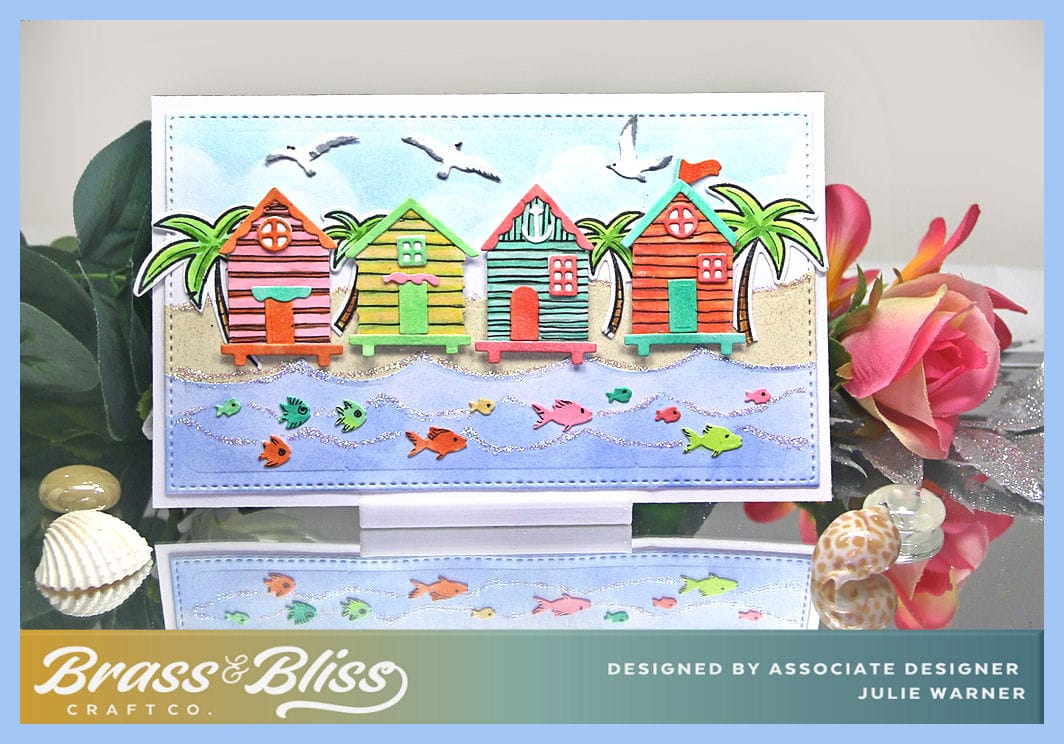
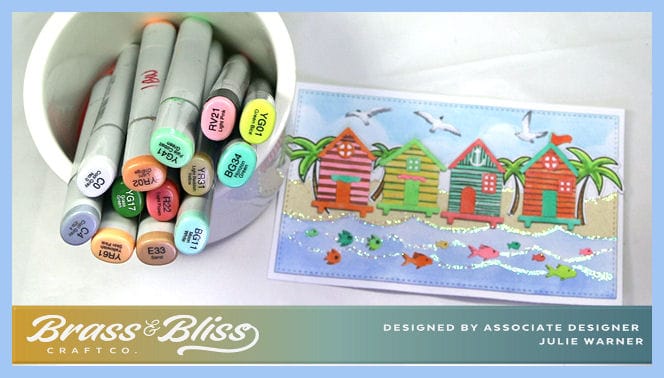
A fun in the sun at the beach mini slimline card with some colorful beach bungalows, fish and palm trees. You can almost feel the ocean breeze. These new Winter Town dies are great for summer, too!
A big congrats to LilyLynn, the newest Featured Stamper (FS908). She has a wonderful gallery & I chose THIS card to case. I kept the colorful beach scene & layout, but I used dies instead of stamps, drew on the siding & colored them, added some seagulls and a little glitter glue on the waves.
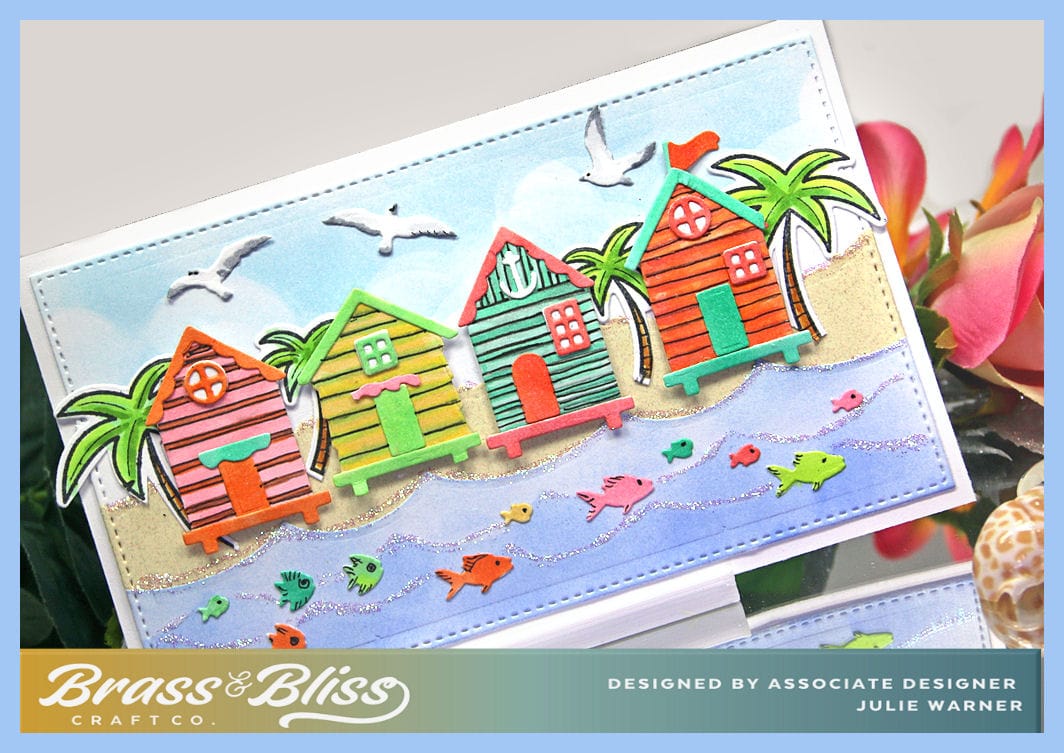
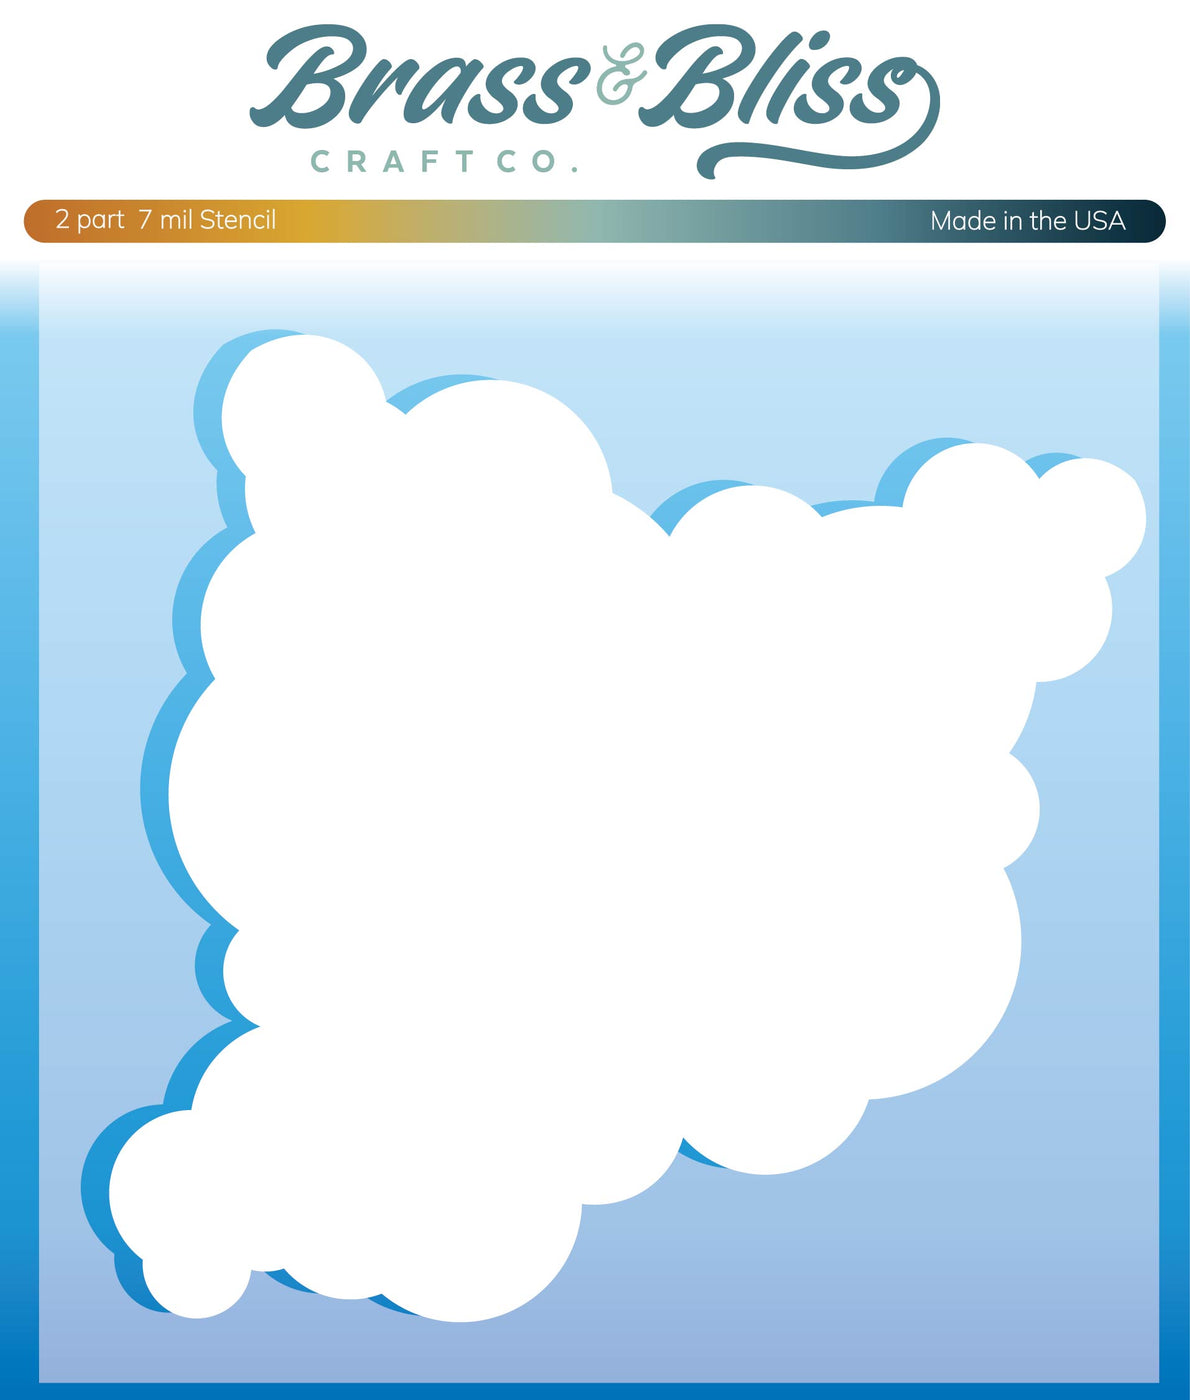
I die cut all the house parts, fish, seagulls, clouds & palm trees, then drew the plank siding on the houses & colored everything in. For the sky, I used a cloud stencil for the top part & added a horizon line of die cut clouds behind the houses. I needed some sort of stand for the houses, so I used the bottom of a bee house from another set & the second house from the left is actually the bee house. The sand was die cut w/ a hills die and for the waves, I die cut them out of white, used the cut off top part as a stencil to add more waves shapes w/ ink and a brush. The fish were all colored & added in the water then a few lines of glitter glue were added on top of the waves.
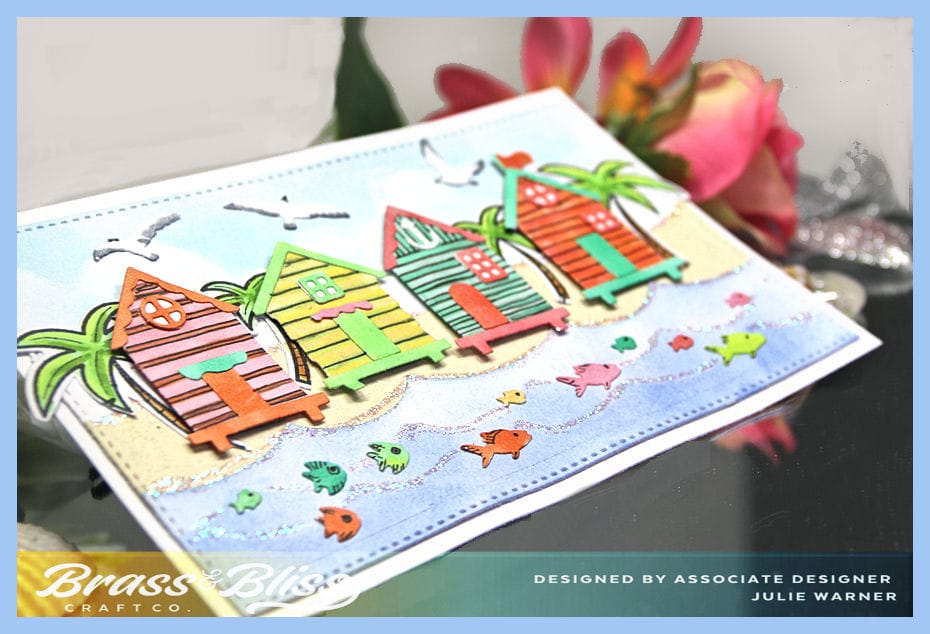
The four houses were popped up slightly. Here are the Copics I used:
Thanks so much for stopping by!

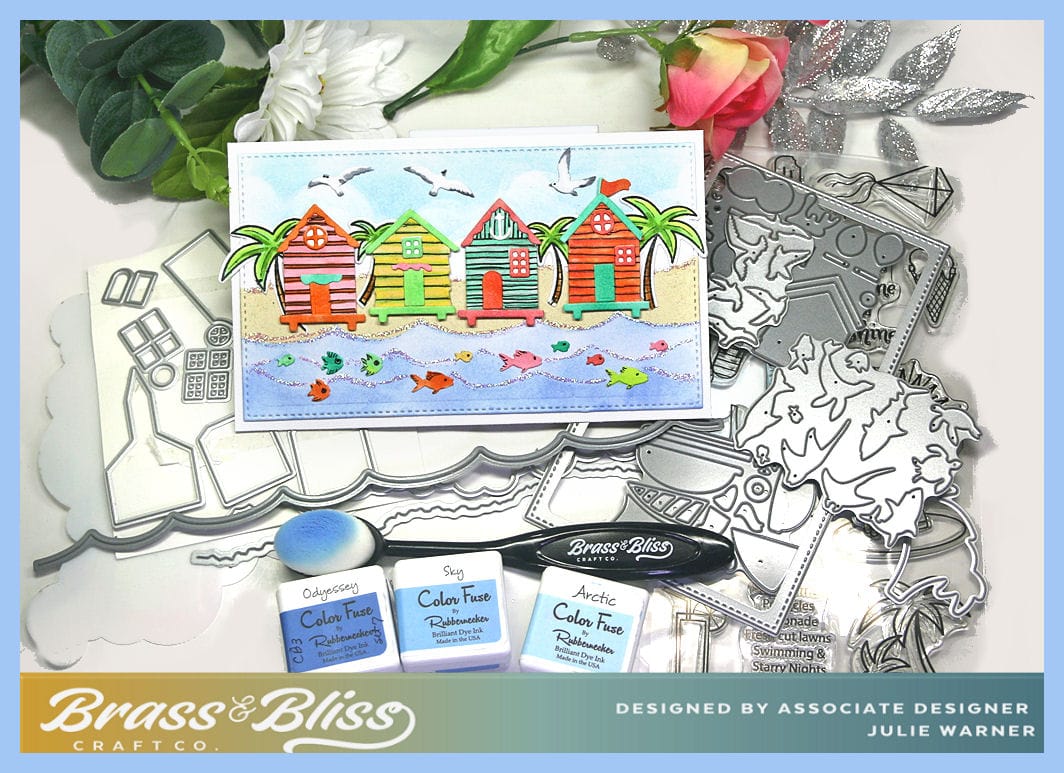
Supplies:
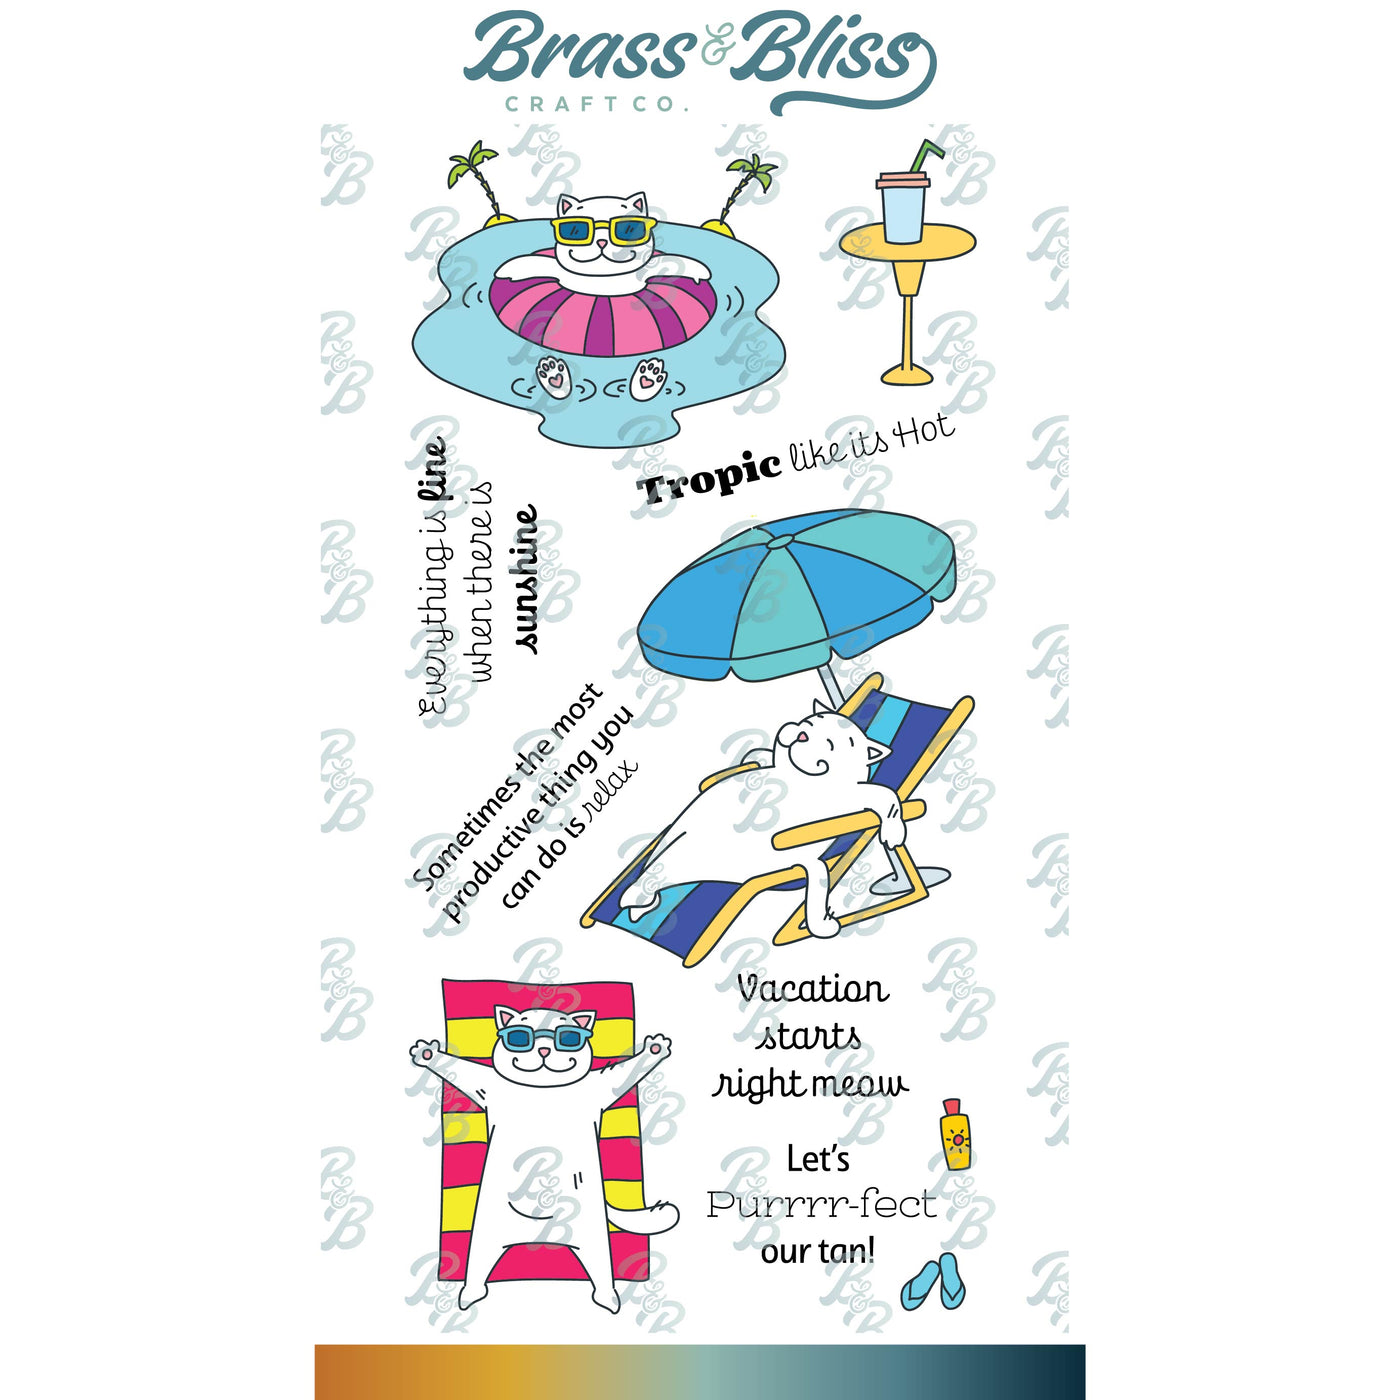
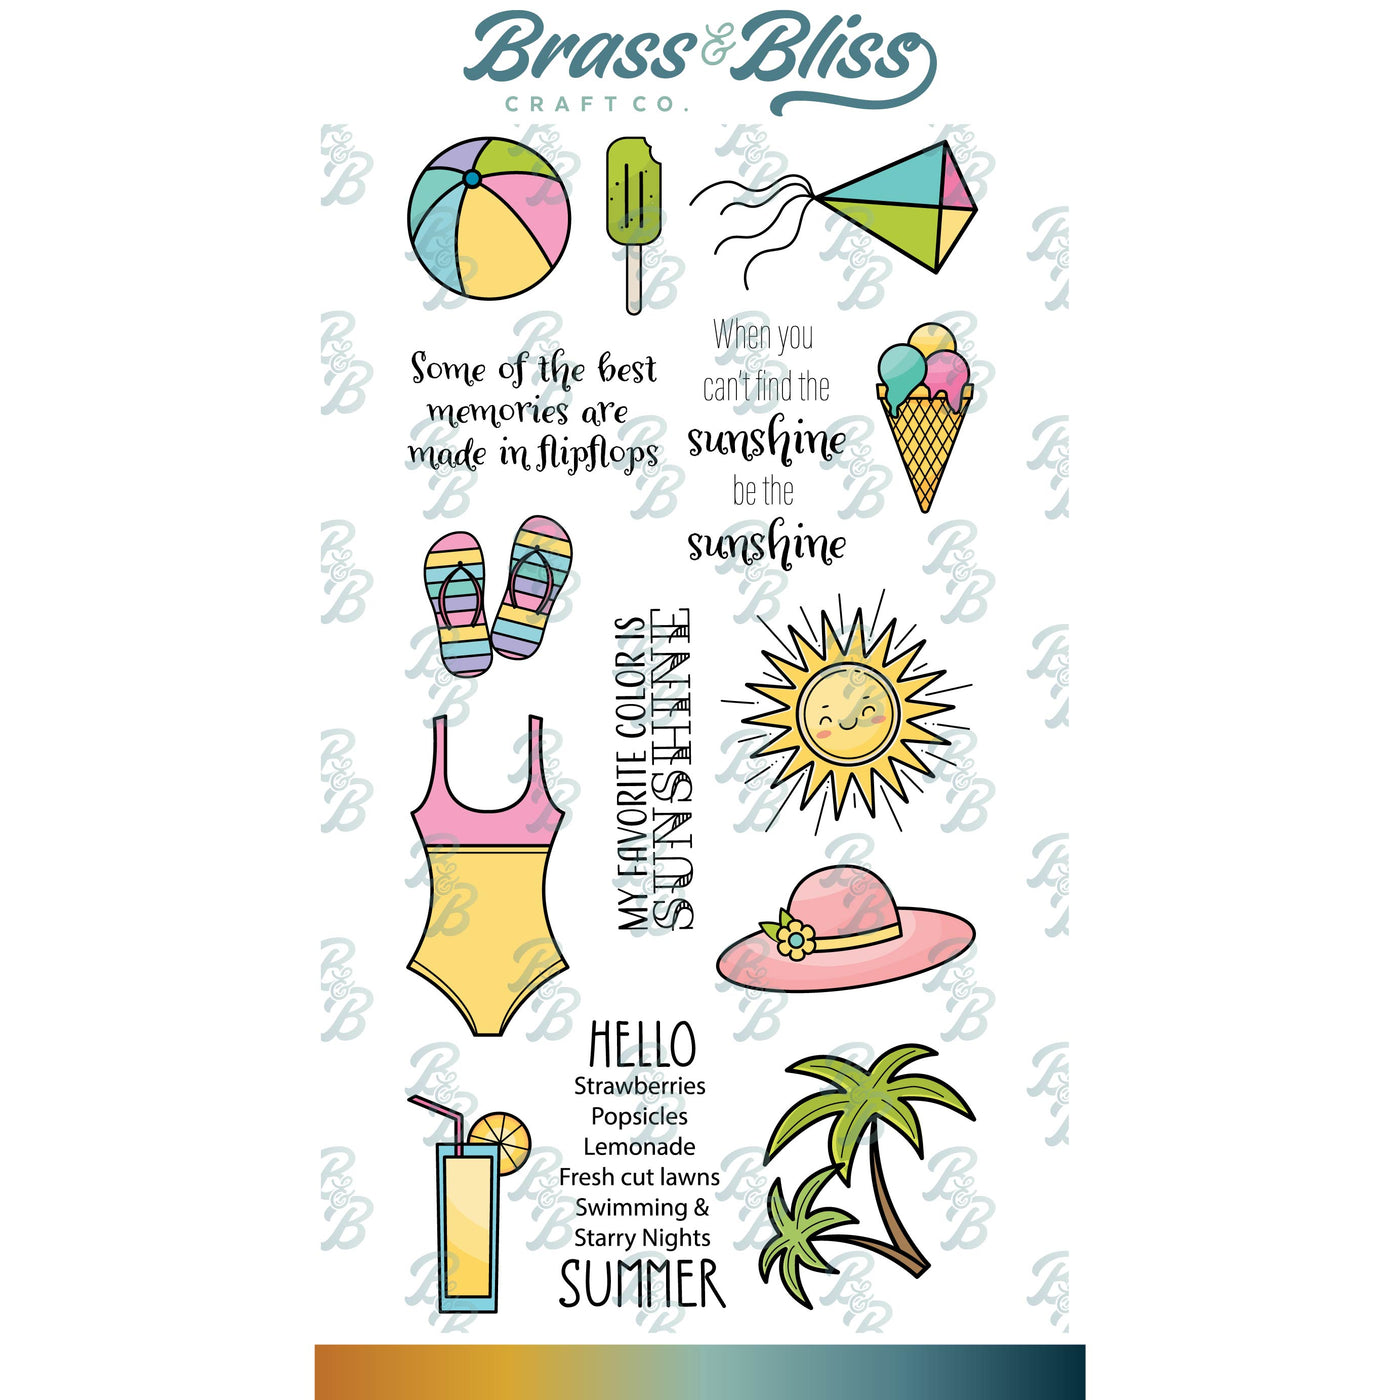
| Stamps: Brass & Bliss: Hello Summer (palm trees) |
| Paper: Staples 110# white, sand |
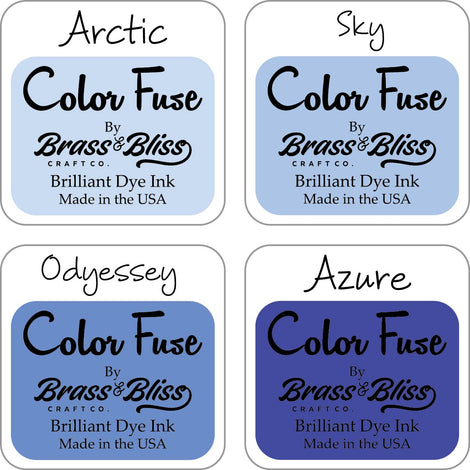
| Ink: Memento tuxedo black, Brass & Bliss: Color Fuse inks set #7 |
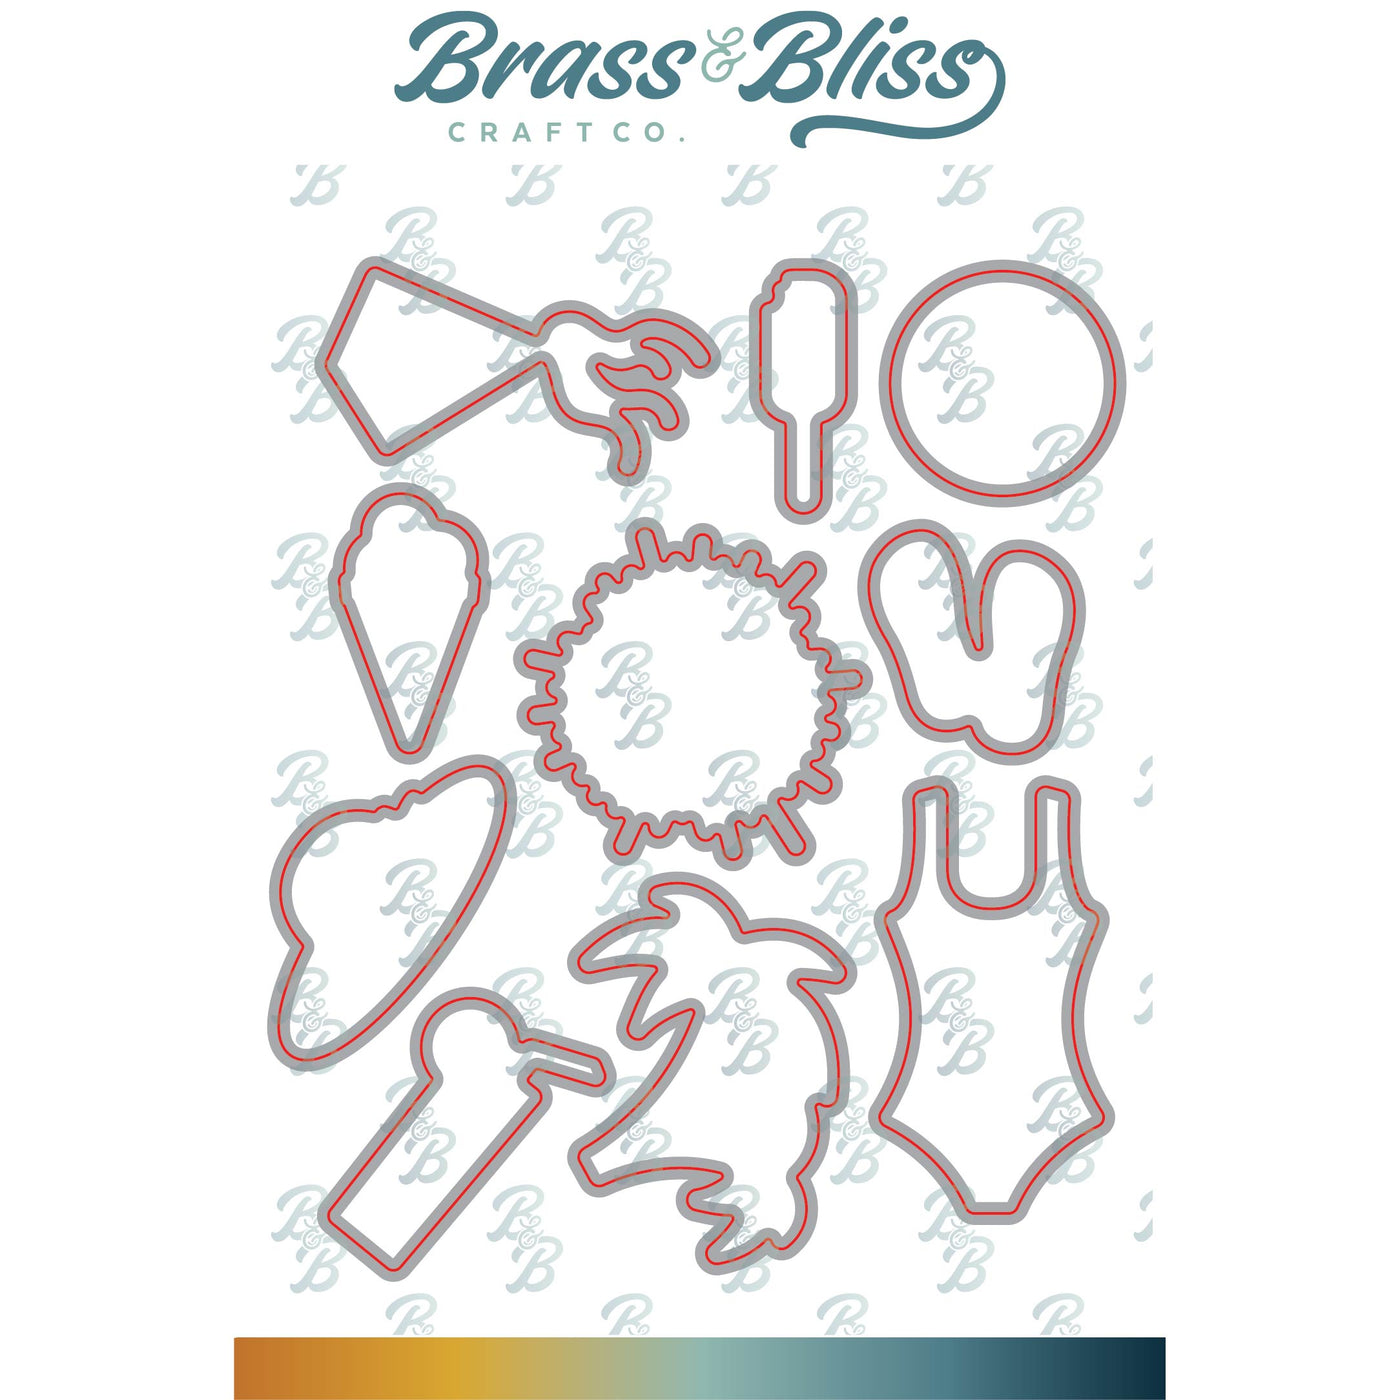
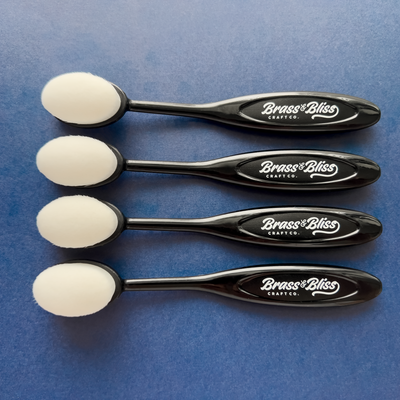
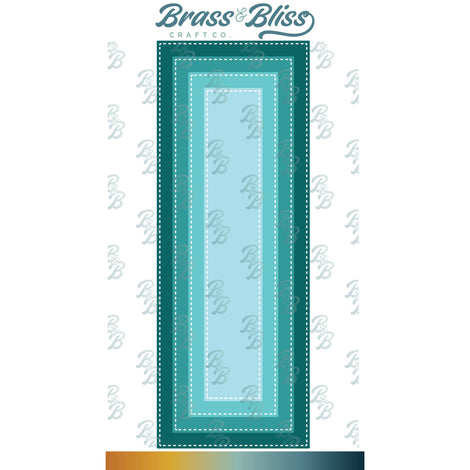
| Accessories: Brass & Bliss/Rubbernecker Stamps: Mini Slimline w/ Stitch, Town Scape, Deckle Hills, Hello Summer, Boats #1 (anchor), Bee w/ Honey Pot, Seagulls, Slimline Waves, Clouds, Sea Animals dies, Crossover II, Lg Blending Brushes, Clouds Stencil, Copic markers, stickles |
|
|

|
|

|

|
|
|
|
|
|
|
|
|

|

|

|

|

|
You might also like: