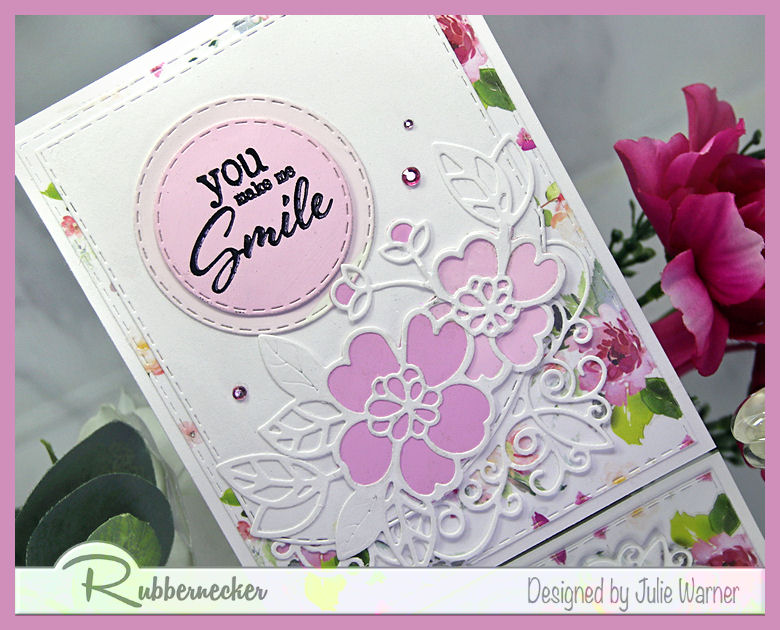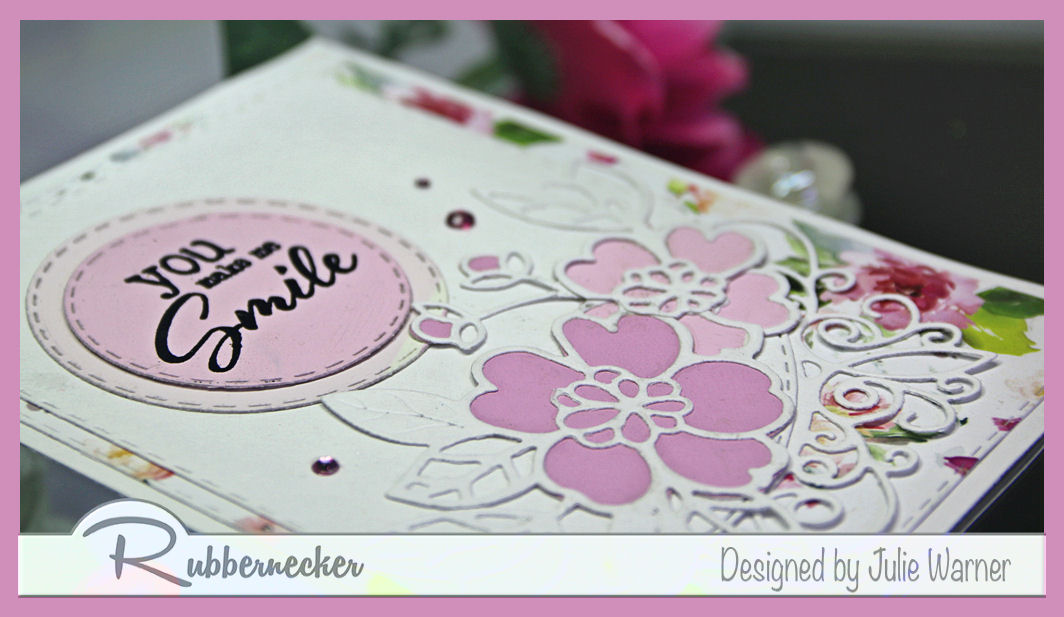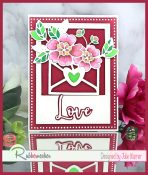
A big congrats to Cindy, the newest Featured Stamper (FS861)! She has a wonderful gallery & I chose THIS card to case. I kept the Love part & the layout, but I made mine a Christmas theme, used snowflakes & different colors.
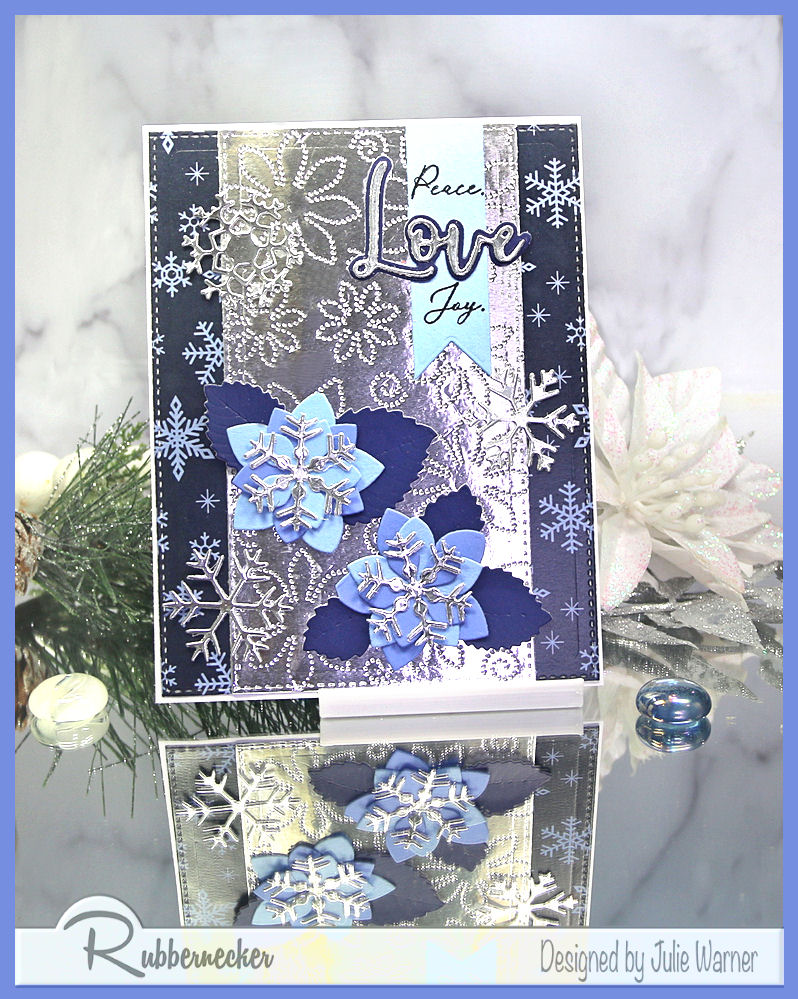
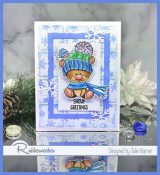
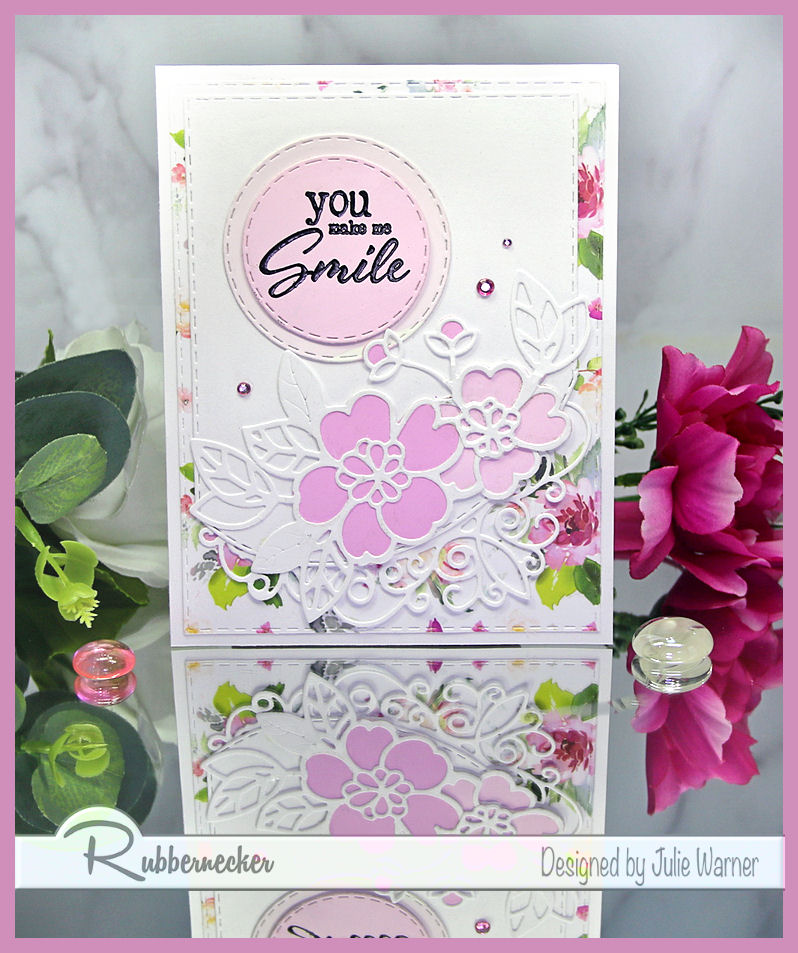
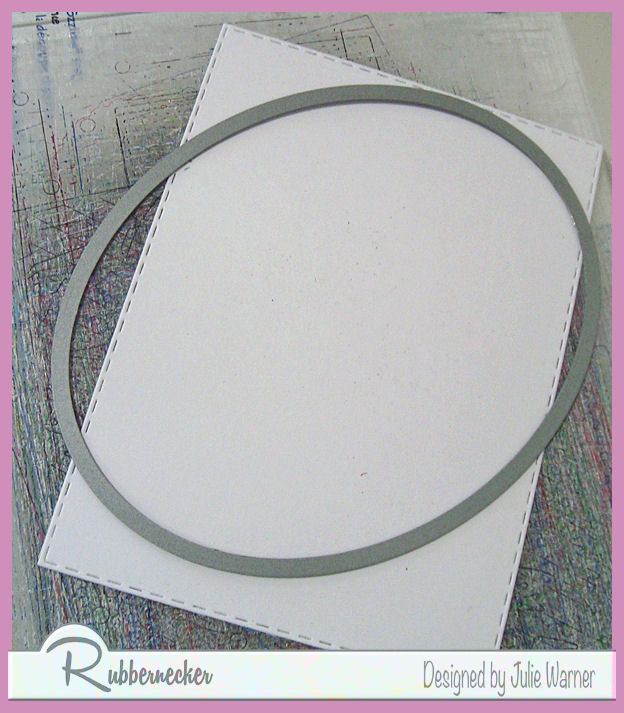
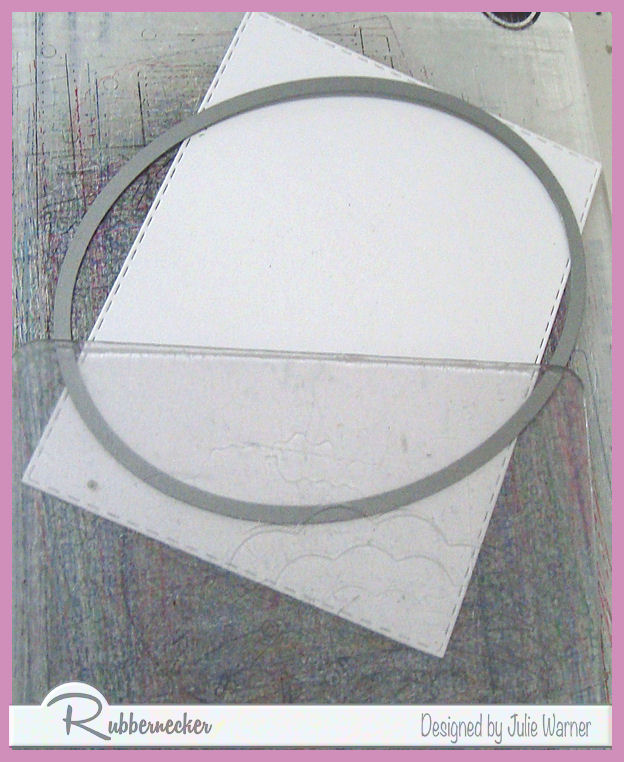
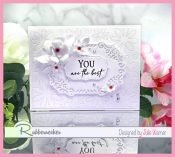
For my silvery snowflake card, I wanted it to be really shiny so I glued a heavy weight aluminum foil to card stock then die cut it twice: first w/ a mini slimline then w/ a piercing die of flowers & swirls. It looks terrific in person, but it’s so hard to photograph. I also die cut some snowflakes & the Love out of the same foiled cardstock. The flowers & leaves were die cut out of 3 shades of blue & silver snowflakes attached on top. The greeting says ” Peace. Love. Joy” but I replaced the Love word w/ the die cut version.
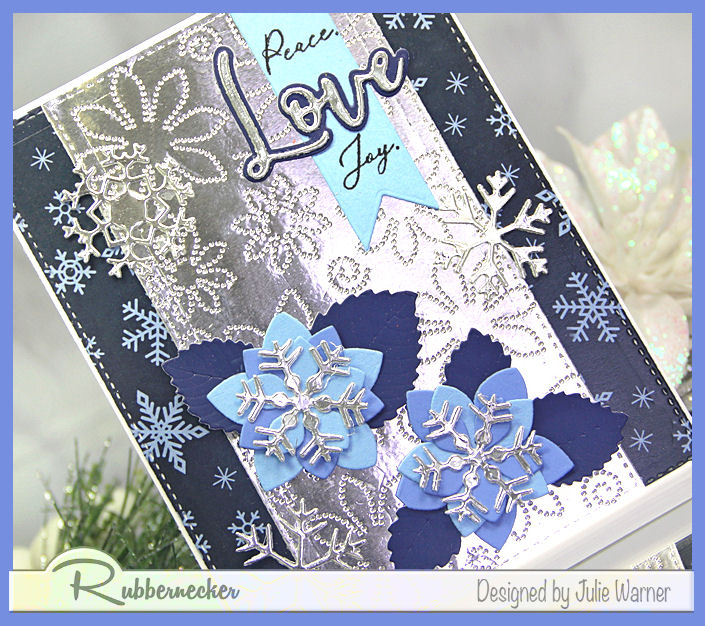
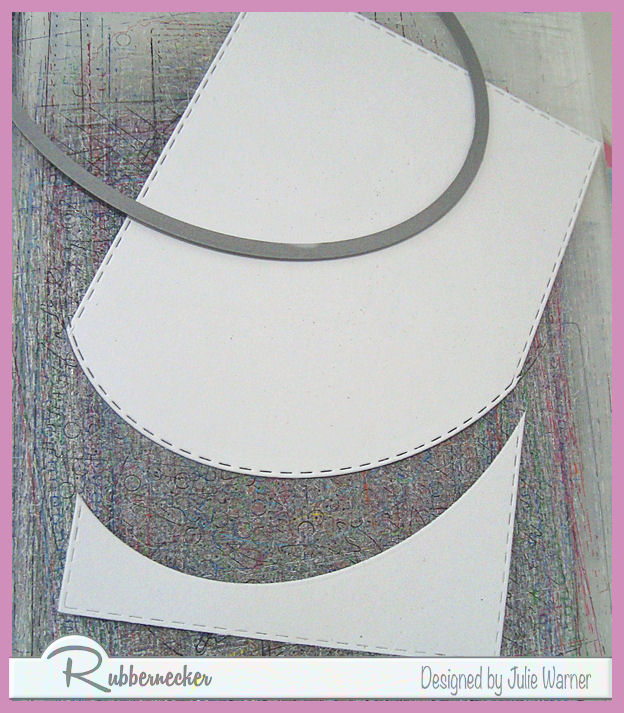
I used a dk blue snowflake paper for the sides. I die cut it w/ the same mini slimline die then cut it in half & attached it on either side of the foil panel.

Thanks so much for stopping by!
![]()
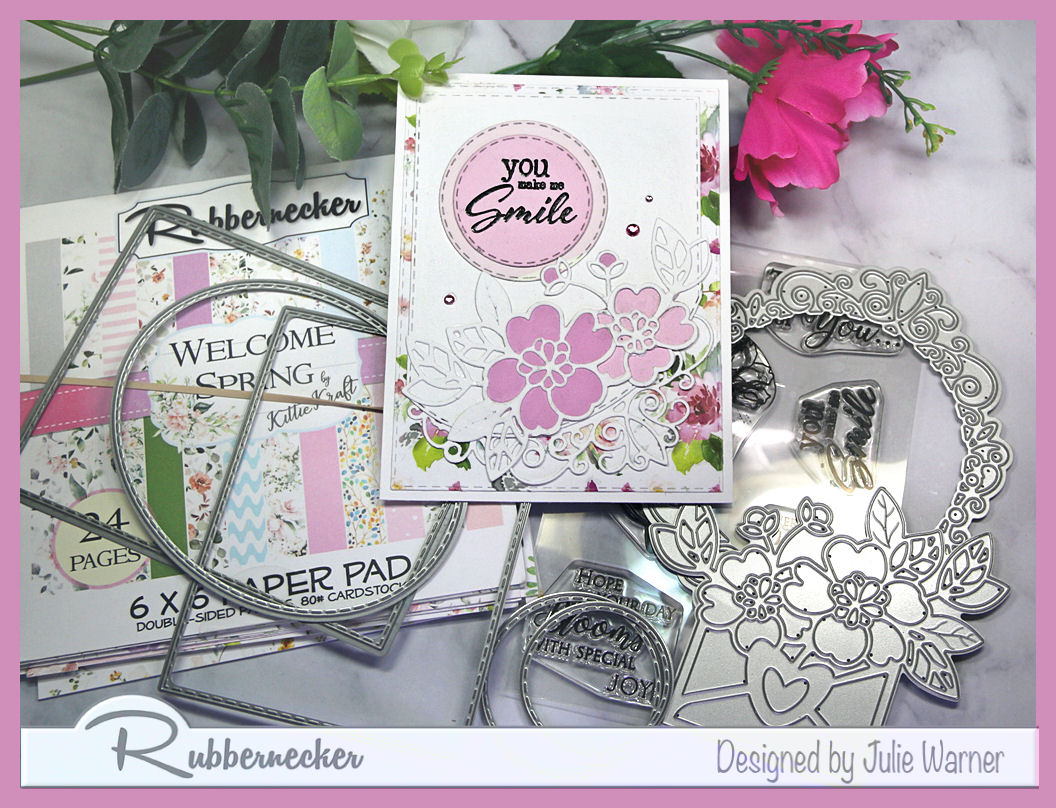
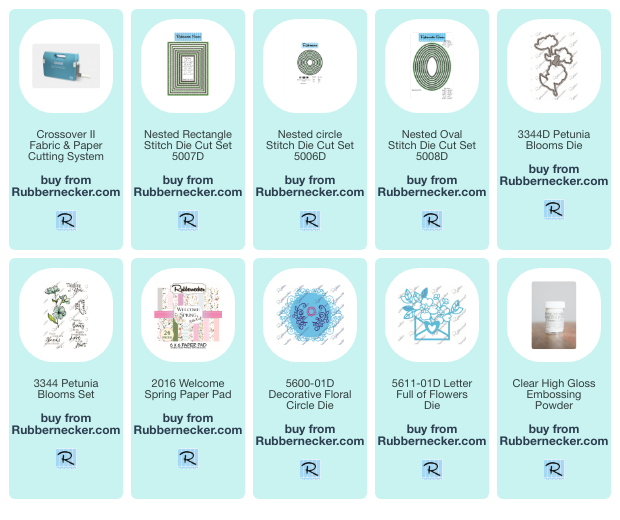
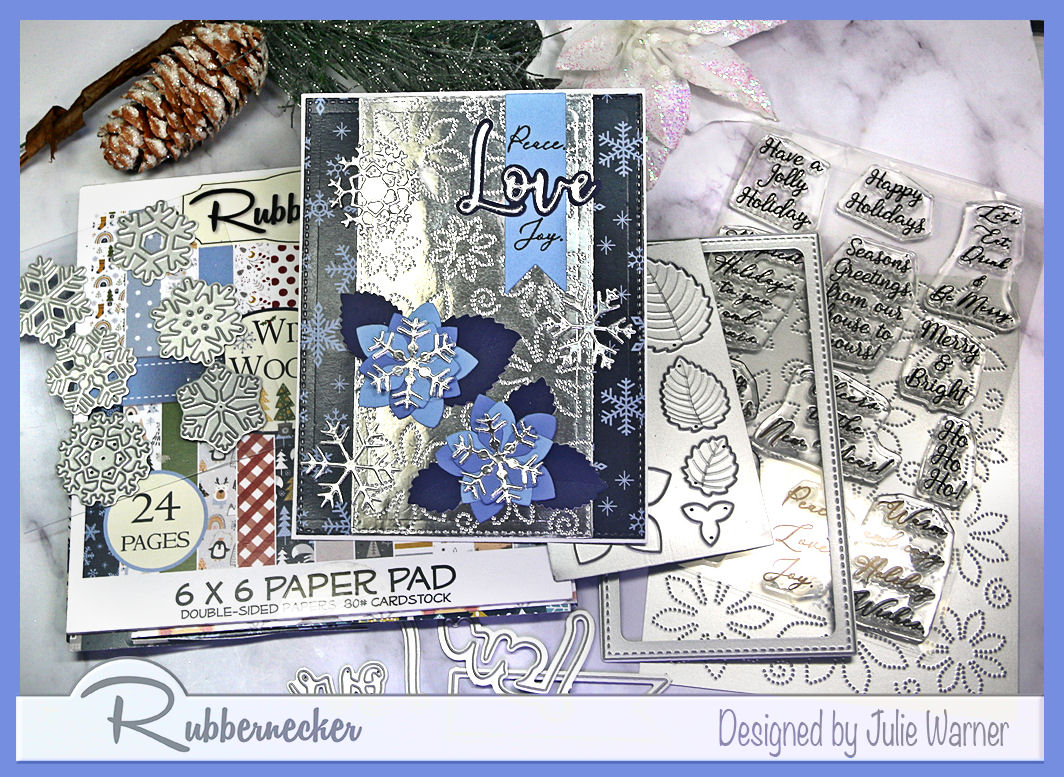
Supplies:
| Stamps: Rubbernecker Stamps: Kittie Says Christmas (new! coming soon) |
| Paper: Staples 110# white, lt blue, smoky blue, navy, Rubbernecker Stamps: Wintery Woodlands paper pad |
| Ink: Memento tuxedo black |
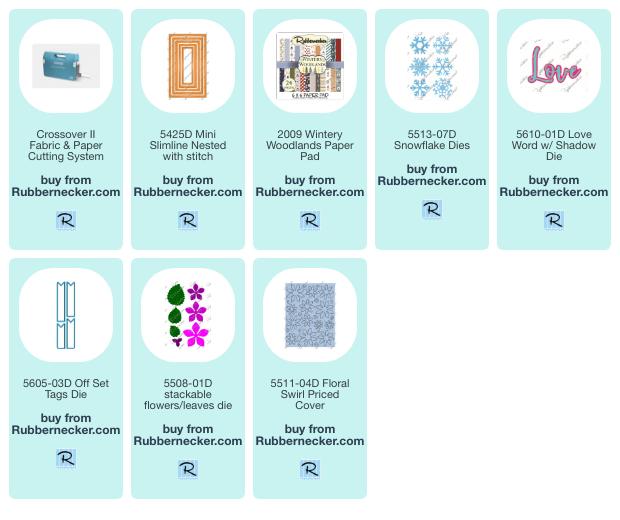
| Accessories: Rubbernecker Stamps: Mini Slimline, Snowflakes, Love w/ Shadow, Stackable Flowers/Leaves, Floral Swirl Pierced Cover dies, Crossover II, Misti, aluminum foil |

|

|

|

|

|
You might also like: