My friend, Jean, on the Splitcoast Technique Lovers Challenge team, asked me to make a sample for today’s TLC877 Challenge. She picked a technique I did a tutorial for 10 years ago! You can see the tutorial HERE on Splitcoast, & I even made a video for it HERE. (You can also view a tutorial I did on my blog HERE.)

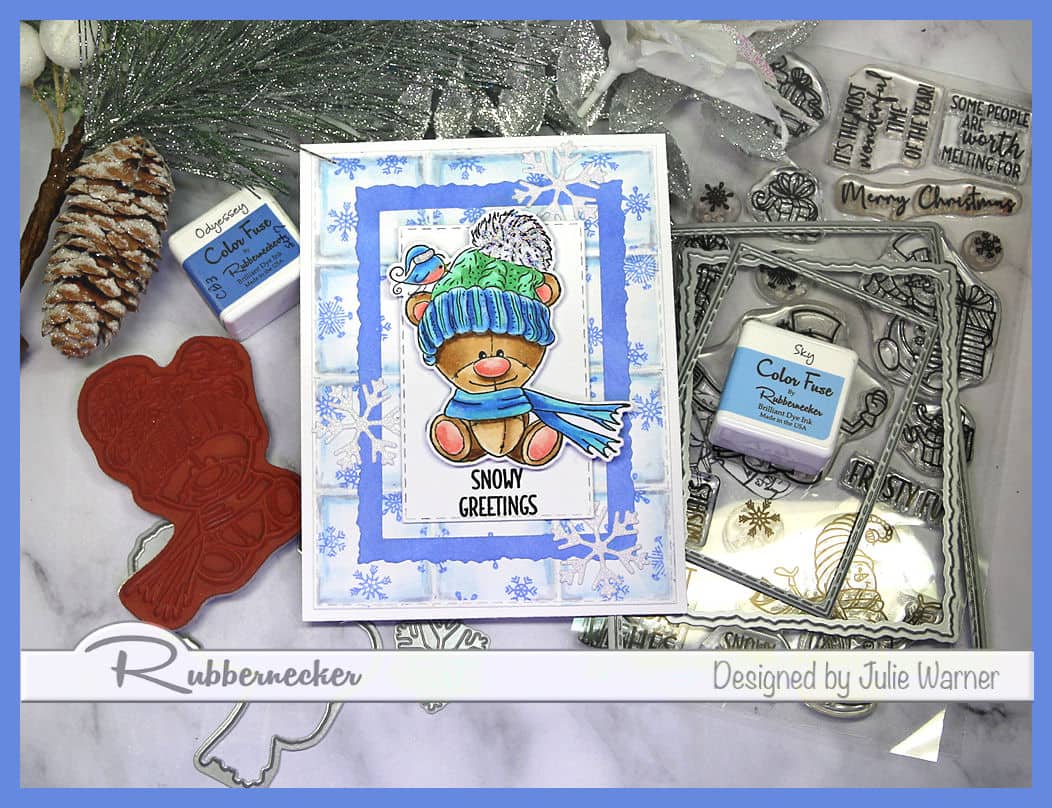
This time I did a winter theme & used snowflakes for the bg. I forgot my own advice about using small stamps but was happy to see a white Posca paint pen took care of the few little oversteps.
I will mention, I die cut the stitched back panel first then measured to know where to score the “tiles”. The panel measures 4″x 5.25″ so I scored the lines 1 5/16″ apart. The first time I scored them, I used a Scor-Buddy but found the lines weren’t as deep as when I used a Scor-It board. You want to be sure to use the indented side of the scored bg for your front side.
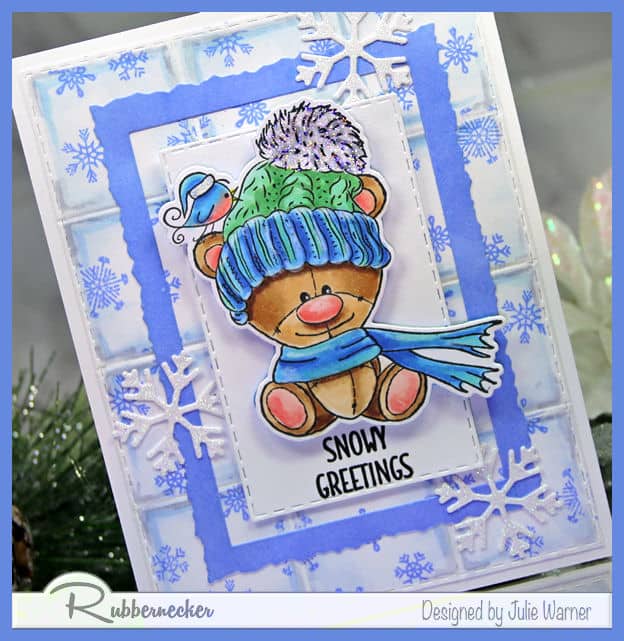
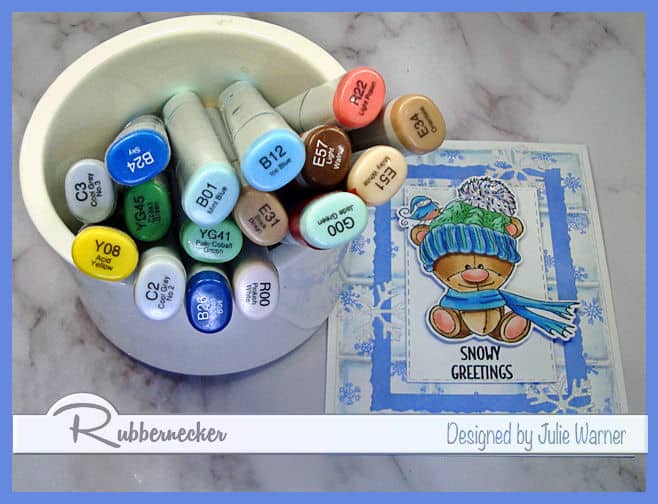
The teddy was stamped, colored & die cut, popped up a bit on the center panel. The deckle frame was sponged w/ the same set of blue inks I used on the bg & I added a few glitter snowflakes. Here are the Copics I used:
Thanks so much for stopping by!

Supplies:
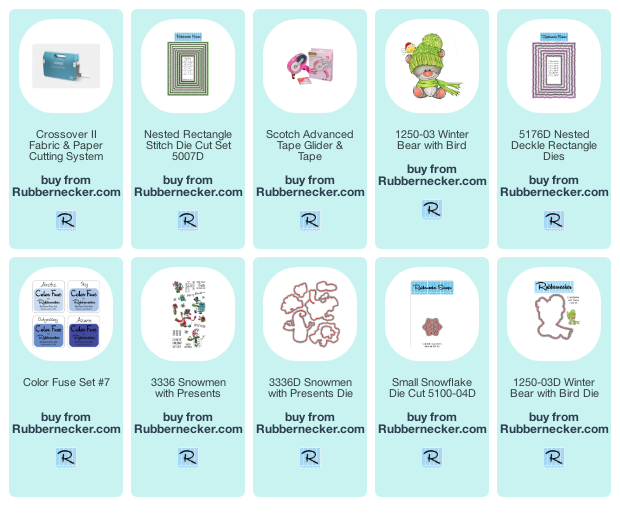
| Stamps: Rubbernecker Stamps:Winter Bear w/ Bird , Snowmen w/ Presents |
| Paper: Staples 110# white, X-Press It, Rubbernecker Stamps: Color Fuse ink set#7 |
| Ink: Memento tuxedo black, |
| Accessories: Rubbernecker Stamps: Rectangle Stitch, Winter Bear w/ Bird, Snowman w/ Presents, Deckle Rectangle, Sm. Snowflake dies, Copic Sketch Markers, Misti, transparent glitter embossing powder |

|

|

|

|

|

|
|