• Category Archives Sponging
  • Sending Love


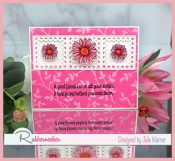
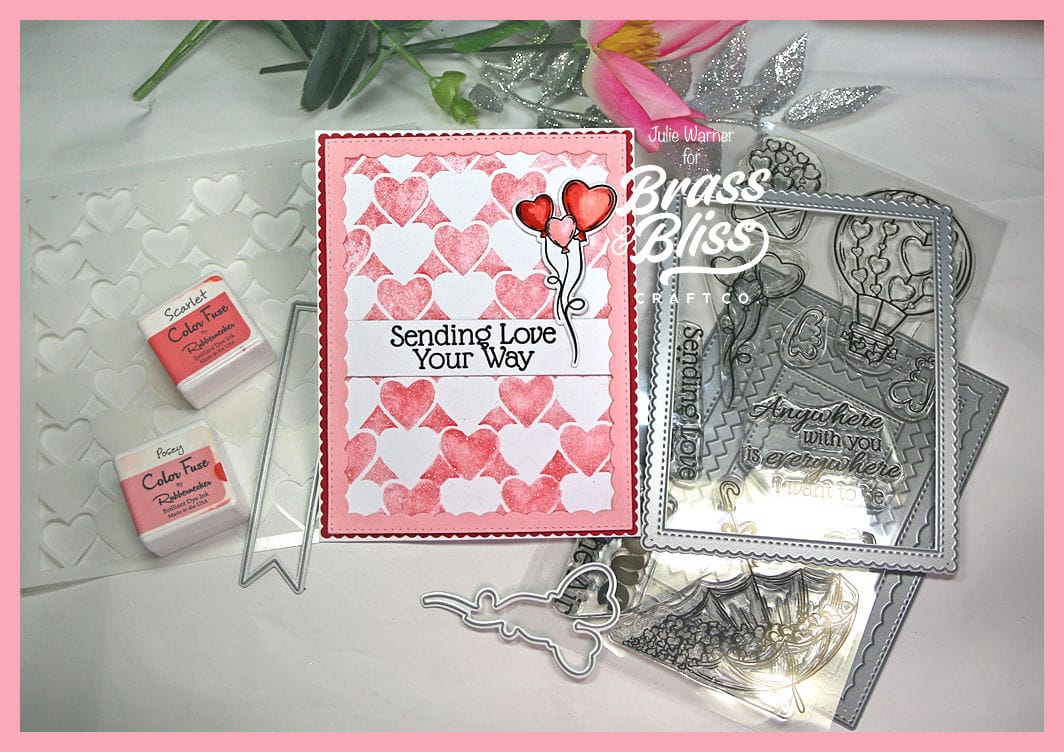
    A fun, easy Valentine, Wedding, Anniversary or Birthday card with minimal coloring and a stencil background using translucent grit paste. Easy to customize using the colors of your choice. The hardest part is waiting for it to dry.
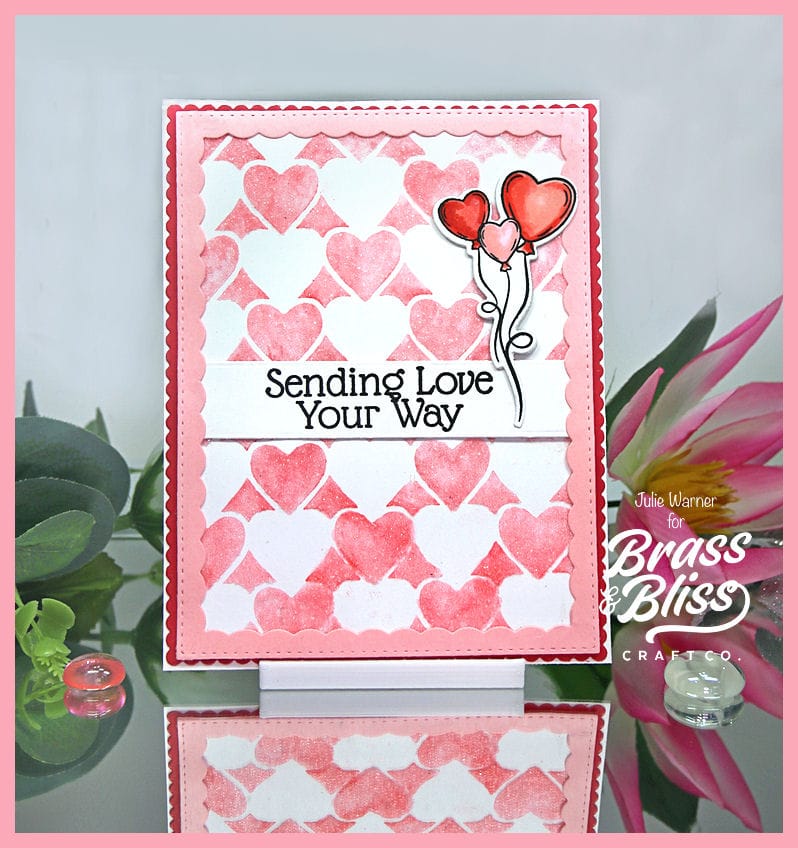
    A big congrats to Deb, the newest Featured Stamper (FS888) on Splitcoast! She has a wonderful gallery & I chose THIS card to case. I kept the layout (mostly) & the hearts, but I used different images, dies & colors. I also changed the background to a stenciled one.
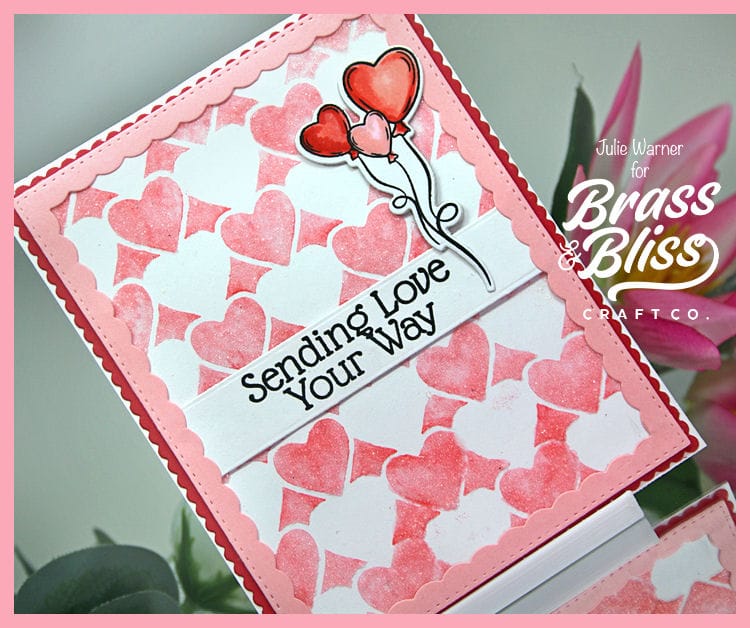
    For my card, I started by placing the stencil on scratch paper & rubbing 2 colors of pinkish/red ink over the top. I didn’t try to blend it, just dabbed it in areas first the lighter color then used the darker color on the rest. I placed the stencil on top of white card stock, ink side UP, then used a palette knife &  spread the grit paste in a thin layer. The paste picked up the ink from the top of the stencil as I spread the paste & it gave me a lovely varied color. There is a subtle glitter in this paste that’s more apparent in person. I carefully lifted the stencil & washed it right away so it wouldn’t adhere to the stencil. Then I let the background piece dry (about 20 minutes or so).
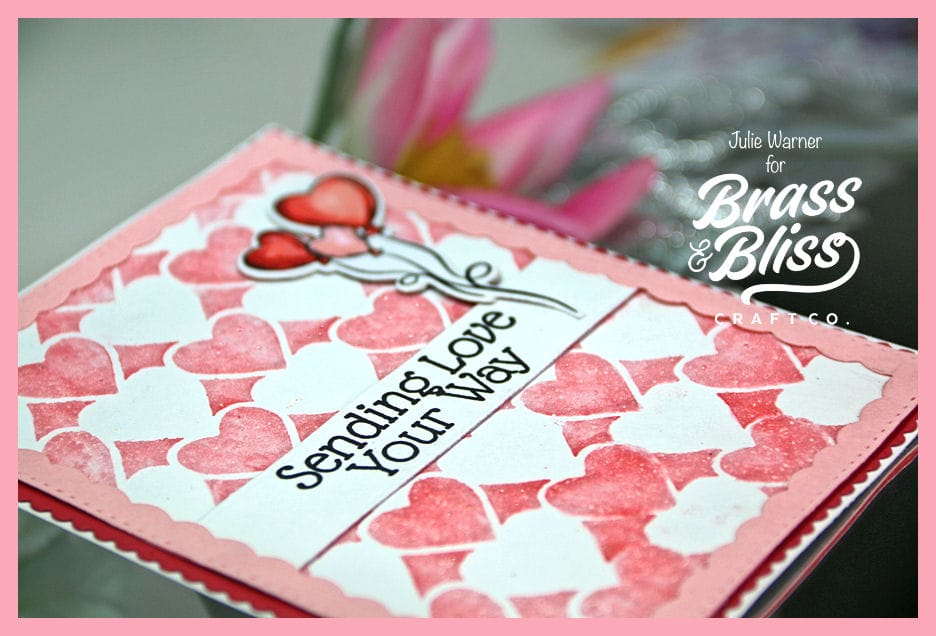
    While it was drying, I stamped the greeting & die cut w/ the longest tag. The heart balloons were also stamped, colored & die cut. When dry, I attached a pink inside scallop frame around the heart bg, tucking the greeting tag under the edges, & layered a red outside scallop frame underneath it. The balloons were popped up just a bit.
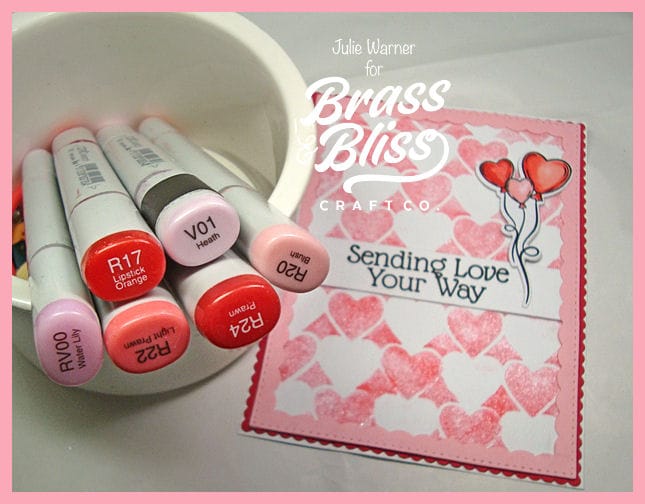
    Here are the Copics I used for the balloons:
    Thanks
    so much for stopping by!


    Supplies:

    Stamps: Brass & Bliss: Love is in the Air set
    Paper:  Staples 110# white, pink, red
    Ink: Memento tuxedo black,  Rubbernecker Stamps: Color Fuse inks set #4
    Accessories:  Brass & Bliss/Rubbernecker Stamps: Love is in the Air, Inside Scallop Frame, Outside Scallop Frame, Offset Tags dies, Stacked Hearts Stencil,  Crossover II,  Ranger Distress Translucent Grit Paste, Misti, Copic Markers


    You might also like:


  • Heavenly Peace


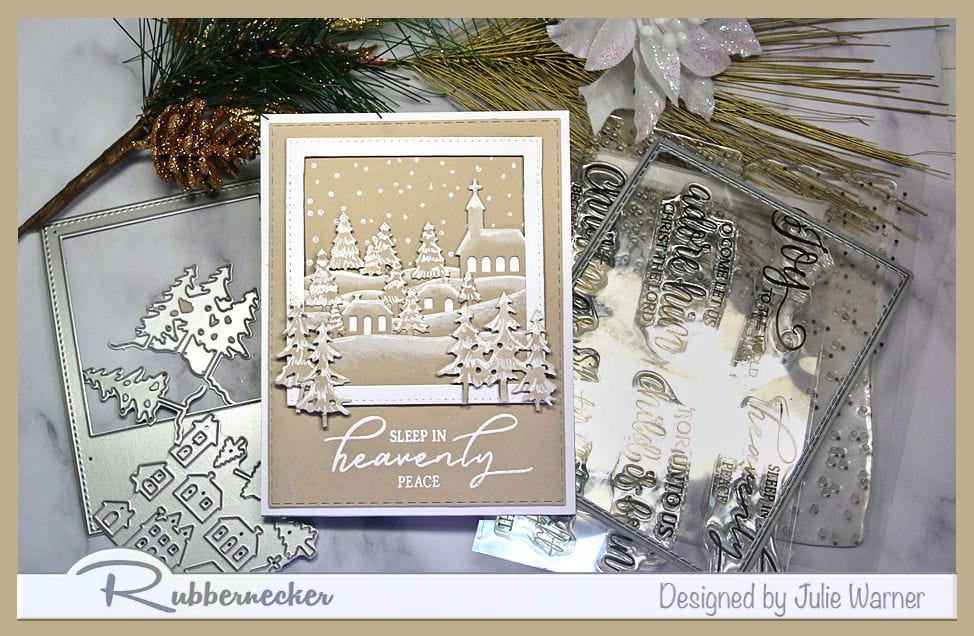
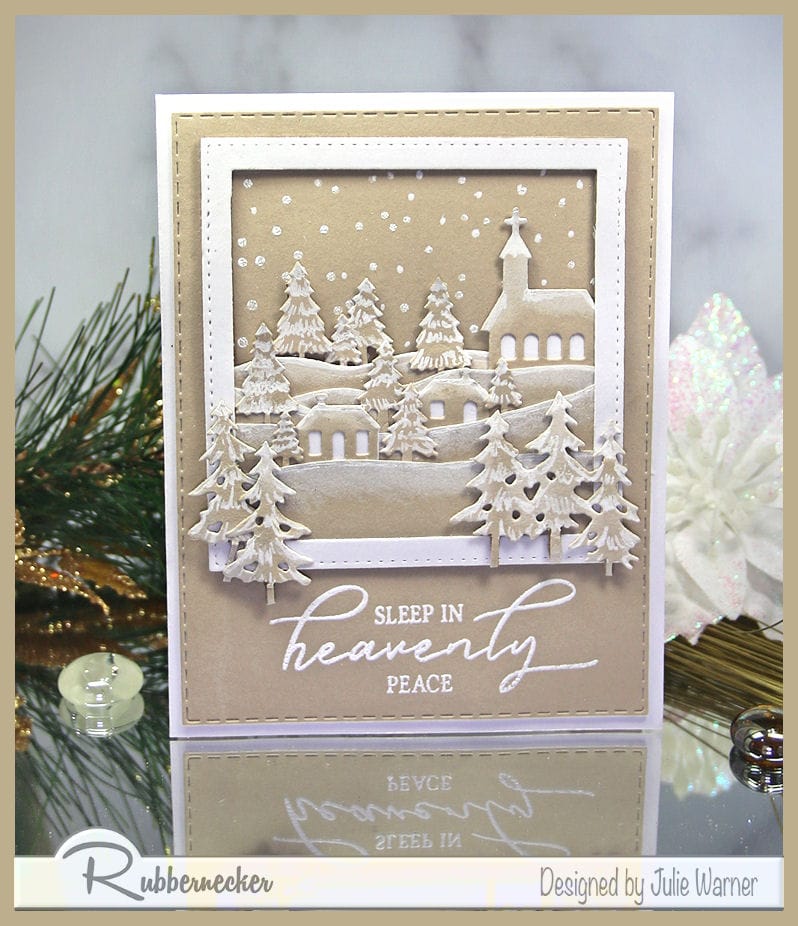
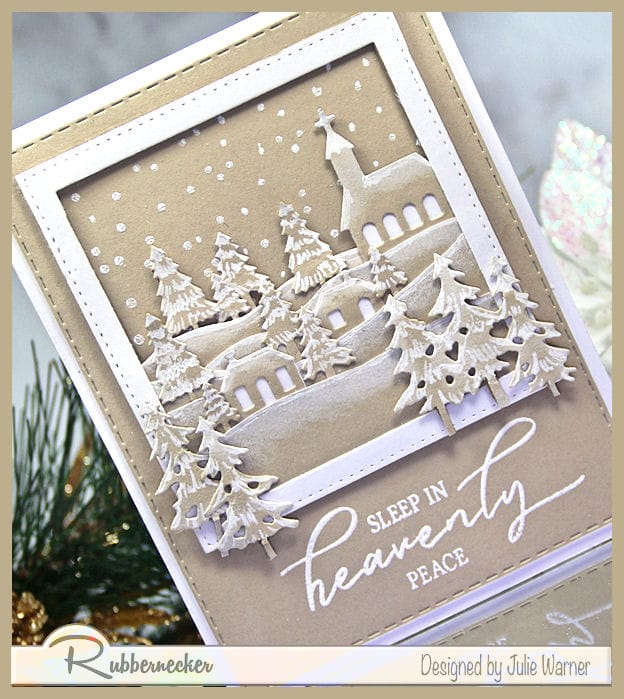
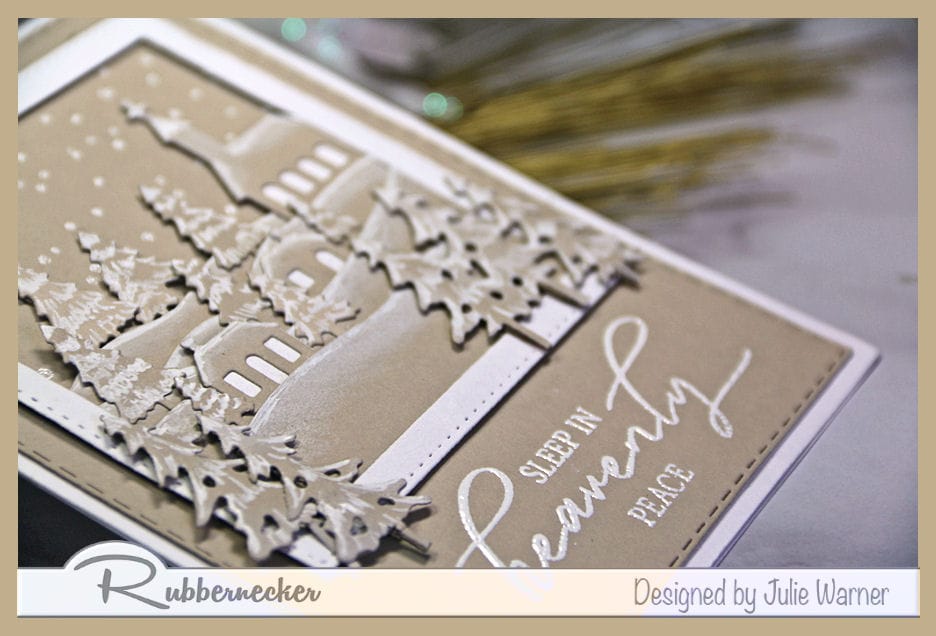
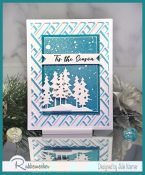
    A monochromatic Christmas card using all kraft with a white embossed greeting and falling snow and white highlights for the snow on the tiny village.
    x5! x2!

    A big congrats to the newest Featured Stamper, DragonLady64! She has a wonderful gallery & I chose THIS card to case. I kept the colors & layout, but used different dies, made mine a little village & added a white embossed greeting.

    For my card, I die cut all the trees & village out of kraft then added white behind the houses & church. I used a white gel pen to add the snow on the trees & sponged white ink on the house & hills. The background was white embossed w/ little dots for the falling snow & I elevated the hills & houses a bit for dimension. It looked like such a peaceful scene, I thought the greeting was perfect.

    The white frame is part of the polaroid die. I put it in the die cutter, cut half way, the turned the die around, matching the opening, and die cut the rest of the way.


    Thanks so much for stopping by!


    Supplies:

    Stamps: Rubbernecker Stamps: Reason for the Season, Random Dots Bg Strips
    Paper:  Staples 110# white, kraft
    Ink: Hero Arts unicorn white pigment
    Accessories:  Rubbernecker Stamps: Stitched Rectangles, Winter Village, Polaroid Frame, Three Pine Tree Forest dies, Crossover II, MISTI, white embossing powder, white gel pen


    You might also like:


  • Cheers Shaker


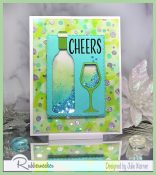
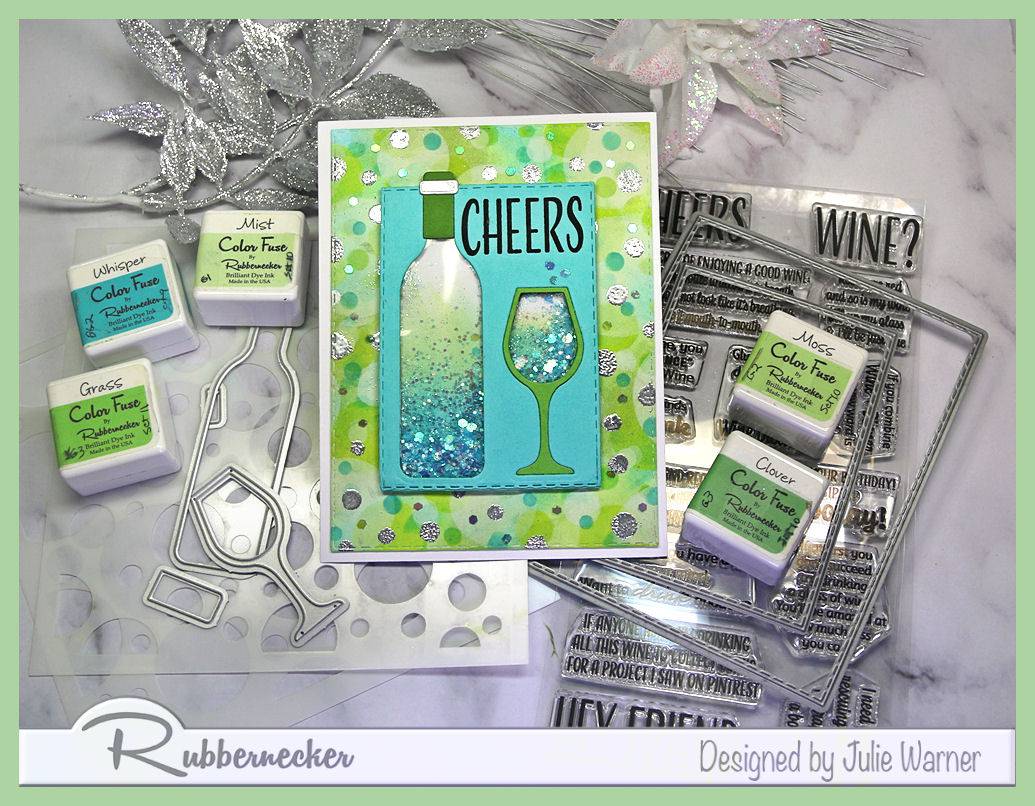
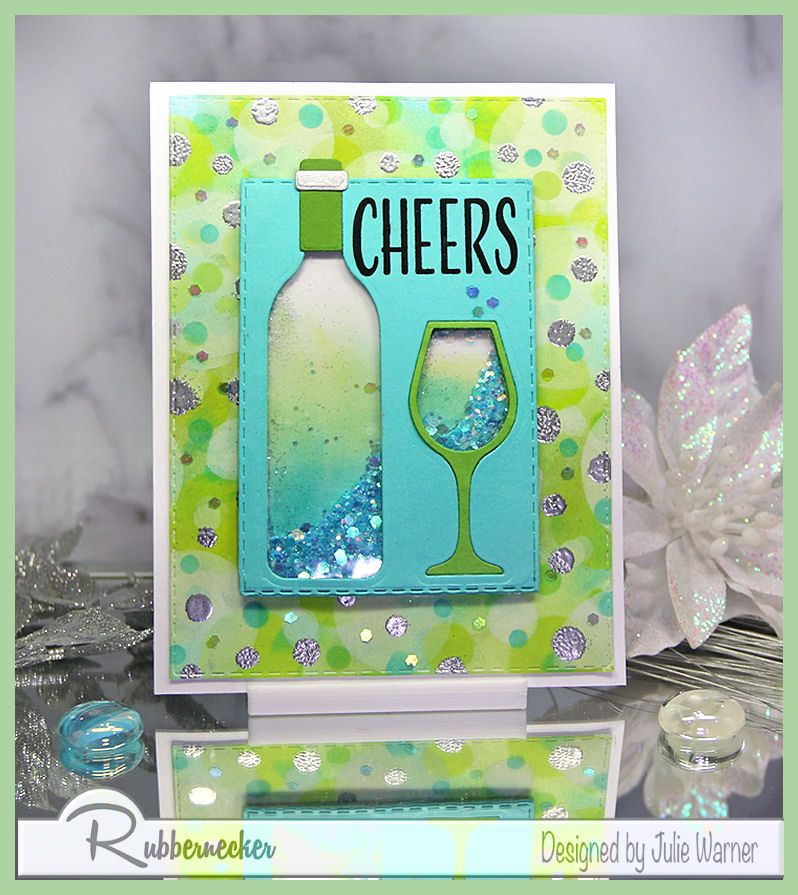
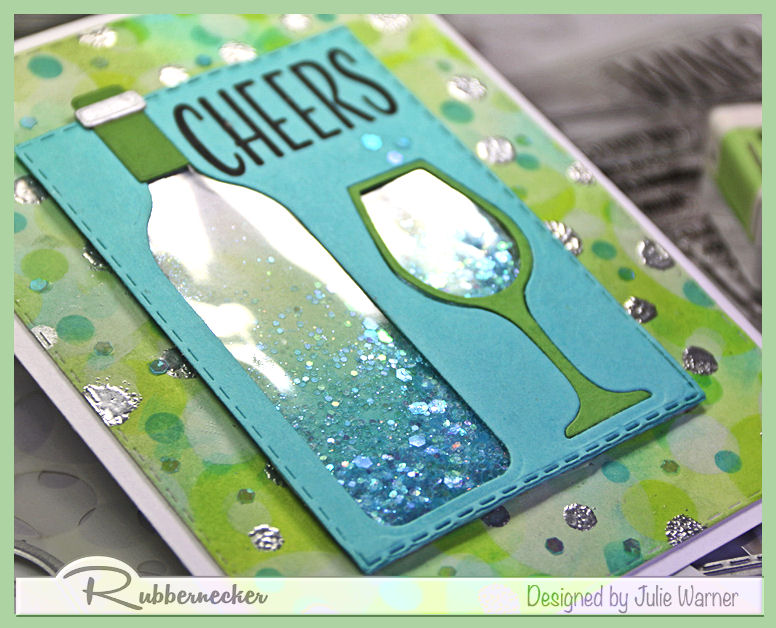
    A fun, sparkly shaker card to celebrate the holidays, a birthday or New Year’s. Glitter was used for the shaker so it’s not bulky and shouldn’t take extra postage. Some step by step pics show you the process & it doesn’t require any special supplies.


    For the Inspiration Challenge (IC937) we are visiting Catch My Party & their Pinterest Board where I found THIS picture for my inspiration. The colors and the sparkle really caught my eye.

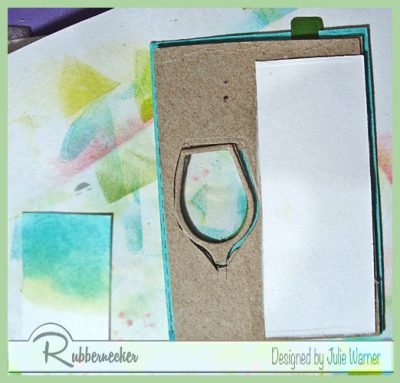
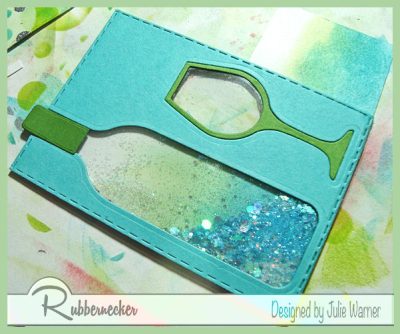
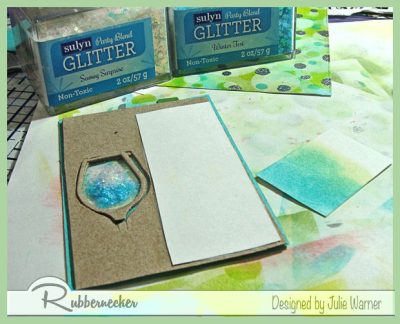
    I first created the large background using a 2 part Bokeh stencil and some light green & teal inks. Some paler, larger circles were added using a white pigment ink. After making sure this was completely dry, I put one of the stencils back onto the background & sponged some silver ink here & there, in some of the smallest circles, then embossed this w/ silver ep. For the shaker element, I die cut the shapes into the turquoise rectangle, then did the same to 2 pieces of cardboard. A separate glass was die cut in grass green & inserted the outline into the opening. I used a piece of cellophane packaging (like those that clear stamps or embellishments come in) & attached this to the back of the turquoise piece before attaching the 2 piece of cardboard on top of it. 

    Below is the back. I’ve already filled the bottle area & attached a piece of white card stock over it to seal it.

    This is how the front looks at this point.

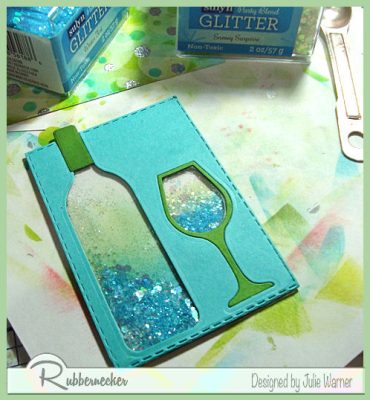
    I put some chunky glitter inside the opening of the glass, then attached another piece of white over it. The front side of the white cover was lightly sponged w/ the green & teal inks to give it a color. You can see that below.

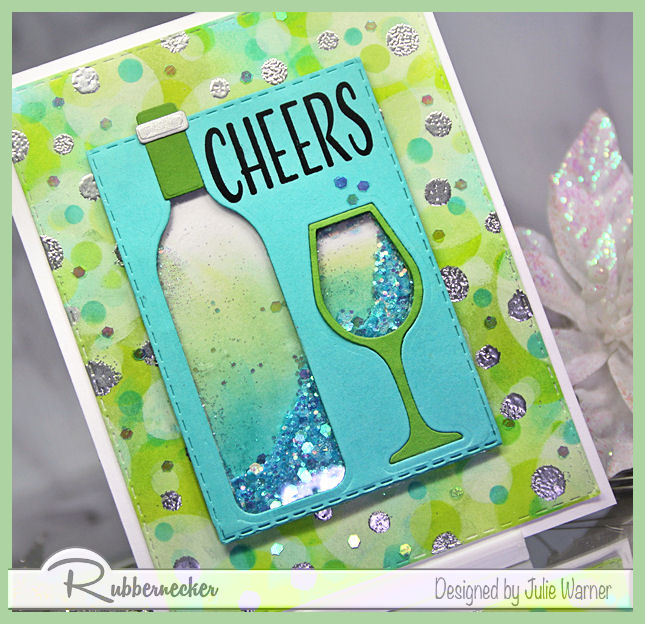
    Here is the right side, all finished.

    The greeting was stamped, & the shaker element was attached to the Bokeh background. I glued some of the larger pieces of the glitter, here & there on the Bokeh bg for some additional sparkle.

    Thanks
    so much for stopping by!


    Supplies:

    Stamps: Rubbernecker Stamps: Sip Sip Hooray set
    Paper:  Staples 110# white,  grass green, turquoise, scrap of silver, plastic packaging
    Ink: Memento tuxedo black, Hero Arts unicorn, Encore ultimate metallic silver,  Rubbernecker Stamps: Color Fuse inks set #9 & set #10
    Accessories:  Rubbernecker Stamps: Stitched Rectangles, Wine Glass & Bottle  dies, Crossover II,  Silver Dollar embossing powder, Bokeh stencil, chunky glitter


    You might also like: