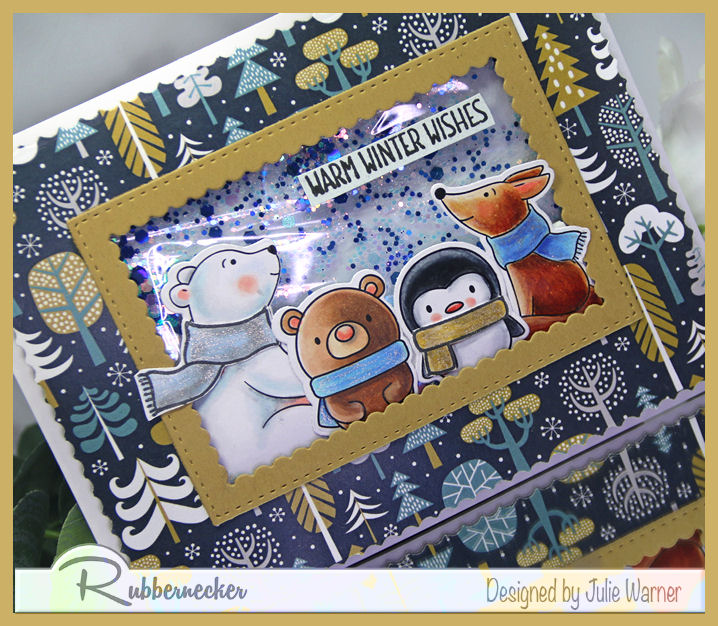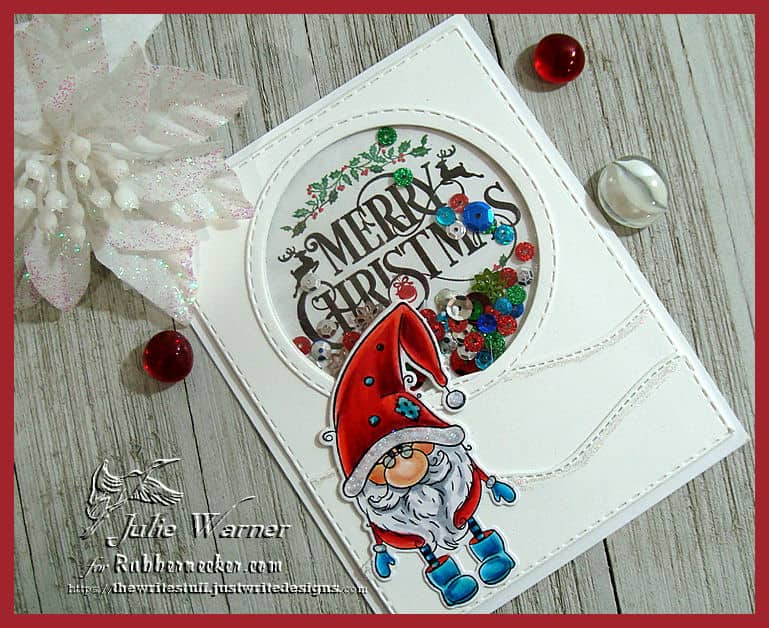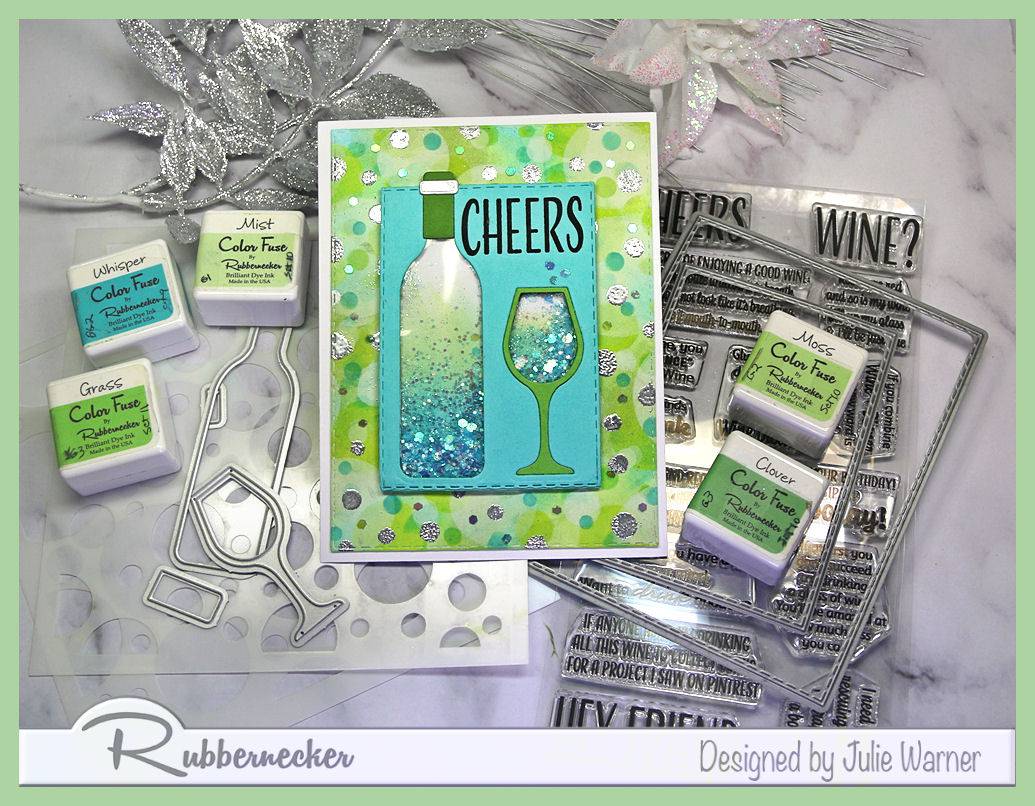
A fun, sparkly shaker card to celebrate the holidays, a birthday or New Year’s. Glitter was used for the shaker so it’s not bulky and shouldn’t take extra postage. Some step by step pics show you the process & it doesn’t require any special supplies.

For the Inspiration Challenge (IC937) we are visiting Catch My Party & their Pinterest Board where I found THIS picture for my inspiration. The colors and the sparkle really caught my eye.
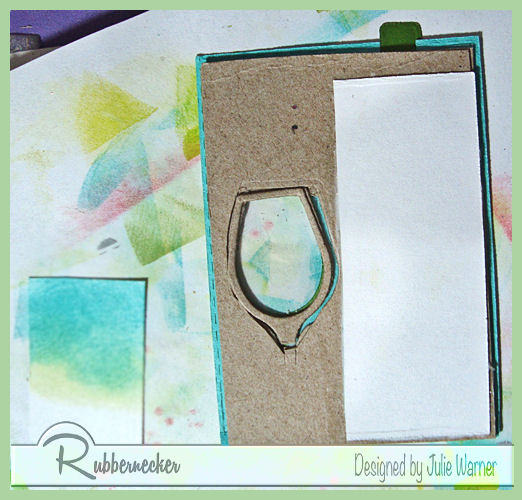
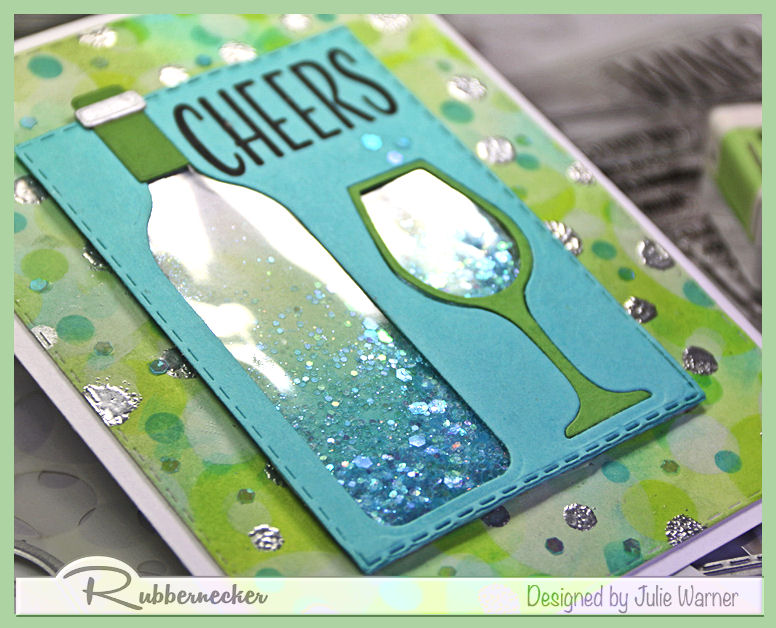
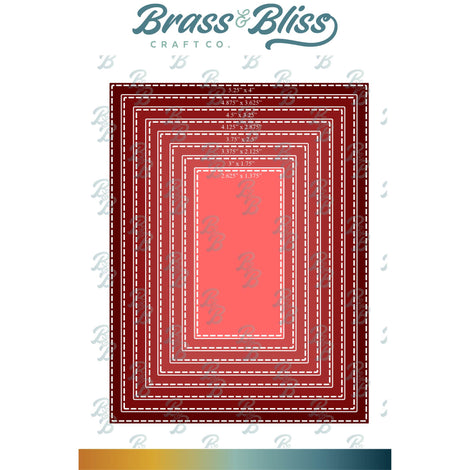
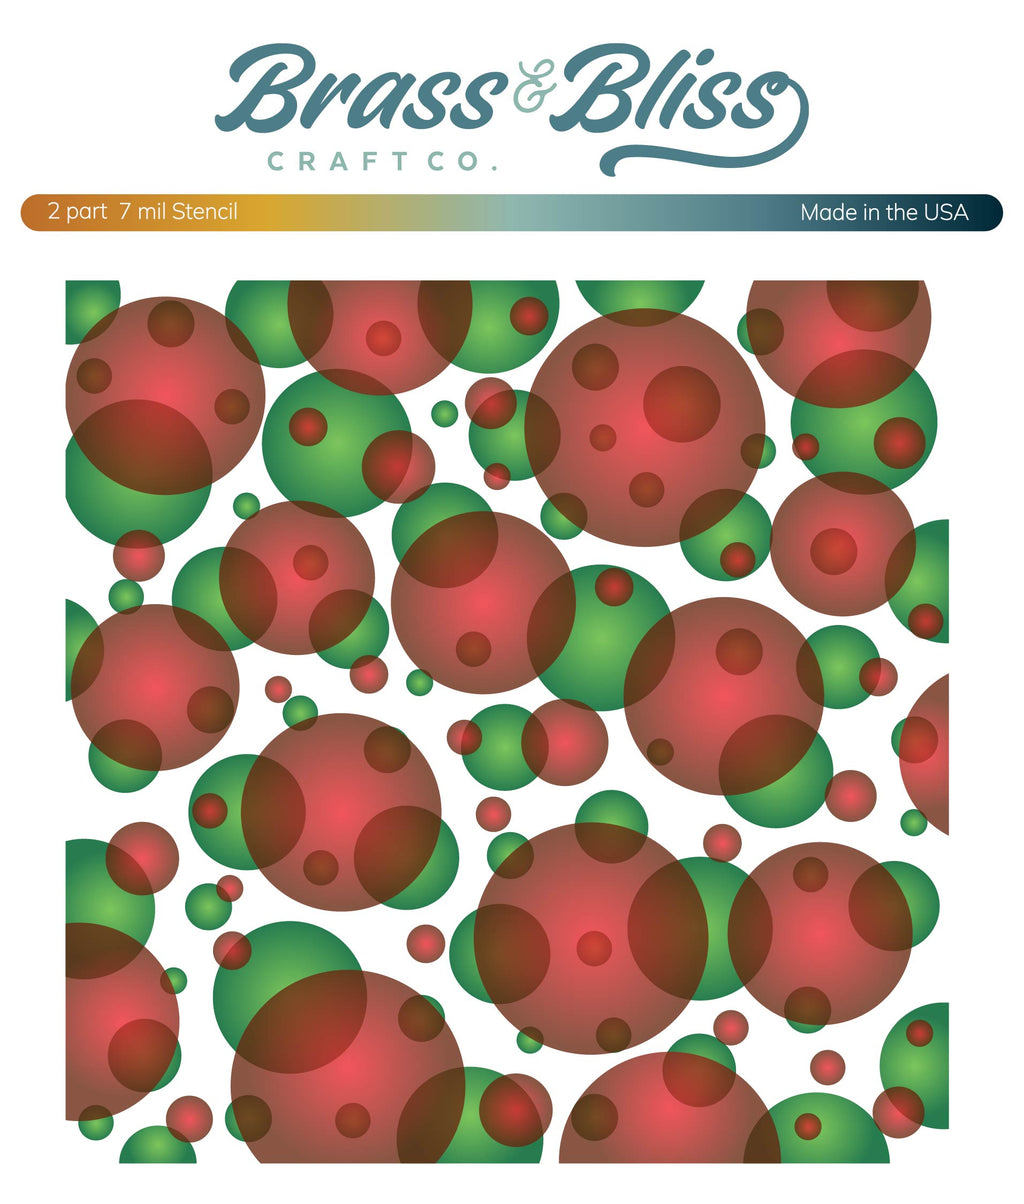
I first created the large background using a 2 part Bokeh stencil and some light green & teal inks. Some paler, larger circles were added using a white pigment ink. After making sure this was completely dry, I put one of the stencils back onto the background & sponged some silver ink here & there, in some of the smallest circles, then embossed this w/ silver ep. For the shaker element, I die cut the shapes into the turquoise rectangle, then did the same to 2 pieces of cardboard. A separate glass was die cut in grass green & inserted the outline into the opening. I used a piece of cellophane packaging (like those that clear stamps or embellishments come in) & attached this to the back of the turquoise piece before attaching the 2 piece of cardboard on top of it.
Below is the back. I’ve already filled the bottle area & attached a piece of white card stock over it to seal it.
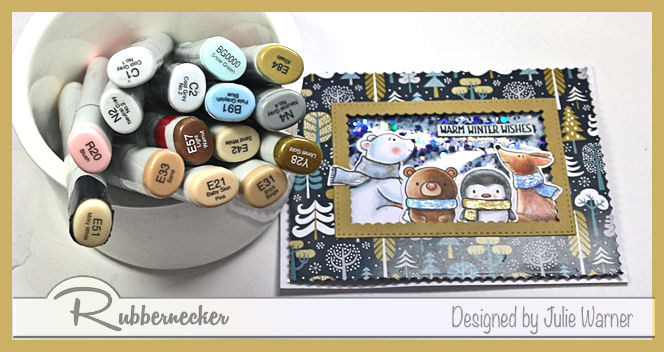
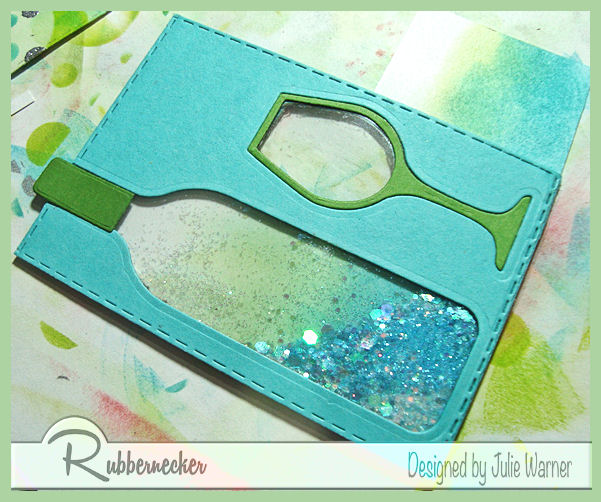
This is how the front looks at this point.
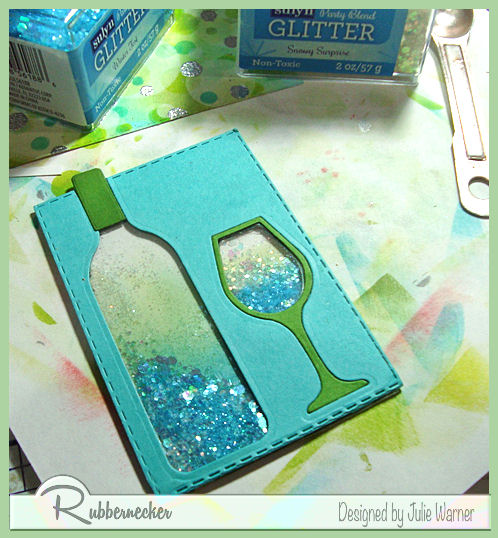
I put some chunky glitter inside the opening of the glass, then attached another piece of white over it. The front side of the white cover was lightly sponged w/ the green & teal inks to give it a color. You can see that below.

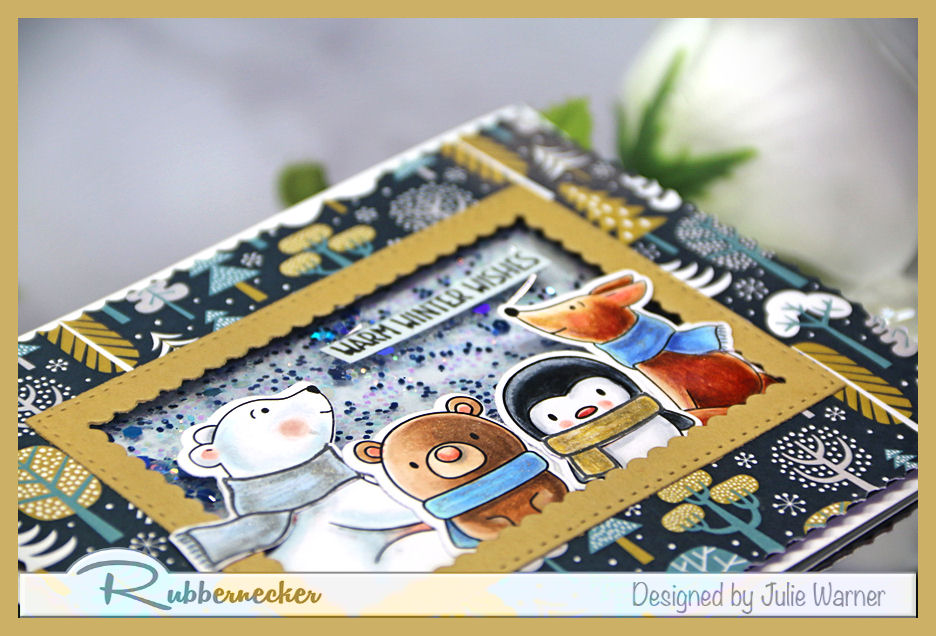
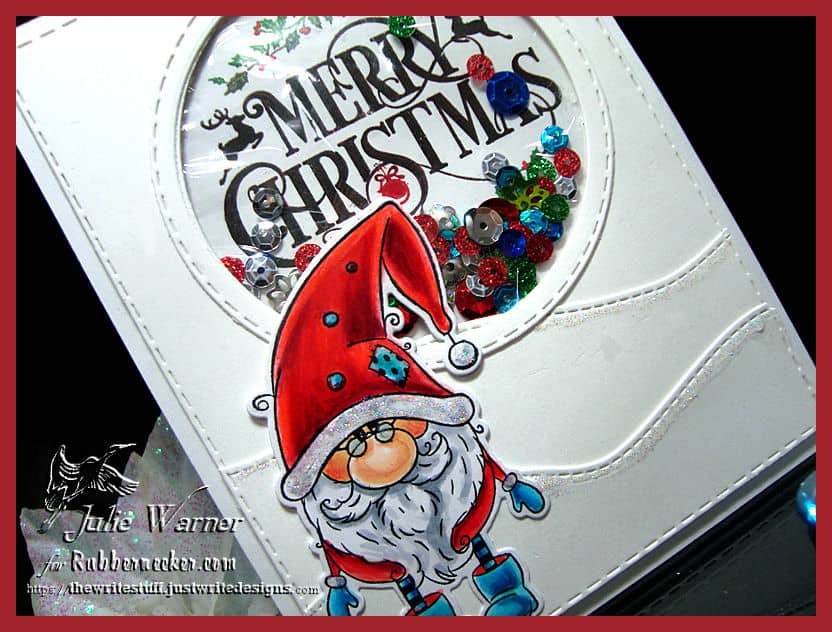
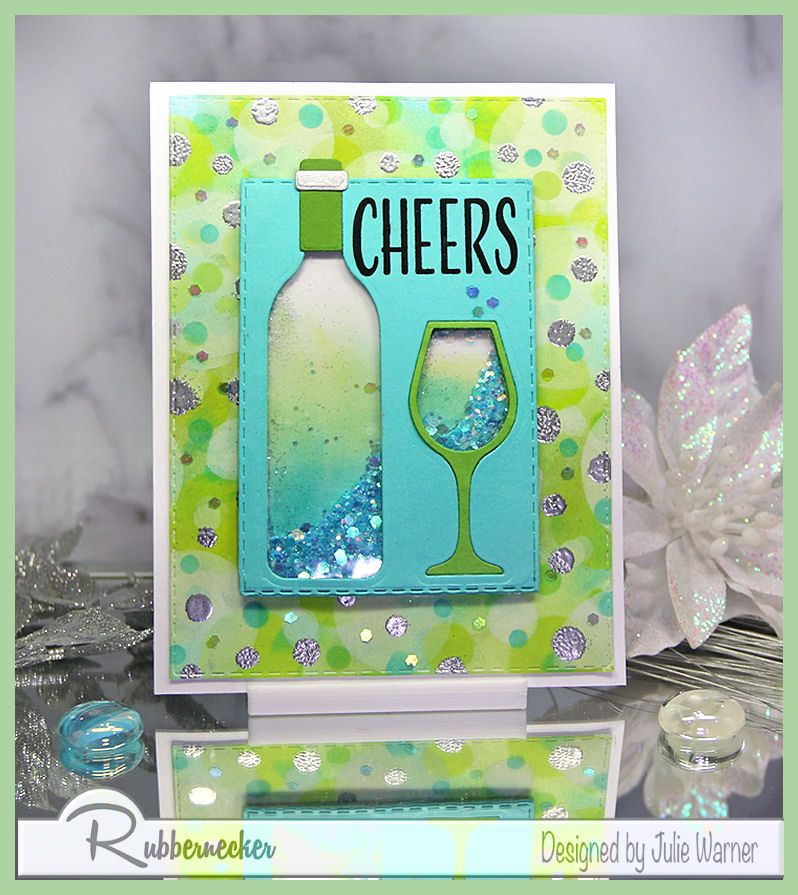
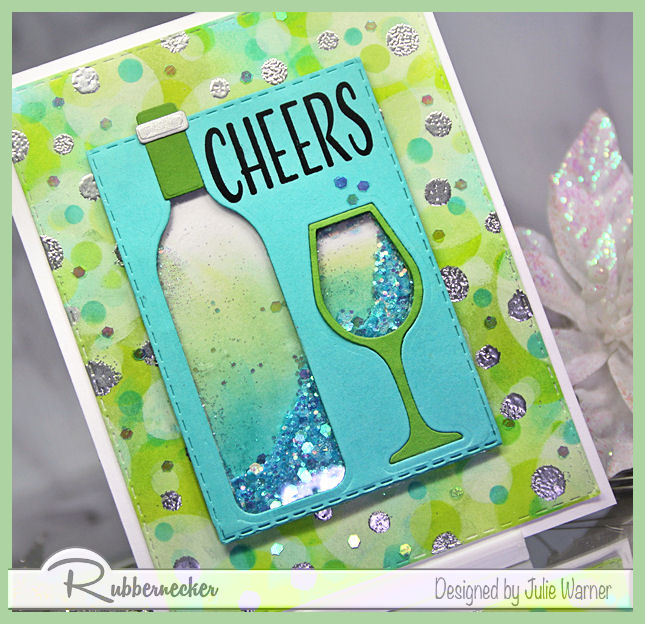
Here is the right side, all finished.
The greeting was stamped, & the shaker element was attached to the Bokeh background. I glued some of the larger pieces of the glitter, here & there on the Bokeh bg for some additional sparkle.
Thanks so much for stopping by!

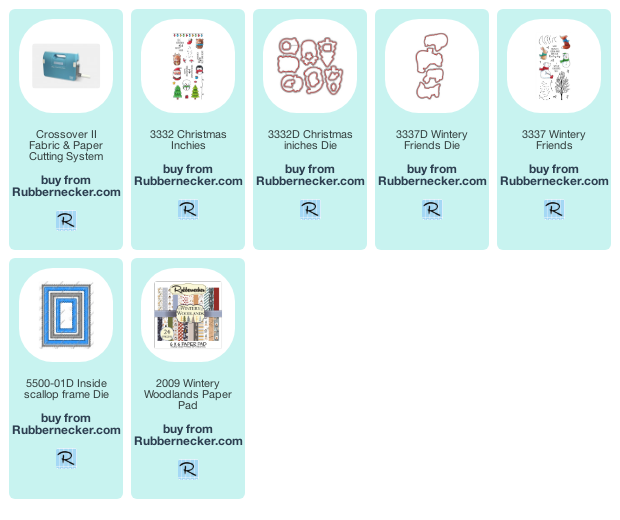
Supplies:
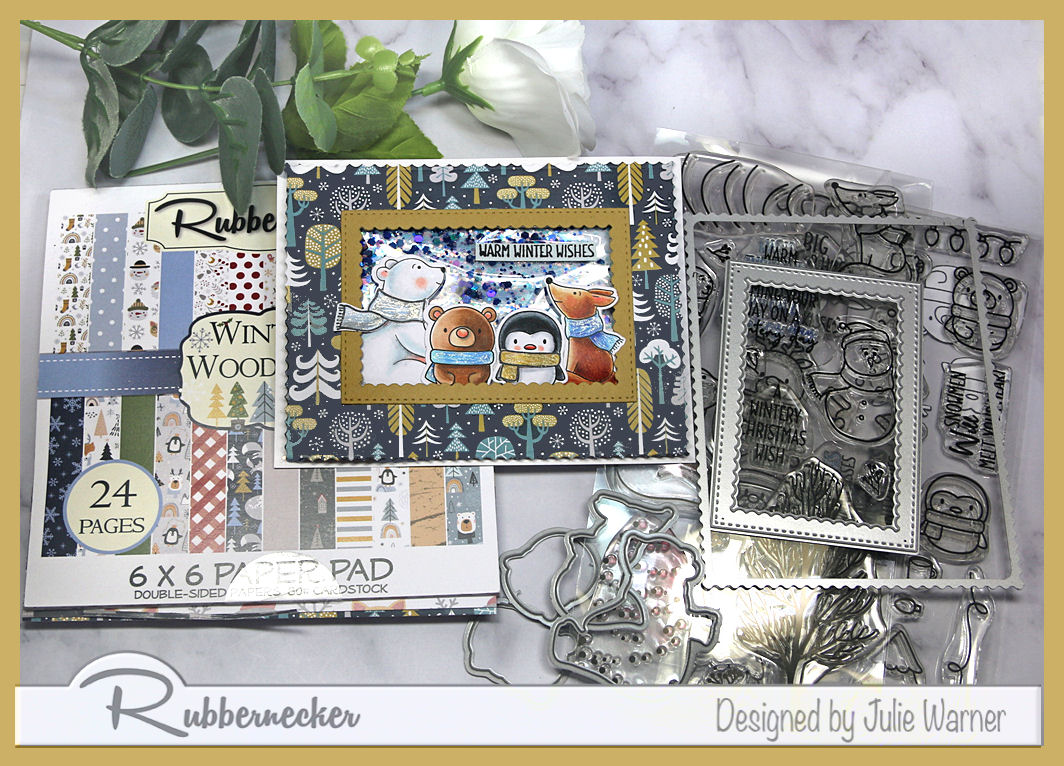
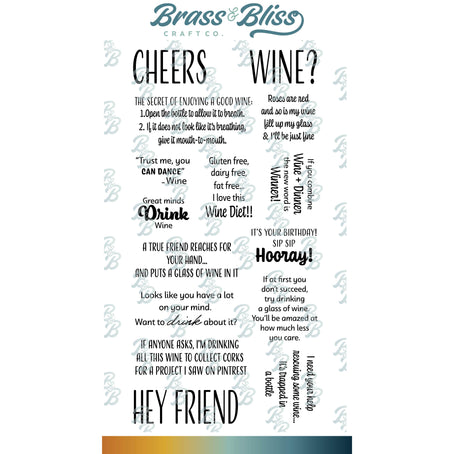
| Stamps: Rubbernecker Stamps: Sip Sip Hooray set |
| Paper: Staples 110# white, grass green, turquoise, scrap of silver, plastic packaging |
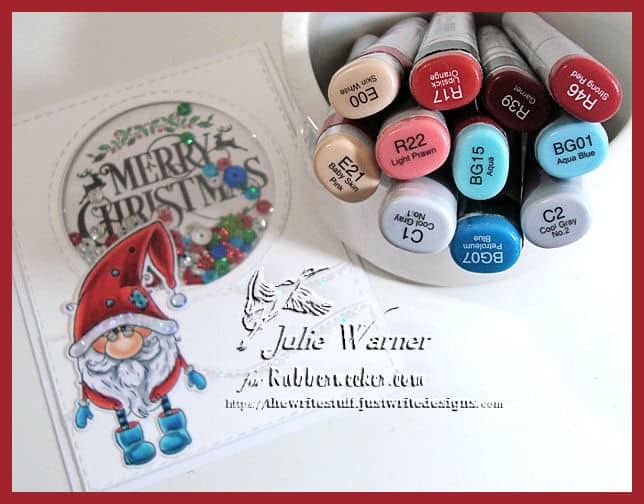
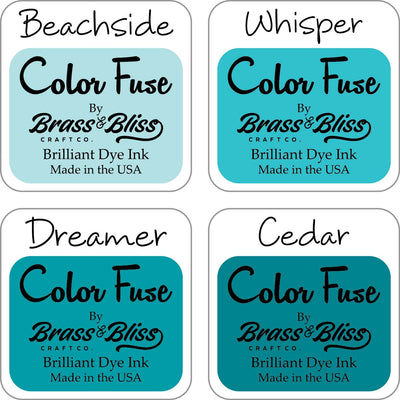
| Ink: Memento tuxedo black, Hero Arts unicorn, Encore ultimate metallic silver, Rubbernecker Stamps: Color Fuse inks set #9 & set #10 |
| Accessories: Rubbernecker Stamps: Stitched Rectangles, Wine Glass & Bottle dies, Crossover II, silver embossing powder, Bokeh stencil, chunky glitter |
|

|
|
|
|
|

|

|

|

|

|

|

|
You might also like: