Click on any picture to enlarge.
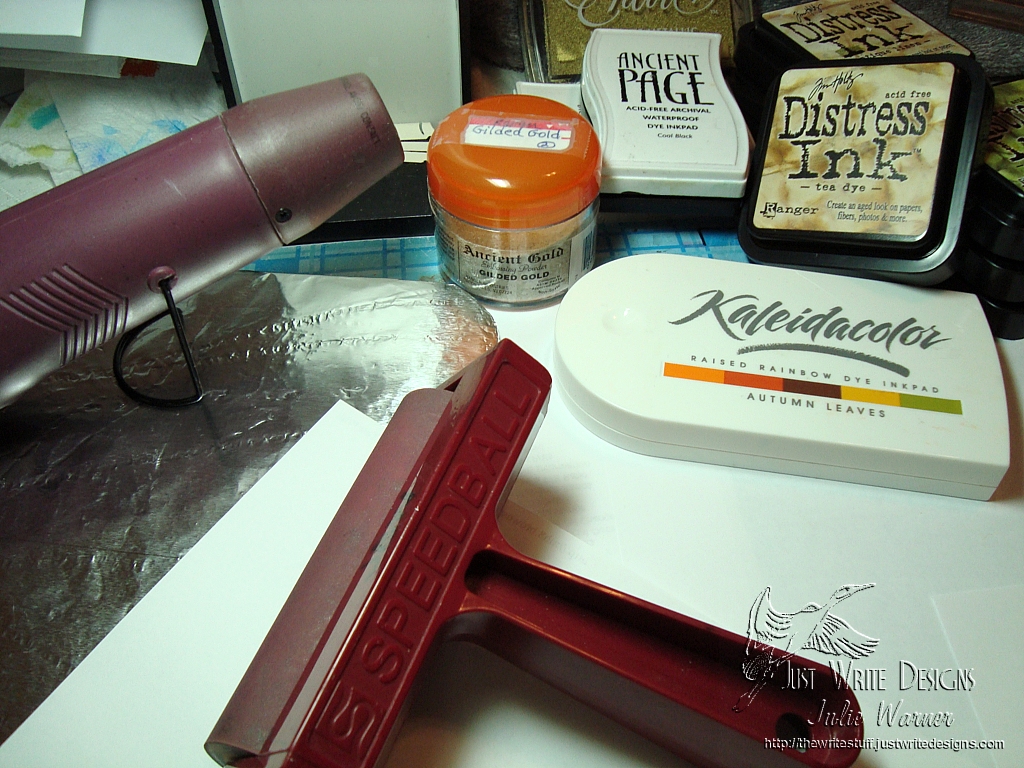
Supplies Needed:
- Text weight paper (copy paper)
- Rainbow ink pad (I used a Kaleidacolor Autumn Leaves ink pad)
- Rubber Brayer
- Embossing Powder ( I used Ranger’s Gilded Gold, it’s mostly clear with flecks of gold; try using a mix of clear & a little gold as a substitute)
- Other Ink Pads ( I used Ancient Page Sienna, Distress Tea Dye & Fired Brick, Encore Ultimate Metallic Gold and Hero Arts Soft Wheat)
- Heat Gun
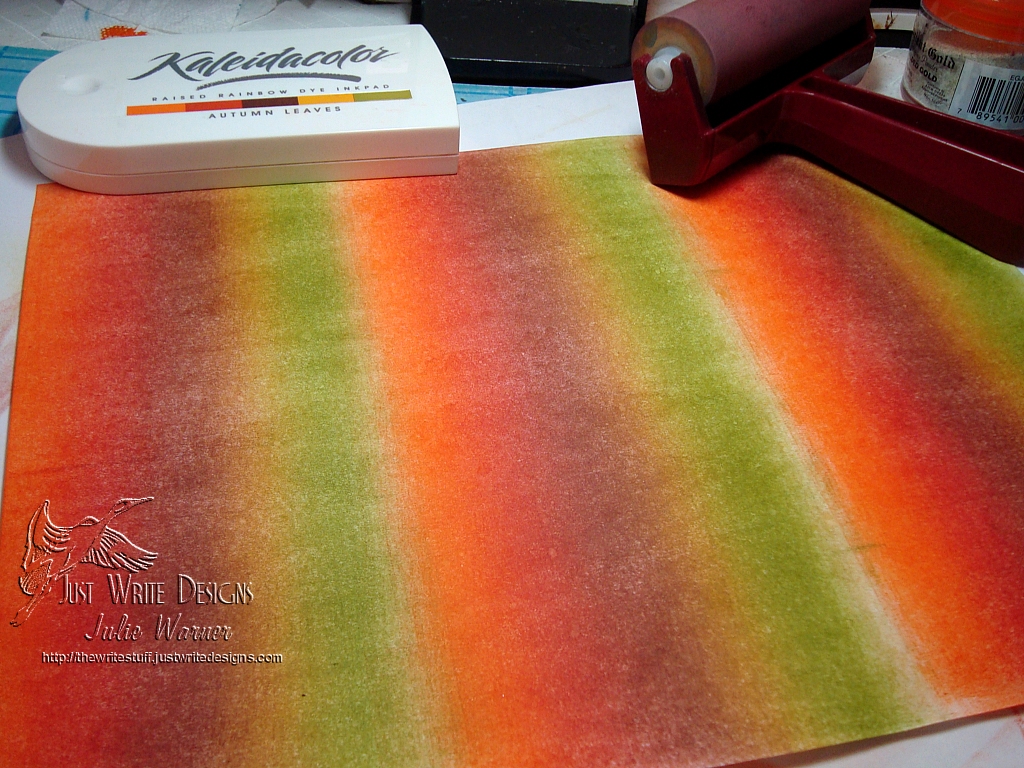
Step One:
Brayer the entire piece of paper using the rainbow ink pad.
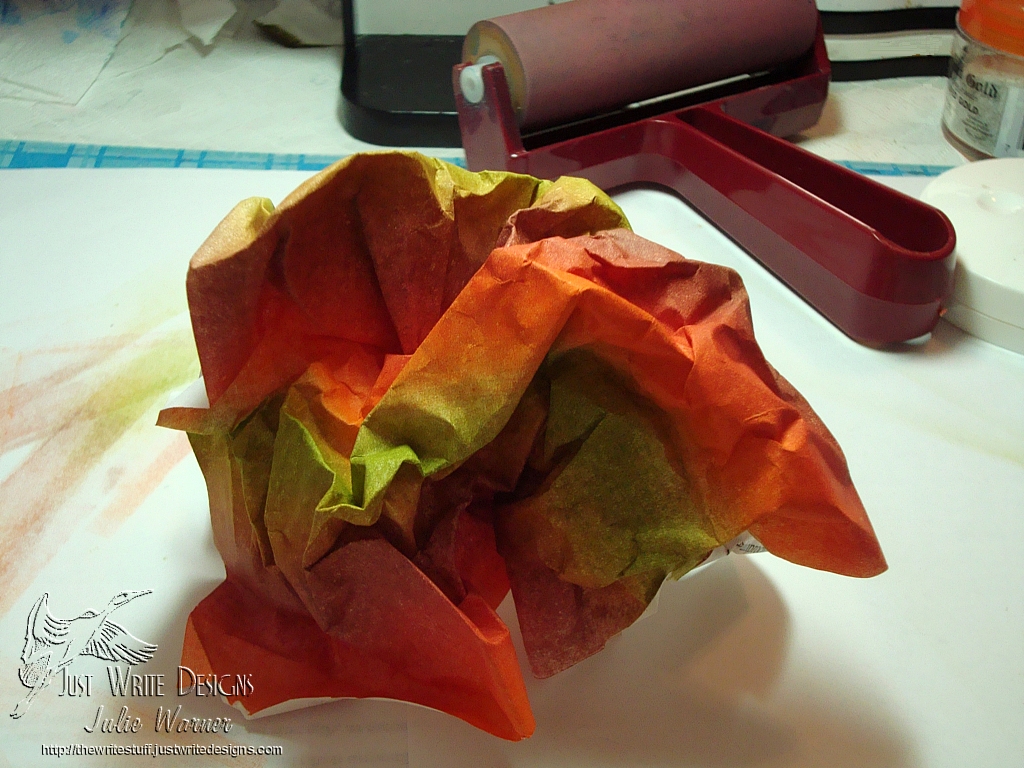
Step Two:
Crumple the piece of brayered paper into a ball.
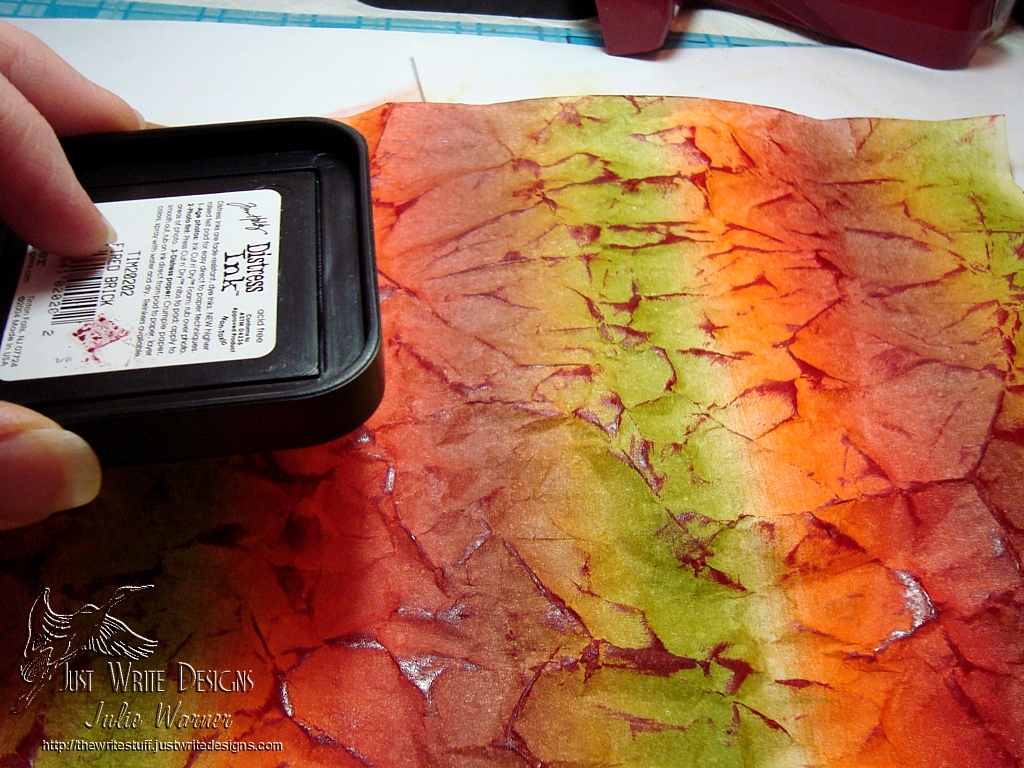
Step Three:
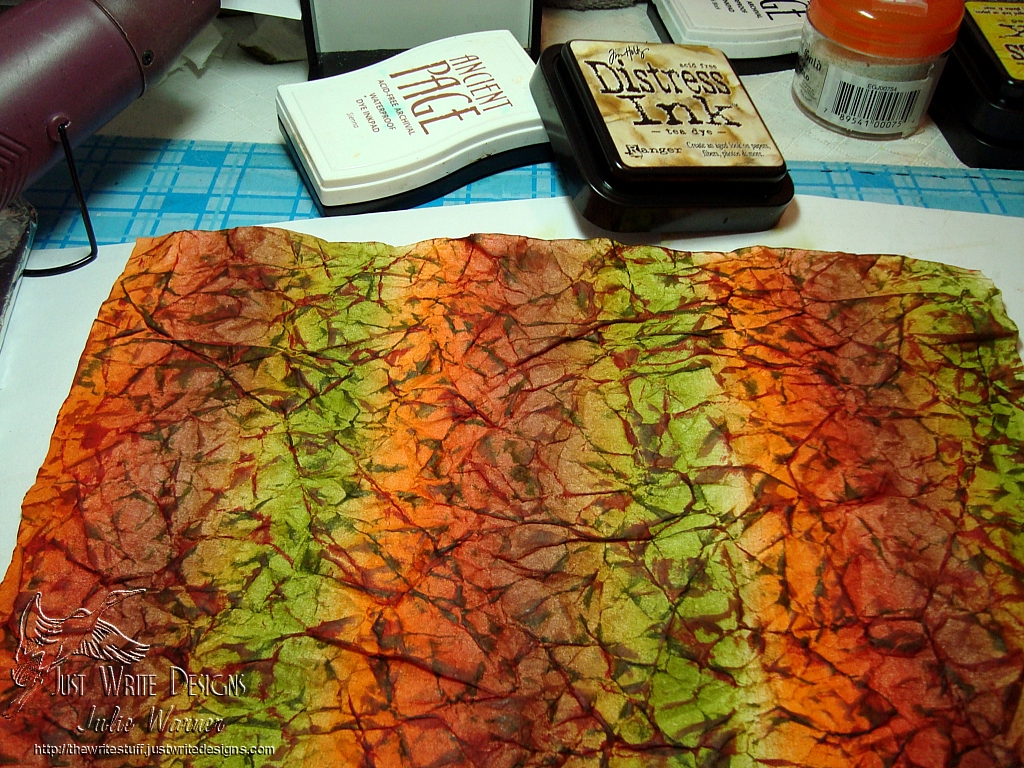
Flatten out the paper and ink the creases using the direct to paper (DTP) technique. I’m using Tea Dye Distress ink.
Step Four:
Crumple the paper once again, flatten out and ink the creases with a darker ink. I’m using Ancient Page Sienna ink. Repeat steps 3 & 4 with a different ink color. I’m using the Distress Fired Brick ink.
Step Five: (Optional)
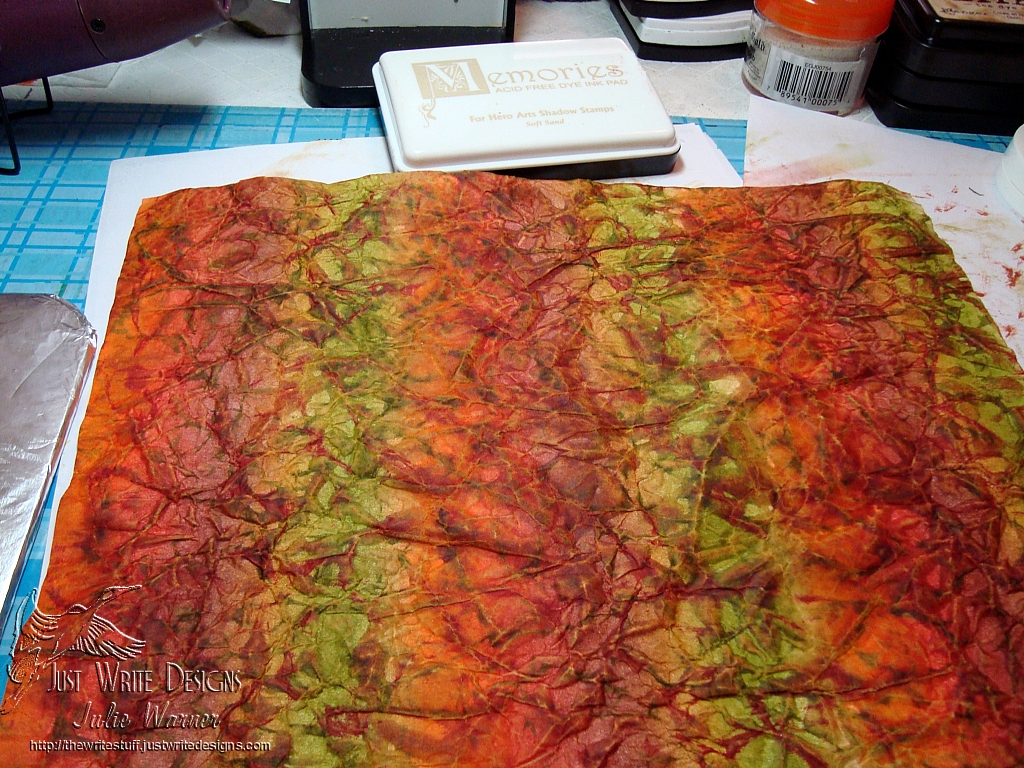
I wanted to tone the color down a little, so I used the Soft Wheat ink all over the paper.
Step Six:
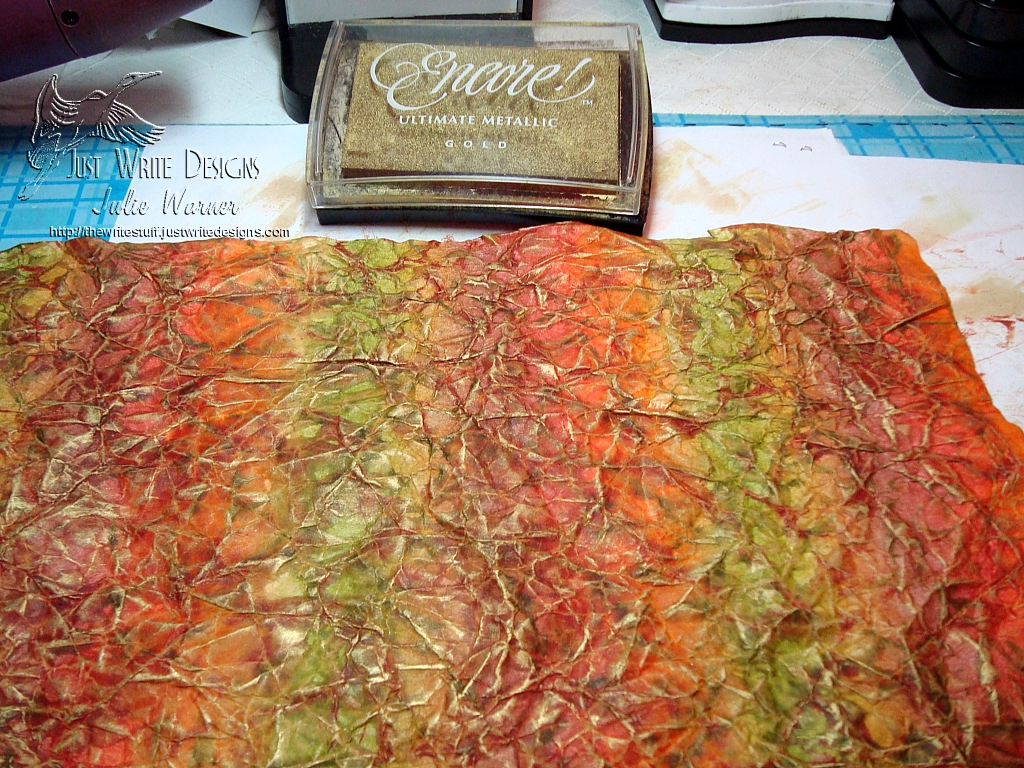
Crumple the paper a final time, smooth out and ink the creases with the metallic gold pigment ink. I‘m using the Encore Ultimate Metallic Gold ink.
Step Seven:
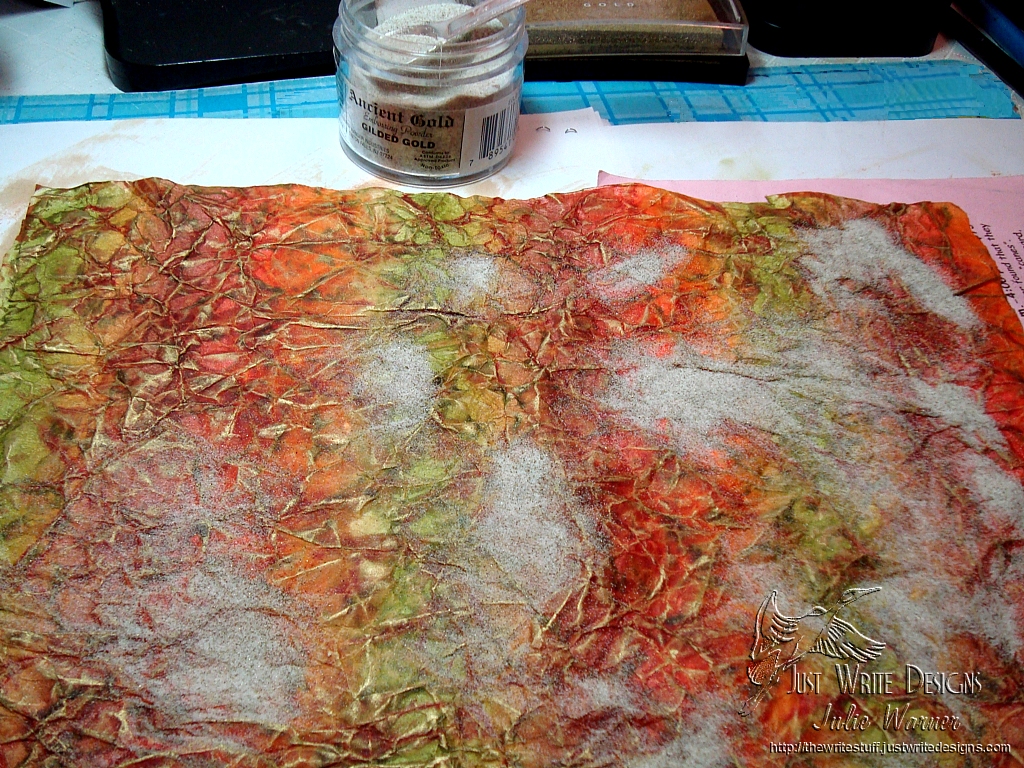
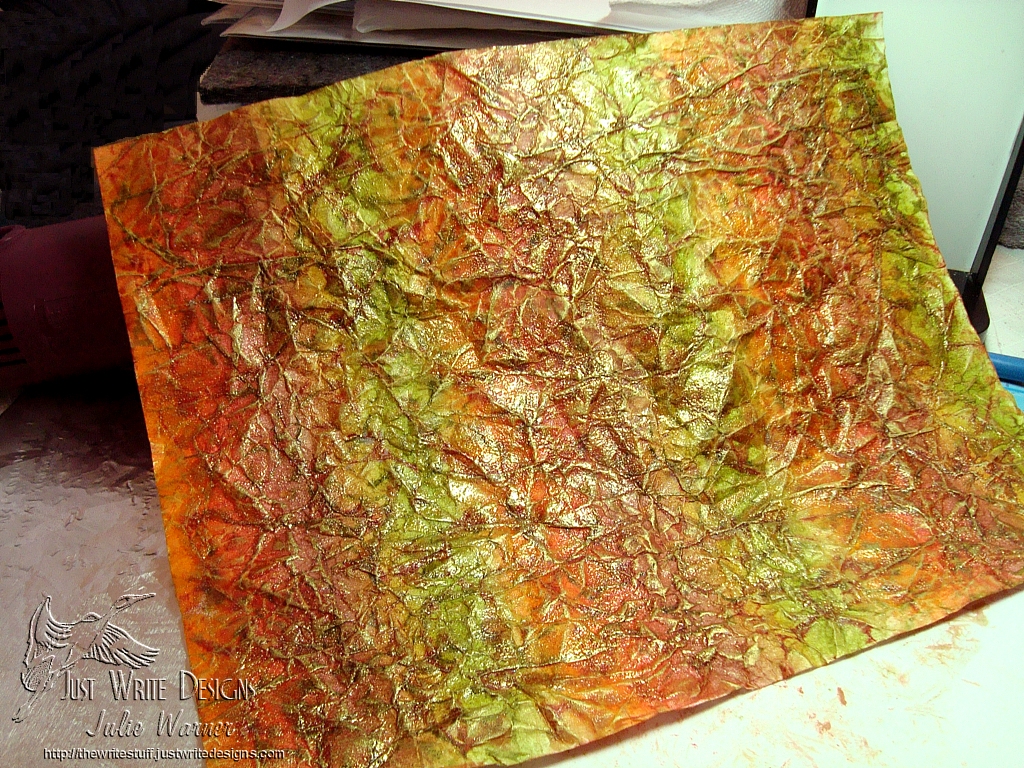
Sprinkle on the embossing powder. Do not cover the entire paper. I used a little measuring spoon to drop the powder here and there. Tap off the excess and return to the jar. Heat the powder until melted and until any non coated areas are dry.
Step Eight:
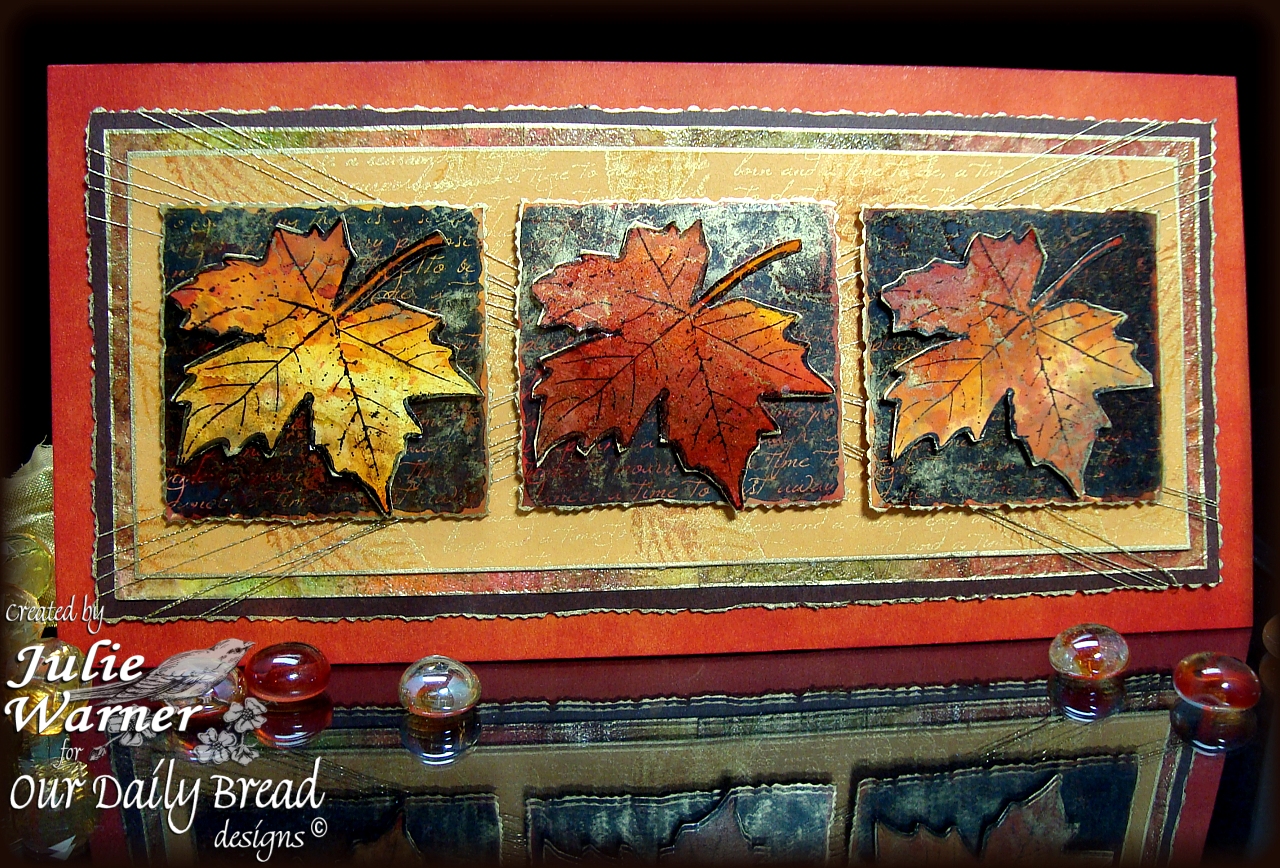
Enjoy your finished background! Here’s a card example using a piece of this finished background. I used it for a backing layer for some color behind the leaves on the marigold panel.
Pingback:The Write Stuff » Blog Archive » ODBD Oct Release Blog Hop!
Wow, it amazes me sometimes how easy things are! I would have never thought that this beautiful card was created by ink, embossing powder, wrinkled paper and a heat tool! Thanks for your tutorial!
such beautiful results. great tutorial and thanks for showing how it was done. Beautiful card.
This tutorial looks AMAZING, and I hope to try it one day real soon – thanks so, so much for sharing it!
This technique is fabulous. Love the end results. Thanks so much for sharing it. Definitely have to try it!!!
Marcie
STUNNING! Absolutely stunning card. Thanks for the tutorial. It amazes me how creative others are. I will definately be trying this tech!
Thanks for sharing the technique, Julie! I love creating things like this!
I’m impressed! Can’t wait to try this awesome techinque and you sold me on ordering the stamp set too. I love leaves and you’ve really made them look like something God would have created!
wow…great tutorial…and spectacular results
Very unique card! Were the leaves done the same way or did you use a different technique? Very nice!
Great tutorial. Never would have thought it was that simple. There is still so much I need to purchase, i.e. Brayer and even more to learn. But, I am thankful that I’m connected with such a wonderful group of talented people. Love the technique. That is one I will try in the very near future.
Thanks for sharing.
A few have asked about the leaves on the example card. There is a more complete description of the card on this post: http://thewritestuff.justwritedesigns.com/?p=5706
But to answer the question, the leaves (and leaf blocks) were stamped onto a Polished Stone background. This technique has been around quite awhile and I don’t have a tutorial for it because I thought there were probably a number of them. But it’s a different technique than the one shown and must be done on glossy card stock and uses alcohol inks.
Thanks!
Great idea!