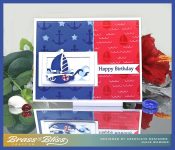
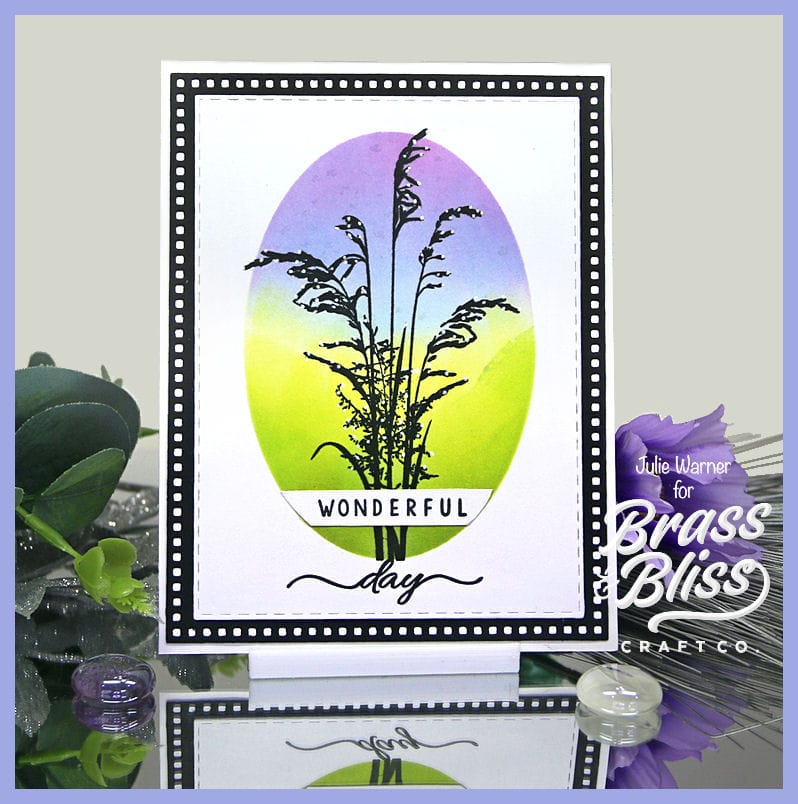
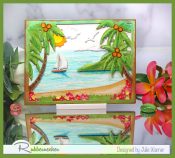
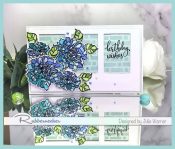
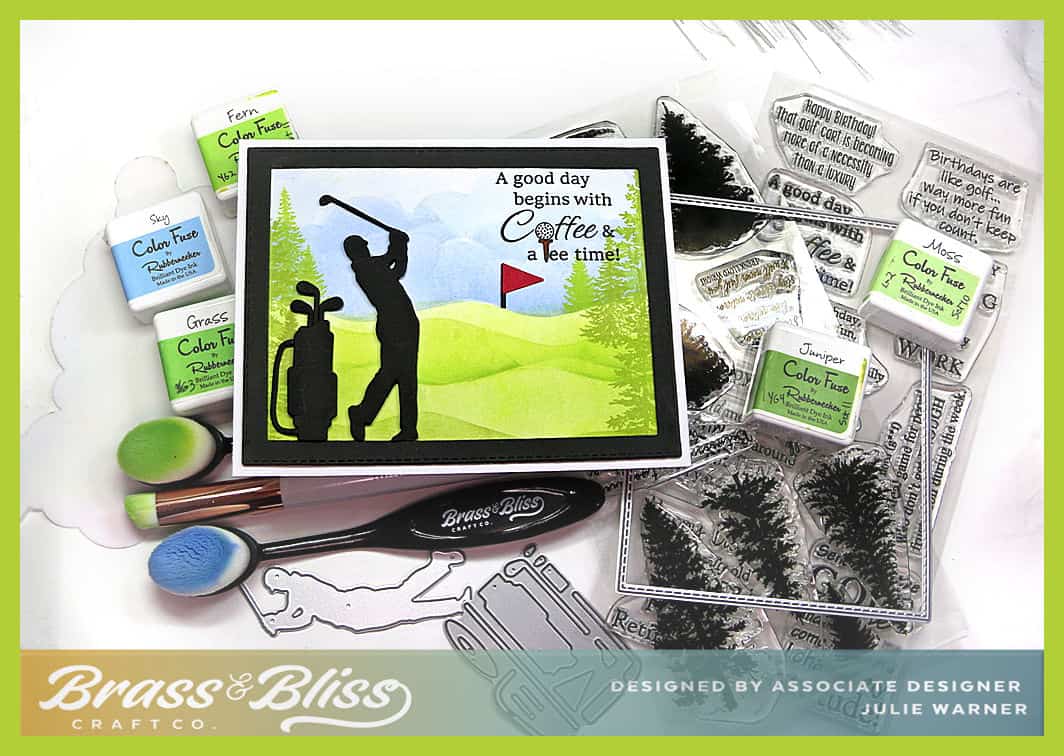
Today I have a masculine sporty card perfect for a guy who loves golf. For birthdays or Father’s Day this surely will fit the bill. The new golf silhouettes also come with lady golfers enabling you to make it a feminine sports card, too. All you need is a little color blended background to set the stage.
A big congrats to Andrea, the newest Featured Stamper FS955! She has a fabulous mixed media gallery that’s like a stroll thru an art museum. My card is (loosely) based on THIS tag. I kept the masculine silhouette with a mini scene behind him, but used different dies, theme & turned mine into a card.
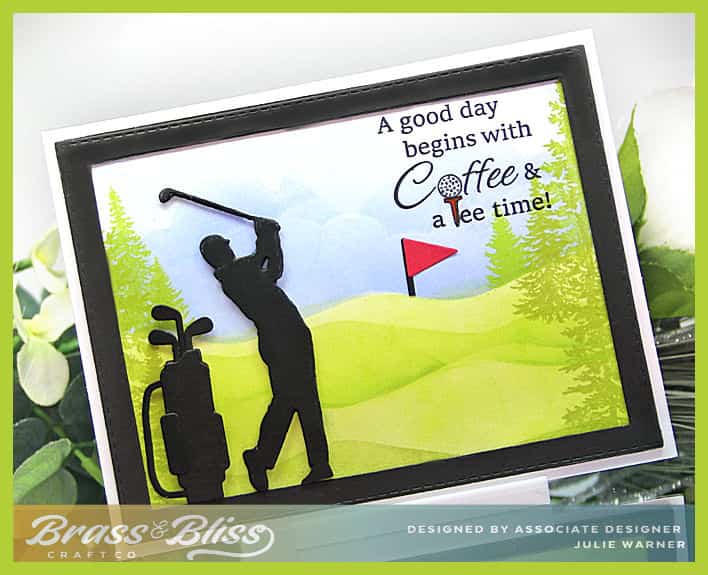
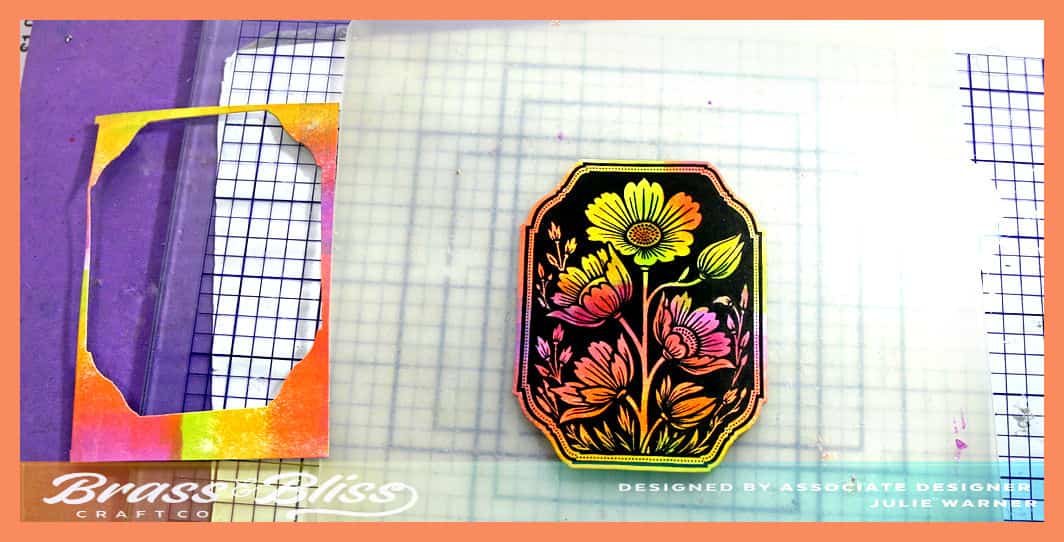
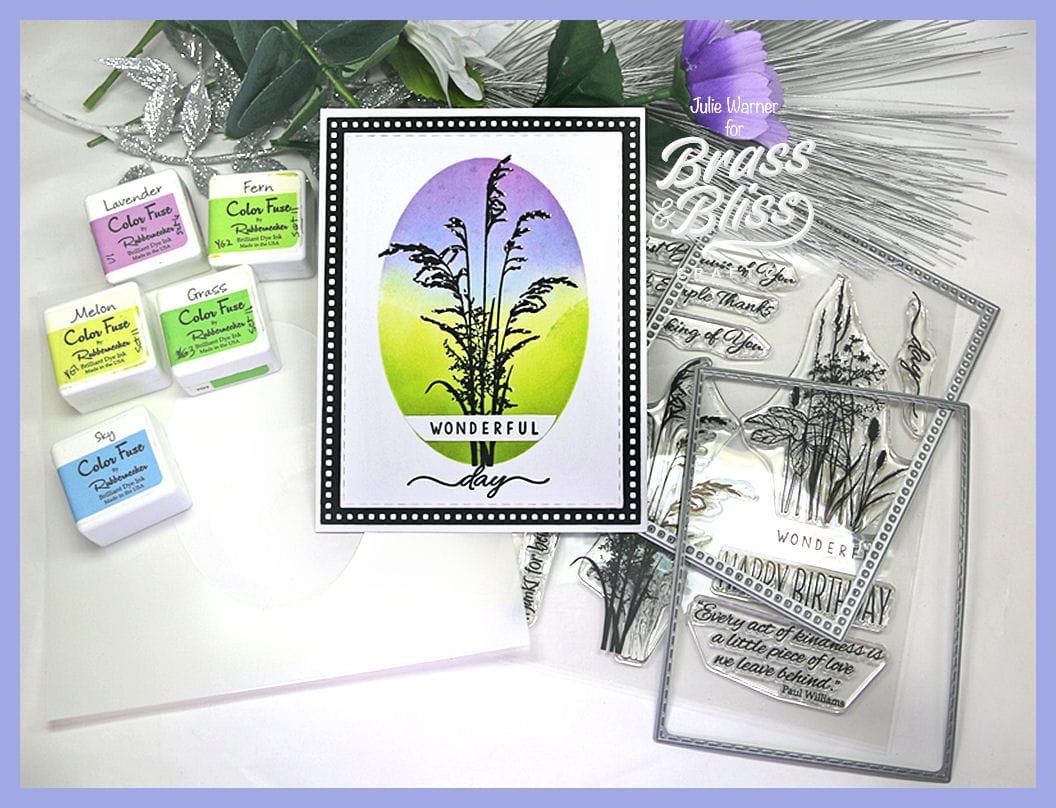
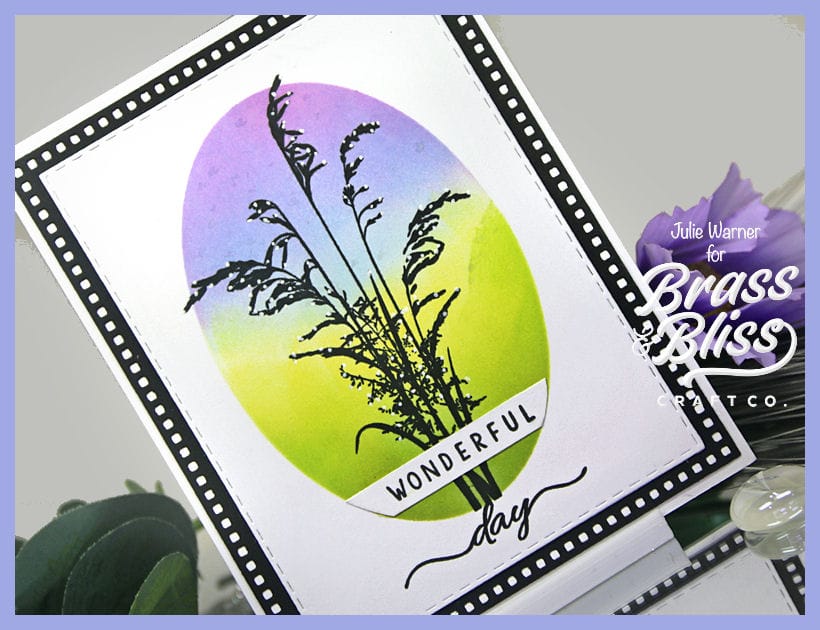
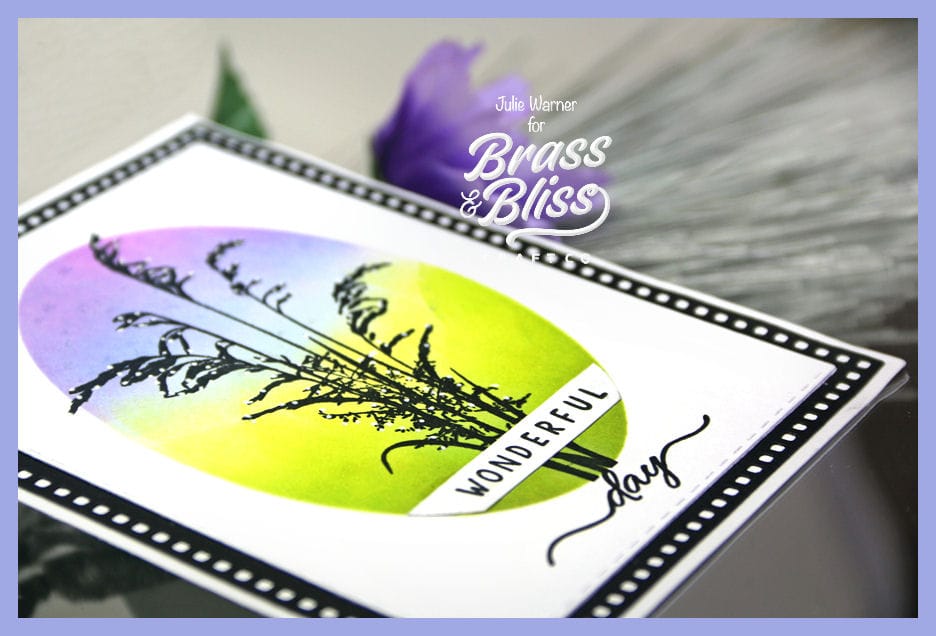
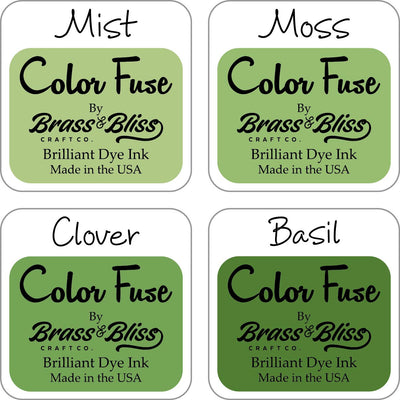
To make my golf course scene, I used the green inks to add the ground. It’s simple to cut a piece of scrap paper into curves to use as mask to make the little rolling hills. Then move it around & vary the ink colors, making it a little darker the closer it is to you & lighter the further away it is. I used a cloud stencil & the blue ink for the sky. The trees were stamped in the darkest green up close & a little lighter for the far trees. After adding the greeting, the silhouette golfer & his golf bag were cut out of black & popped up another layer. A black frame was cut, popped up & added on top before the golfer & bag were added.
Thanks so much for stopping by!

Supplies: (click the names below the pictures to take you to the products)
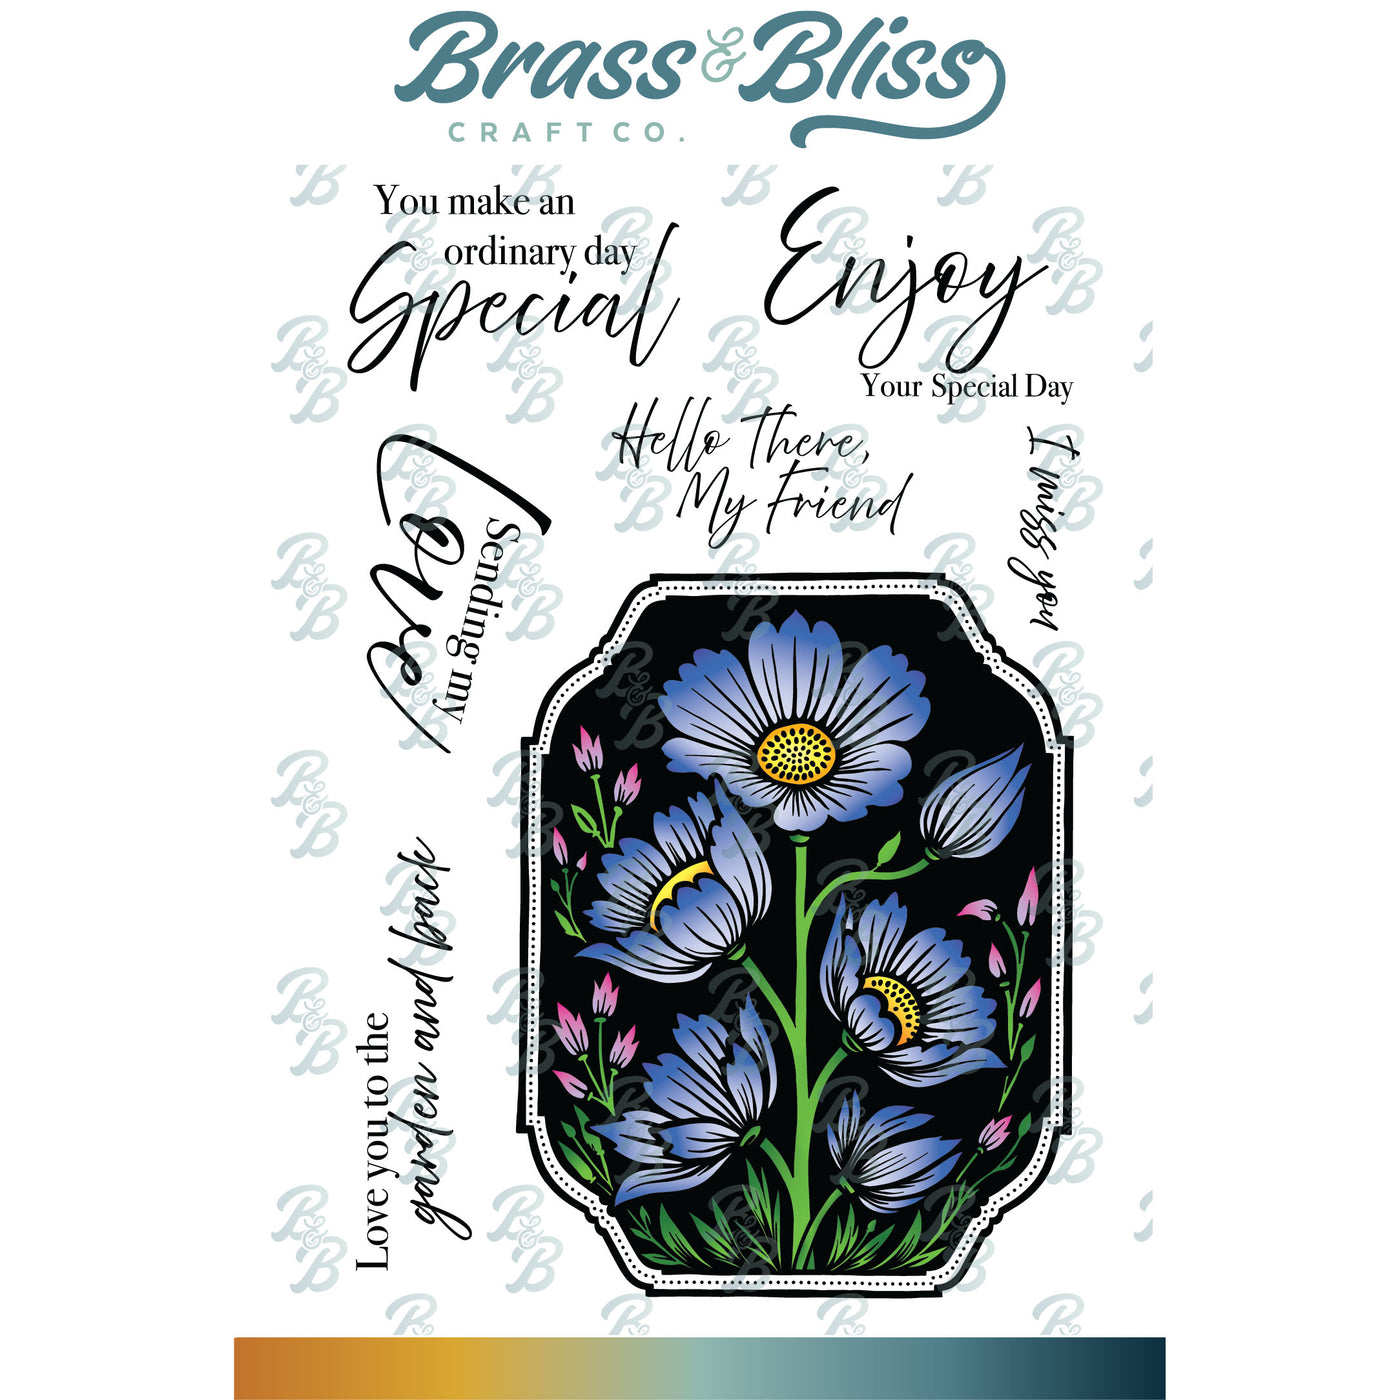
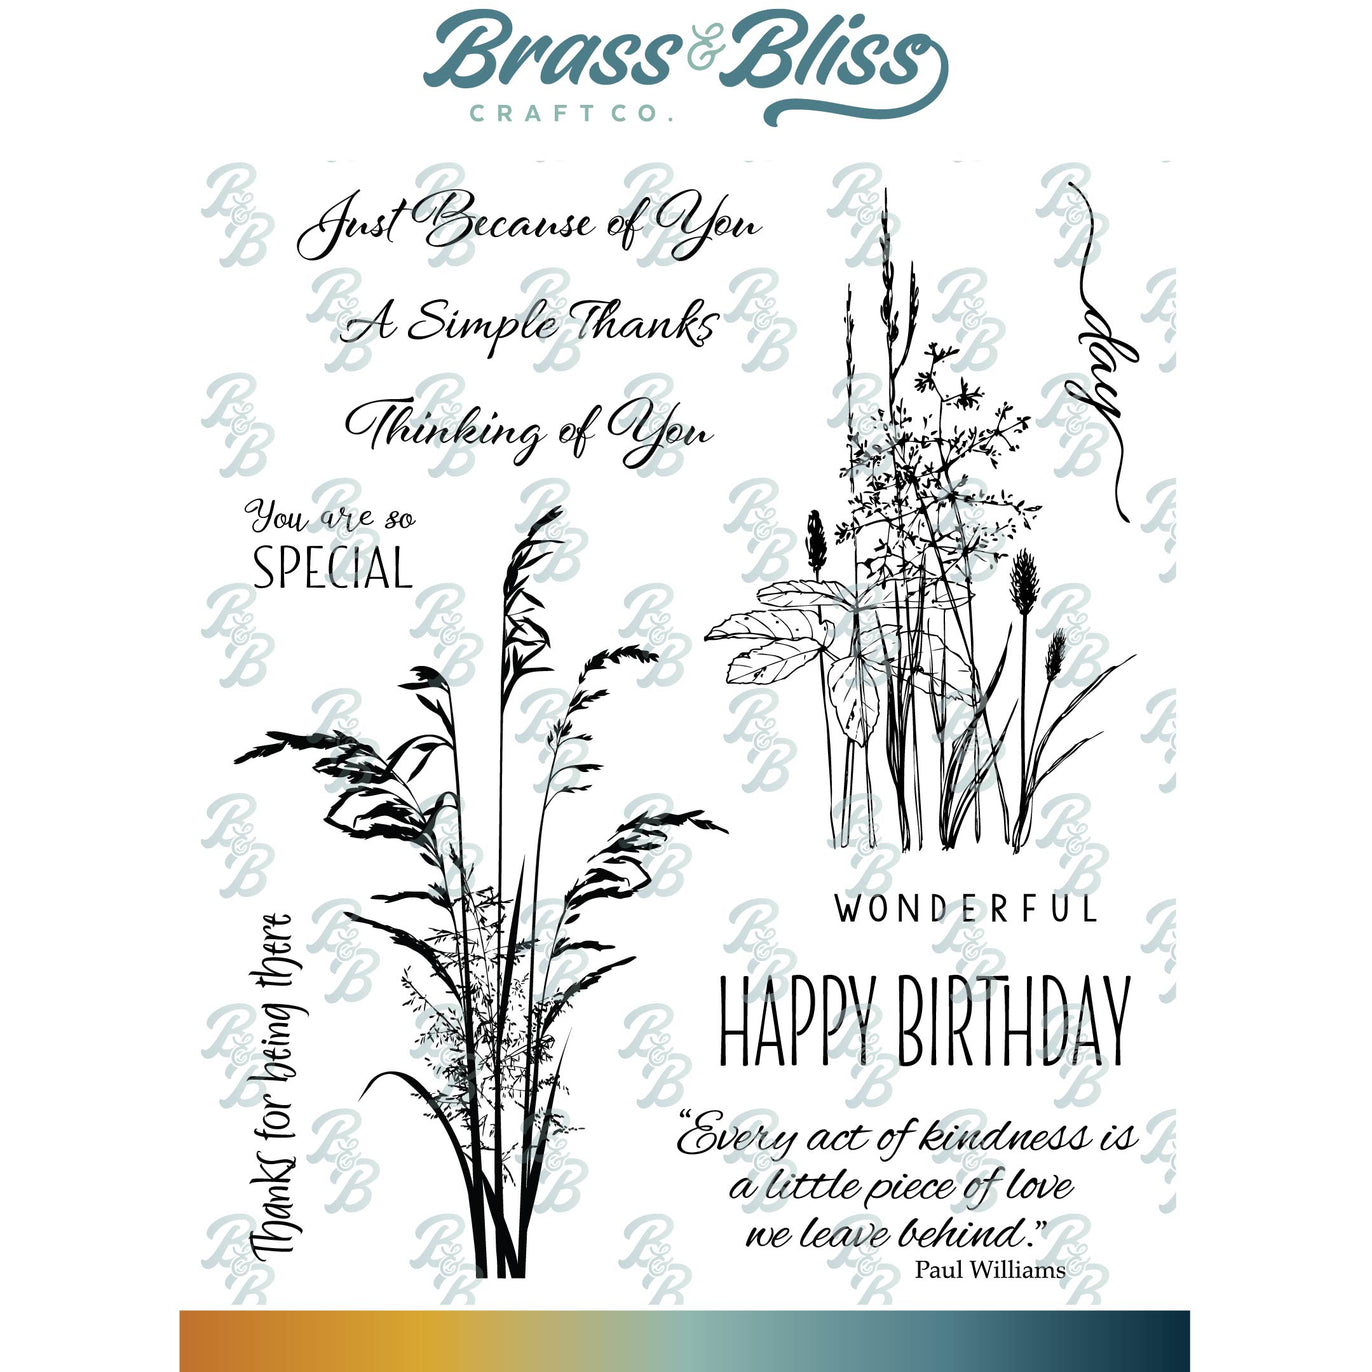
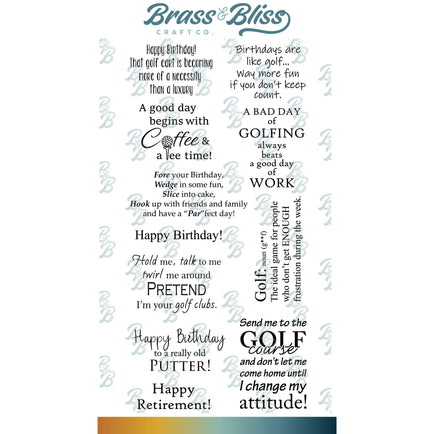
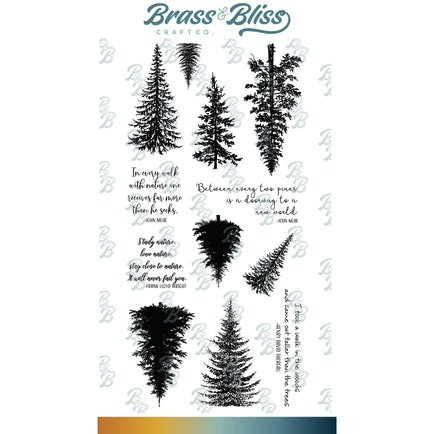
| Stamps: Brass & Bliss: Golf Phrases, Pine Tree set |
| Paper: Staples 110# white, black |
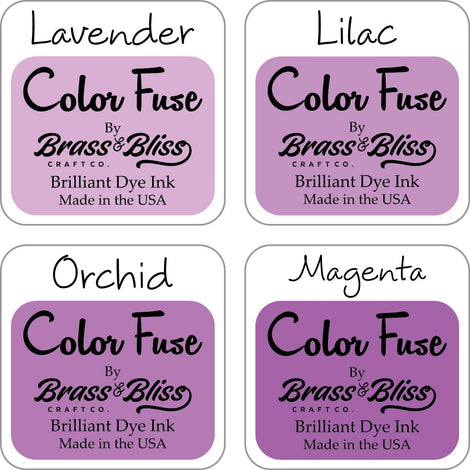
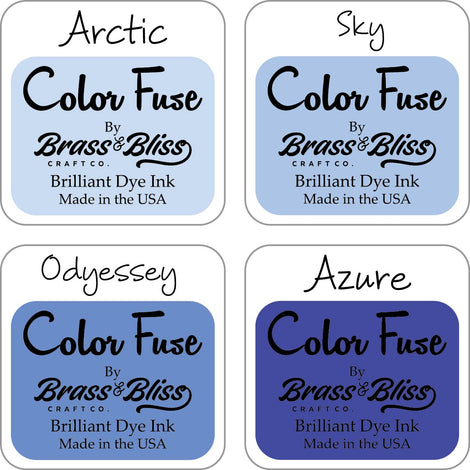
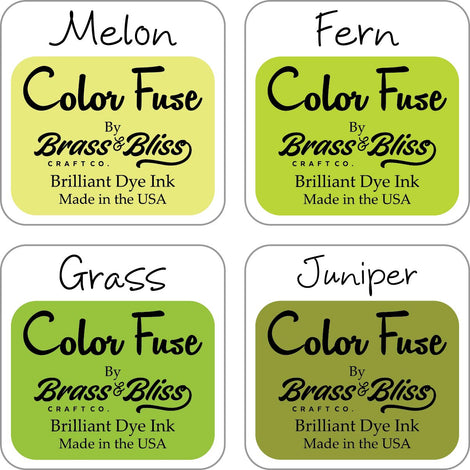
| Ink: Memento tuxedo black, Brass & Bliss: Color Fuse inks set #7, set #10, set #11 |
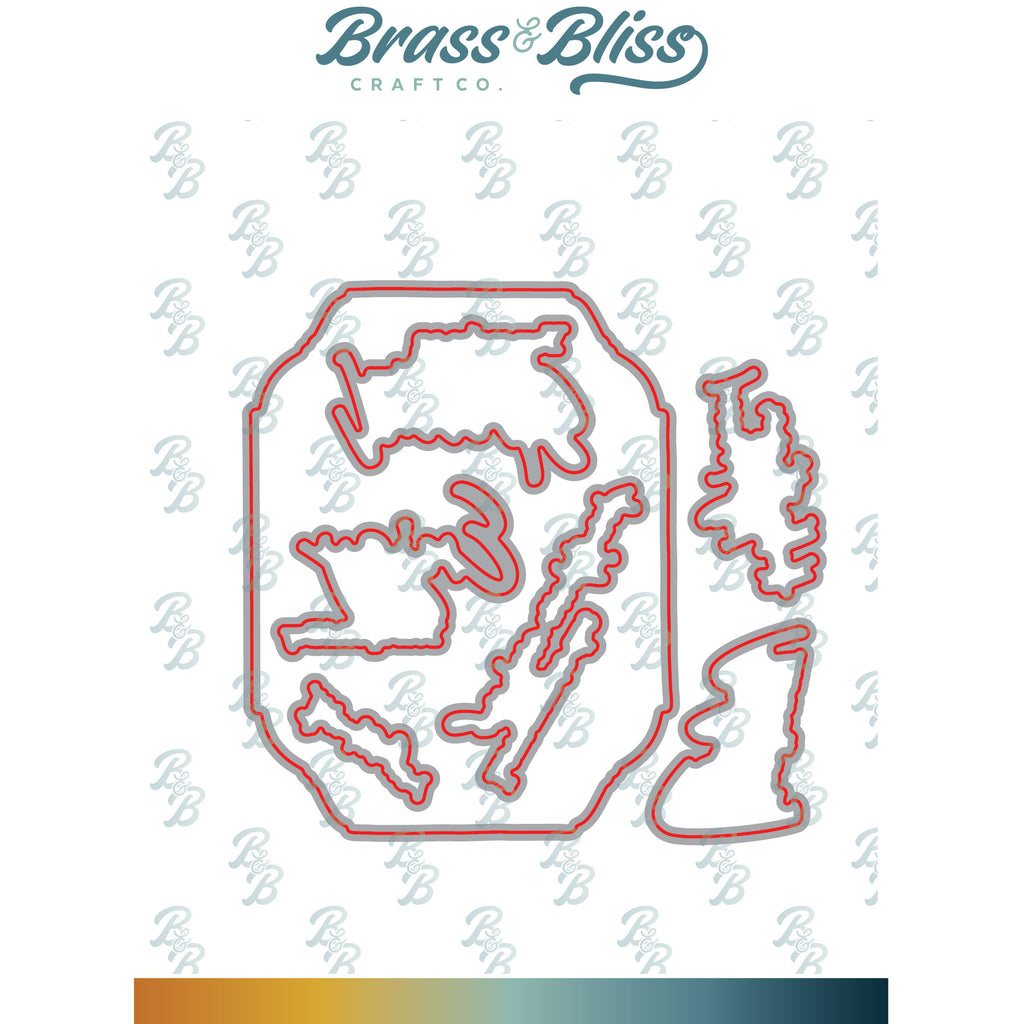
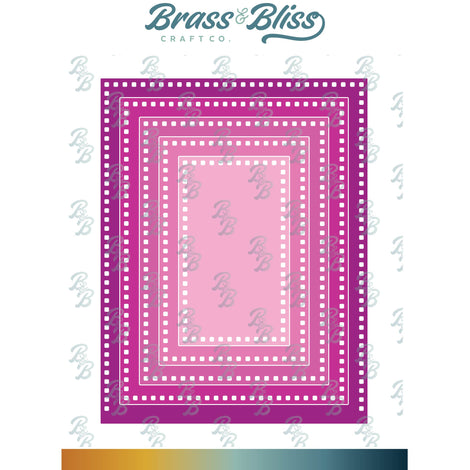
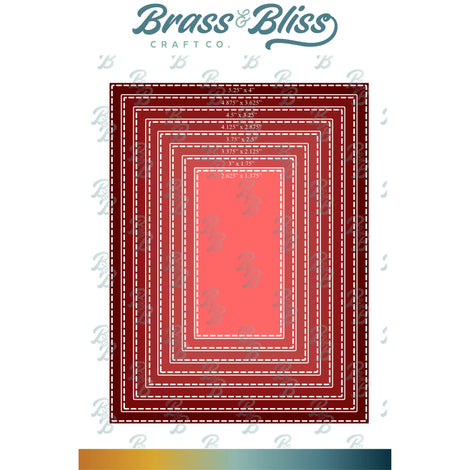
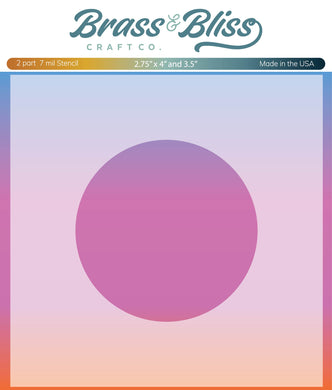
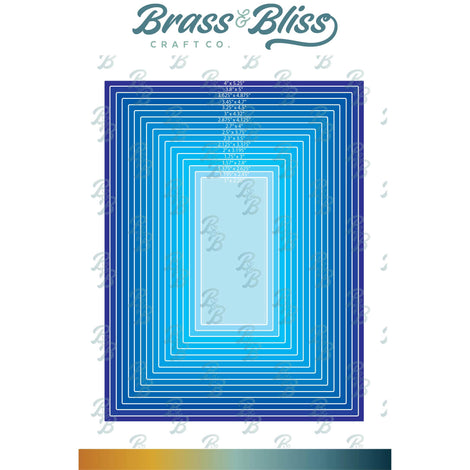
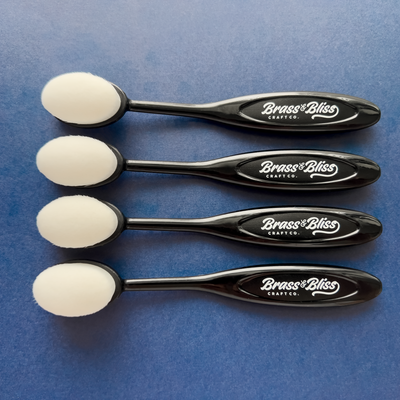
| Accessories: Brass & Bliss: Rectangles, Rectangle Stitch, Silhouette Golfers dies, Lg Blending Brushes, Cloud Stencil, MISTI |
|
|

|

|

|
|
|

|

|
|

|

|

|

|

|

|
You might also like: