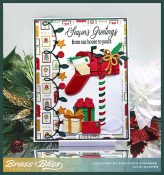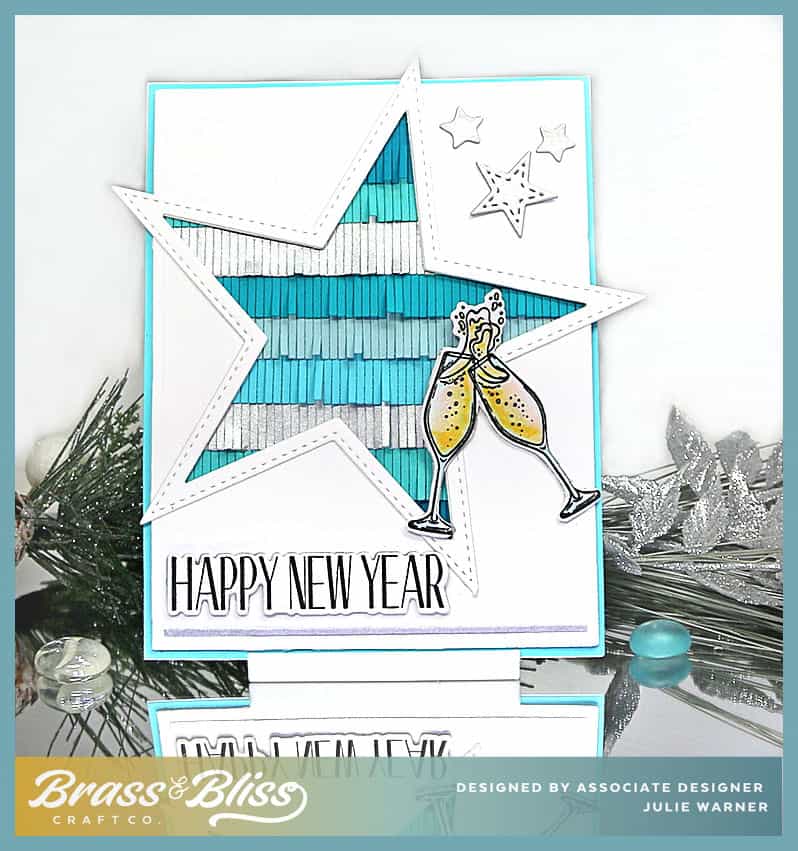
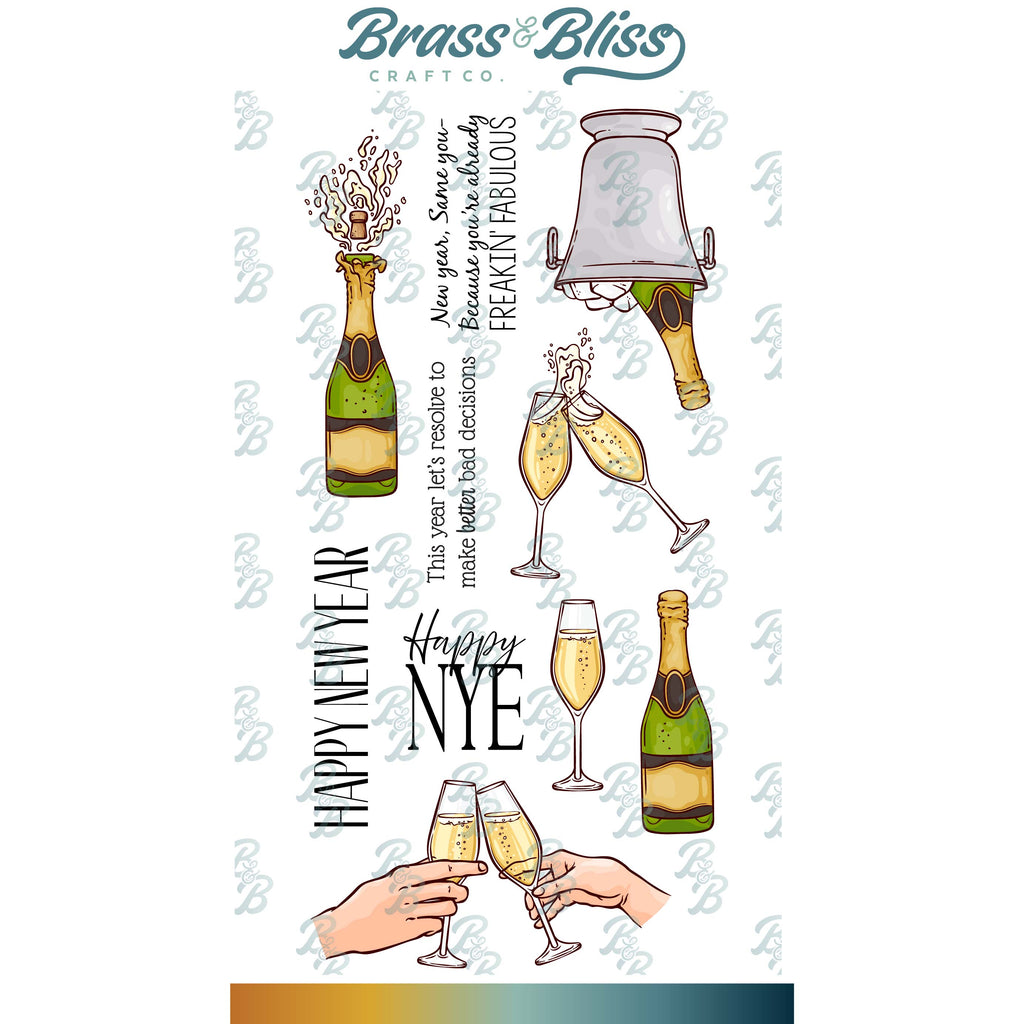
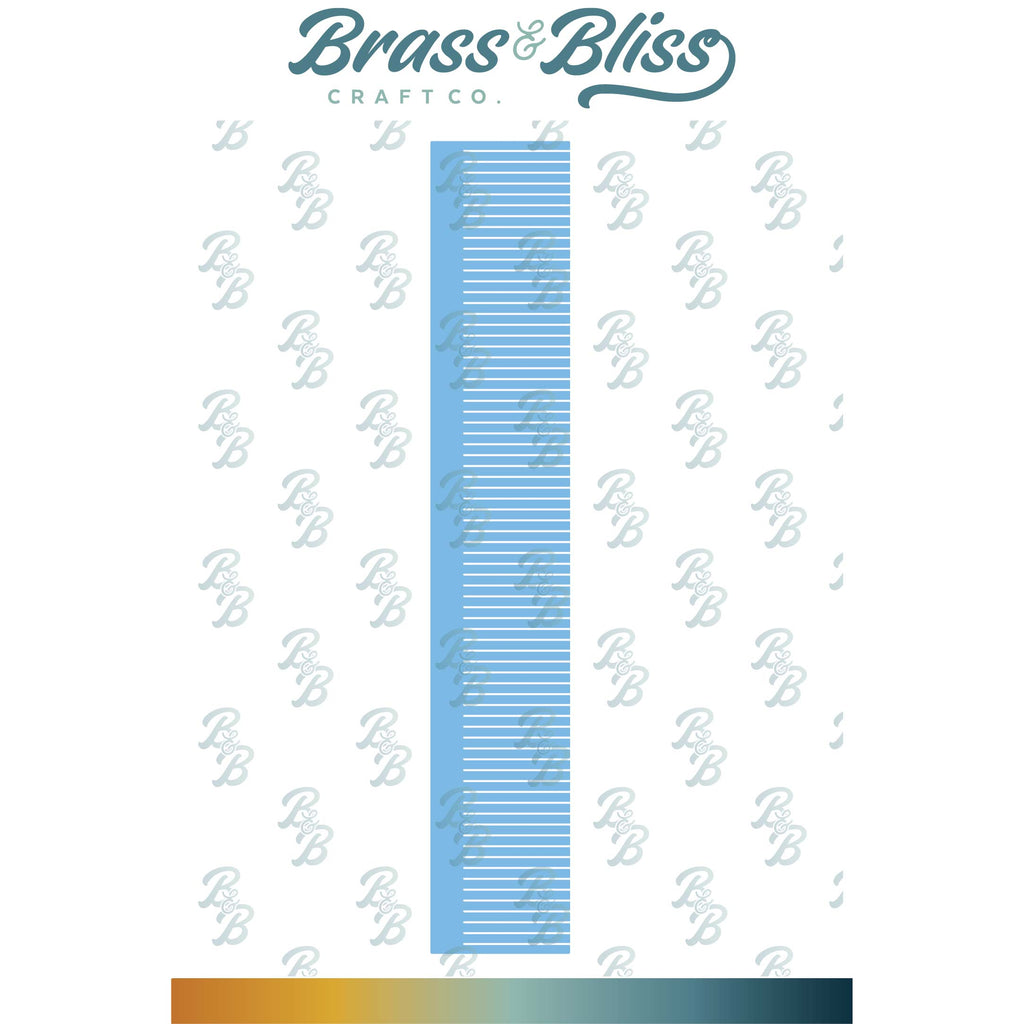
This is an easy, festive New Year’s card. You could change the greeting and make it anniversary, promotion or congratulatory card. It features a new Cheers to That! set and a new, very versatile small fringe die. Great for filling in behind shapes like this big star or a fun border. It comes in 3 sizes and this is the smallest.
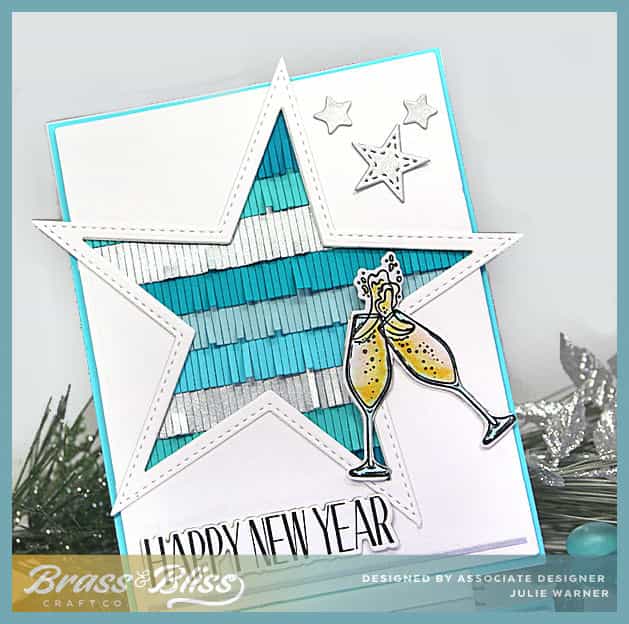
A big congrats to Michelle, the newest Featured Stamper FS981! She has a big, beautiful gallery & I chose THIS card to case. I kept the colors & stars but left off the embossing, the angled strip, used a cut out star instead of a solid one & changed it from Christmas to New Year’s.
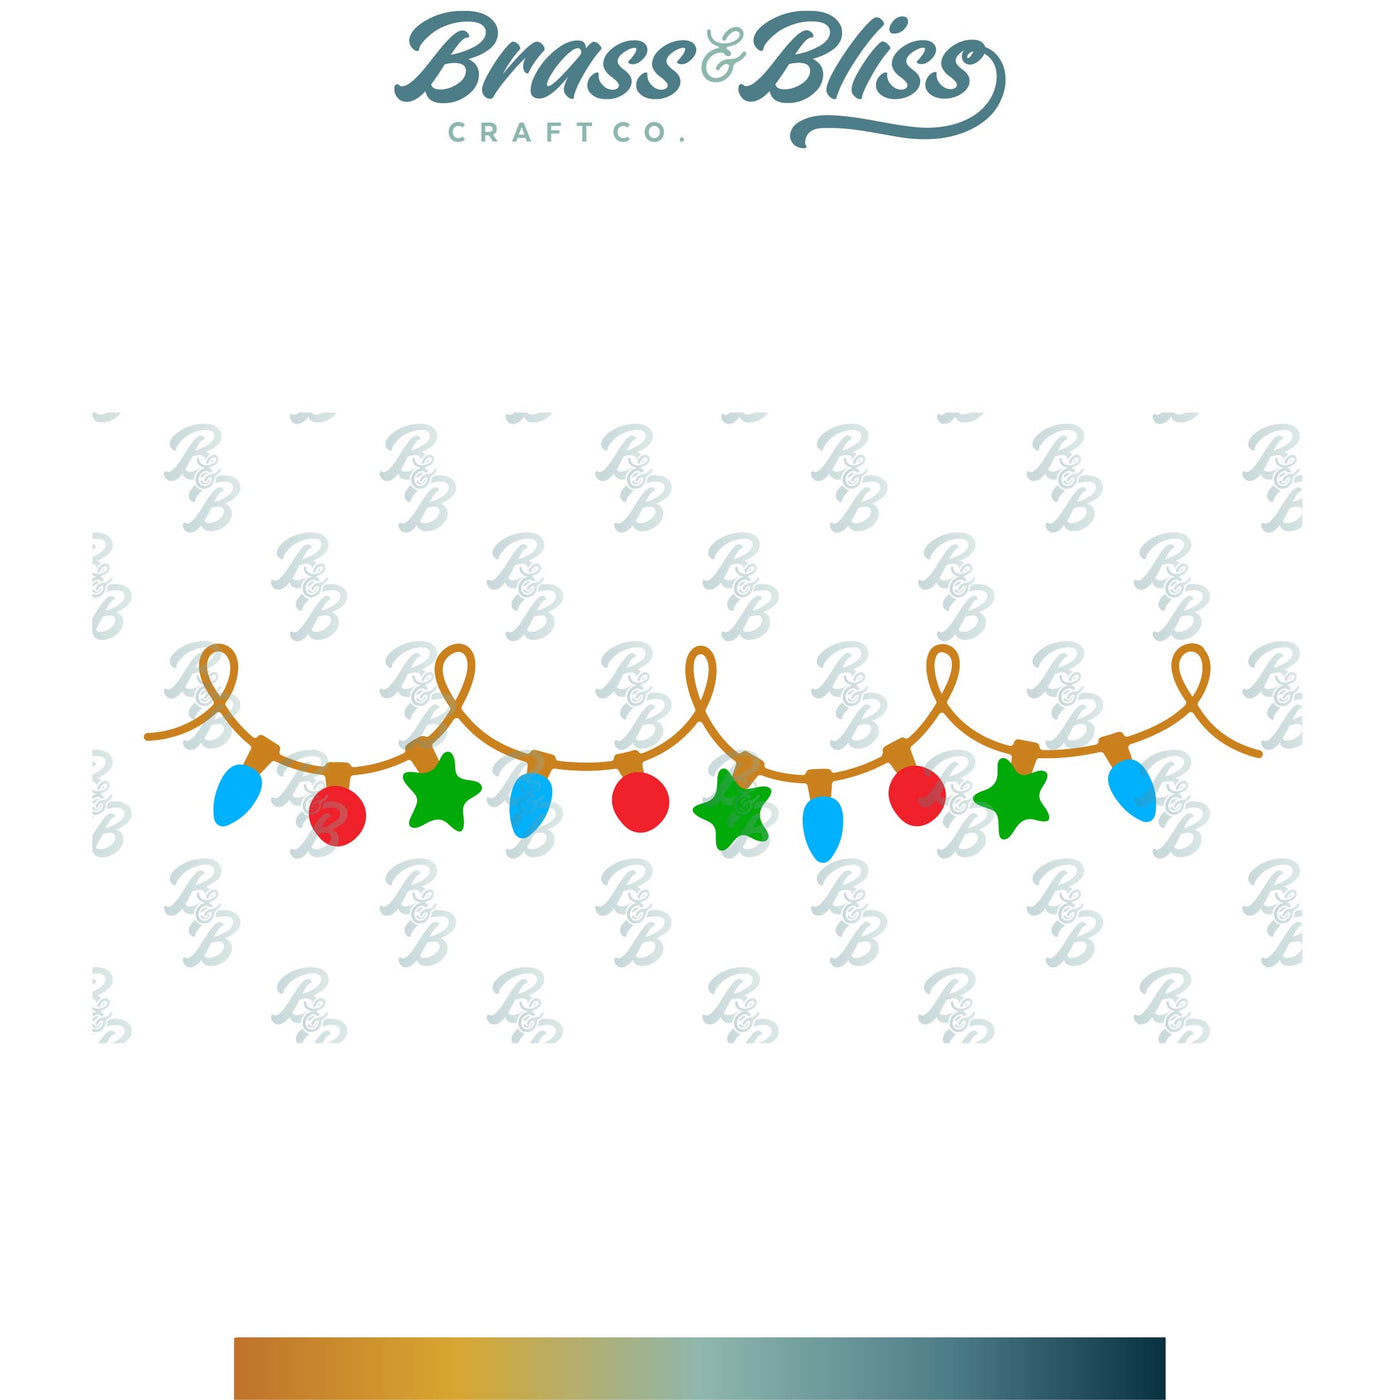
After cutting the white front, I used next to largest star die & cut it from the front on an angle. It just barely fit! I made the star frame w/ the largest die & cut out the center w/ the same die I used to cut the front. All of the fringe strips were cut out of shades of teal & a couple out of brushed silver, then layered on top of each other before attaching behind the star cut out. The greeting & champagne glasses were cut w/ their coordinating dies & attached on top. The smallest star of the stitched star dies & a couple of small stars from the String of Lights die were cut out of silver & added to the upper right corner.
Thanks so much for stopping by!

Supplies: (click the names below the pictures to take you to the products)
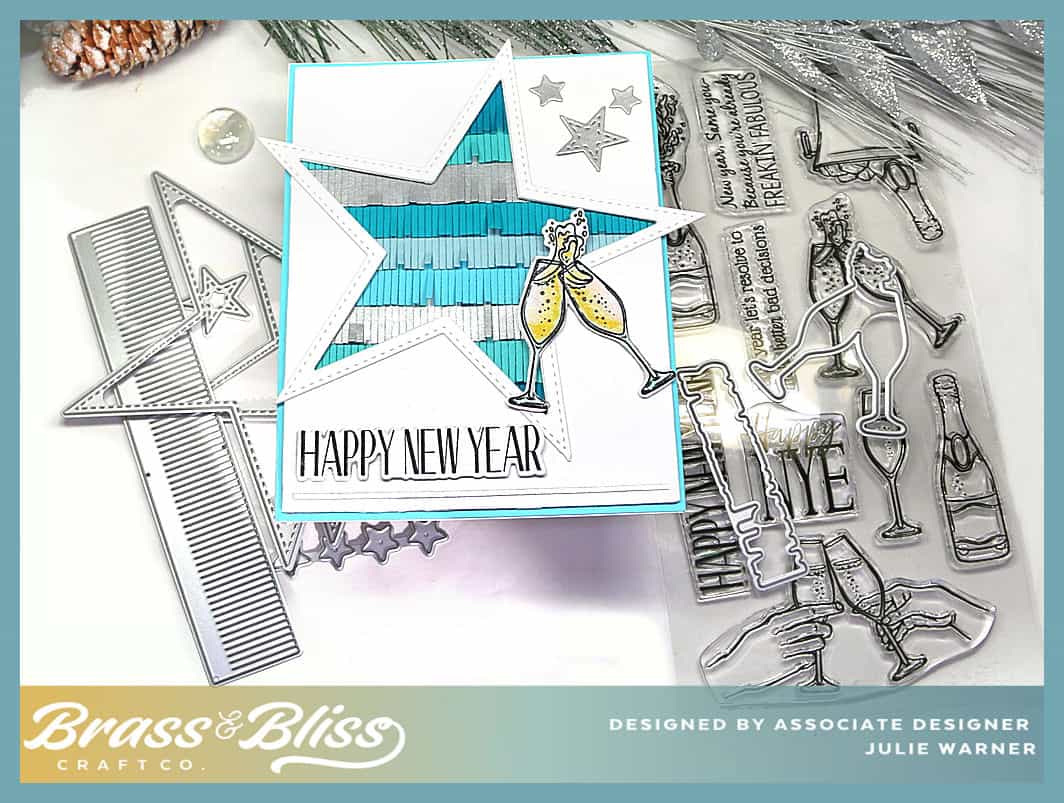
| Stamps: Brass & Bliss: Cheers to That! set |
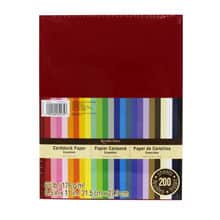
| Paper: Staples 110# white, brushed silver, metallic silver, shades of teal, Brass & Bliss: Boughs of Joy paper pad |
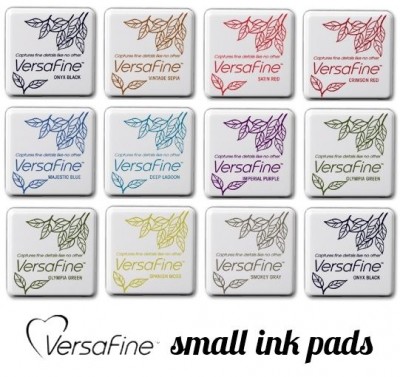
| Ink: Memento tuxedo black |
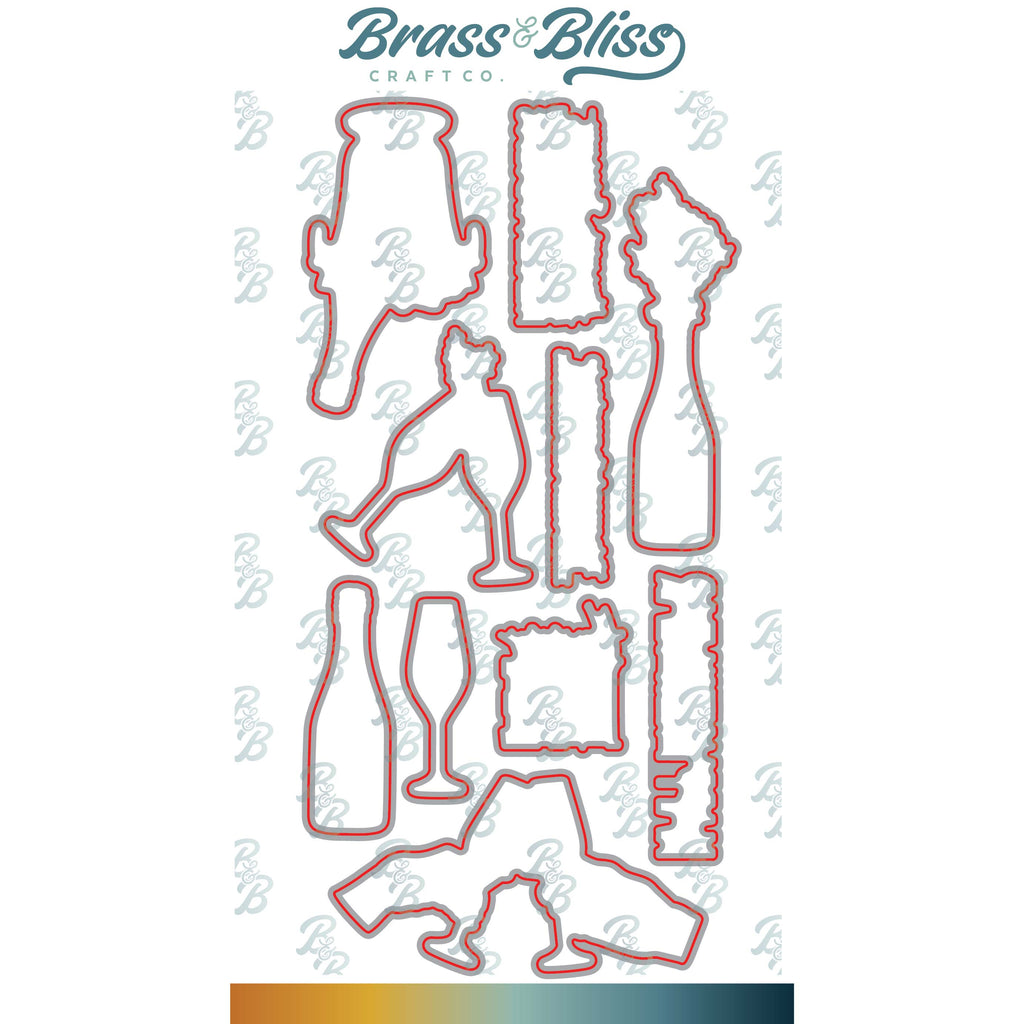
| Accessories: Brass & Bliss: Cheers to That! set, Stitched Stars, String of Lights, Sm Fringe dies |
|
|

|
|
|

|

|

|

|

|

|
You might also like: