Follow Me On Pinterest justwritedesign - Julie
Subscribe by Email
Loading
Archives
Categories

Posts Tagged ‘Dare to Get Dirty’


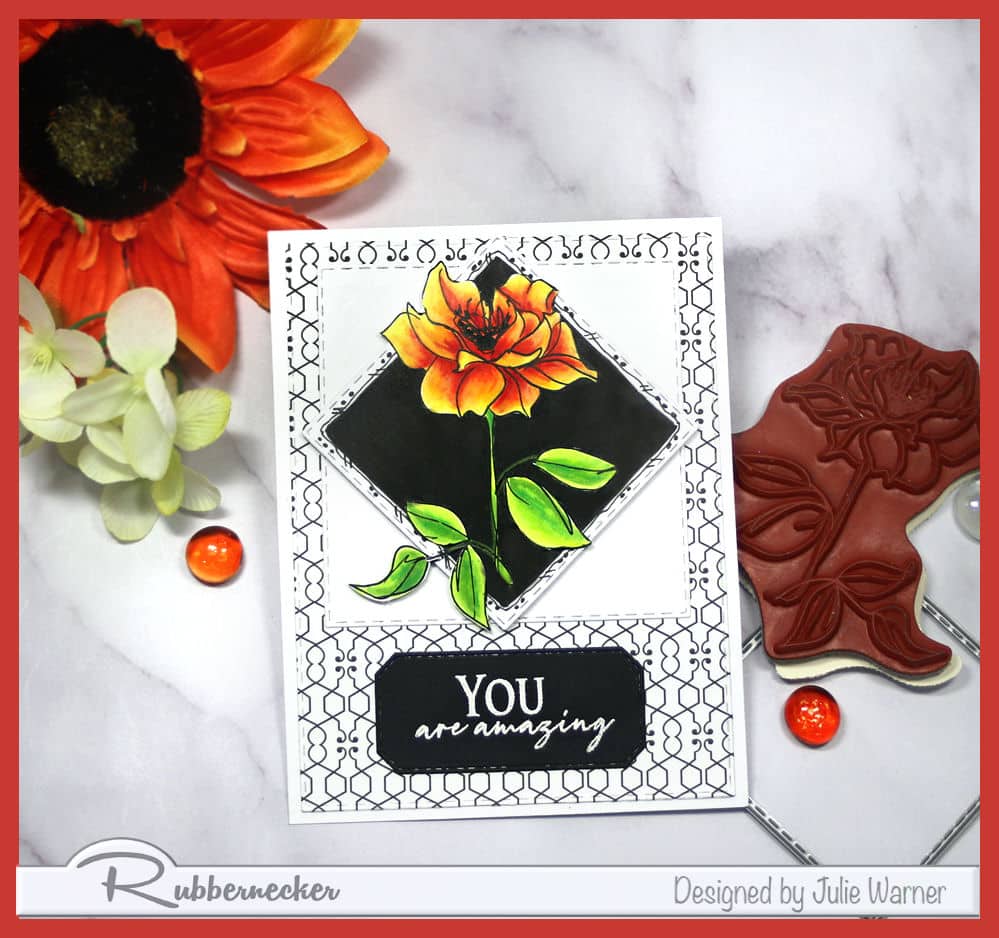
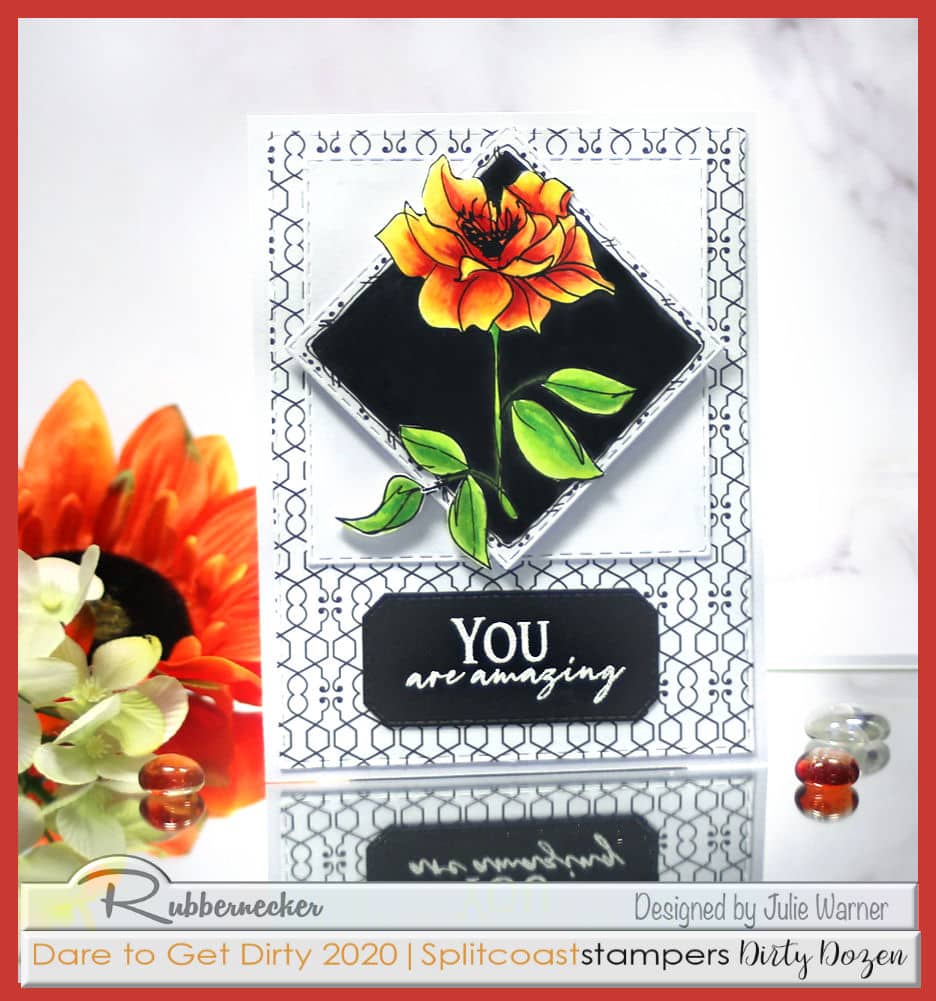
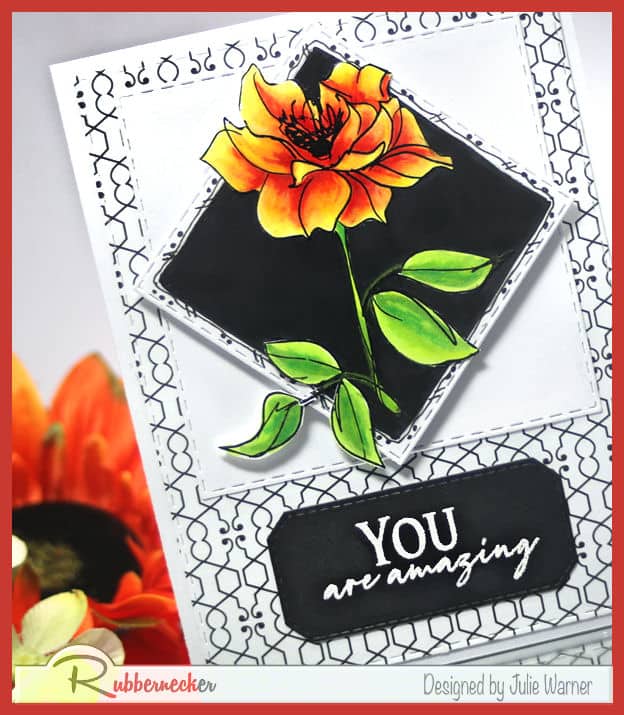
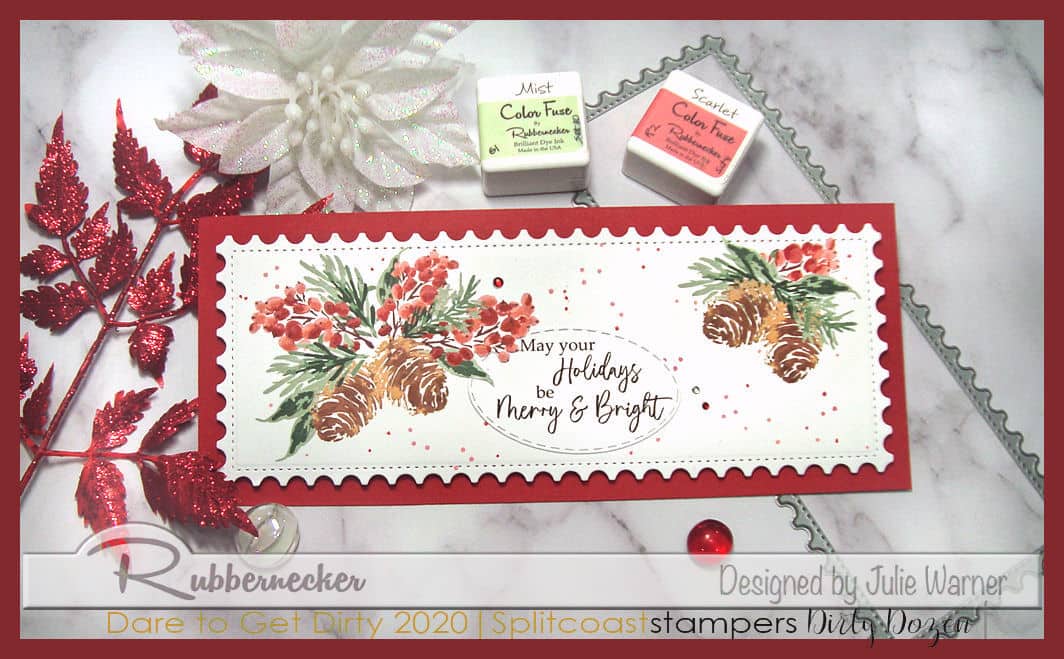
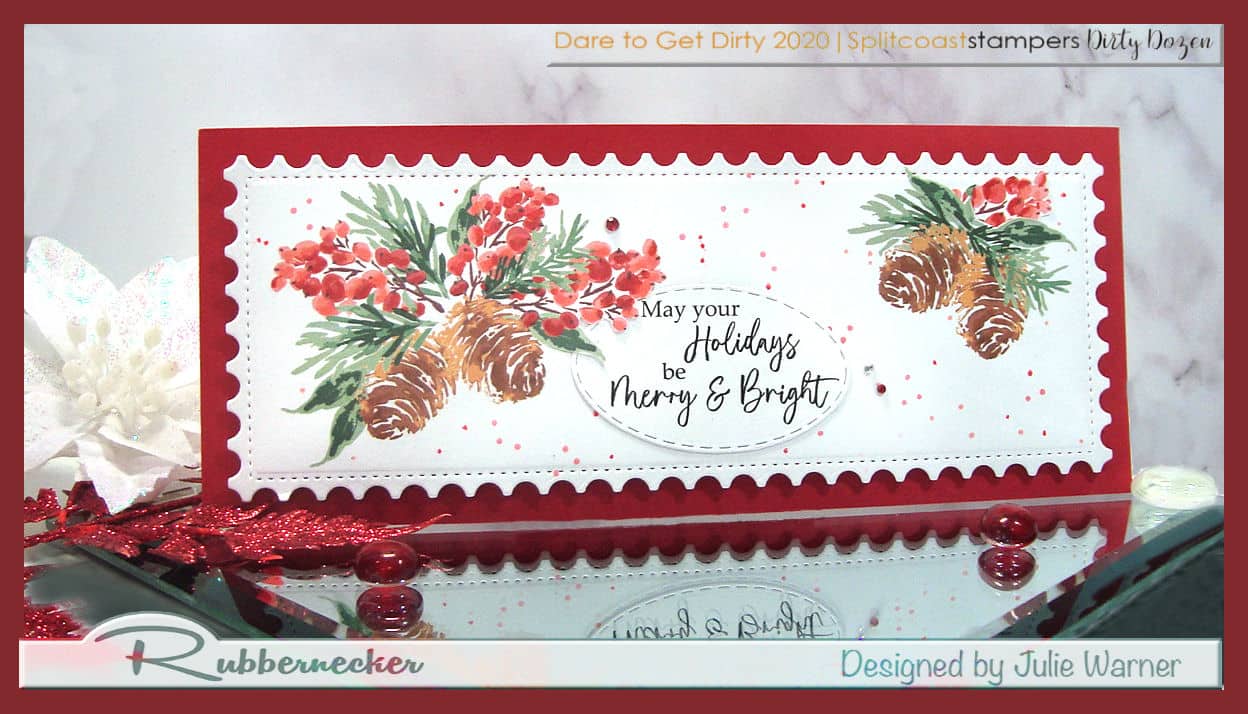
A big congrats to Mary, the newest Featured Stamper! She has a lovely gallery & after much browsing, I chose THIS card to case. I kept the circular image on top & greeting below, but I used different stamps, dies & colors. This is also for Diane’s Dare to Get Dirty Challenge. We’d love for you to join in & for all the details go to the Dare to Get Dirty Forum ..but you’ll need to be a Fan Club member.

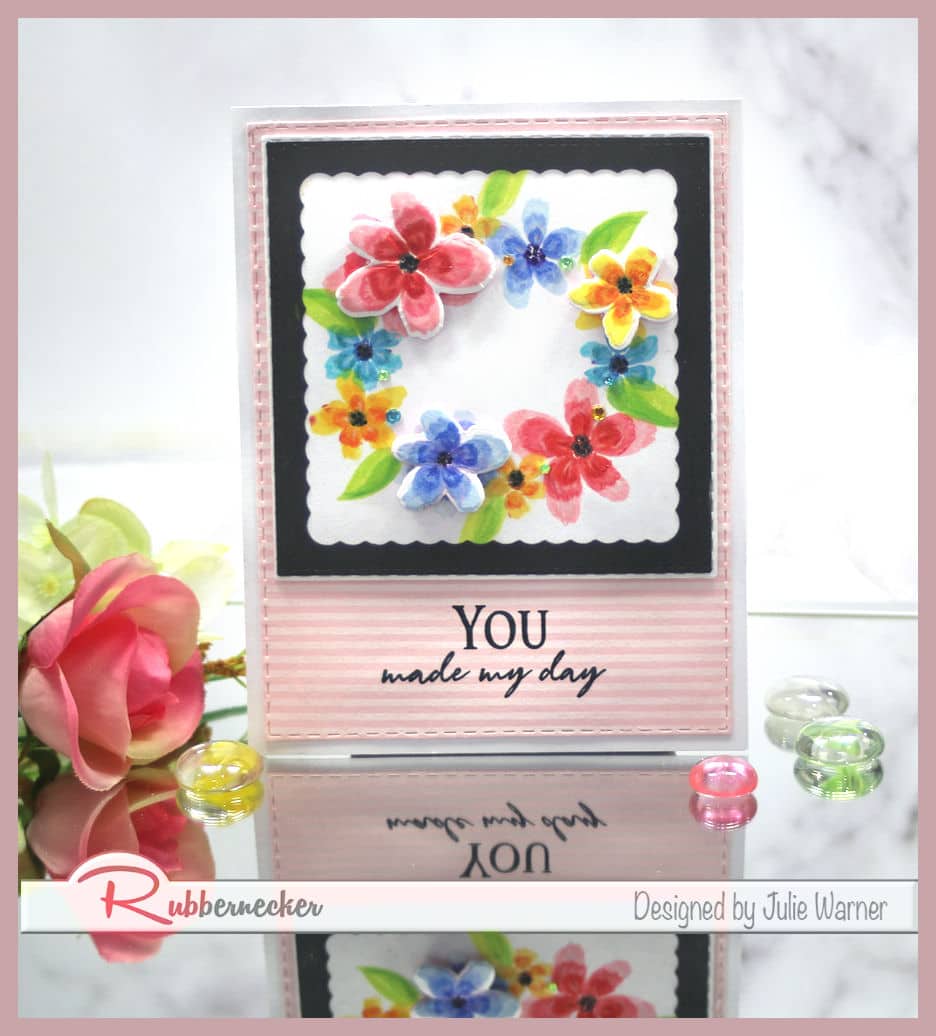
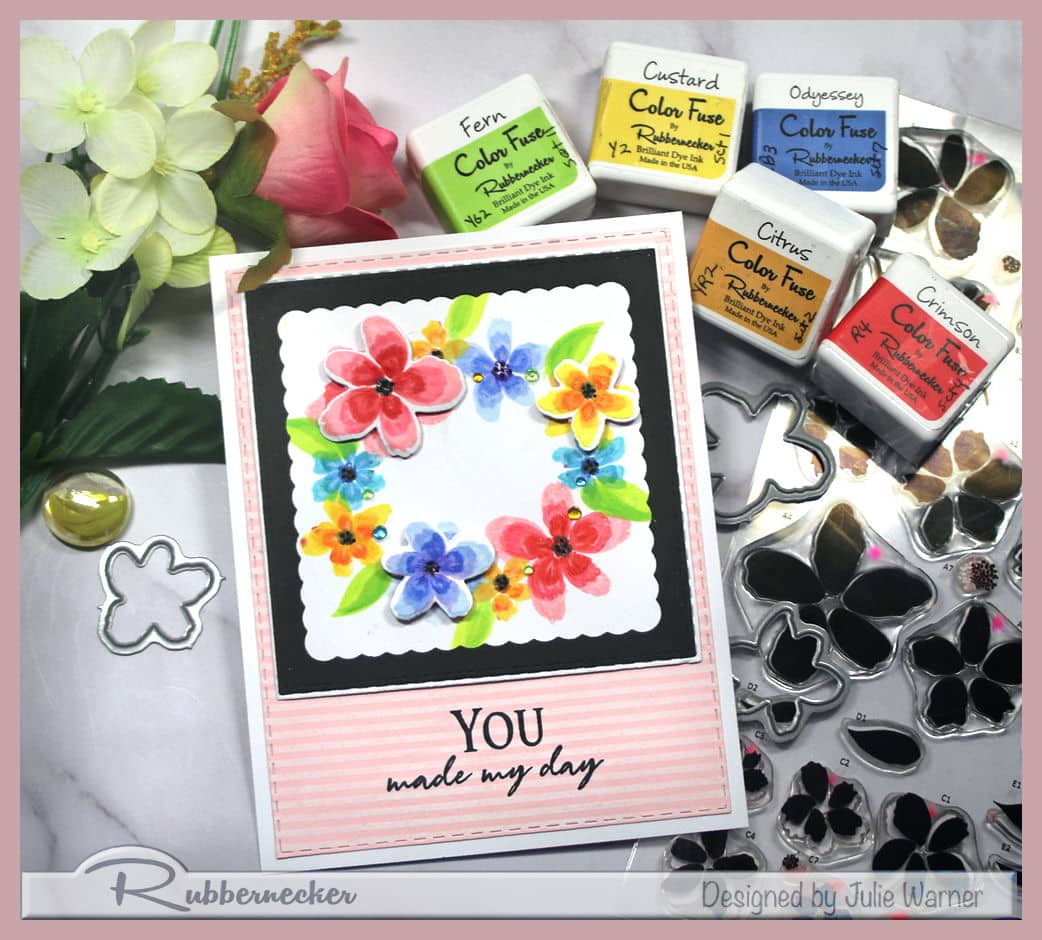
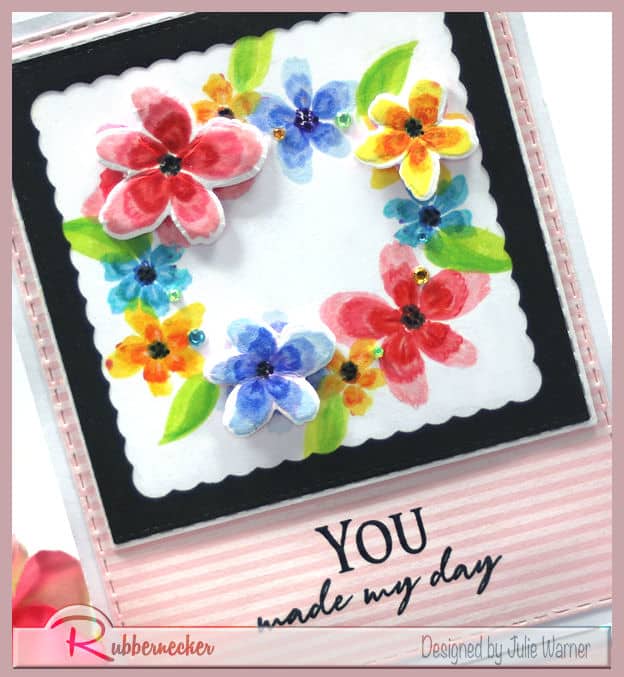
For my card, I stamped the layered flower stamps in a wreath shape in the different colors, onto a square panel. I also die 3 extra & die cut them to pop them up on top. On the pink bg, I stamped the stripe bg across it using the Picket Fence ink, then added the greeting. I used a leftover black square frame around the wreath & added some gems between the flowers.


Thanks so much for stopping by!


Supplies:

Stamps: Rubbernecker Stamps: Blooming Vine set ,Flower Garden, Horizontal Stripe
 Paper: X-Press It, Staples 110# white, black, pink
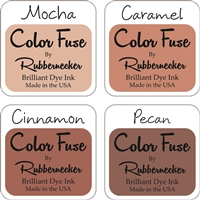
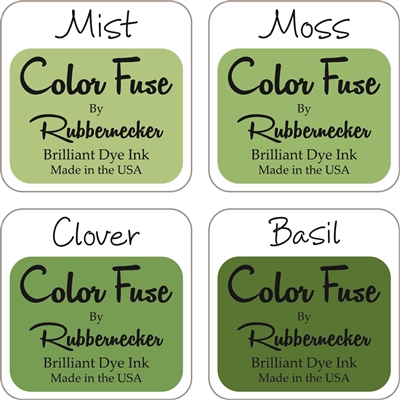
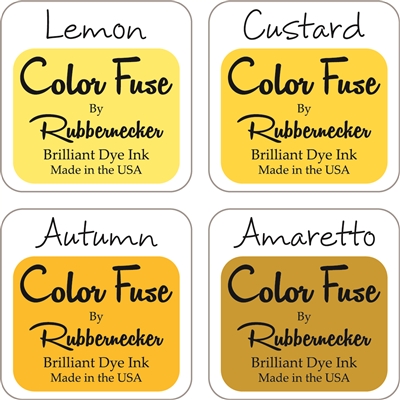
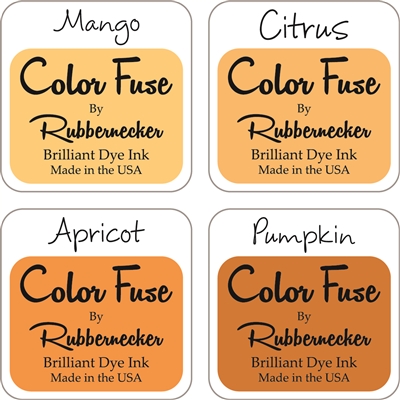
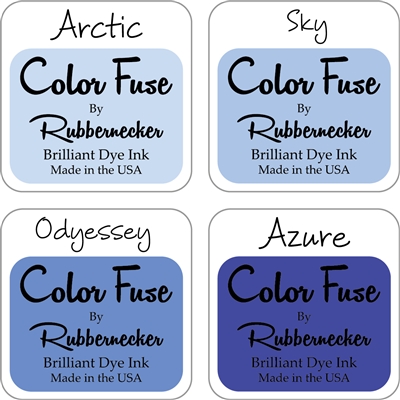
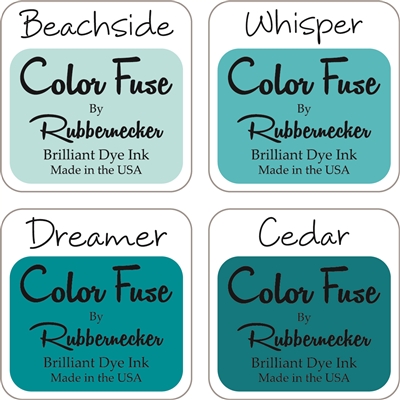
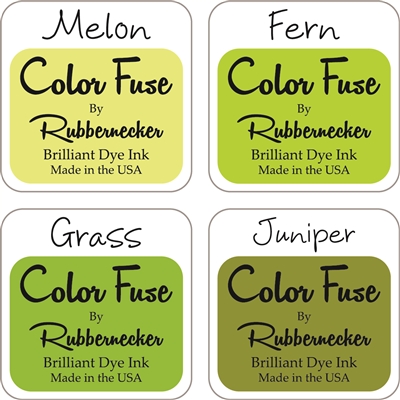
Ink: Memento tuxedo black,Distress ink picket fence, Rubbernecker Stamps: Color Fuse ink set #1, set #2, set #4, set #7, set #9, set #11
Accessories:  Rubbernecker Stamps: Blooming Vine , Rectangle Stitch, Square Stitch, Square Combo #1  dies, MISTI, rhinestones


It’s time for the Splitcoast Dare to Get Dirty Challenge, the Pandemic edition,  & I made this for my challenge. You can find all the details for the challenges HERE. You’ll need to be a Fan Club Member, so click the blue link & find out how.

For my card, I used one of my favorite floral images. It’s stamped & colored w/ Copics, then I traced the outline of a square die around the image & did a little doodling before filling in the bg w/ a black Copic. It really makes those colors on the flower pop, doesn’t it? I had to use my out of the box die cutting technique when I ran it thru the die machine to keep from cutting off the leaves & petals.

The greeting was white embossed on black & I used a stitched tag die to cut it, but only used one end. I placed the die around the greeting, cut to the midway point, then flipped the die to other side & cut to the midway point from the other direction. A piece of black & white dp was added for the bg & the main image is popped up on fun foam.

Here are the Copics I used (one of the very few times I actually used that black Copic!):

Thanks so much for stopping by!


Supplies:

Stamps: Rubbernecker Stamps: Brushed Flower #12, Flower Garden
Paper: X-Press It, Staples 110# white, black, dp (Glitz- Black & White)
Ink: Memento tuxedo black, Colorbox frost white pigment
Accessories:  Rubbernecker Stamps: Rectangle Stitch, Square Stitch, Tag Stitch  dies, MISTI, Copic Sketch Markers, white embossing powder,  MISTI, Copic multi liner


This is for Splitcoast Featured Stamper Challenge (FS707) & a big congrats to Angela! She has a fabulous gallery with so much to love there. I chose THIS card to case. I kept the opposing florals w/ a greeting in between, but I used different images, colors & dies & made mine a slimline Christmas card. I’m also including this in my friend Kittie’s Dare to Get Dirty Challenge.You can find all the details for the challenges HERE. You’ll need to be a Fan Club Member, so click the blue link & find out how.


For my card, I stamped (masking along the way) the pinecone images & branches using the Color Fuse inks. I added the berries & a couple of them were die cut & added after the fact. I used a dot bg to add just a bit of splatter, then tucked the oval die cut greeting under one of the berry branches. After die cutting the slimline postage shape I attached it to a dk red card & added a few gems.

Thanks so much for stopping by!


Supplies:

Stamps: Rubbernecker Stamps: Winter Bouquet, Not So Many Dots
Paper: Staples 110# white, dk red
Ink: Memento tuxedo black, Rubbernecker Stamps: Color Fuse Inks set #3, set #4, set #10
Accessories:  Rubbernecker Stamps: Slimline Solid Postage, Oval Stitch dies, Rhinestones