• Tag Archives tutorial
  • Aloha Surfboards


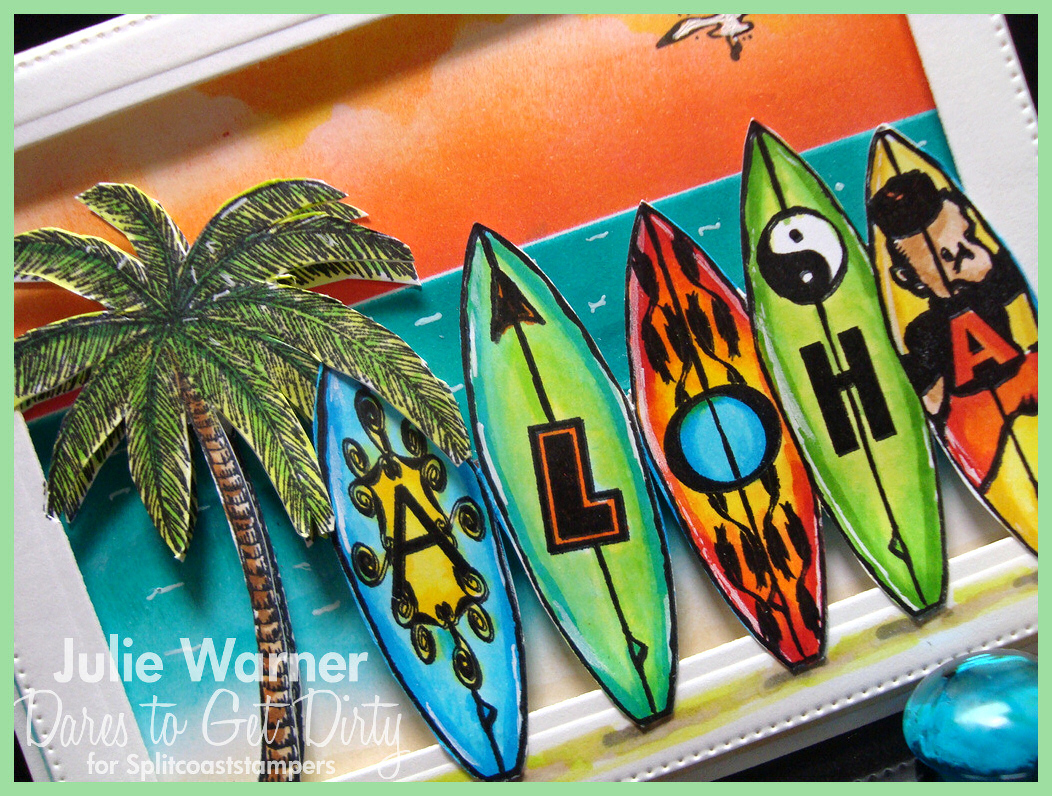
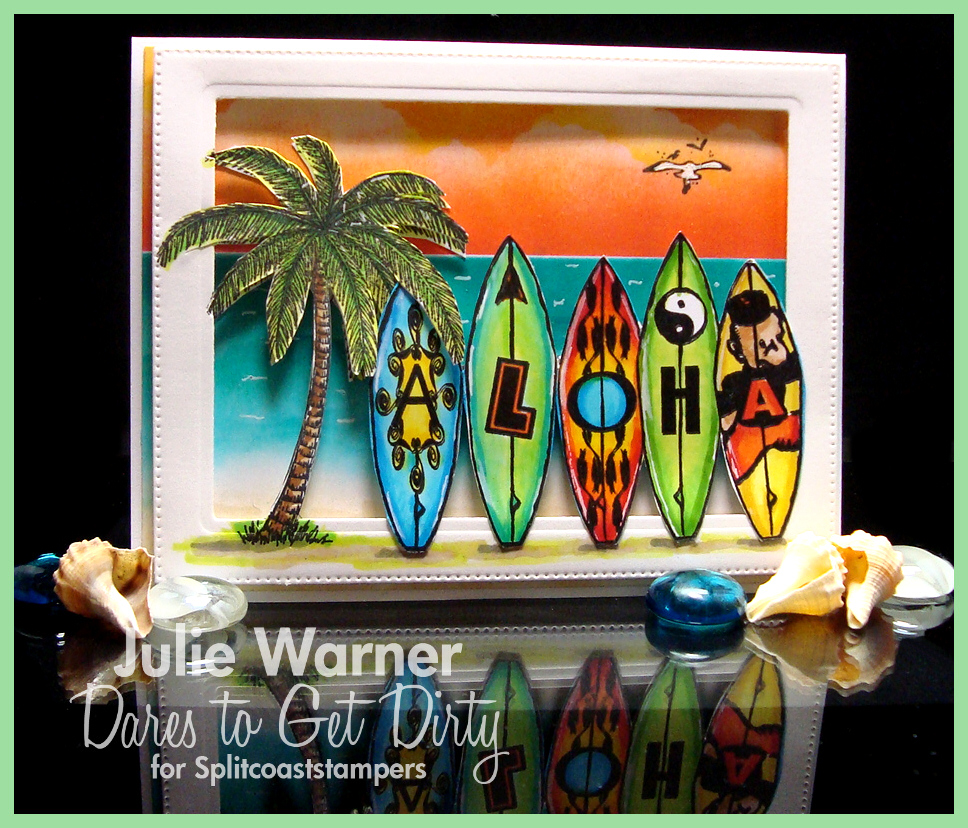
    Aloha Surfboards cu 06972It’s day 2 of Dare to Get Dirty on Splitcoast and this is for MY (justwritedesigns) Challenge! The details are HERE, but you’ll need to be a Fan Club member…it’s easy, just click to find out how. 

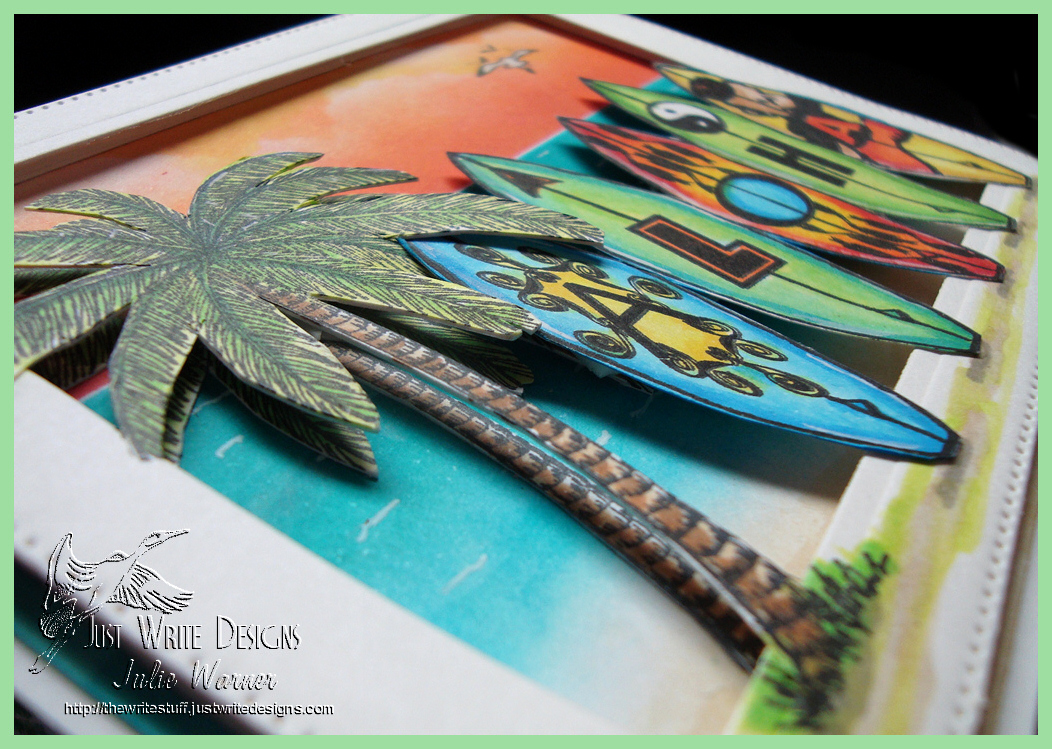
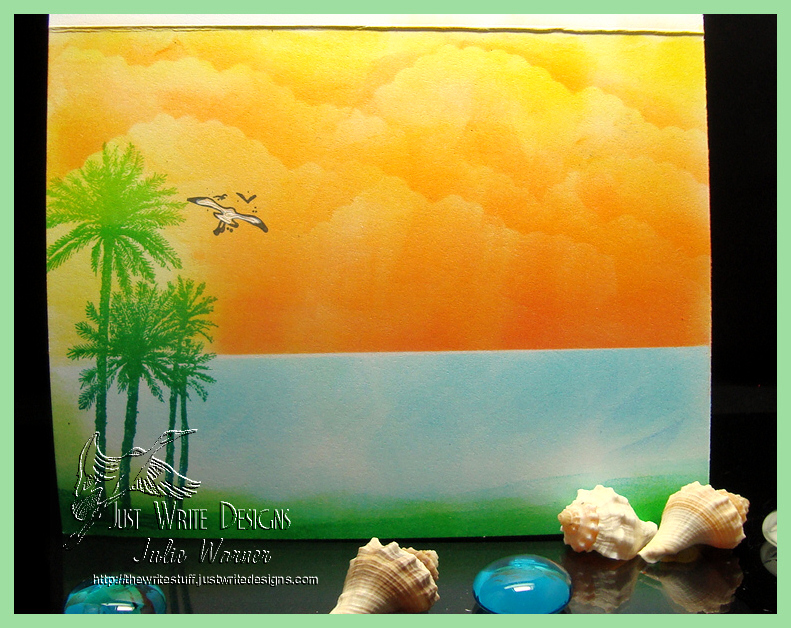
    Aloha Surfboards 06971I had a lot of fun making this card. It’s just my style..fun, enough detail to keep me interested, a little coloring, a little fussy cutting & colorful! I started with the background. After masking off the water area, I sponged in the very orange sky using a cloud stencil I made w/ scallop scissors on a piece of acetate. The little seagulls were stamped & I used a white gel pen on the big one. The mask was reversed to cover the sky then I sponged in the water & added the highlights. I added just a touch of sand color at the very bottom. (The palm tree was also stamped on the background as well as the frame.)

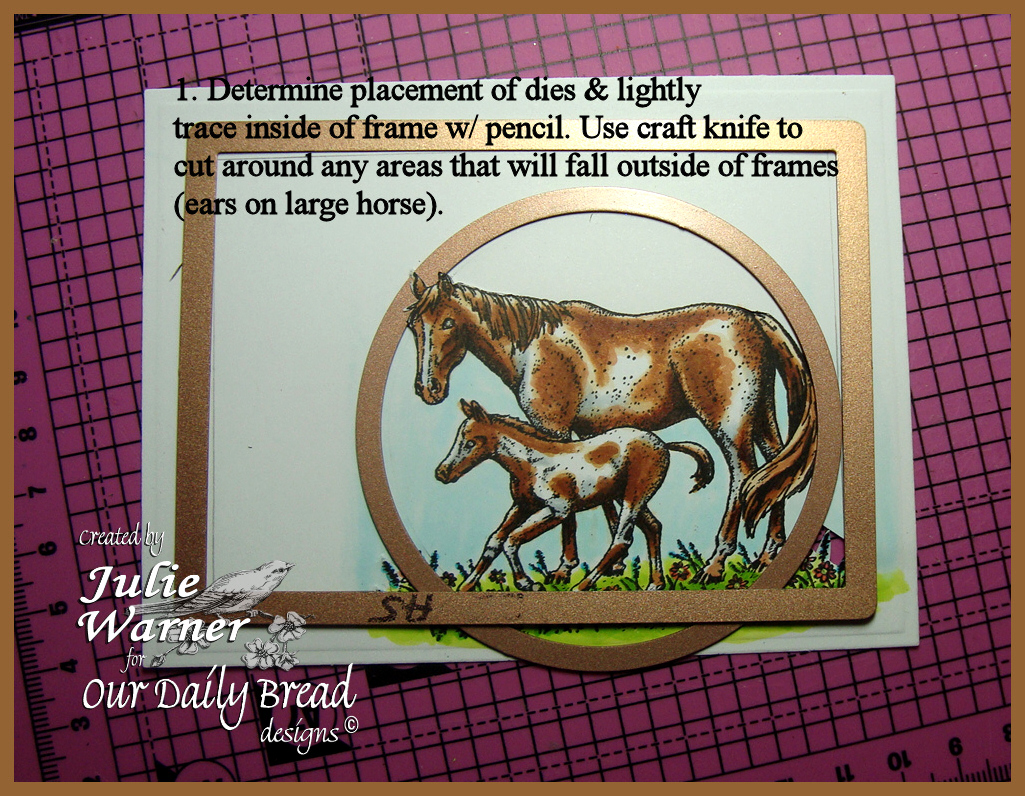
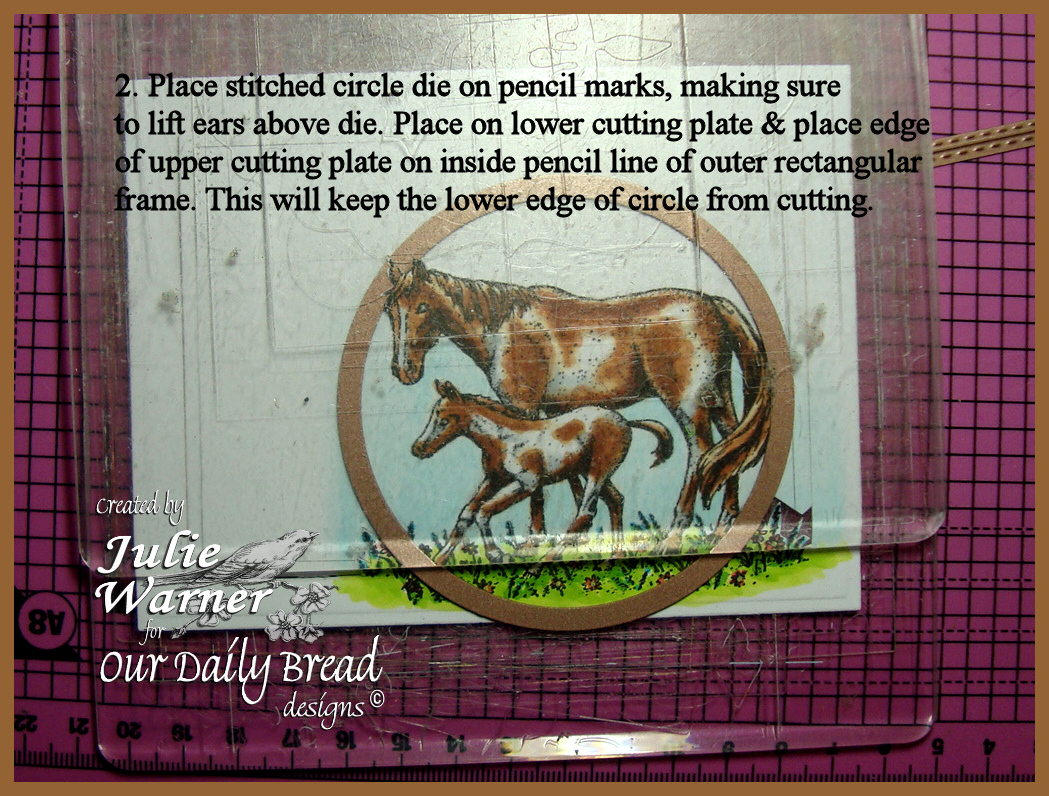
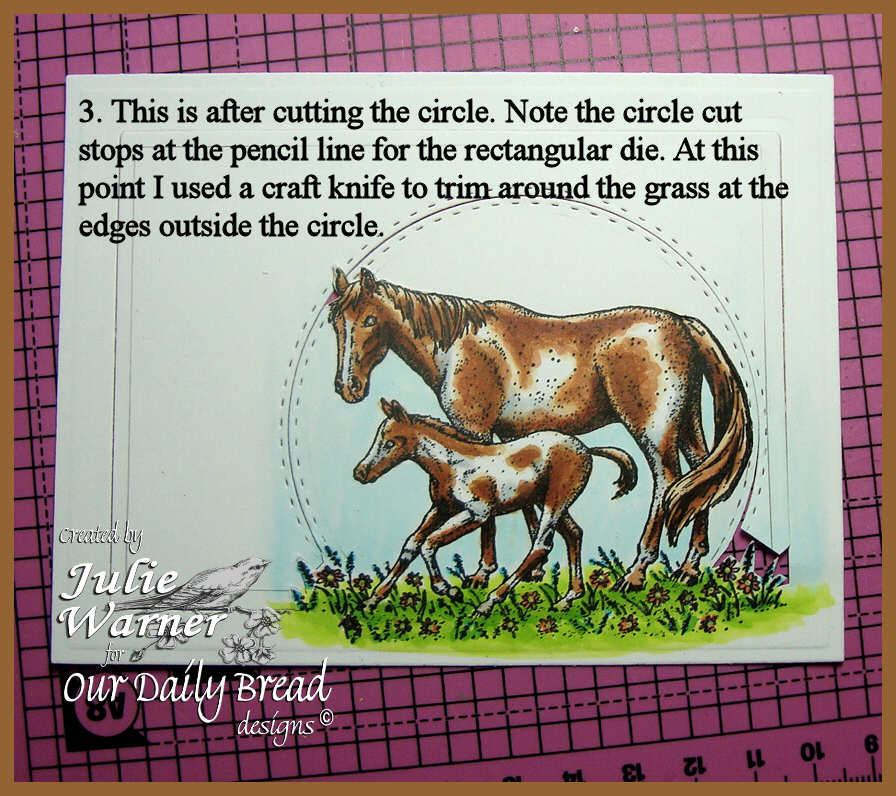
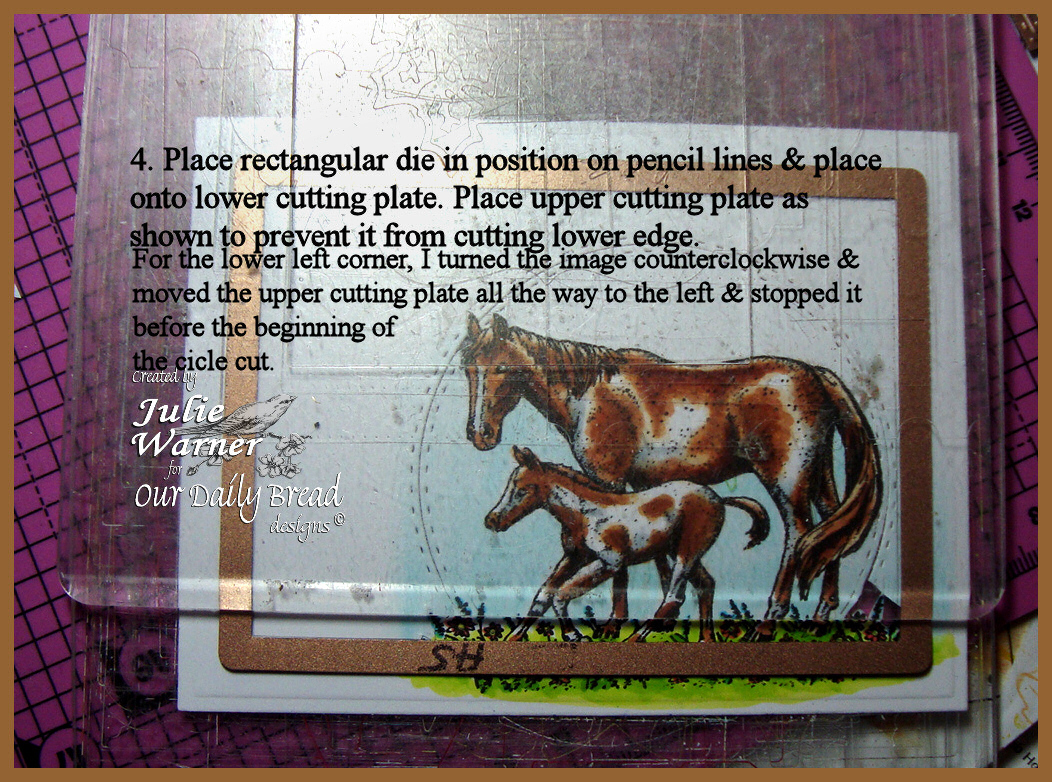
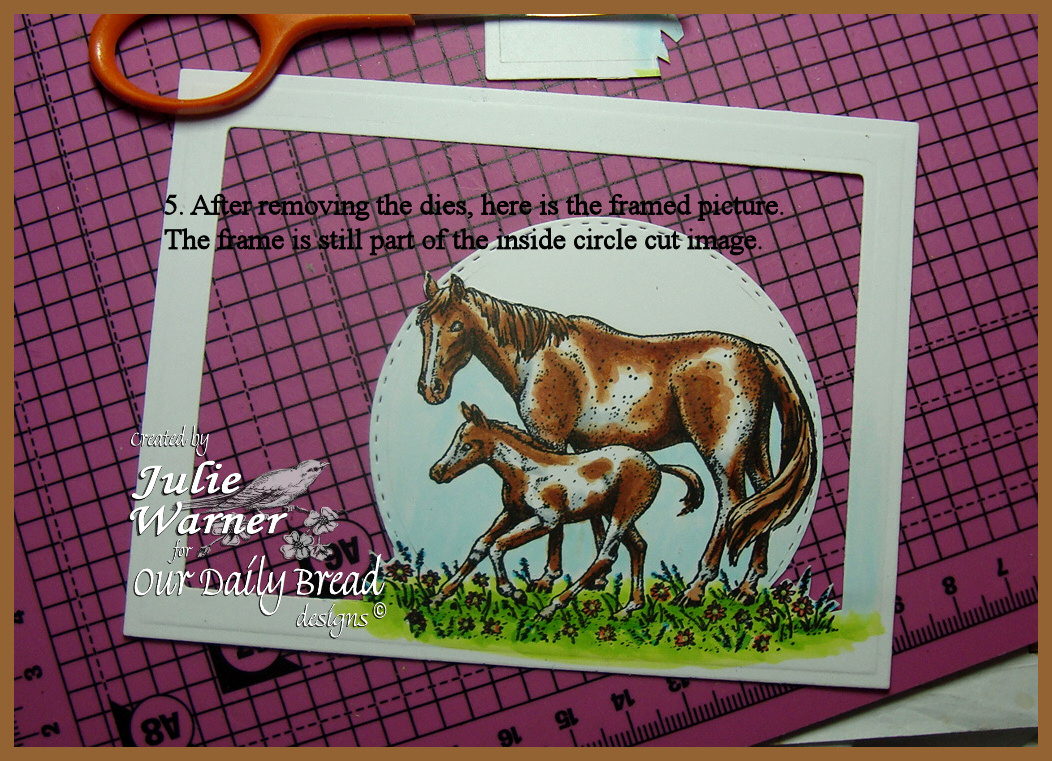
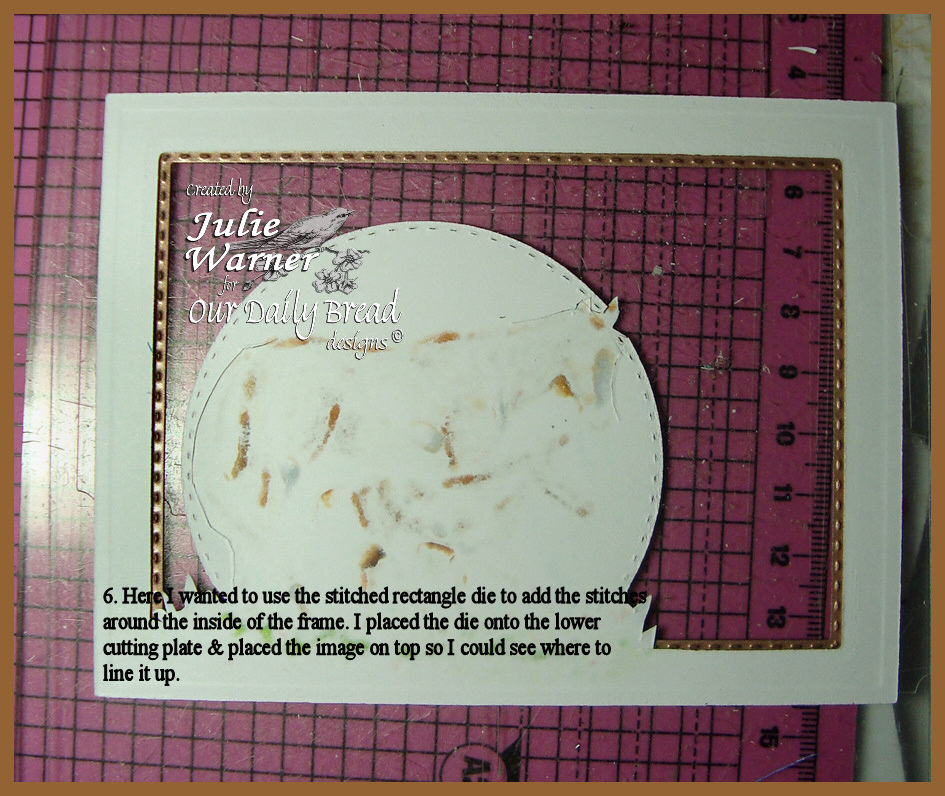
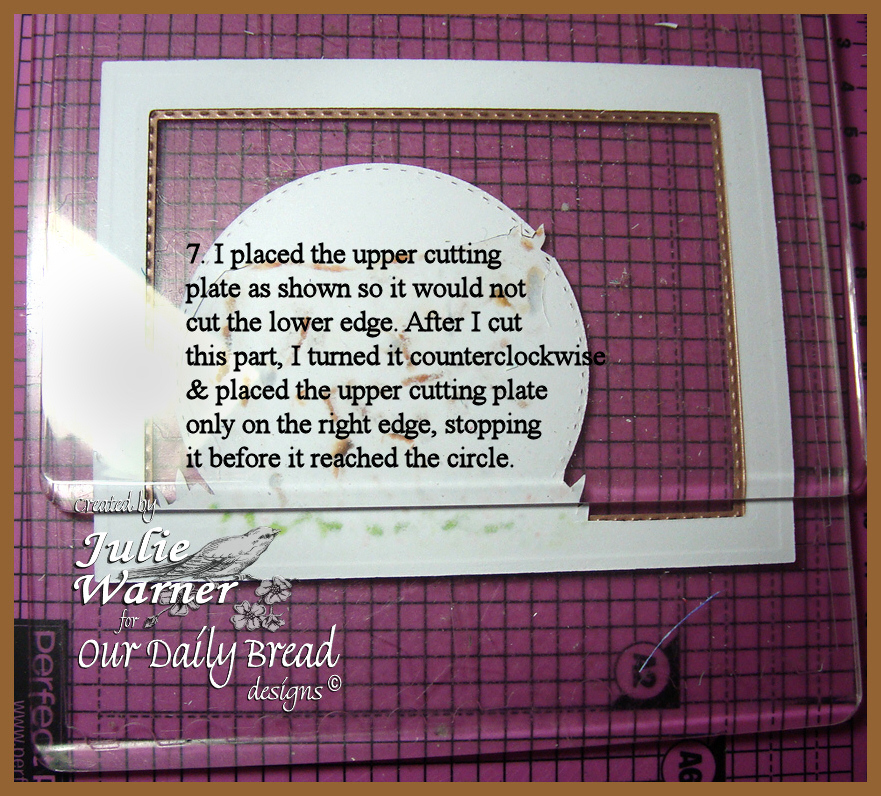
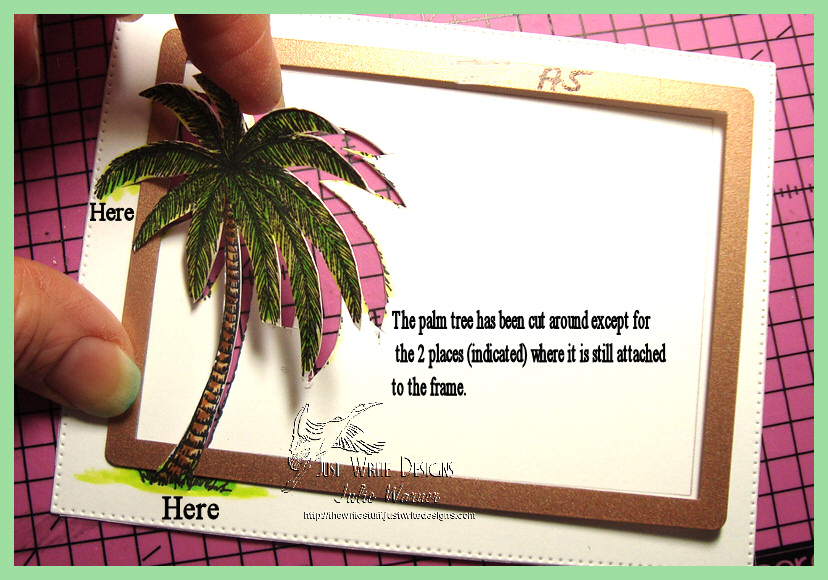
    Then I stamped, colored & fussy cut the surfboards. The top palm tree is actually part of the white frame. A little technique I call “into the window” and here’s a short tutorial showing how I did it. After stamping the palm tree where I wanted it & coloring it, I first die cut the large, outer frame, then determined the areas around the palm tree I would have to cut in order to slip the corner of the die under it. It turned out to be almost all of it, lol. There are actually only 2 places where the tree is still attached to the frame. (Click any pic to make it larger.)

    Alhoha Surfboards palm tree cut 06966
    Please pay no attention to my blue tipped fingernails, lol. That always happens when I sponge images. The inside frame die is in place & with the corner under the tree, I ran it thru the Big Shot.

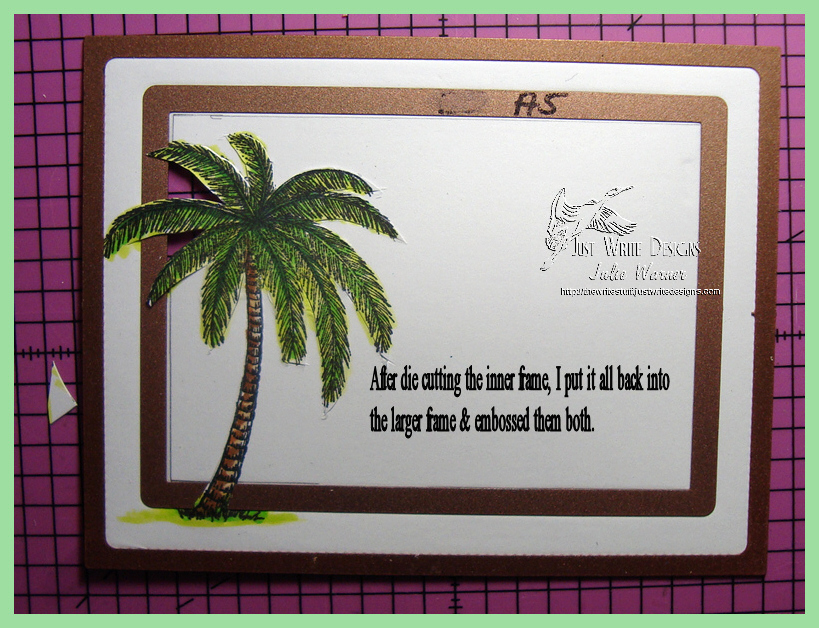
    Aloha Surfboards frame emboss 06967
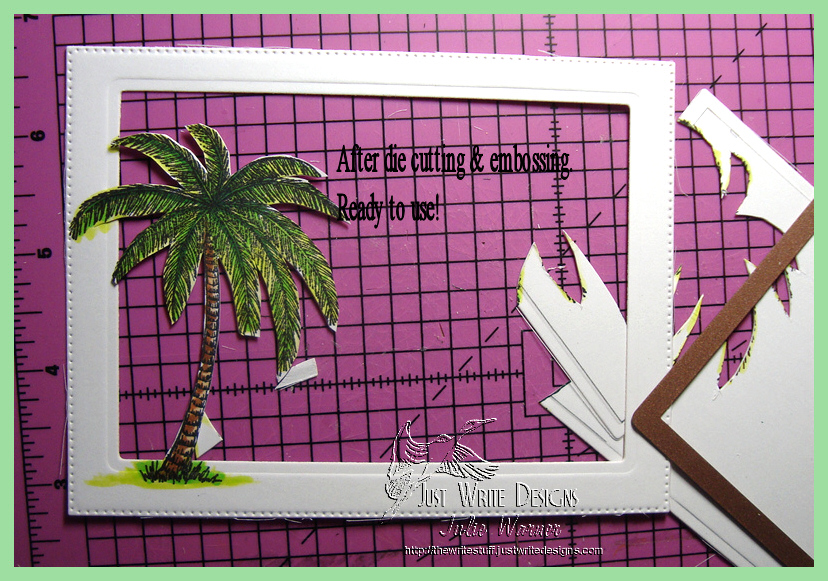
    Aloha Surfboards palm tree finished 06968All die cut & embossed! I cut 2 more heavy frames & used a little foam tape to elevate the frame & surfboards above the background.

    Aloha Surfboard xcu 06978
    And here’s a look at the inside. More sponging & I left off a greeting for now. Have to decide who it’s going to! 
    Aloha Surfboard inside06979
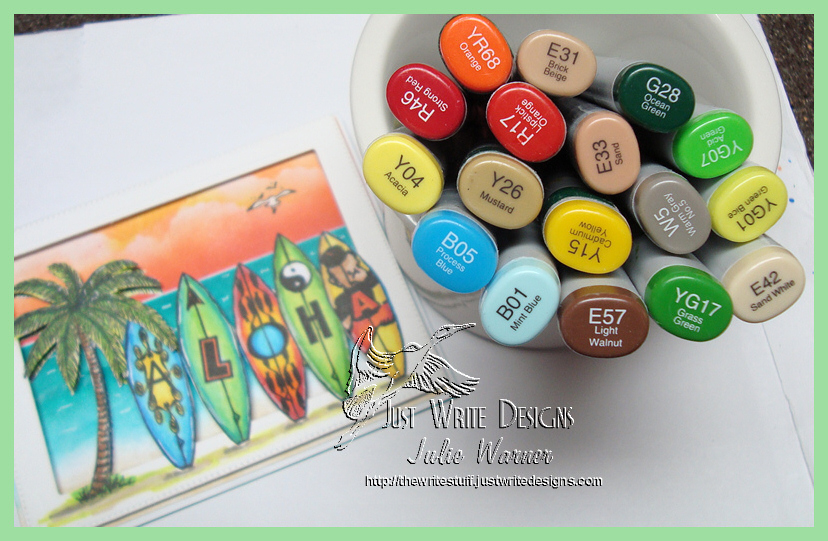
    And these are the Copics I used.
    Aloha Surfboards copics 06970
    Thanks so much for stopping by!
    Julie2 sig

    Supplies:

    Stamps: DRS Designs – Seagulls (from Seaside Dock image), Palm Tree (Rubber Stampede), Surfboards (Inkadinkado) inside – Palm Trees (Cherry Pie)
    Paper: Neenah white, X-Press It
    Ink: Memento tuxedo black,  Versafine onyx, Kaliedacolor desert heat, caribbean sea, Distress Inks peacock feathers, antique linen
    Accessories:  ODBD Flourished Star Pattern dies, Spellbinders A2 matting basics A, Copic markers, white gel pen

  • Blue Fragrance

    Fragrance cu 06766
    Weekly-Favorite
    For my card today, I’m combining 4 Splitcoast Challenges…Inspiration Challenge (IC500), I chose THIS for the colors, Free For All (F4A280) brad other than round, Mixability (MIX127) red, white & blue & the Sketch (SC547). I also have a one on one comparison I did showing how I used my MISTI. I stamped it first with Memento, colored with Copics, then overstamped with Versafine to get a deep, dark line image. And…a little picture tutorial showing step by step how I colored the blue roses.  Remember, you can click on any picture to make it bigger!
    Fragrance 06762
    After I stamped 3 of the roses images, they were all colored with Copics & fussy cut. I used just the center of one of the roses, shaped it & popped it up in the center of the rose on the right. The blue frame was made on watercolor paper using water colors then streaked & splatter with gold acrylic paint. When dry, I die cut it to make the frame. The white layers are the inside dies of the same Lacey Layered Square die set. The greeting was stamped, the cut flowers added & the diamond shaped brad for the Free for All challenge.

    As promised..here’s the picture tutorial showing how I colored the roses. Using my Misti, I stamped them first with Memento.
    Fragrance1 06745
    Fragrance2 06748
    Step 1: The B00 & B01 were added in the darkest areas.
    Fragrance3 06750
    Step 2: B14, then B16 & then B28 were added in the same, darkest areas. As the colors get darker, the closer to the center I stayed. 
    Fragrance4 06752
    Step 3: I used B000 & B00 to very lightly blend, but I left a little white at the petal tips. 
    Fragrance5 06754
    Step 4: I used G43 & G24 from the center of the leaves to near the edges, but left some white around the edges. G28 was added near the center veins then I went over the entire leaf with YG01. When I’m coloring leaves, no matter what shade of green, I usually add YG01 to finish…to me it just adds life and a little brightness to the leaf.
    Fragrance6 06756
    Step 5: For the flower centers, I probably wouldn’t use red normally, but it was a color challenge on the MIX & I needed to work that red in somewhere, so I used R12 to go over the entire area, then dotted R24 & R29 here there. To add a little brightness, I also dotted a little YG01 here & there. Little things can add a lot 🙂


    Fragrance compare 06758
    Here’s the one on one comparison. Both were stamped first with Memento and colored with Copics. The one on the left is Memento only. The image on the right was put back into the Misti and overstamped with Versafine. The details really pop! Look closely especially at the flower center and the underside of the flower on the lower right. 

    Fragrance inside 06770
    And here’s the inside. I used the leftover flowers and part of the water colored background at the bottom.
    Fragrance copics 06761
    Just for reference, here are all the Copics I used.

    Thanks so much for stopping by! I hope you enjoyed the pictures.
    Julie2 sig
    Supplies:

    Stamps: Our Daily Bread designs –Fragrance,  (inside) Home Sweet HomeFlourish Label Borders
    Paper: X-Press It white, Neenah white, water color
    Ink:  Memento tuxedo black, Versafine onyx
    Accessories: ODBD Flourished Star Pattern, Lacey Layered Squares, (inside) Vintage Flourish Pattern, dies,  Spellbinders A2 matting basics A dies, Copic makers, water colors, gold acrylic paint

  • Serendipity Stamps July Blog Hop!

    Lasso the Moon cu 06717
    Weekly-Favorite Best of 2015 SCS
    Welcome to the Serendipity July Blog HopWe are showing off some lovely new images & dies! If you arrived here from Jenny’s Blog  you are in the right place..if not, you may want to head over there first.
    The Prize – One $20 gift code will go to one random commenter from the blogs.  So be sure  to visit all the blogs because you don’t know which one the winner will be drawn from. You have through July 5th to leave your comments & Mary will announce the winner on her blog on July 6th. Special:  Free shipping on all US orders of $15 or more Contental US only. 
     We have something new…a “Stamp of the Month”. Each month a different image will be 50% off. This month- it’s the Winter Doe. Be sure to check out the great deals on the Clearance Stamps sale stamps!

    7-3-15+Blog+Hop+copy

    Lasso the Moon 06719
    As a native Texan, I really love this sweet little Cowgirl! Seriously, I want to go put my boots on right now…just need to decide which pair, lol! She is a joy to color and to give her a little something special, I did what I call an “into the window” treatment. A little like out of the box, but it goes the other direction. After stamping & coloring her with Copics, I die cut it first using the larger die, then used a craft knife to cut around the top and sides in order to slip the lower left corner of the smaller die under her.
    Below,  you can see that the image was cut on the lines just enough to slip the die under.

    Lasso the Moon1 06704
    Below, after die cutting I put the larger die back in place and embossed them both. 
    Lasso the Moon2 06705
    And below is how it looks finished…all ready to attach.
    Lasso the Moon306706
    These are the Copics I used to color her.

    Lasso the Moon copics 06708
    I used a leftover frame I colored w/ Copics and a die cut circle w/ the star concho from the Bandana die.
    Lasso the Moon inside 06723
    Supplies:

    Stamps: Serendipity Stamps – Cowgirl, Sending Smiles (inside)
    Paper: X-Press It white, dp (SEI)
    Ink:  Memento tuxedo black, Versafine onyx (to overstamp image after coloring)
    Accessories:  Serendipity Howdy & Bandana dies, Spellbinders A2 matting basics A & B, circles dies,  Copic markers, MISTI

    Chips are down cu 06726
    My next card has the wonderful Bandana & Poker Chip dies along with the fun new greeting.

    Chips are Down 06725
    After die cutting all the pieces, I stamped and colored the greeting and attached them to an embossed background. The poker chips took a little patience to paper piece all those little parts. These are the Copics I used for the greeting.

    Chips are Down copics 06724
    The inside is just a simple frame I colored to match along with an extra concho from the Bandana die.
    CHips are Down inside 06731
    Supplies:

    Stamps: Serendipity Stamps – When the Chips are Down Horizontal, Thinking of You (inside)
    Paper: Neenah white, black, sparkle fleck red, sparkle fleck gray
    Ink:  Memento tuxedo black, Versafine onyx (to overstamp image after coloring)
    Accessories:  Serendipity Poker Chip & Bandana dies, Spellbinders A2 matting basics A & B, romantic rectangles 2, long rectangle dies,  Copic markers, MISTI, embossing folder (Lifestyle -chevron set)

    Now I’ll send you on to Karen’s Blog..I know she’l have something wonderful to share!

    Here is the list in case you get lost:

     Thanks so much for stopping by!
    Julie2 sig