• Tag Archives Slimline
  • Cuckoo Clock


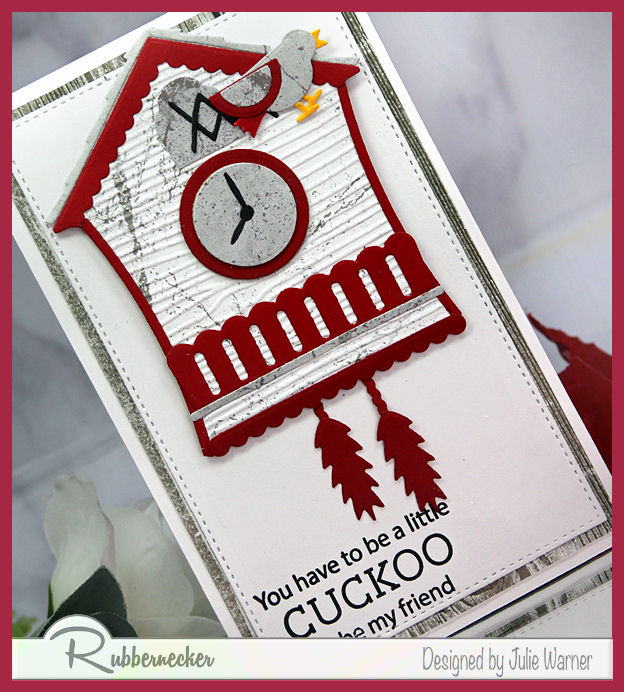
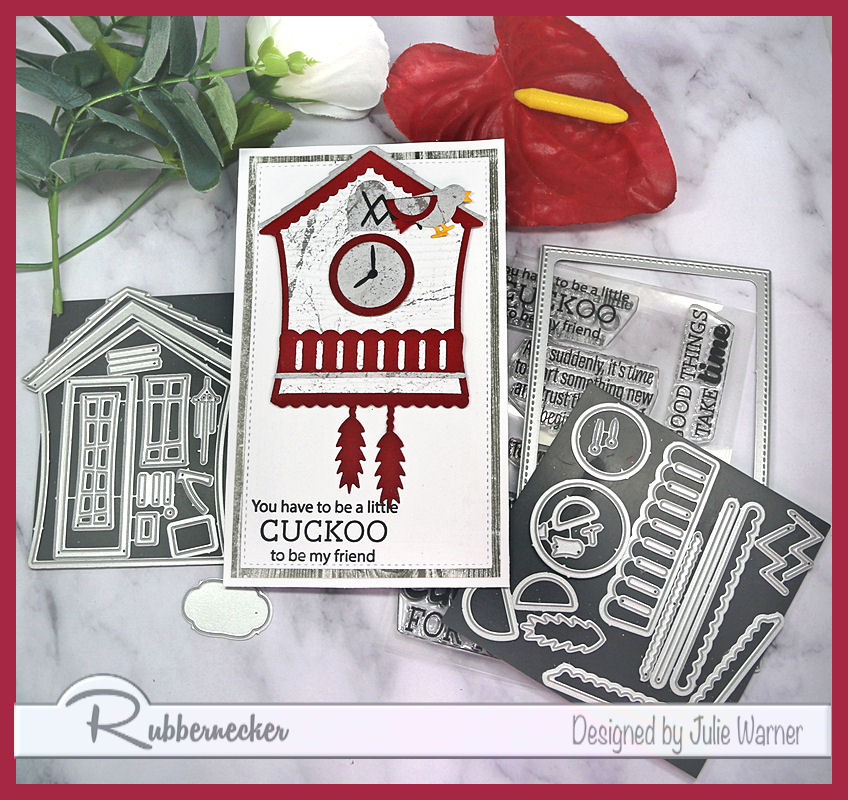
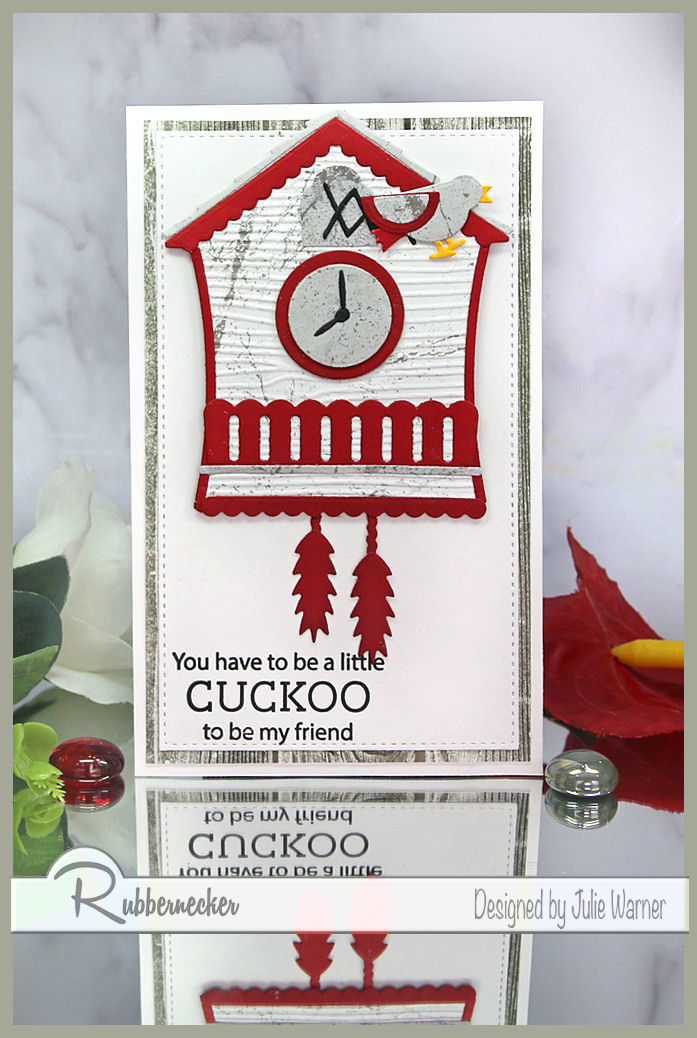
    A mini slimline cuckoo clock card w/ a fun greeting for a good friend. The greeting set has a lot of “time” greetings for every occasion.


    It’s my turn to host the Inspiration Challenge (IC909) & we’re visiting the National Postal Museum & their Pinterest Board. I was inspired by THIS stamp.

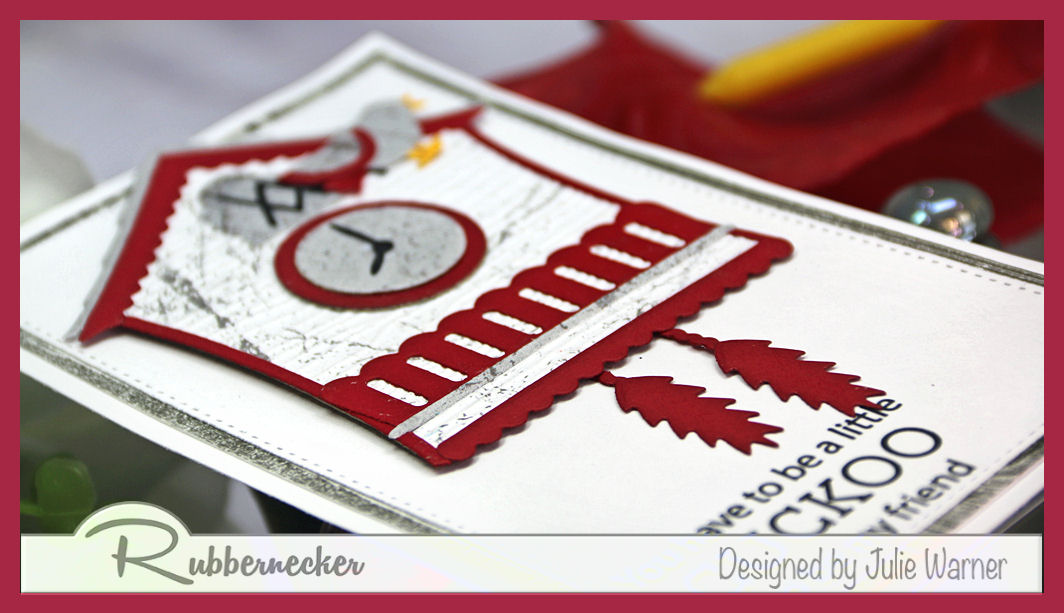
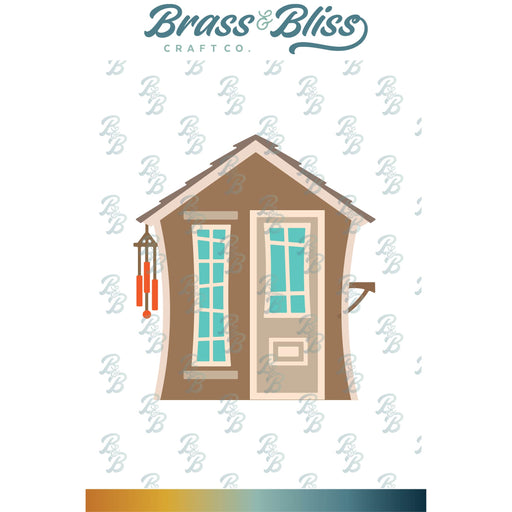
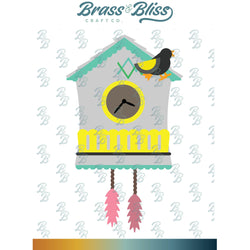
    My mini slimline card started w/ this really cute cuckoo clock add on die for the garden shed. I die cut the body of the clock out of some gray/white streaked paper then embossed it w/ a woodgrain folder. The paper is double sided so I used the flip side for the round clock face, the bird & the open door of the cuckoo part. I used a dk red for all the accent pieces & some grey woodgrain patterned wrapping paper for the layer behind the white front.


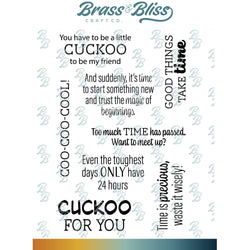
    The greeting was stamped below the clock. The clock was popped up just a bit.

    Thank so much for stopping by!


    Supplies:

    Stamps: Rubbernecker Stamps: Cuckoo For You
    Paper:  Staples 110# white, black, dk red, distressed white/grey, grey woodgrain wrapping paper
    Ink: Memento tuxedo black
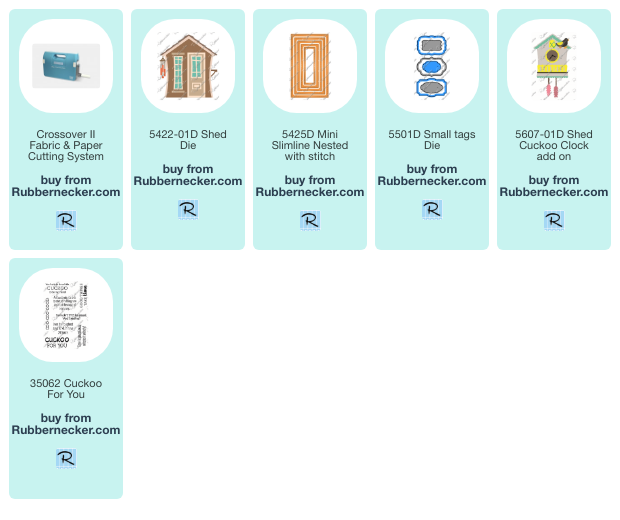
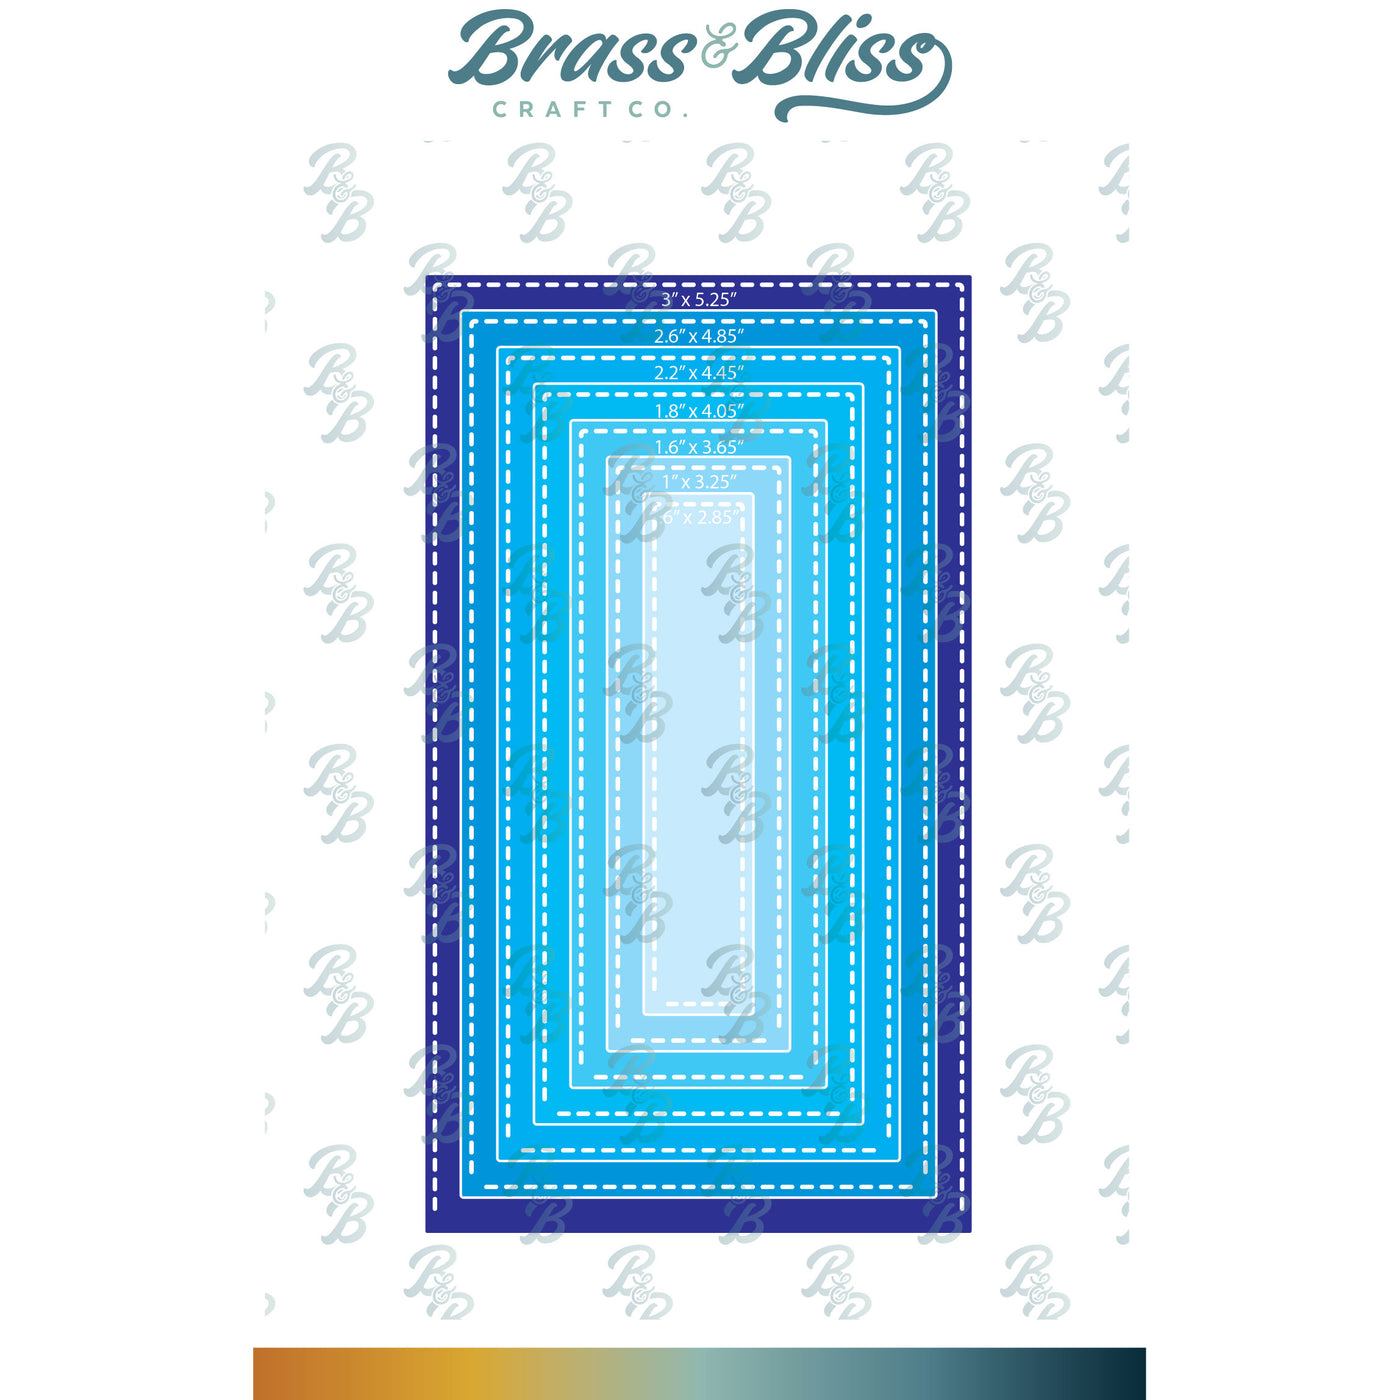
    Accessories:  Rubbernecker Stamps:  Stitched Mini Slimline, Stitched Slimline, Shed, Cuckoo Clock add on for Shed, Mini Tag dies,  Paper Studio Woodgrain embossing folder,  Crossover II, Misti


    You might also like:


  • Boys Toys

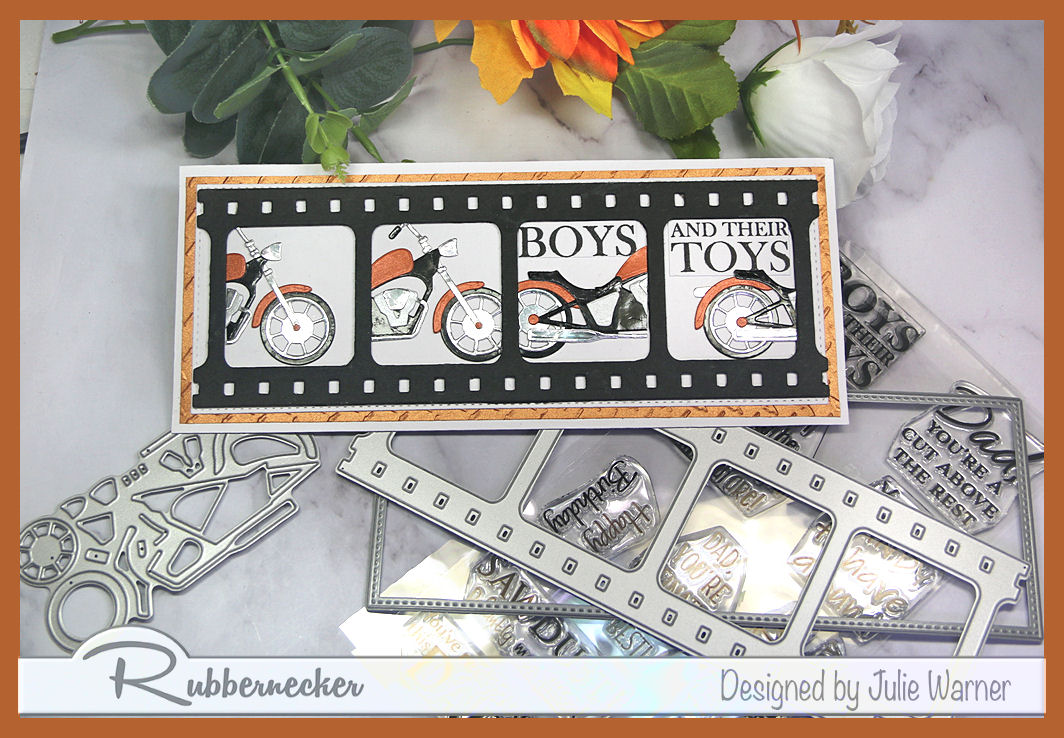
    A masculine slimline card for a special man or boy, featuring a filmstrip die & a fab motorcycle. Helpful tip on assembling the die cuts, too.
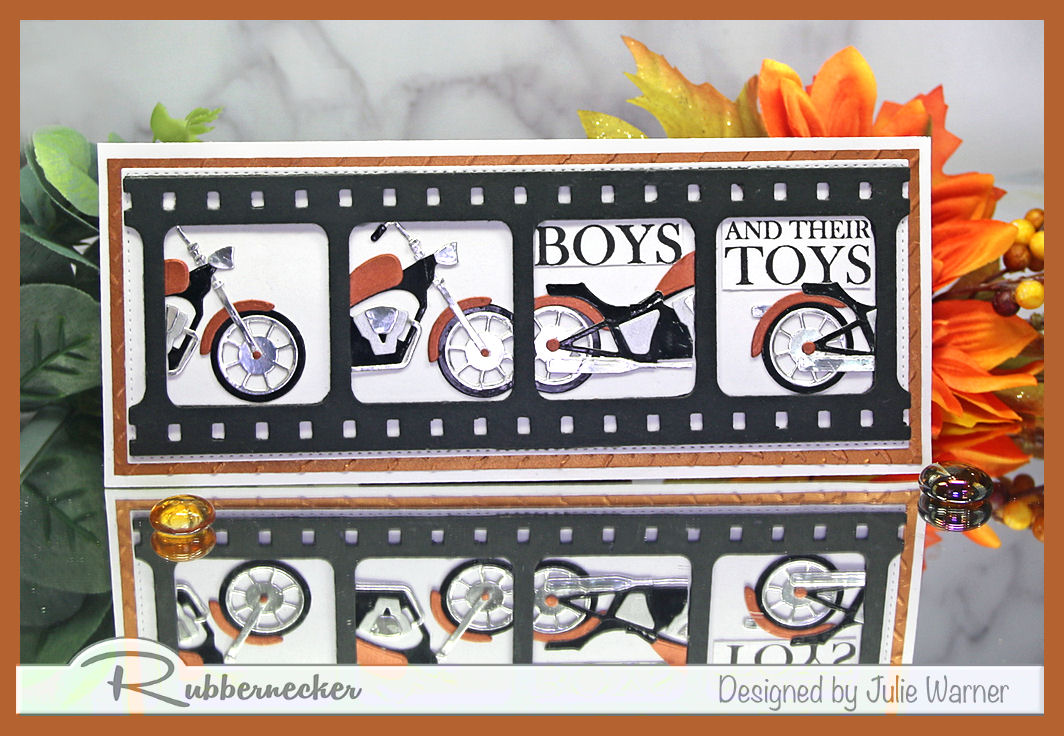

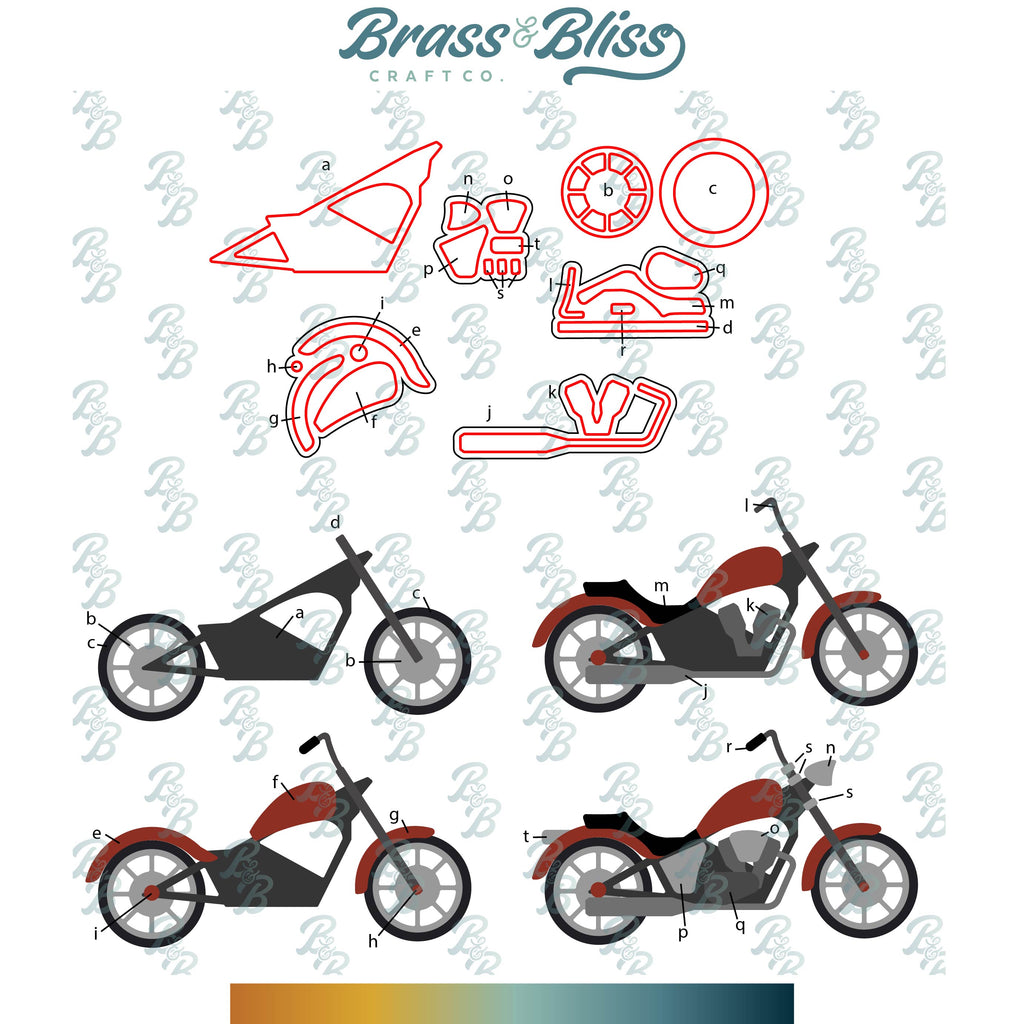
    Happy Easter! A big congrats to Heather, the newest Featured Stamper (FS844)! She has a wonderful gallery full of scrapbook pages & after much browsing, I chose THIS page to case for my card. I kept the filmstrip layout but instead of pictures, I made clips of a motorcycle to fill my frames.

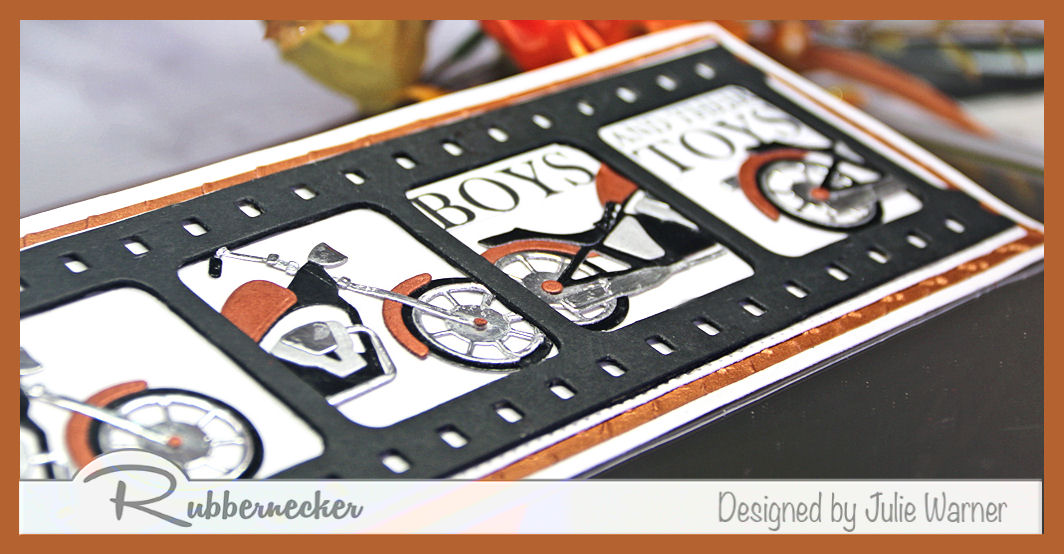
    So for my slimline card, I die cut the filmstrip then added a thick cardboard behind it to elevate it. I die cut all the parts of the motorcycle & put together 3 of them. I arranged them to look as if the camera was catching it as it rode by. I added the greeting in 2 parts to the last couple of frames. The copper layer was embossed w/ a diamond plate embossing folder.
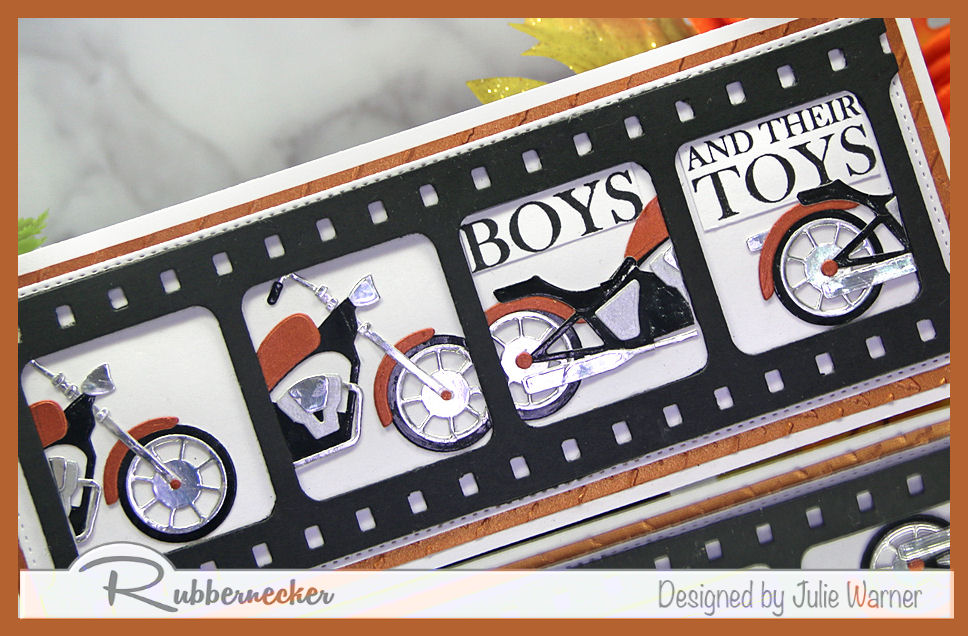

    The bikes were all cut to fit inside the popped up filmstrip. I didn’t want to take the chance on messing it all up when I stamped the greeting, so I put it on separate pieces of white & fit them inside the filmstrip.
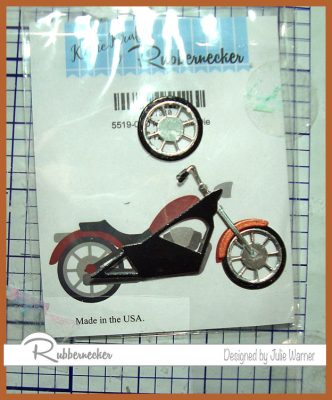
    Here is a handy trick that made putting these bikes together a lot easier. I put a piece of sheet protector over the package w/ the bike picture & taped it to my glass mat. Then I assembled the pieces of the bike right on top of the picture.
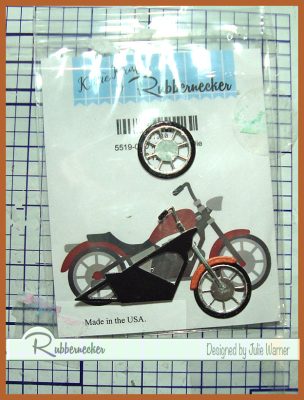
    Since the pkg picture is the exact size, I knew the pieces would all be in the correct places. The sheet protector kept the glue off of the pkg & I was able to wipe it up easily off the sheet protector.

    Thanks so much for stopping by!


    Supplies:

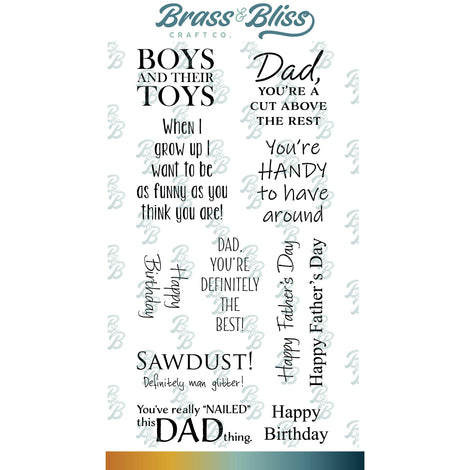
    Stamps: Rubbernecker Stamps: Dad Phrases
    Paper:  Staples 110# white, glossy black, metallic copper, mirror silver, brushed silver
    Ink: Memento tuxedo black
    Accessories:  Rubbernecker Stamps:  Motorcycle,  Stitched Slimline, Slimline Filmstrip dies,  Crossover II, Misti, Sizzix Diamond Plate embossing folder


    You might also like:

  • Party Time


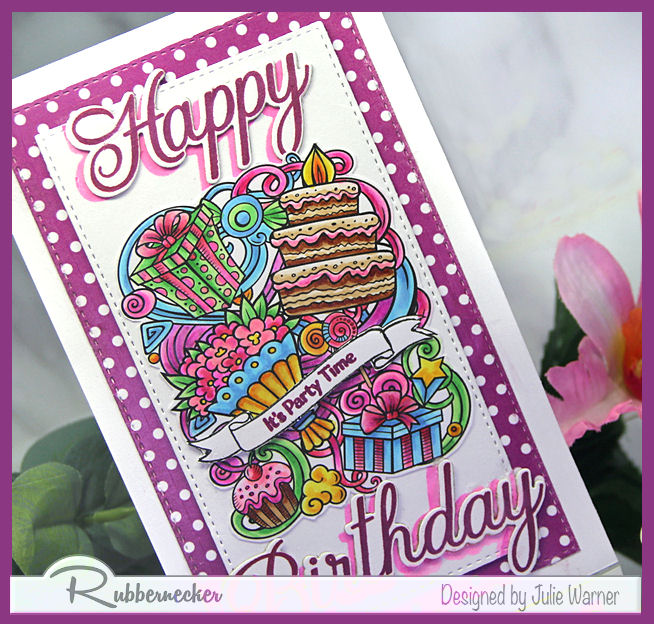
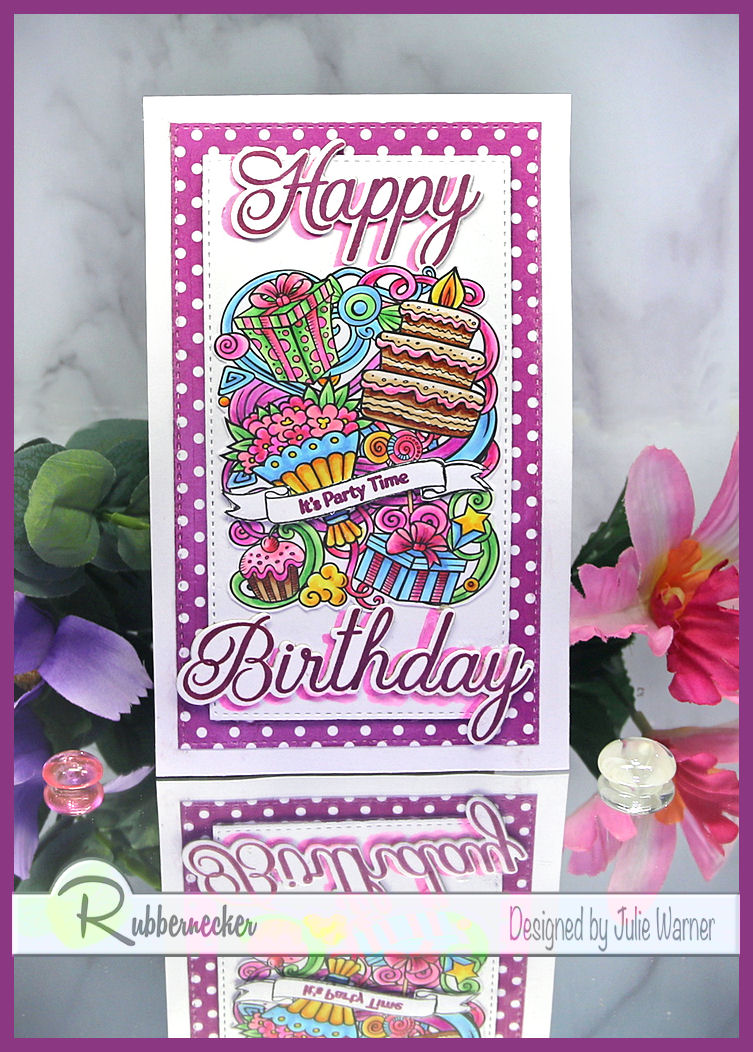
    It’s my turn to host the Inspiration Challenge on Splitcoast (IC900) & I chose a really fun site w/ lots of ideas..The Refab Diaries & their Pinterest Board where I found THIS picture. I thought the bright colors & hodgepodge of items would be perfect for the image I wanted to use.

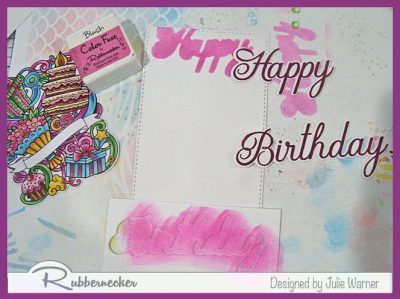
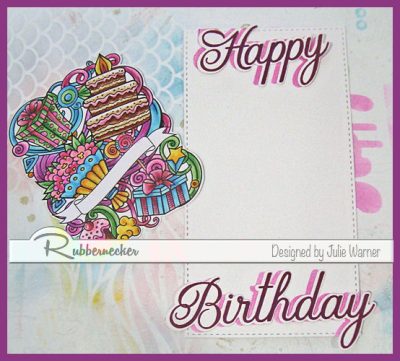
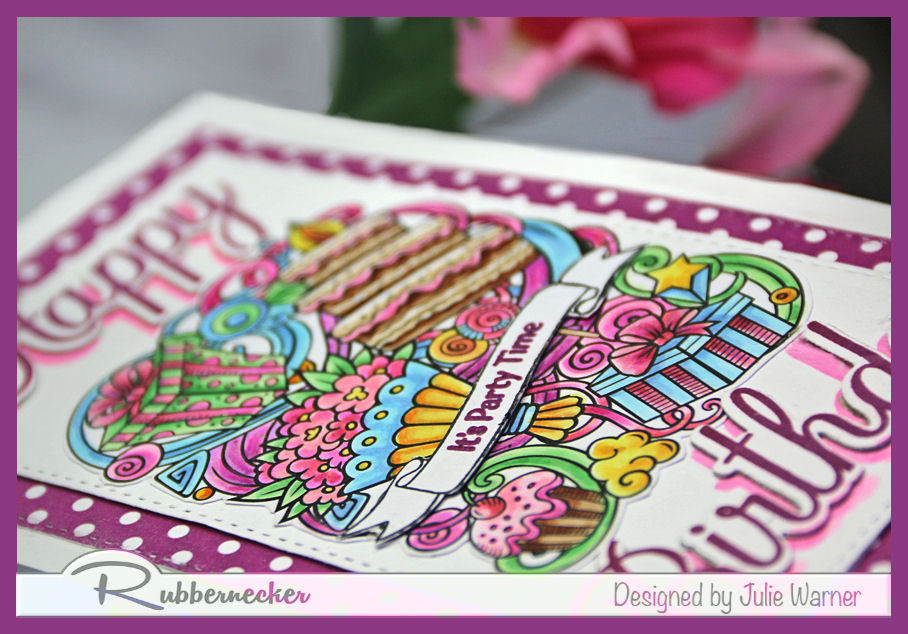
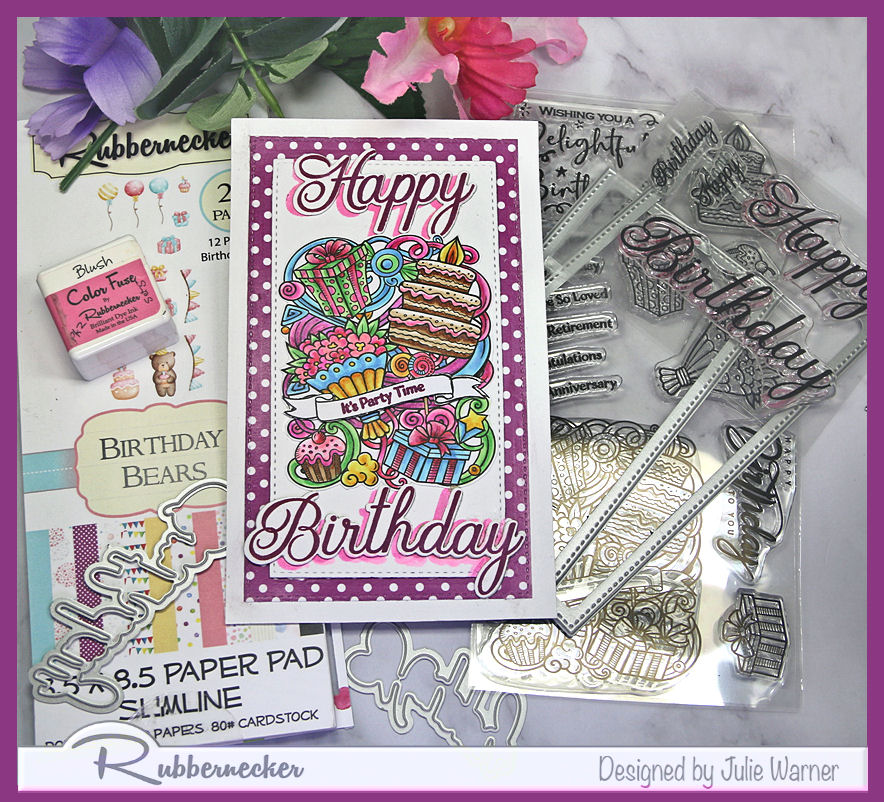
    After stamping & coloring this party image, I fussy cut it (actually pretty easy since it’s just a rounded outline). I popped it up just a bit on a mini slimline bg & backed it w/ a piece of polka dot paper. The banner was stamped separately, fussy cut & popped up on the original banner area. For this greeting & the large Happy & Birthday words, I used a combo of Versaclair Glamorous & Purple Delight, stamping one then the other on top of it,  to get the right color to match the paper (the Misti is essential for this). After I die the words, I used the leftover part as a reverse mask & stenciled in the pinkish shadow.

    You can see the finished Happy at the top & the reverse mask/stencil of Birthday at the bottom.

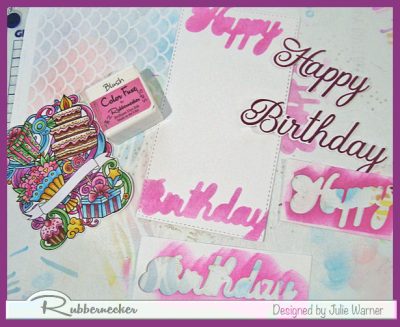
    Here the stenciling/sponging is finished.

    I placed the stamped, die cut words slightly offset to allow the shadow to show behind them.


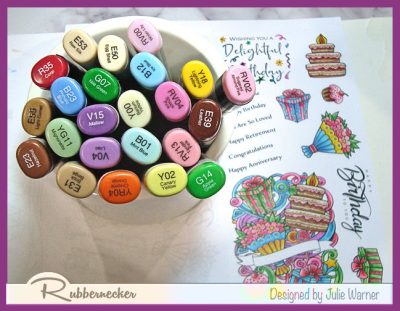
    Here are the Copics I used for the image:
    Thanks so much for stopping by!


    Supplies:
    Stamps: Rubbernecker Stamps: Birthday Magic set, Happy Birthday Lg/Sm set
    Paper:  Staples 110# white,  dp (Rubbernecker Stamps:  It’s Party Time paper pad)
    Ink: Memento tuxedo black, Versaclair Glamorous & Purple Delight, Rubbernecker Stamps:  Color Fuse set #5
    Accessories:  Rubbernecker Stamps:  Birthday Magic set, Birthday Magic Lg/Sm set, Stitched Mini Slimline, dies,  Copic markers, Crossover II, Misti


    You might also like: