• Tag Archives Glitter
  • Gold Forest Deer


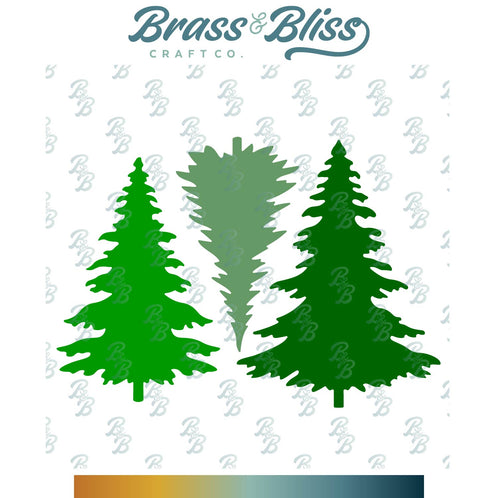
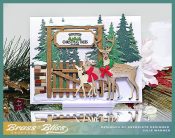
    You’re going to love this new stacked forest die set! The recipients will think you did some amazing work when you layer this set up. Most of the work is already done, all you have to do is die cut them and stack them on top of each other. Add some deer or birds or other forest animals and you’re all finished!

    For the Inspiration Challenge, we are visiting Suzy Toronto & her Pinterest Board, where I was inspired by THIS picture of a Christmas room done all in white & gold.

    For my card, I die cut the 3 layers of the stacked forest & added another piece of card stock the bottom layer, a piece of card board to the middle layer & a piece of foam to the top layer. Before stacking them together, I used a Versamark pen to coat the top of the ground on each layer, then gold embossed it. I love the great depth the varying layer heights gave me. The white backing piece was gold embossed w/ the random dots image & attached behind. For the glittery gold deer, I attached some glitter wrapping paper to a piece of cardstock then die cut the deer. I didn’t have room for a greeting so I die cut a gold glitter snowflake & added it.

    Thanks so much for stopping by!

    Supplies for this card:

    Stamps: Brass & Bliss: Random Dots Bg
    Paper:  Staples 110# white, gold glitter wrapping paper
    Ink: Encore Ultimate Metallic gold
    Accessories:Brass & Bliss: Deer Family, Stacked Forest, Lg Snowflake dies, Crossover II, Versamark pen, gold embossing powder


    You might also like:


  • Gnomes at the Beach


    Ready for Summer? School’s out and it’s time to pack the swimsuits and head for a beachy vacation. Beat the heat sitting by the water, breeze in your hair, toes in the sand. And don’t forget to grab a cool drink. Unwind, take a swim or just relax to the sound of the waves.


    It’s my turn to host the Inspiration Challenge (IC965) this first day of June, and we are visiting Patti J. Good Designs & her Pinterest Board. I came across THIS cute little gnome & used him for my inspiration.

    After coloring my cute little gnomes & die cutting them, I made a background for them using a couple of stencils. I die cut the white panel then taped the sun burst stencil across the top & placed the rectangle stencil to mask off the lower section. After sponging the yellows & a bit of pink, I removed the sun stencil & used a reverse mask I made by die cutting a similar sized circle in the middle of a piece of copy paper, to cover the rays, then sponged in the sun itself. I removed this, placed the wavy stencil across the bottom section & the rectangle stencil over the top part. The blues were sponged in for the waves.

    The gnomes & palm tree were popped up a bit & the smallish mini slimline die cut was popped up a bit more before the gnomes were added. The greeting was stamped directly over the sun burst rays before the gnome panel was added. I used some stickles glitter glue to paint in the sparkle on the waves.
    These are the Copics I used. I will mention, in real life, these gnomes’ outfits are soooo bright w/ the fluorescent Copics. They literally glow!

    Thanks
    so much for stopping by!


    Supplies:

    Stamps: Brass & Bliss: Beach Gnome set 
     Paper:  Staples 110# white
    Ink: Memento tuxedo black, Brass & Bliss/Rubbernecker Stamps: Color Fuse inks set #1, set #4, set #8
    Accessories:  Brass & Bliss/Rubbernecker Stamps:  Beach Gnome set, Stitched Rectangles, Mini Slimline Stitched dies, Sun Burst, Wavy, Rectangle Mask Stencils, Blending Brushes,  MISTI, Copic markers, stickles


    You might also like:

  • Sending Love


    A fun, easy Valentine, Wedding, Anniversary or Birthday card with minimal coloring and a stencil background using translucent grit paste. Easy to customize using the colors of your choice. The hardest part is waiting for it to dry.

    A big congrats to Deb, the newest Featured Stamper (FS888) on Splitcoast! She has a wonderful gallery & I chose THIS card to case. I kept the layout (mostly) & the hearts, but I used different images, dies & colors. I also changed the background to a stenciled one.

    For my card, I started by placing the stencil on scratch paper & rubbing 2 colors of pinkish/red ink over the top. I didn’t try to blend it, just dabbed it in areas first the lighter color then used the darker color on the rest. I placed the stencil on top of white card stock, ink side UP, then used a palette knife &  spread the grit paste in a thin layer. The paste picked up the ink from the top of the stencil as I spread the paste & it gave me a lovely varied color. There is a subtle glitter in this paste that’s more apparent in person. I carefully lifted the stencil & washed it right away so it wouldn’t adhere to the stencil. Then I let the background piece dry (about 20 minutes or so).

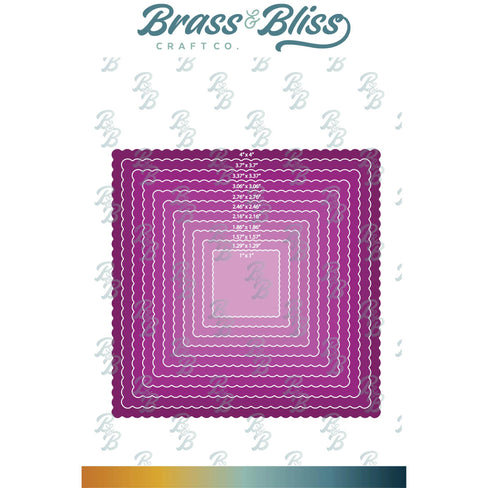
    While it was drying, I stamped the greeting & die cut w/ the longest tag. The heart balloons were also stamped, colored & die cut. When dry, I attached a pink inside scallop frame around the heart bg, tucking the greeting tag under the edges, & layered a red outside scallop frame underneath it. The balloons were popped up just a bit.
    Here are the Copics I used for the balloons:
    Thanks
    so much for stopping by!


    Supplies:

    Stamps: Brass & Bliss: Love is in the Air set
    Paper:  Staples 110# white, pink, red
    Ink: Memento tuxedo black,  Rubbernecker Stamps: Color Fuse inks set #4
    Accessories:  Brass & Bliss/Rubbernecker Stamps: Love is in the Air, Inside Scallop Frame, Outside Scallop Frame, Offset Tags dies, Stacked Hearts Stencil,  Crossover II,  Ranger Distress Translucent Grit Paste, Misti, Copic Markers


    You might also like: