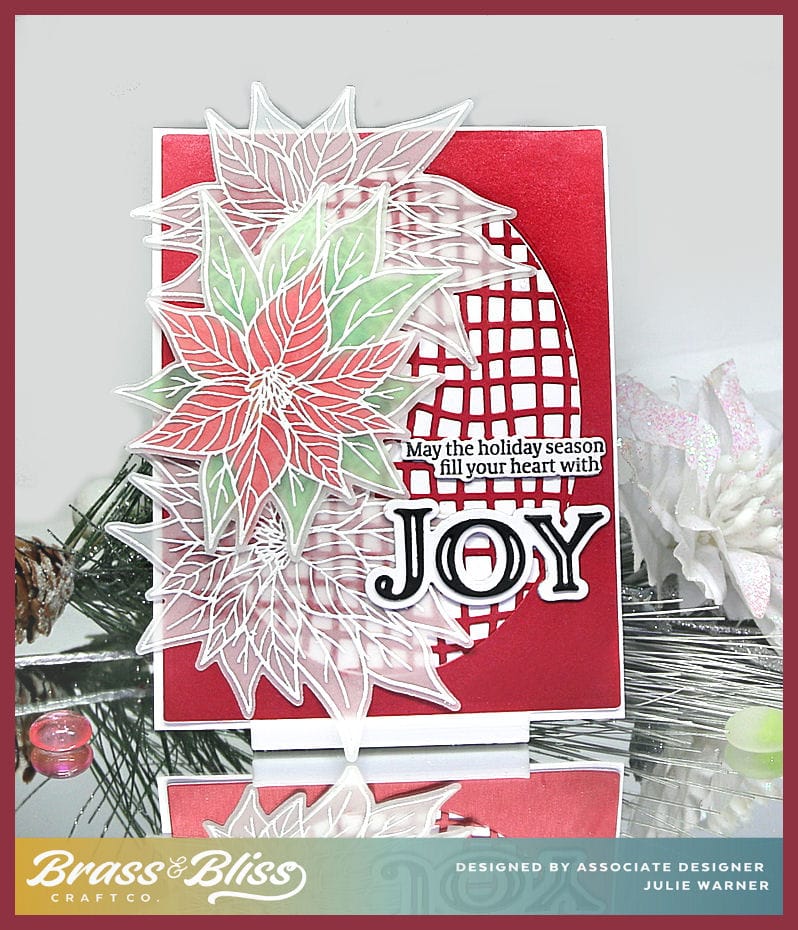
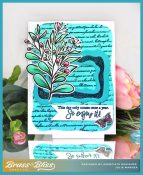
 This Christmas card has a bit more going on but still is not hard to make. When you break down the steps, you’ll see it’s really easy to do. The poinsettias are white embossed on vellum for a soft look. Only one is colored to set it apart, but still maintains the soft look.
A big congrats to Mspork, the newest Featured Stamper FS966, She has a lovely little gallery & I chose THIS card to case. I kept the 3 white embossed vellum flowers but used different images, dies, colors & added an oval inset layer.
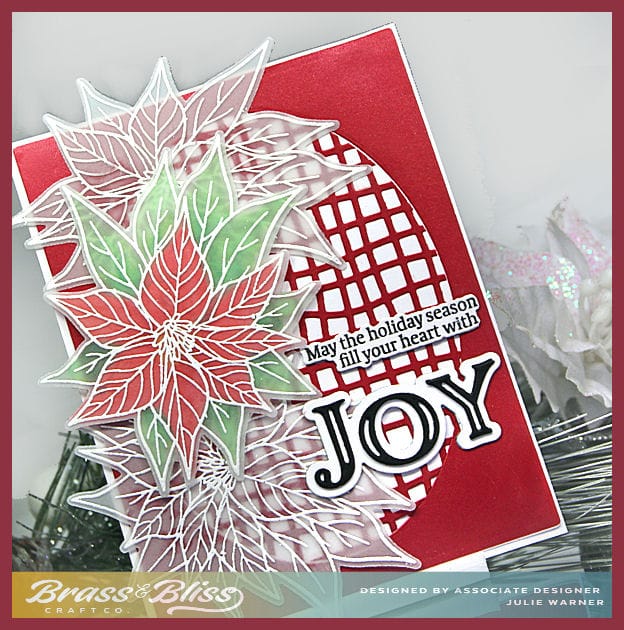
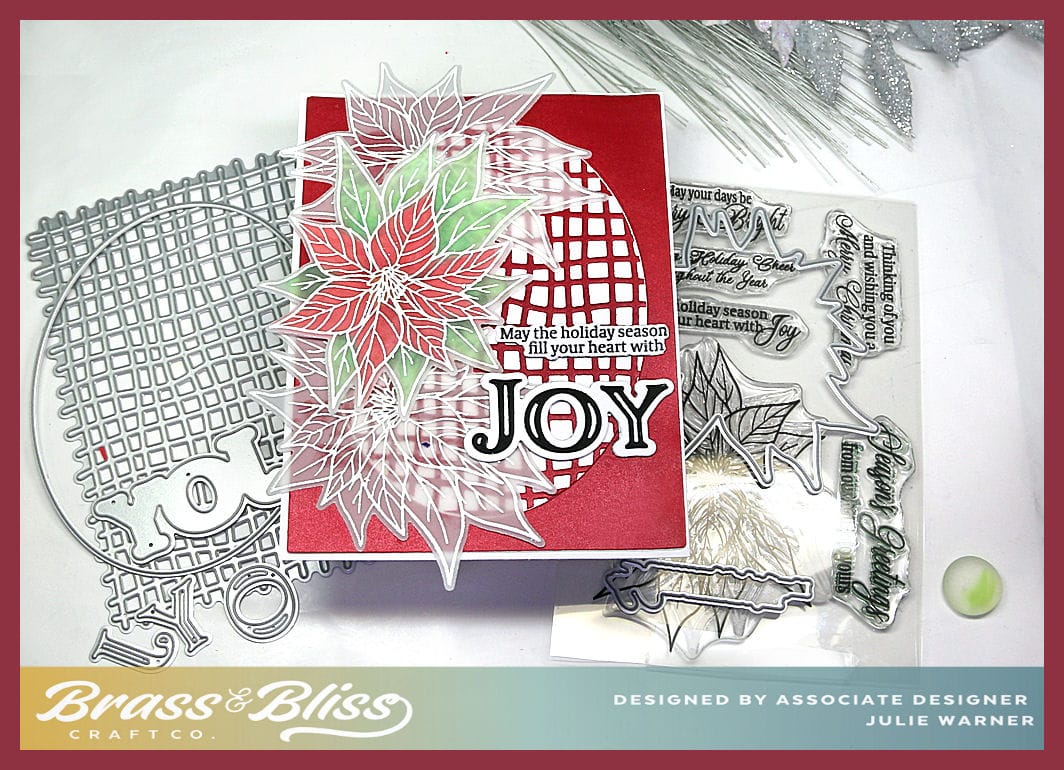
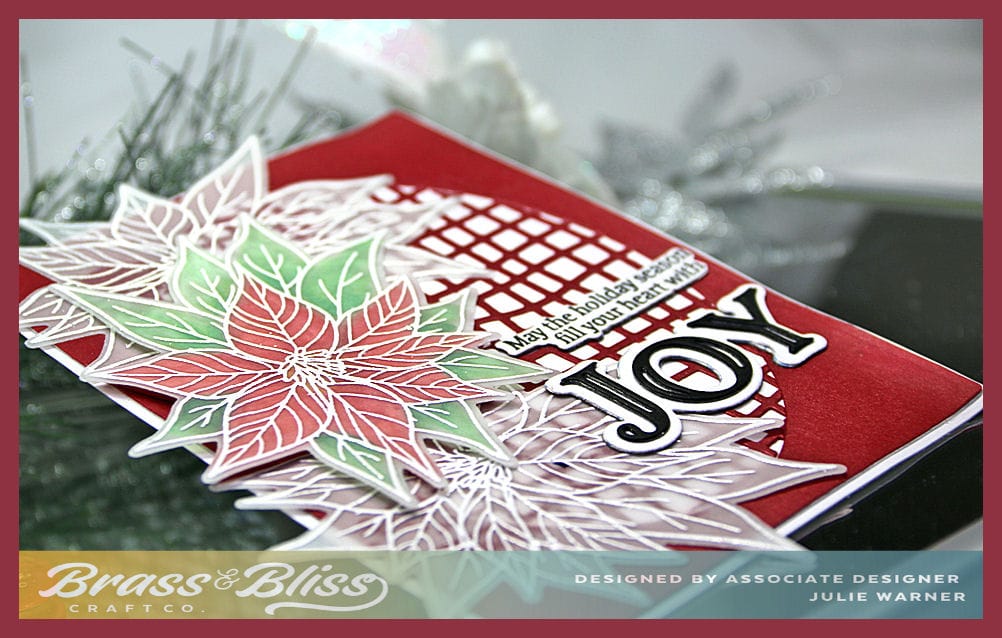
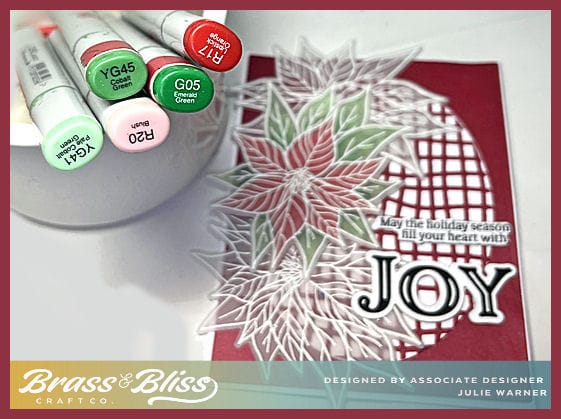
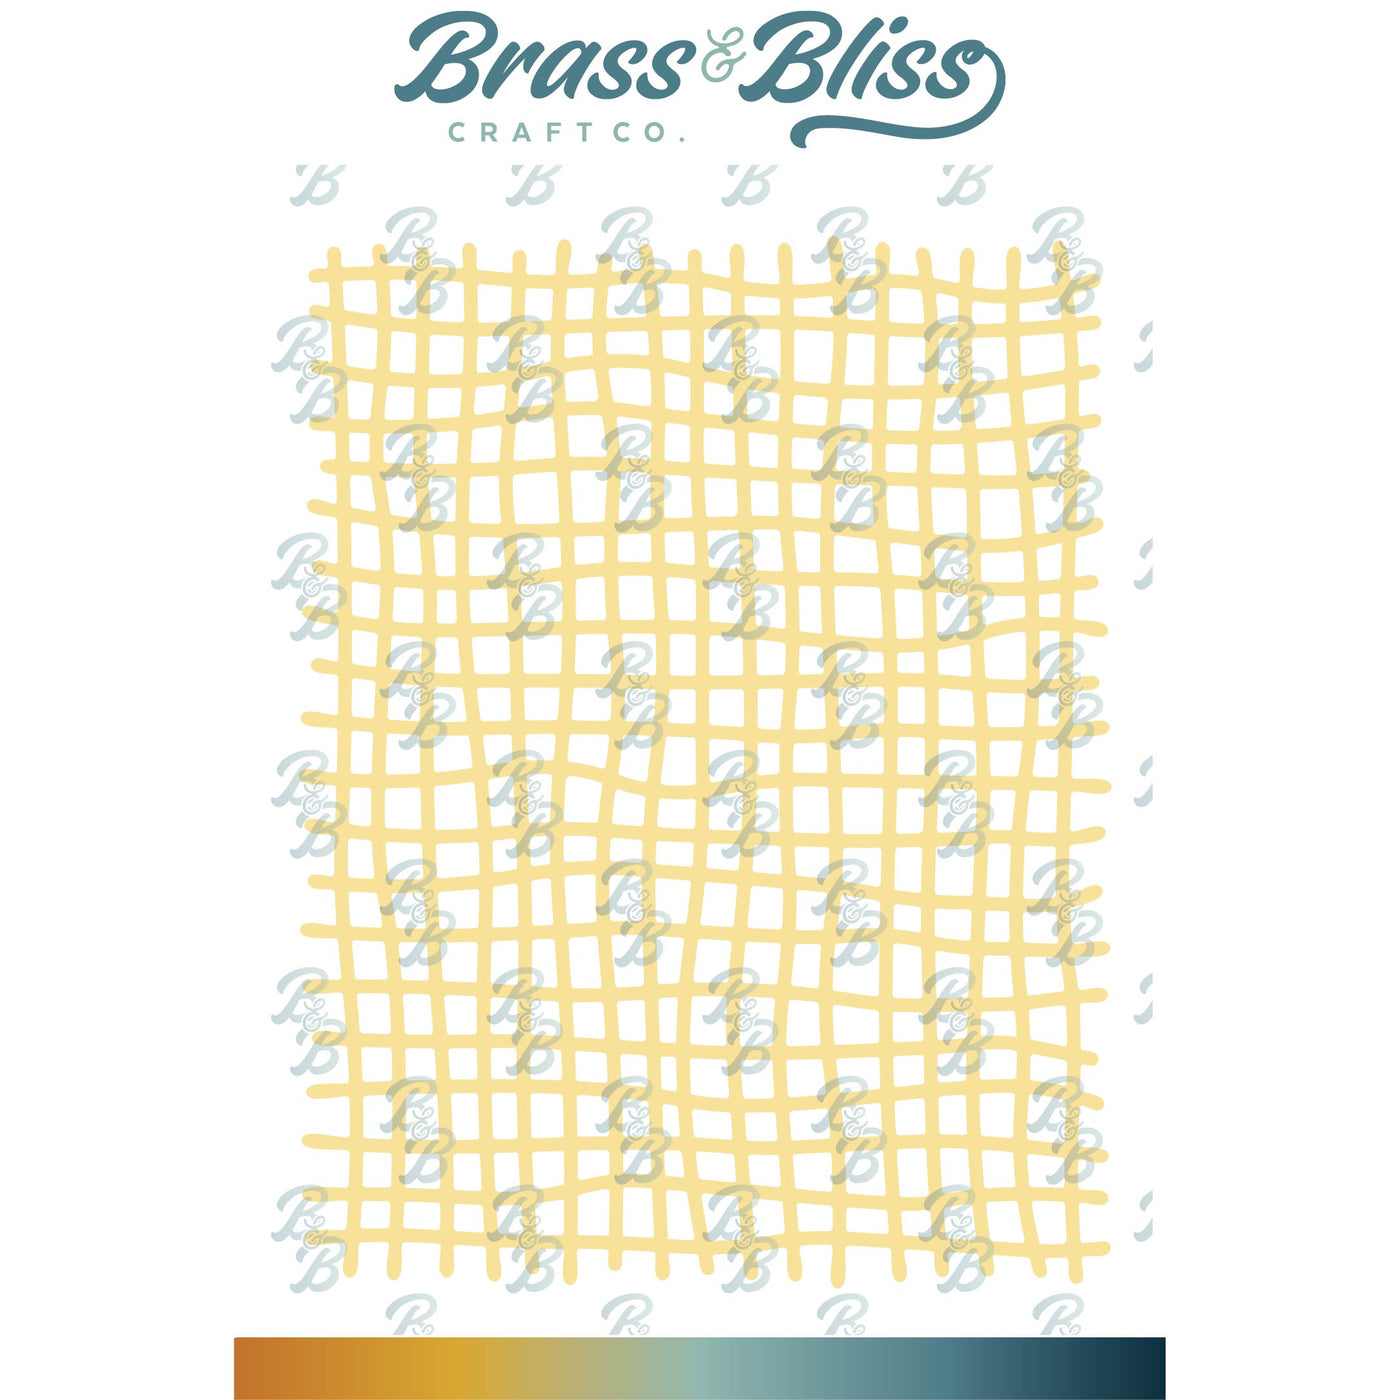
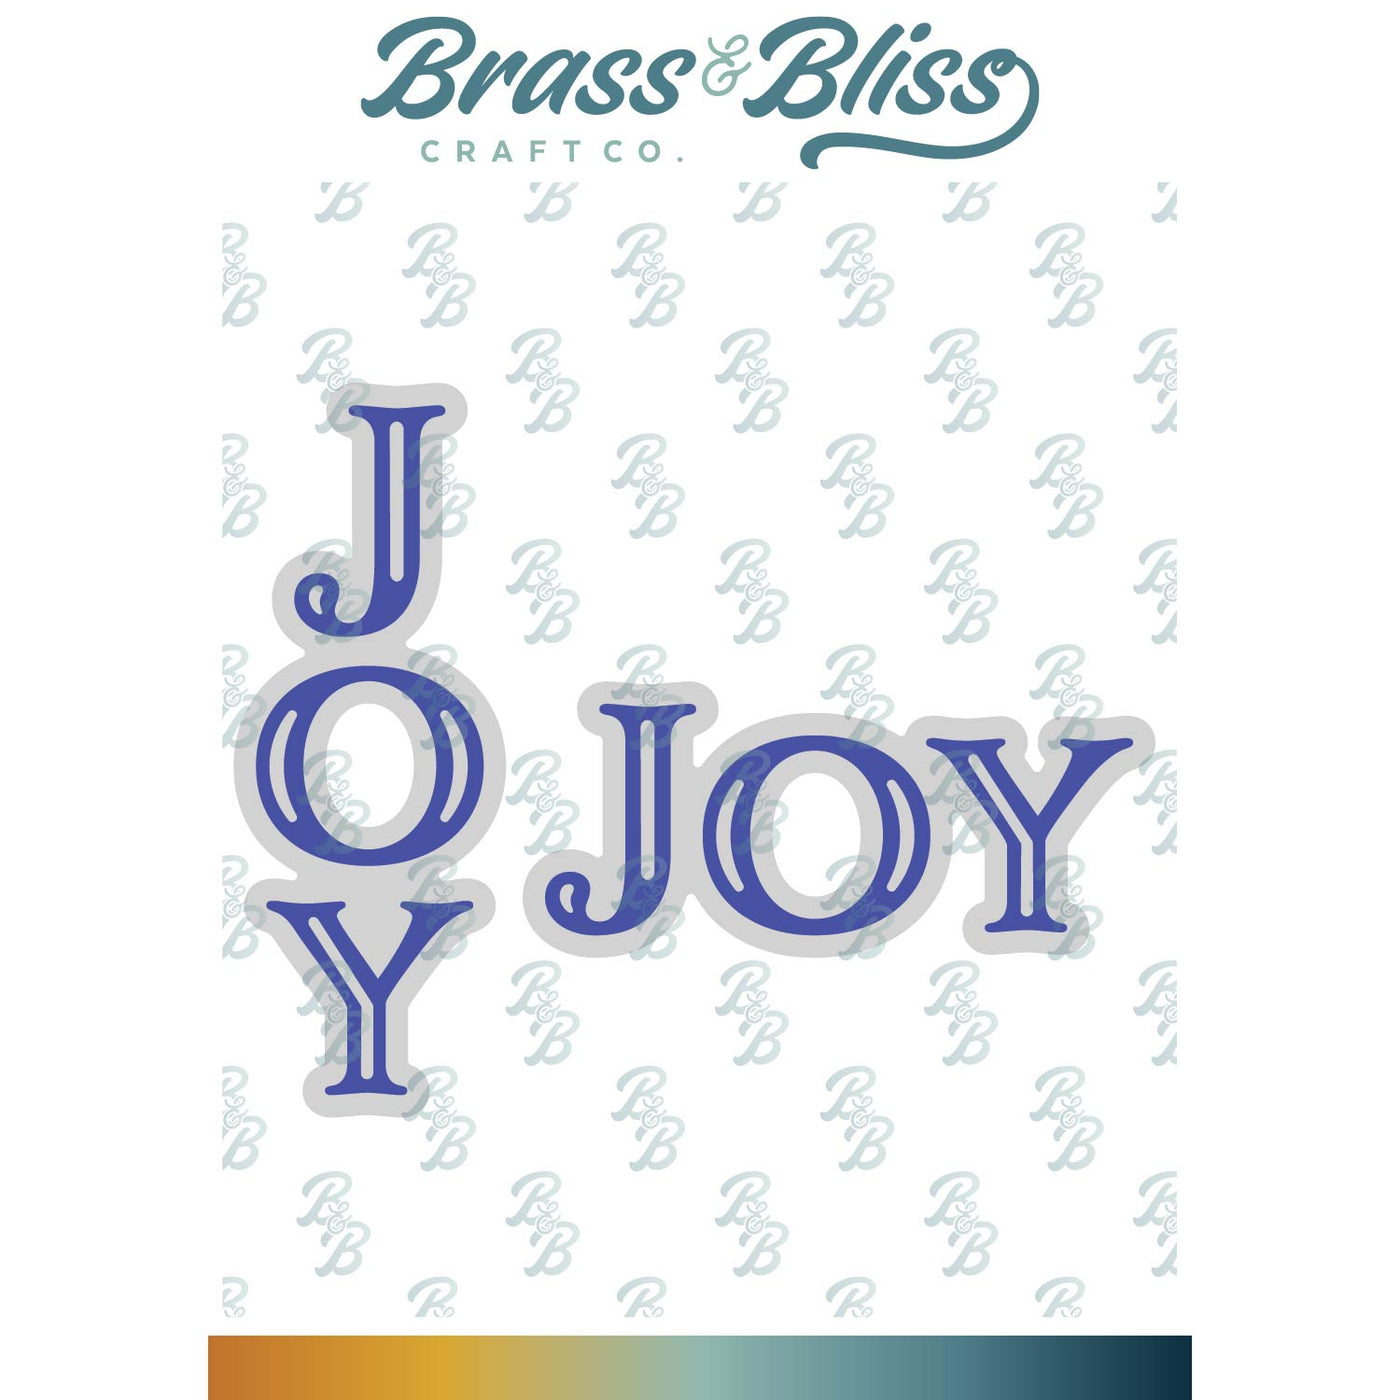
To make my card, I white embossed 3 poinsettias onto heavy vellum. Only one was colored on the backside w/ Copics. I cut a large rectangle 4″ x 5.25″ (just smaller than the A2 card front), then die cut a large oval out of the center. This red card has a nice shimmer. I took the oval cut out & die cut it with the cheesecloth cover die & placed it back inside the oval. The greeting was stamped, but I omitted the last word (Joy) from it by covering it w/ tape, then die cut it, removing the last little bit. The big JOY was die cut along w/ its backing & popped up. I also popped up the colored poinsettia w/ red foam, but made sure to keep it only under the red part of the flower.
Here are the Copics I used on the backside of the center poinsettia:
Thanks so much for stopping by!

Supplies: (click the names below the pictures to take you to the products)
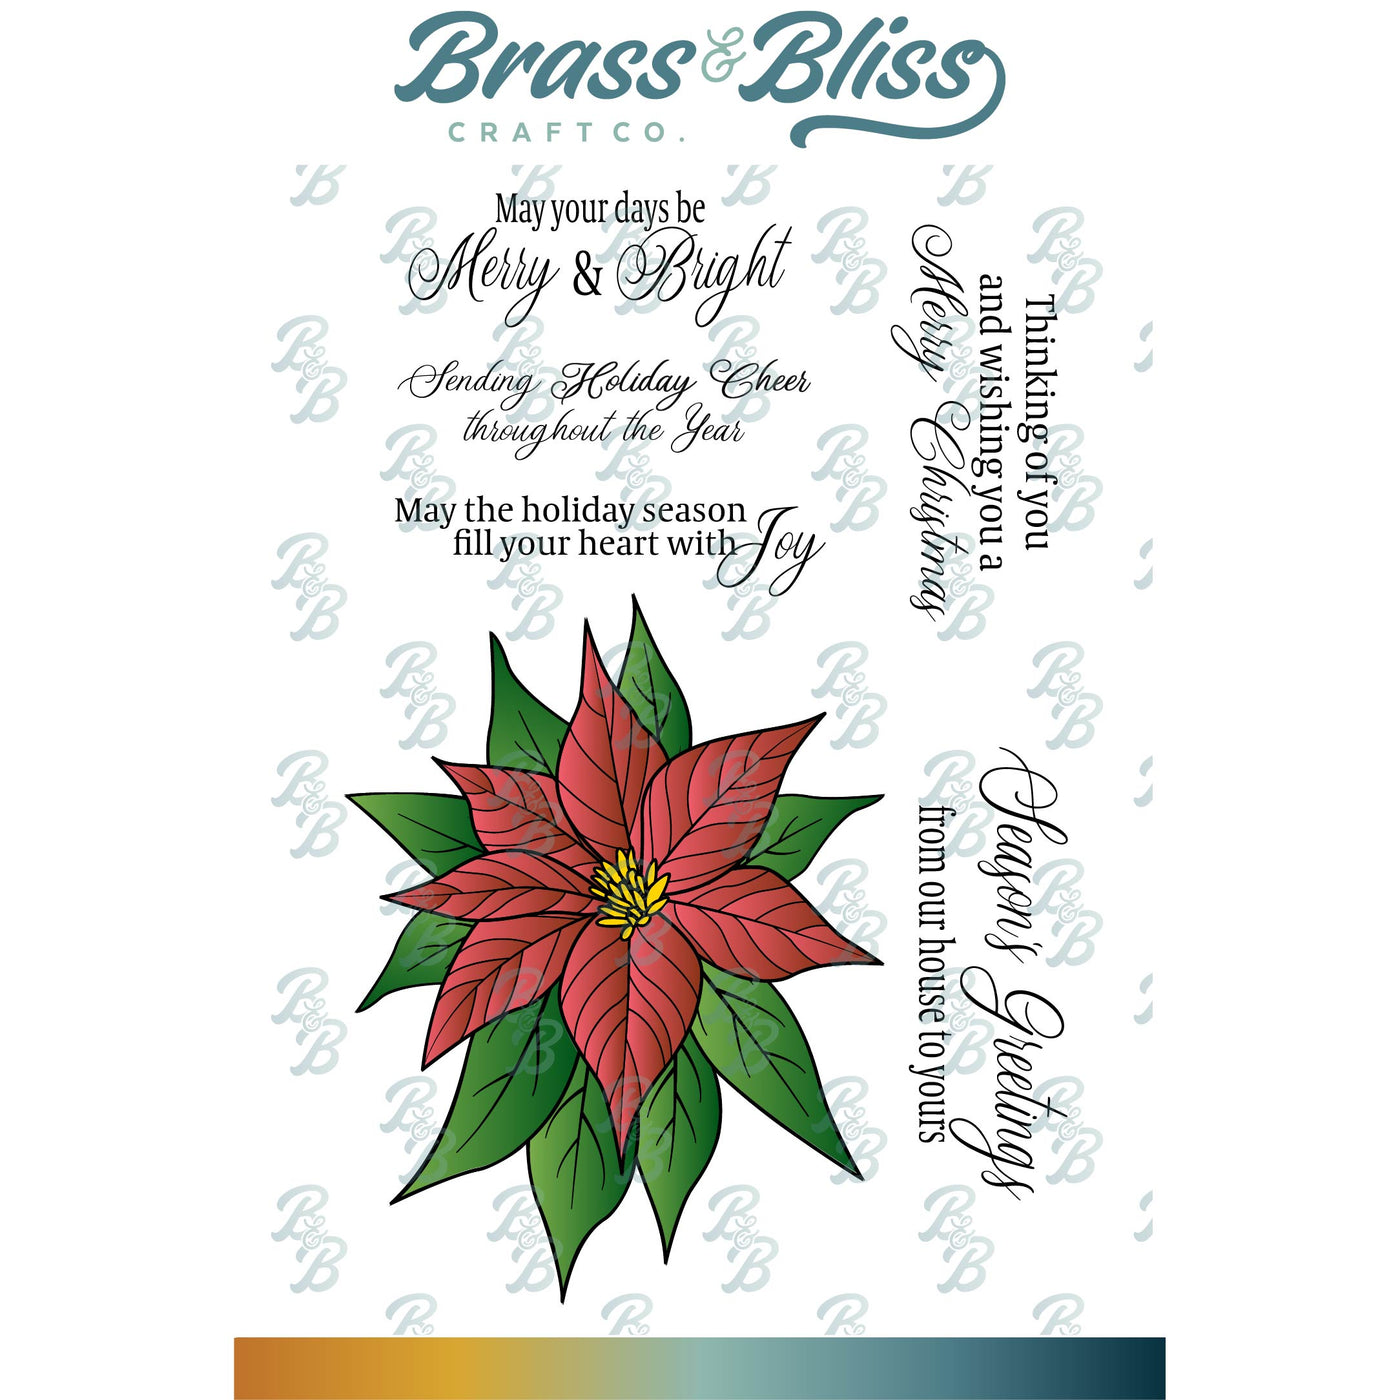
| Stamps: Brass & Bliss: Poinsettia Elegance set |
| Paper: Staples 110# white, shimmer red, heavy vellum, scrap of black |
| Ink: Hero Arts unicorn, Versaclair nocturne |
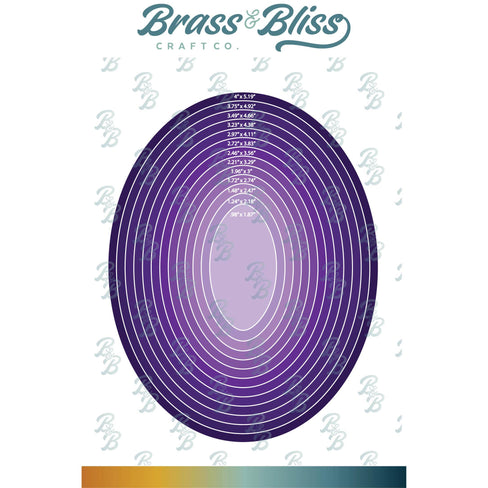
| Accessories: Brass & Bliss: Poinsettia Elegance set, Ovals, Cheesecloth Cover, Joy Horiz & Vert dies, Misti, white embossing powder, Copic markers |
|
|
|
|
|

|
|

|

|

|

|

|

|
You might also like:

Your cards are outstanding–always. I love this card today. Thank you so much for sharing all the beauty of your cards with us !