

I made this for the Splitcoaststampers Fan Club April Christmas Challenge! I’ve been having so much fun being a part of the challenge this year & the bonus is I’ll have a bunch of Christmas cards finished in plenty of time for Christmas this year. You’ll need to be Fan Club member but that’s easy…just click the blue link to find out how.
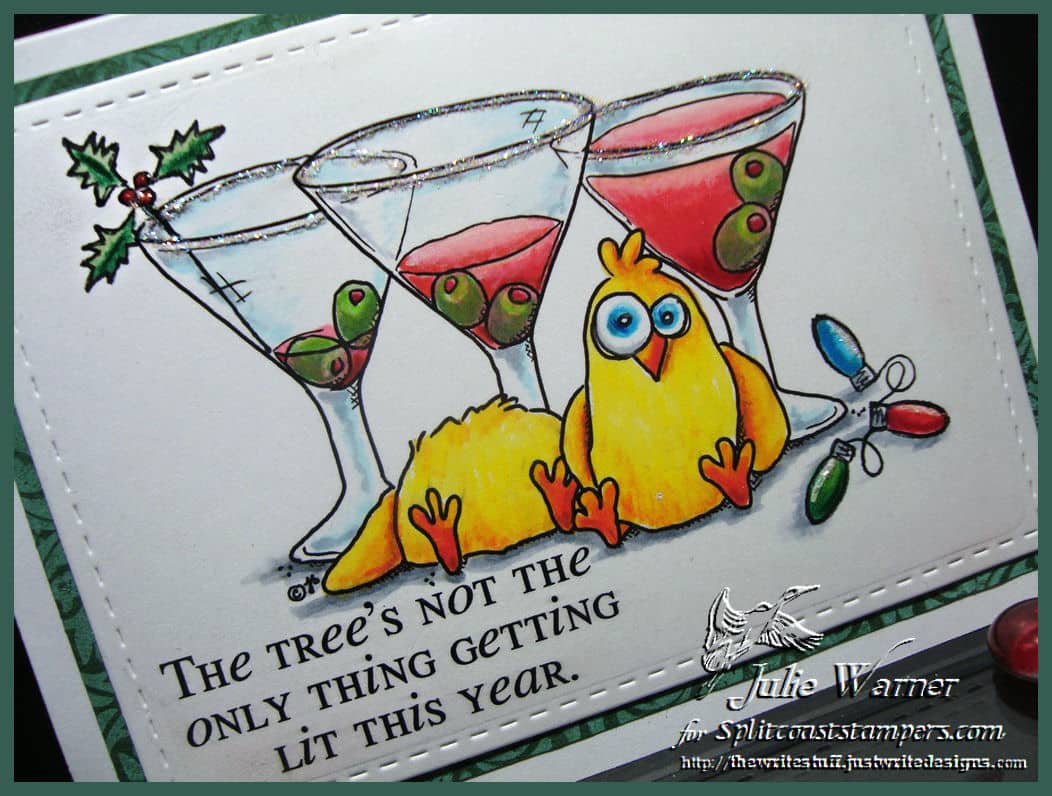
I really love these Birdbrain images & I really miss From the Heart Stamps. And I’m so thankful I bought some of these digi stamps while they were still available. After I put the digital image in a word doc, I typed the greeting & printed it out on Neenah. The little holly sprig & Christmas lights were stamped using some old clear stamps from Studio G. Then I colored everything & added a little glitter to the glass rims. The background was stamped using a retired ODBD image. Distress oxide cracked pistachio was stamped onto pine green c/s so the pattern of the image is actually the lighter color.
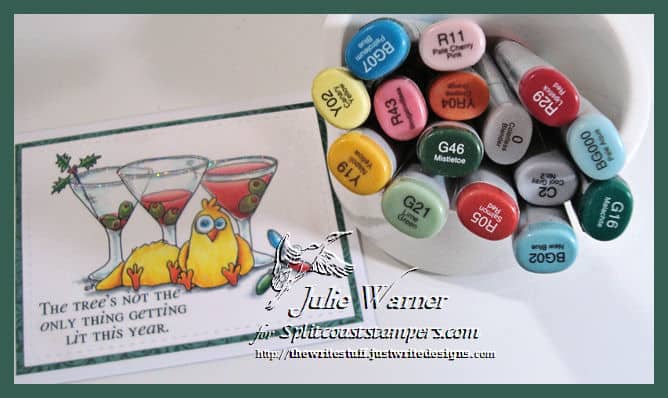
Here’s a look at the inside & below it are the Copics I used.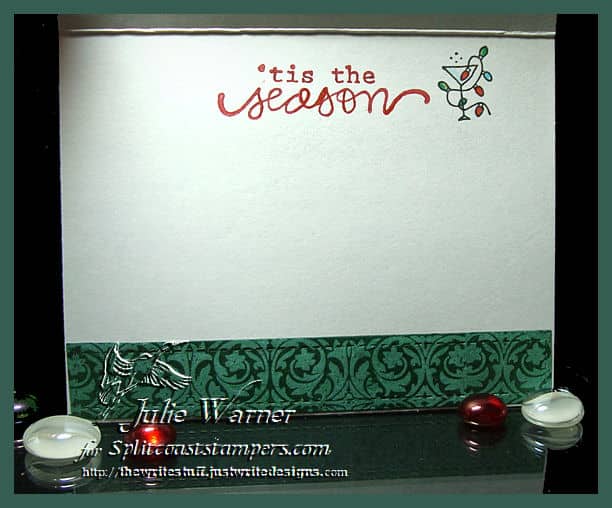
Thanks so much for stopping by!

Supplies:

|

|

|

|

|

|

|

|

|

|

|


