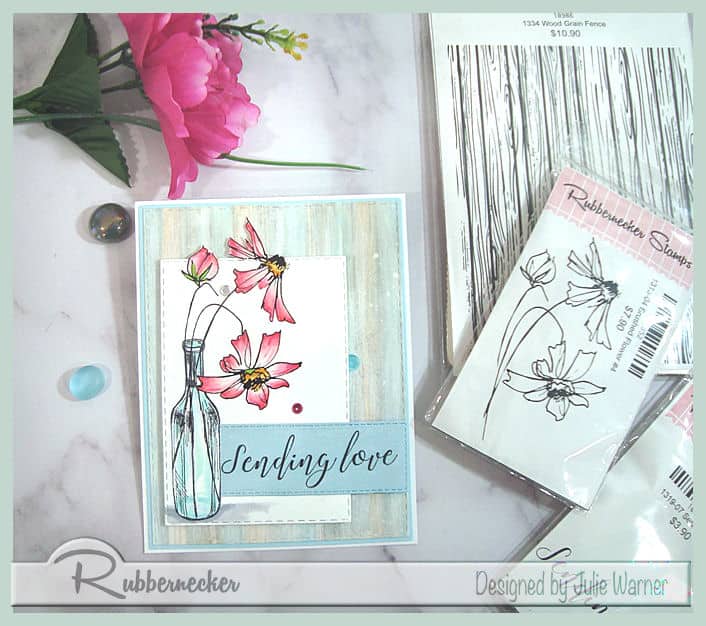
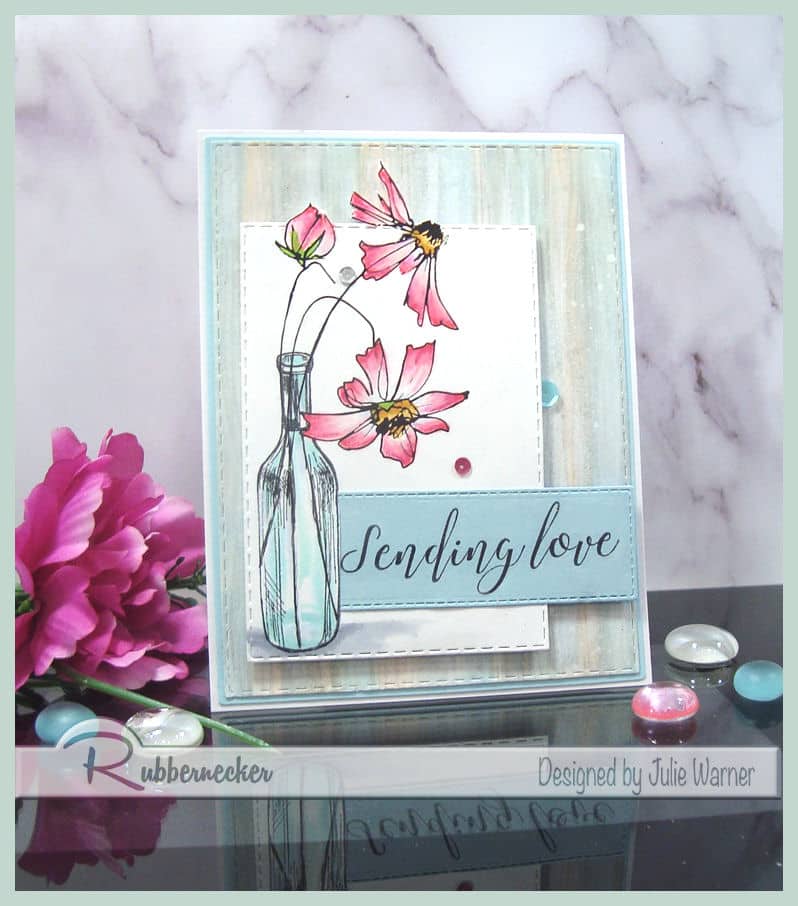
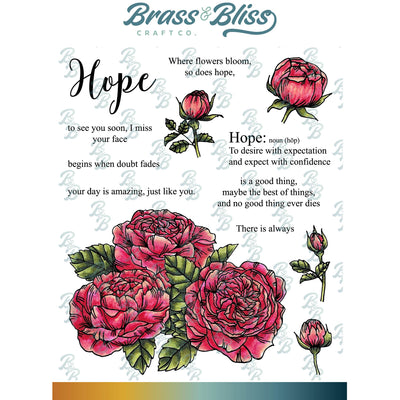
When you want to send a card of encouragement, sympathy or feel better, this floral set is perfect. The greetings are as lovely as the flowers and even come with a larger word Hope that has a matching die! Add a pretty background and you are set to go.

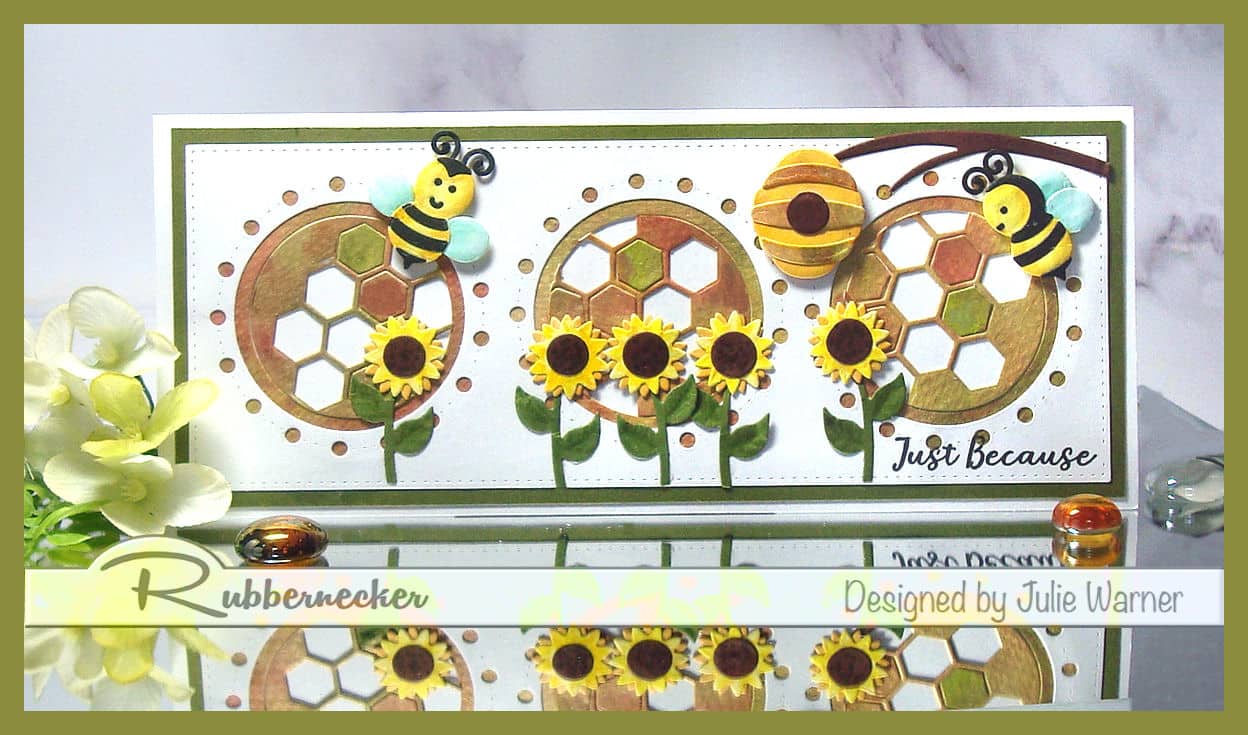
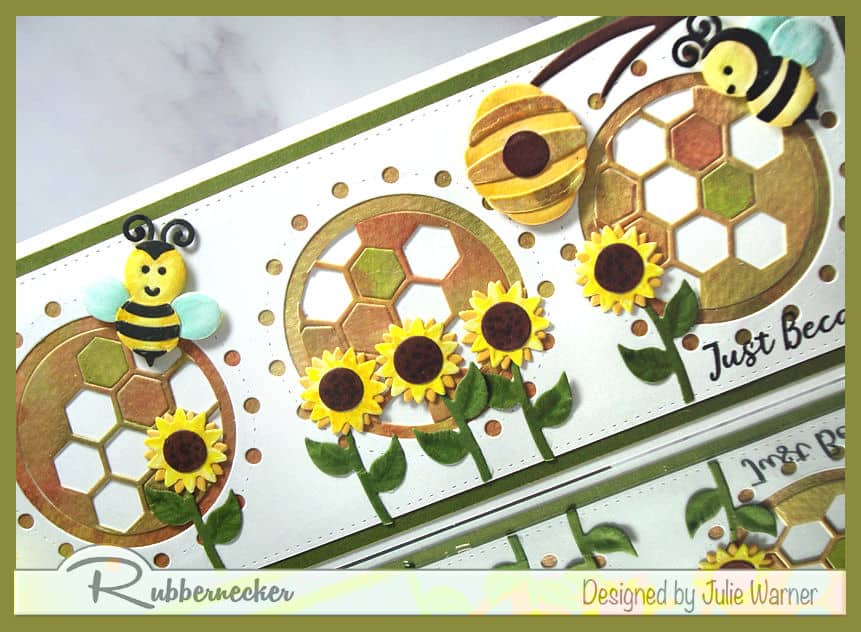
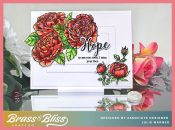
A big congrats to Laura, the newest Featured Stamper (FS910)! She has a wonderful gallery & I chose THIS card to case. I kept the large floral & white background, but I used a stamped, colored & die cut flower instead of embossed. I also used different dies & added a mixed media paper behind the white cover.
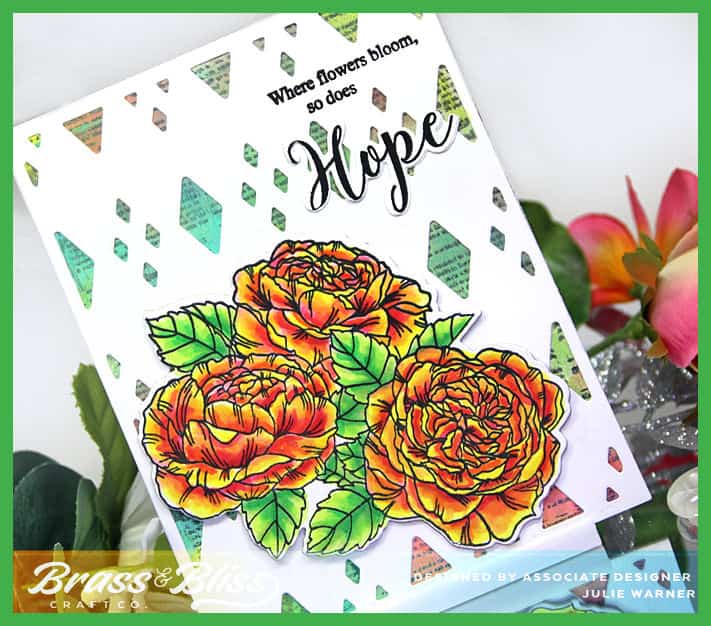
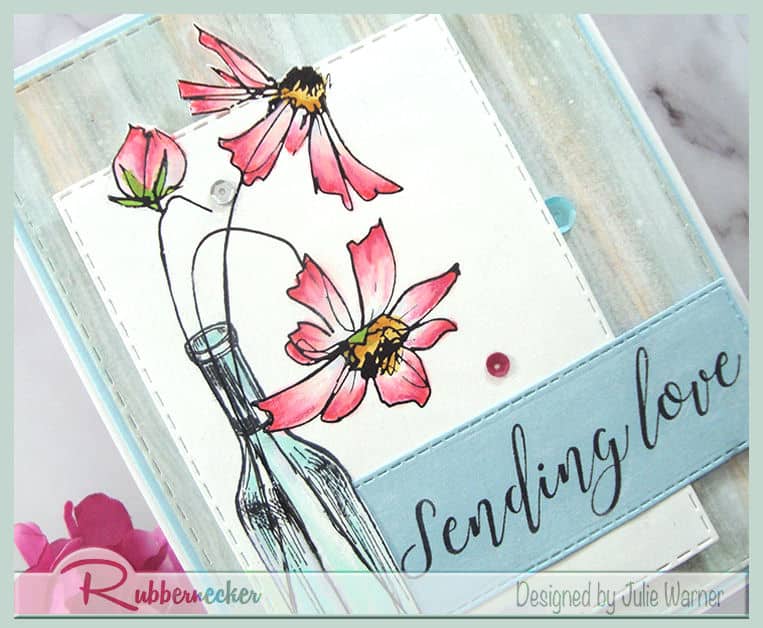
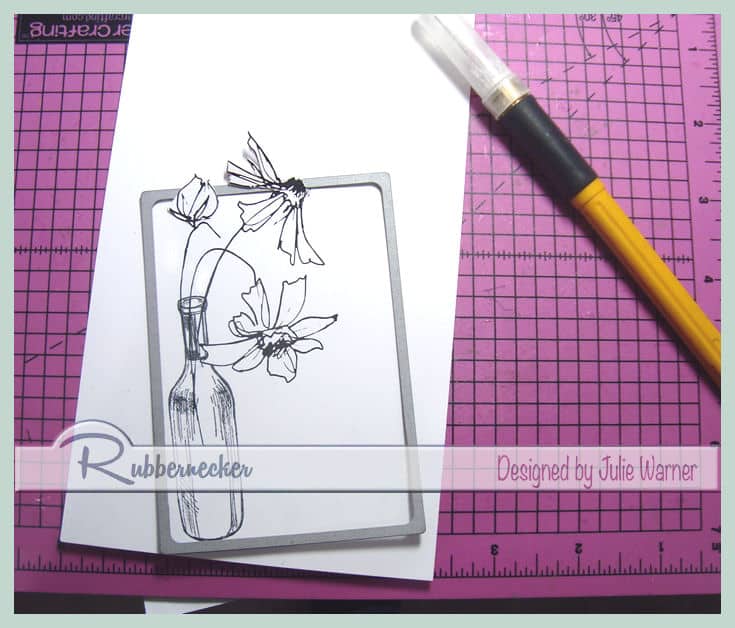
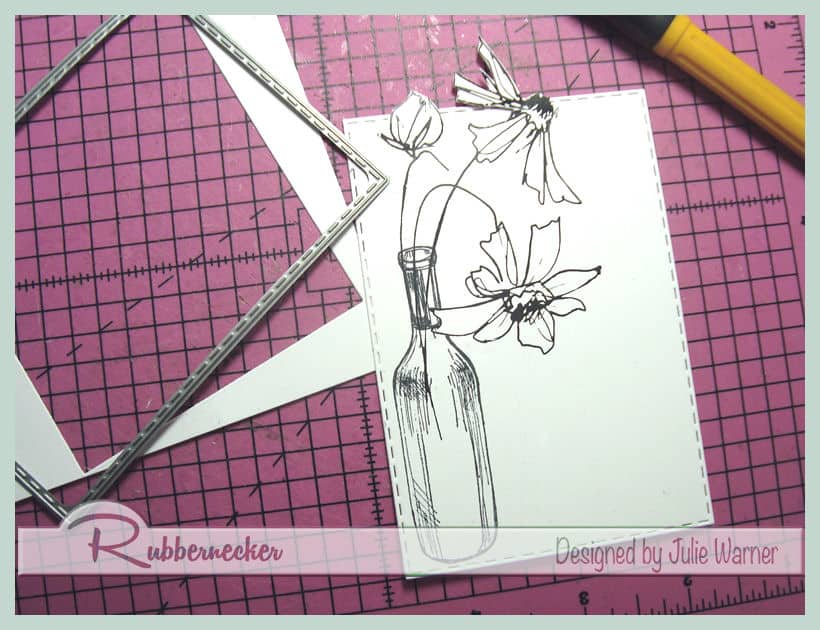
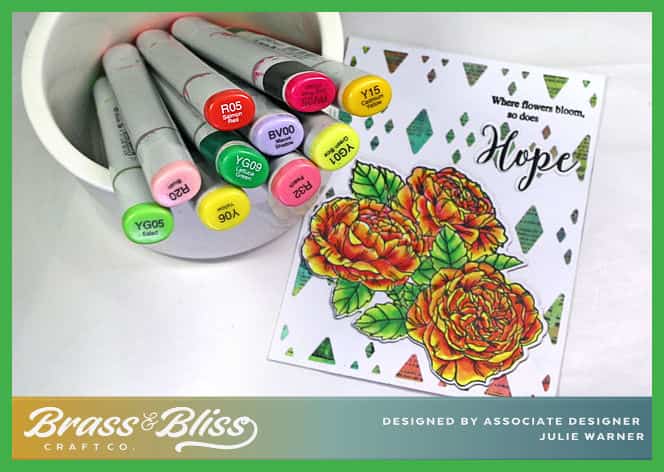
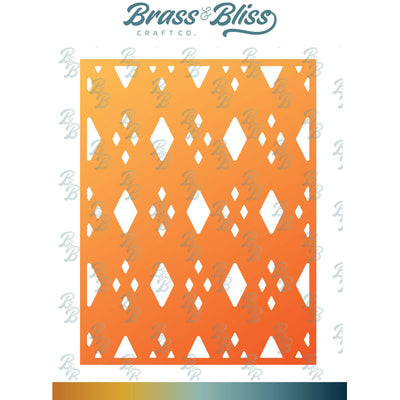
After coloring & die cutting the floral image, I added a cardboard layer under it to give it strength & a little lift. I had a mixed media background in my stash. On its own, it was just a mix of colors made with acrylic paint. I stamped the News Paper Bg over it to add a little something extra & attached it behind the Diamond Cover front. The first part of the greeting is stamped directly on top of it & the die cut Hope added underneath.

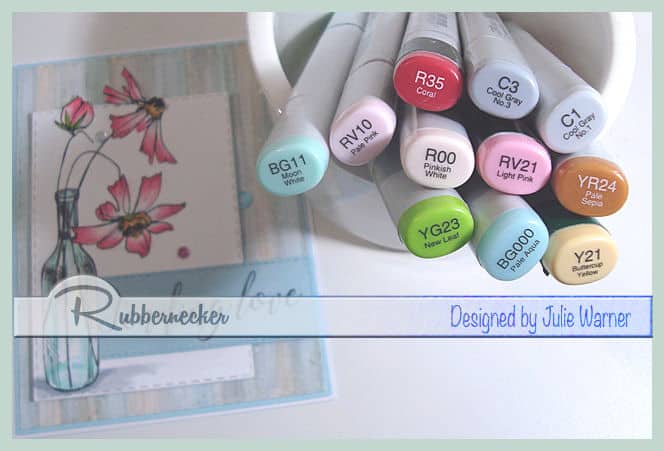
Here are the Copics I used: (the BV00 was used to underpaint the flowers & leaves in the shadow areas).
Thanks so much for stopping by!

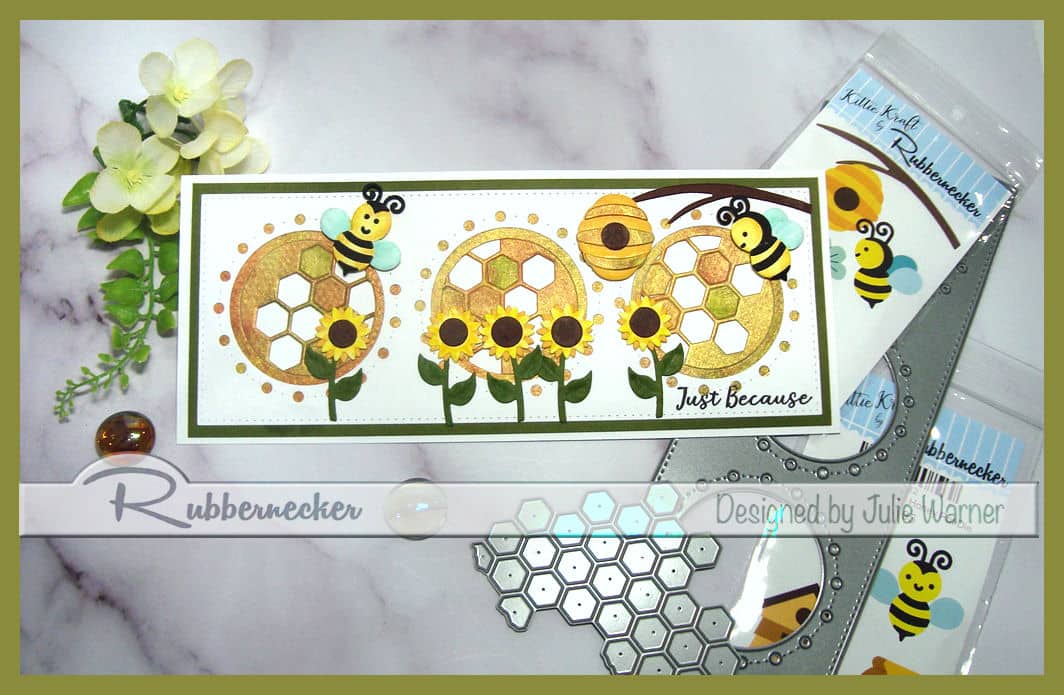
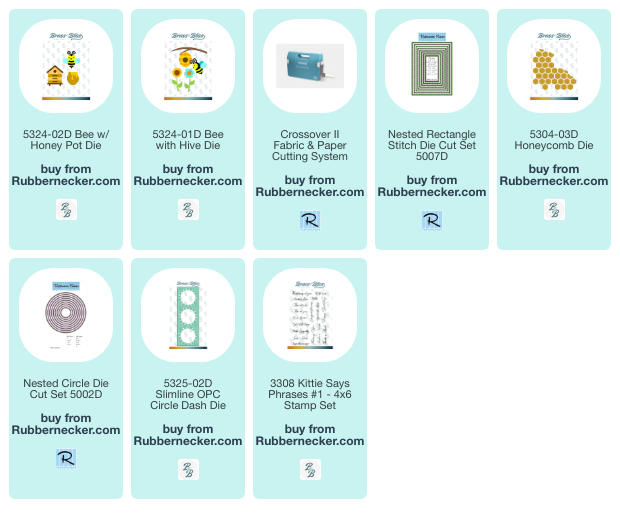
Supplies:
| Stamps: Brass & Bliss: Ruffled Flower Bouquet set, News Paper Bg |
| Paper: Staples 110# white |
| Ink: Memento tuxedo black, |
| Accessories: Brass & Bliss/Rubbernecker Stamps: Offset Diamond Cover, Ruffled Flower Bouquets set dies, MISTI , Copic markers |
|

|

|
|

|

|

|

|

|
You might also like:
![]()
![]()