


Welcome to the July Blog Hop for Serendipity Stamps! If you arrived here from Jenny’s Blog, you are in the right place..if not, you may want to head over there first.
The Prize – One $20 gift code will go to one random commenter from the blogs. So be sure to visit all the blogs because you don’t know which one the winner will be drawn from. You have through Sunday July 24 to leave comments on the blogs for a chance to win. Mary will announce a winner on July 25. The sale this time is Free Shipping on orders $25 and up – USA only. Sale good July 20-24. Each month a different image is 50% off. This month- it’s the Sprinkler! On the third Wednesday of every month., we’ll be celebrating with a Blog Hop! For another chance to win, be sure to play along with our monthly challenge. You can get all the details on the challenge HERE.
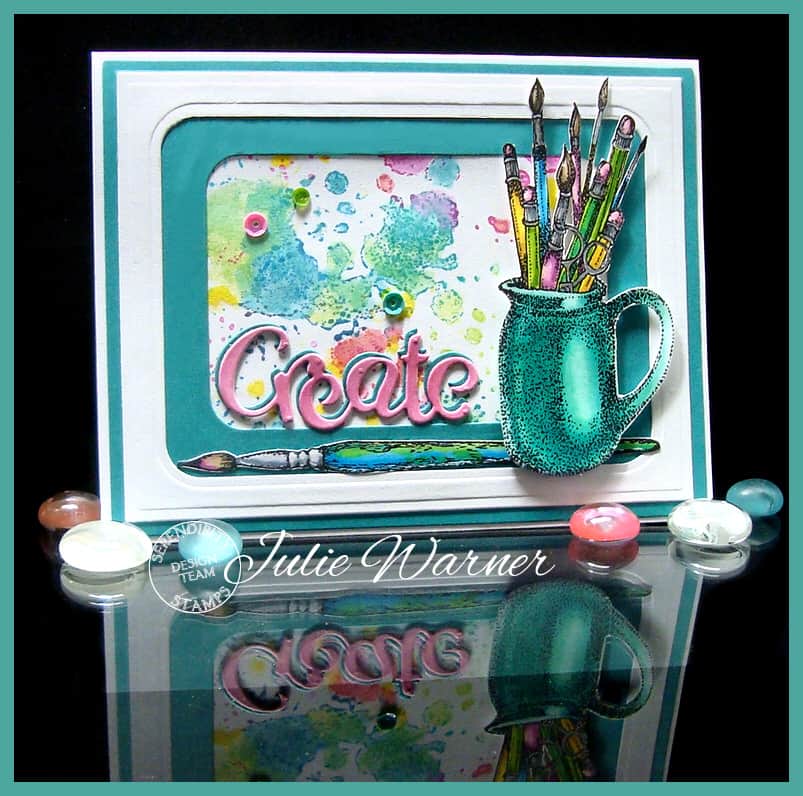
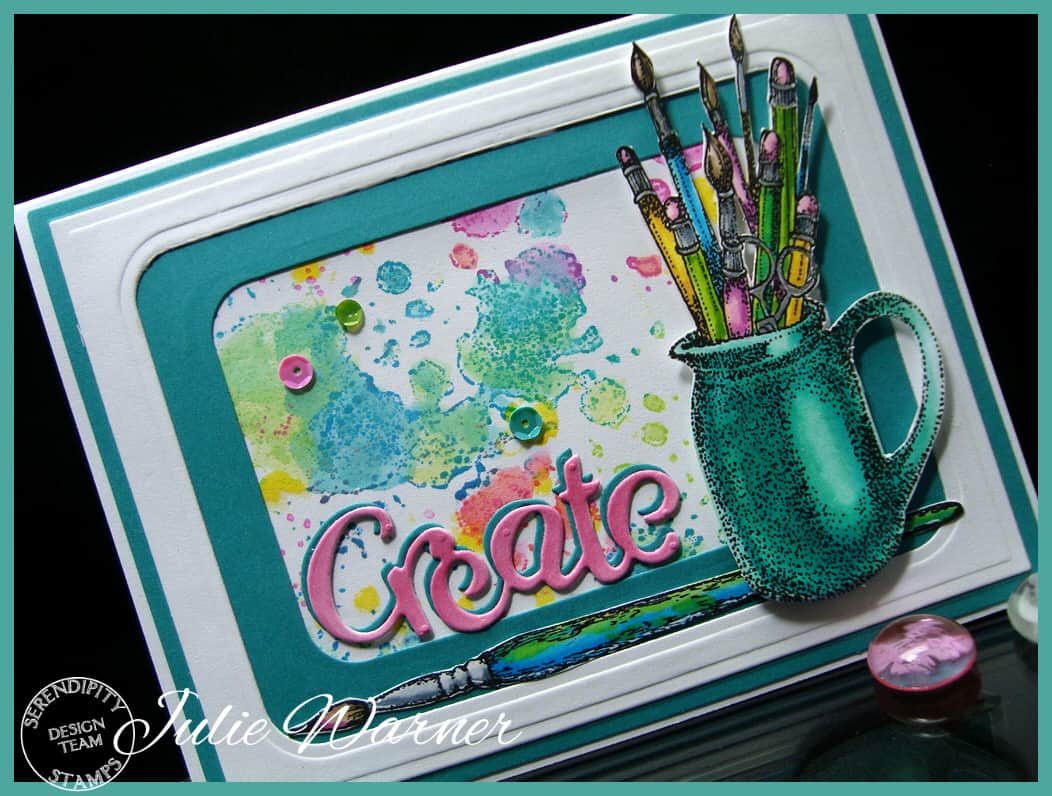
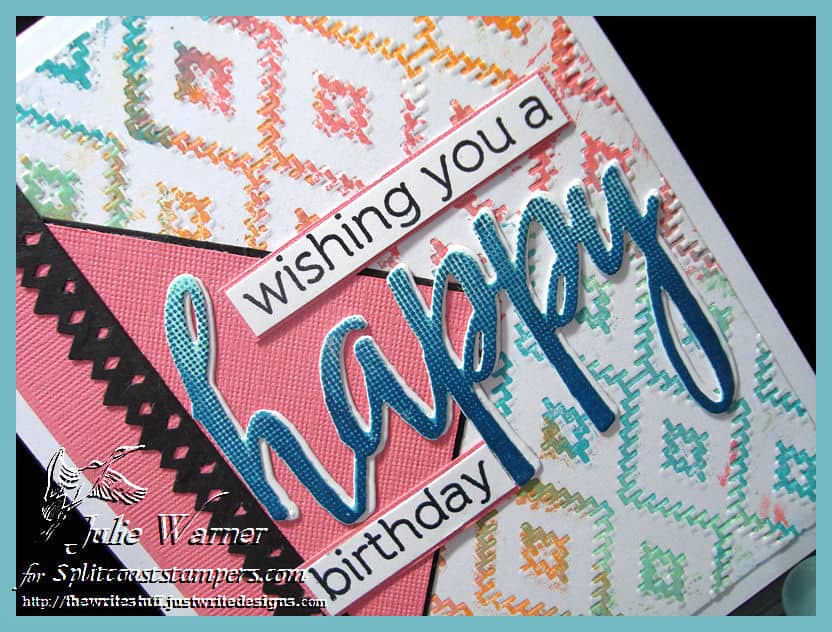
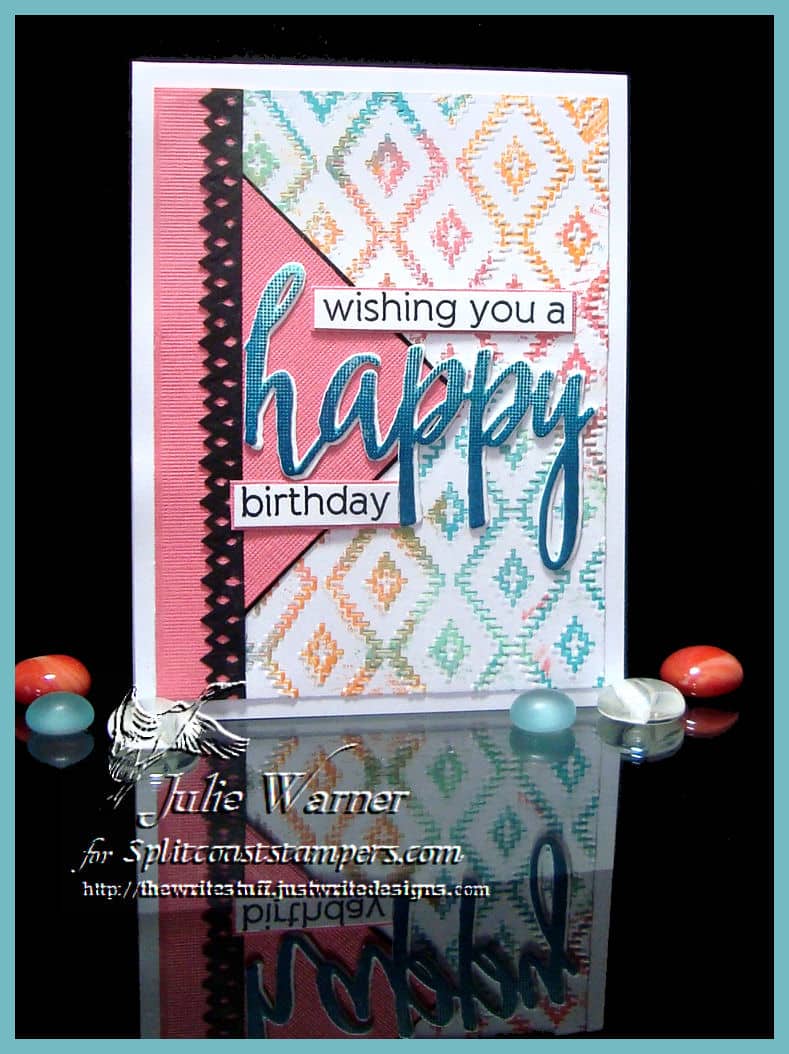
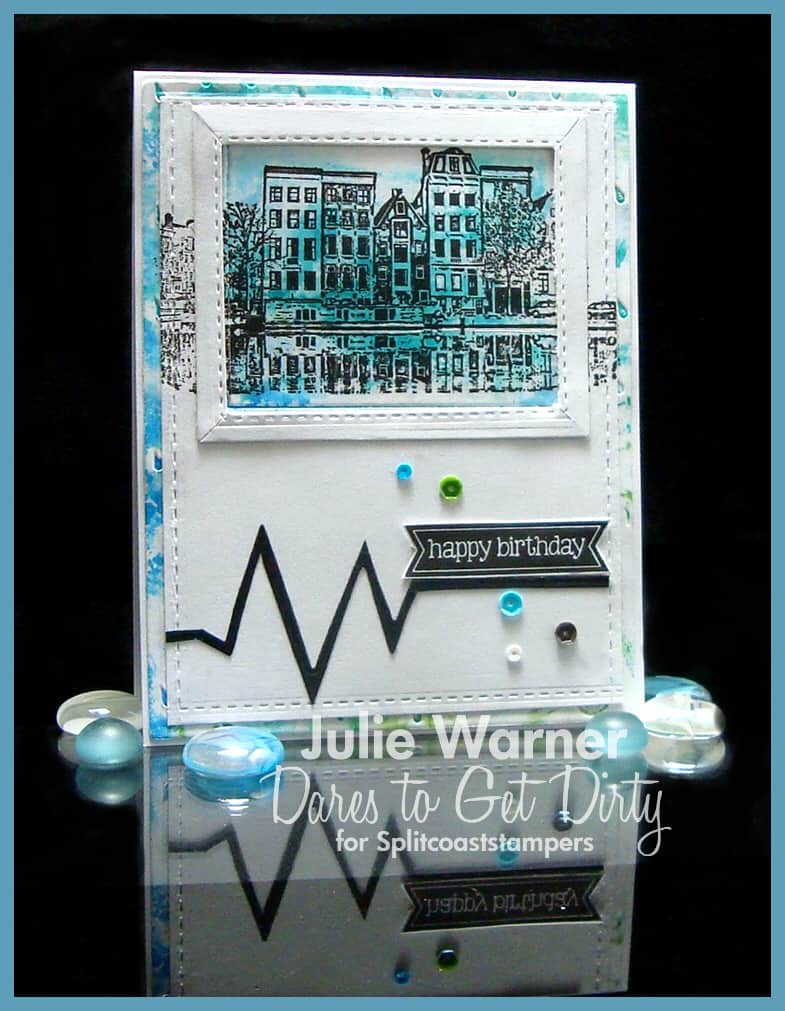
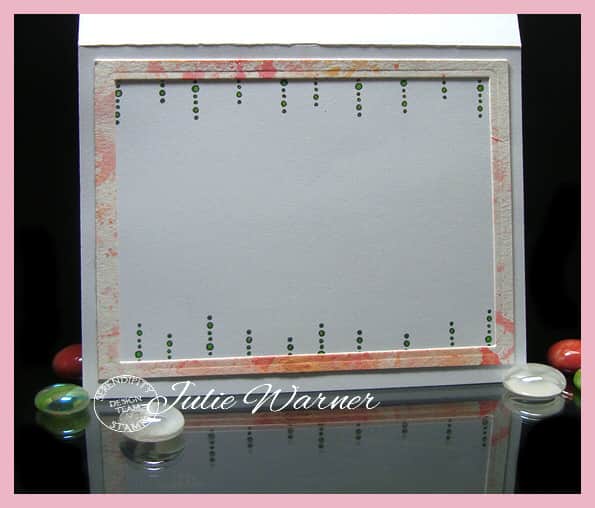
For my Create card, I started w/ a splat embossing folder, inked it w/ the different colors of distress inks, spritzed it w/ a little water, then placed my piece of white card stock inside & pressed. It wasn’t embossed..it’s still flat. (There’s a tutorial for this showing how to do it w/ daubers, but ink pads work great, too.) I wanted just a bit more of the raspberry color, so I used the Ink Spots image to add some here & there. I placed a couple of frames on top of it & added my stacked Create die cut on top. The Mug of Art was stamped, colored w/ Copics & fussy cut along w/ the paintbrush. A few sequins were added for a little sparkle.
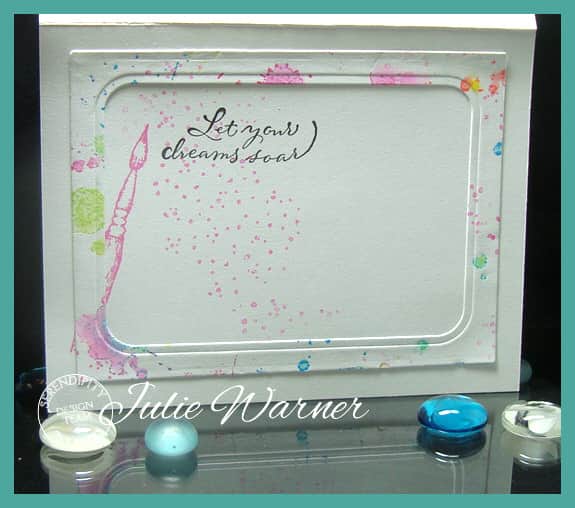
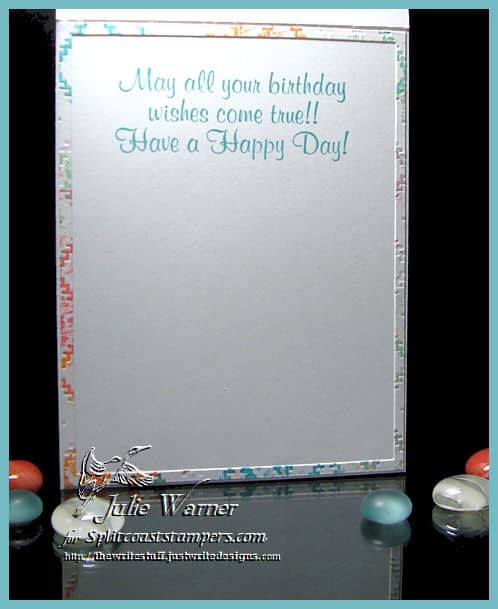
Here’s a look at the inside & below it are the Copics I used.

Supplies:
Stamps: Serendipity Stamps – Mug of Art, Paintbrush, Ink Spots (inside- Let You Dreams Soar)
|
| Paper: Staples #110 white, X-Press It white, teal |
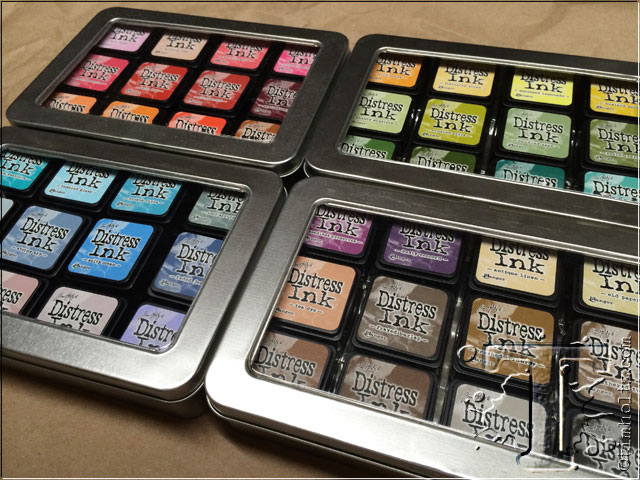
| Ink: Versafine onyx, Distress inks pickled raspberry, peacock feathers, twisted citron, squeezed lemonade, cracked pistachio, salty ocean |
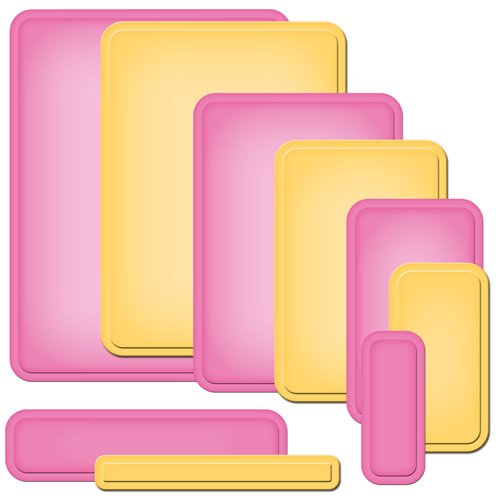
| Accessories: Serendipity Create die, Spellbinders A2 matting basics A & B, curved matting basics A & B, Copic markers, MISTI, sequins, Sizzix splat embossing folder (set 658726) |
Here’s a card I created that also fits the July Challenge – Just Add Water! Please click on the picture & it will take you to all the details on it.
Please be sure to comment on all the DT blogs. It will be much appreciated & will also increase your chances of winning! Now I’ll send you on to Karen’s Blog. Here’s the order in case you get lost.
Mary’s Blog
Jeanne Jachna
Jenny Gropp
Julie Warner (you are here!)
Karen Amidon
Marybeth Lopez
Miriam Napier
Patti Kehl
Carol Mayne
Vickie Zimmer
Thanks so much for stopping by!


