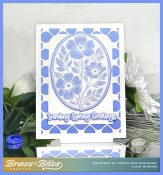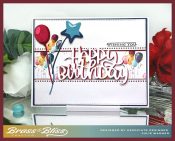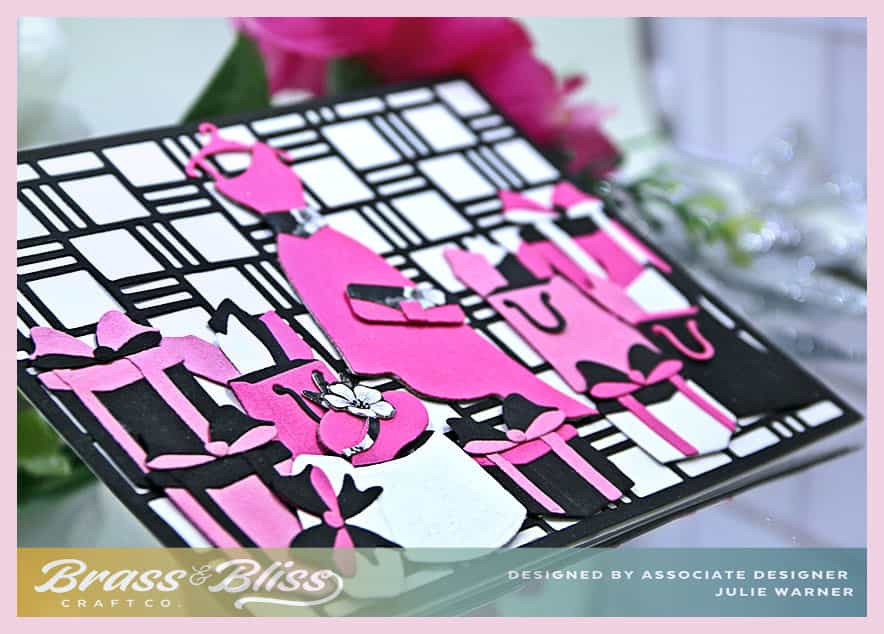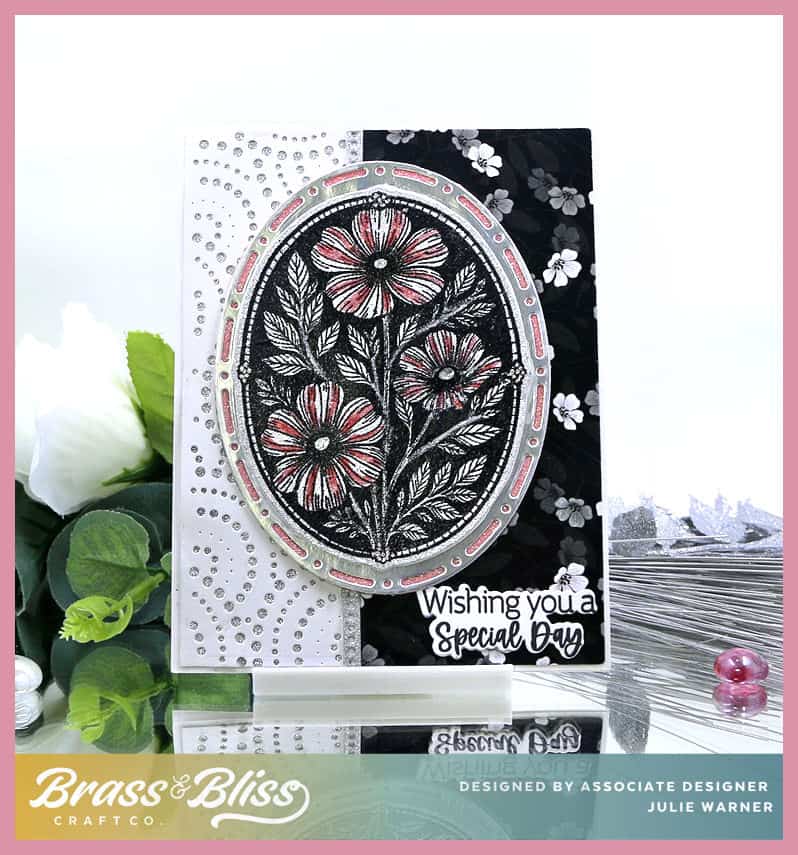

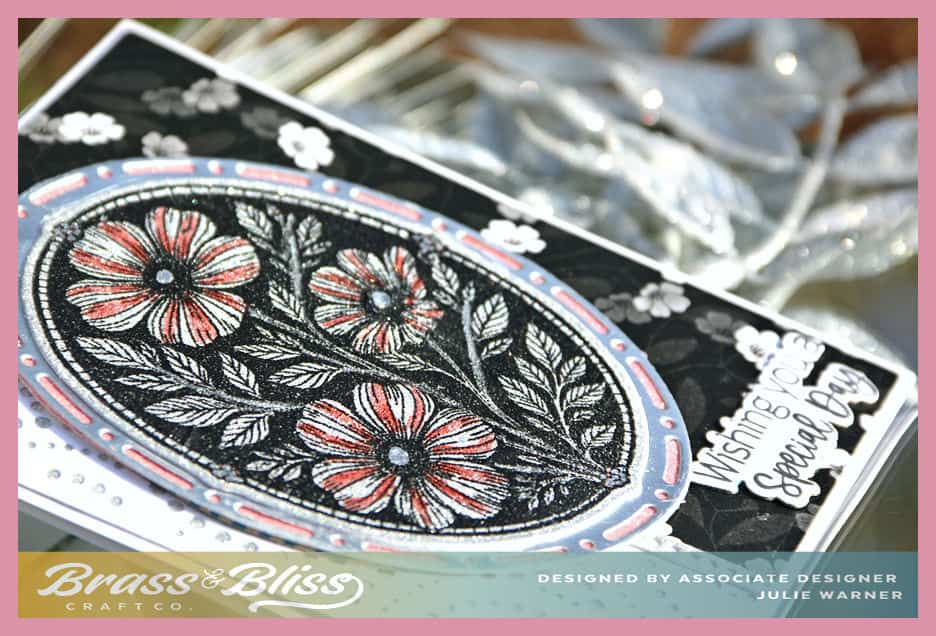
This is a VERY sparkly card I have today. The camera just cannot do it justice. I tried taking a pic or two outside but I live in a forest so the lighting is obstructed by the trees most of the day. The floral oval is such a wonderful image and looks great on a variety of papers or backgrounds, if you don’t want to color. Mine is on sparkly silver glitter paper.
It’s my turn to host the Inspiration Challenge & we are visiting Lamps Plus & their Pinterest Board. I was inspired by THIS mirror.
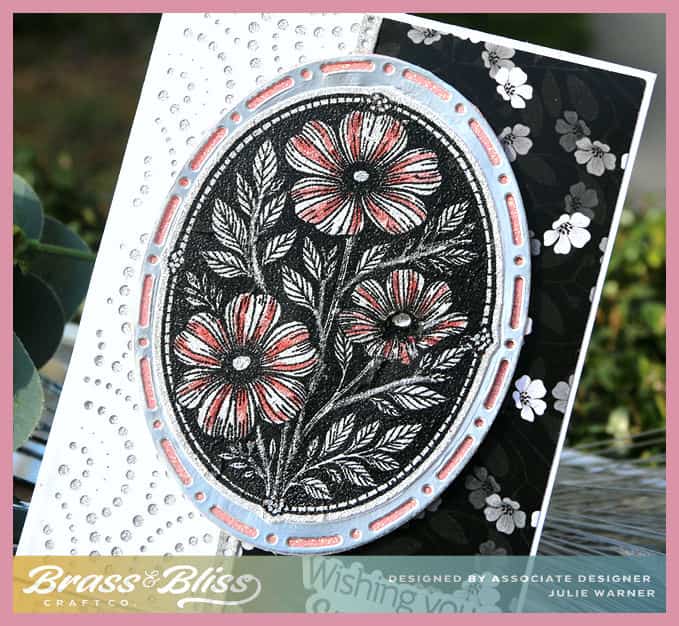
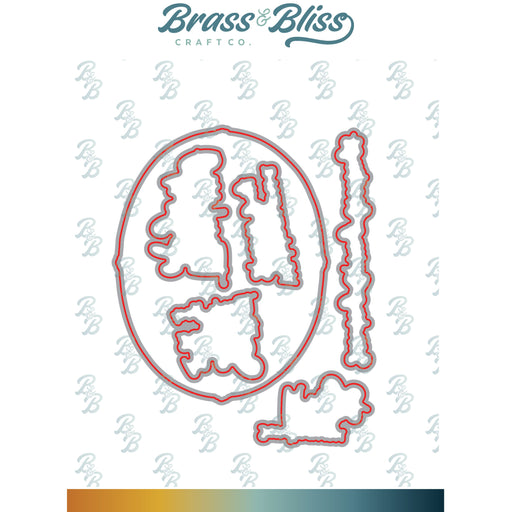
To make my super sparkly card, I stamped the oval multiple times w/ Versclair ink, the black embossed it on smooth, silver glitter paper. After die cutting it w/ its coordinating die, I also die cut metallic silver Dot Dash Oval then backed it w/ peachy pink glitter paper. To tie it together, I used a peachy pink marker to add just a little color to the flowers. The white strip was a die cut cover that I had left over from another project. I backed it w/ the same silver glitter paper I used for the oval. I also cut a narrow strip of this w/ an edge cut die to place over the join between it & the black & white designer paper on the right. The greeting is perfect for birthdays, Mother’s Day, graduation, or any special occasion.
Thanks so much for stopping by!

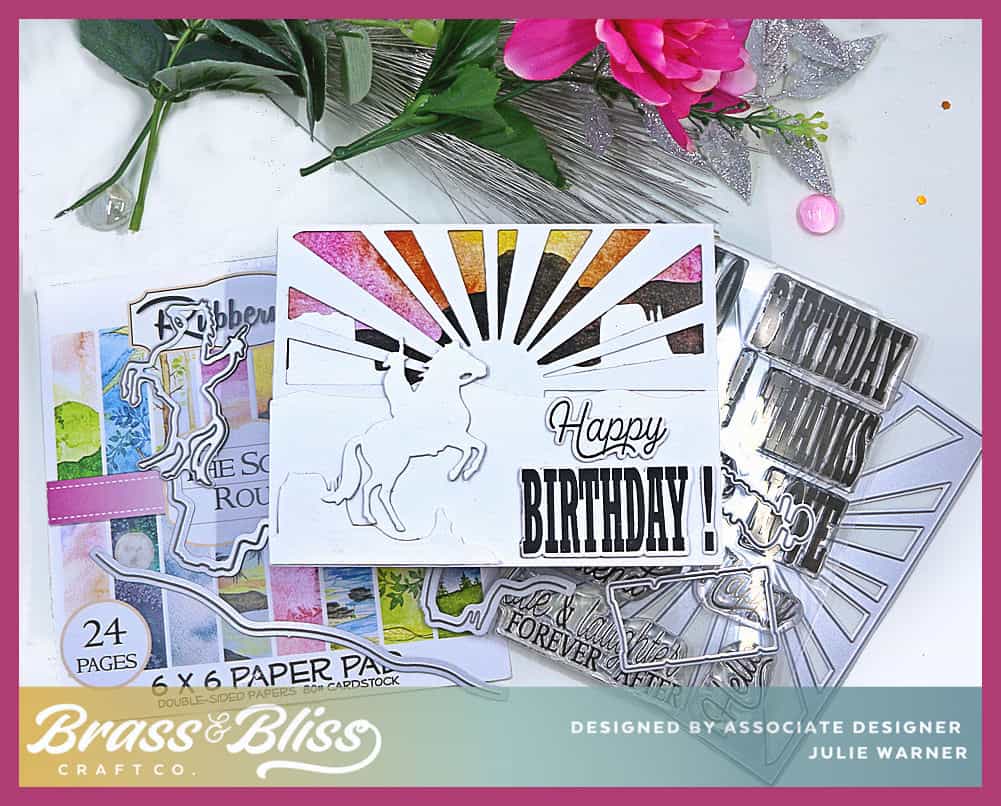
Supplies: (click the names below the pictures to take you to the products)
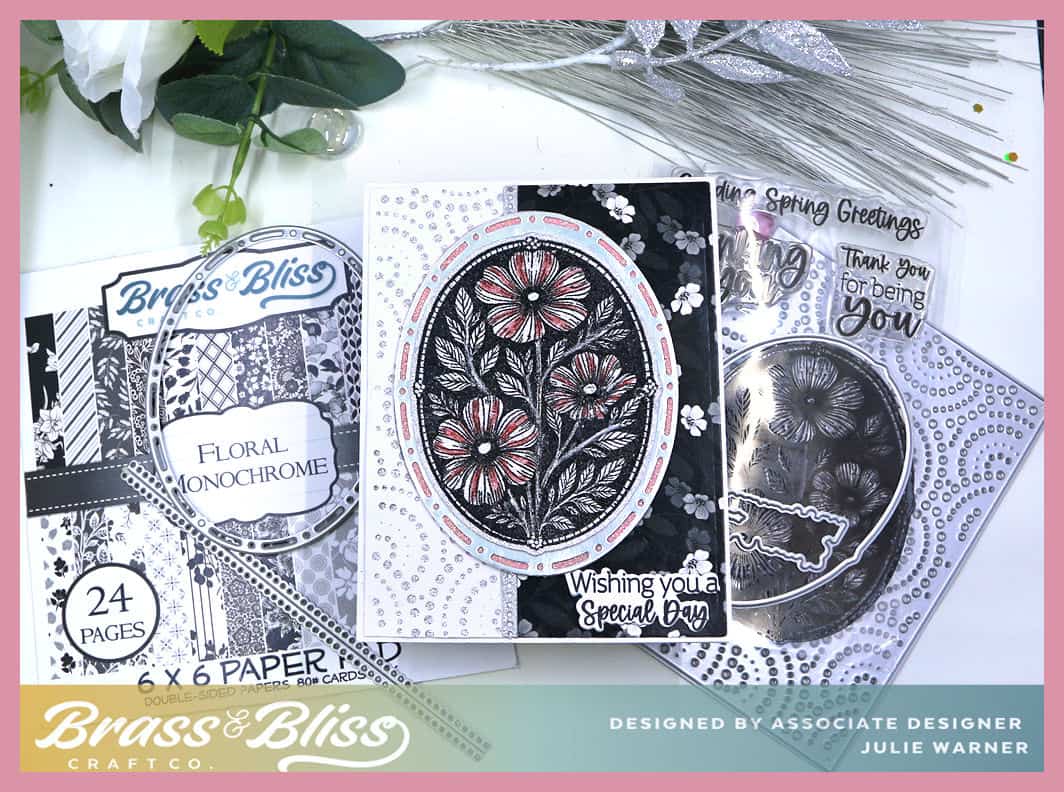
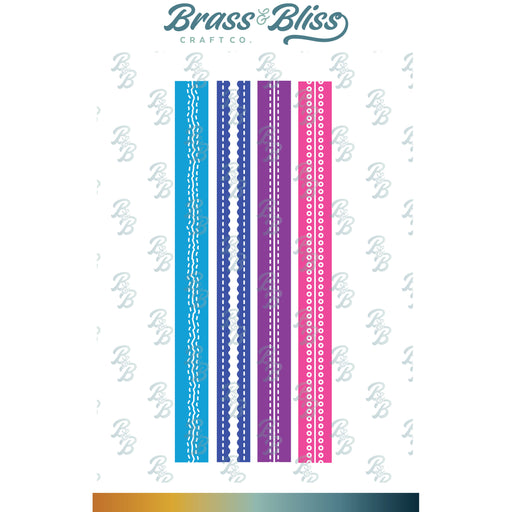
| Stamps: Brass & Bliss: Spring Greetings set |
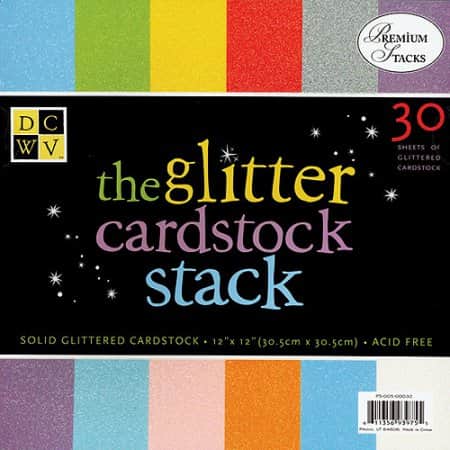
| Paper: Staples 110# white, metallic silver, smooth silver glitter, peach glitter, dp Brass & Bliss: Floral Monochrome paper pad |
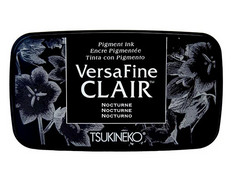
| Ink: Versaclair nocturne |
| Accessories: Brass & Bliss: Spring Greetings, Dot Dash Ovals, Circles Cover, Classic Edge Cut dies, MISTI, black embossing powder |

|
|
|
|

|

|

|

|
|

|

|
|
You might also like: