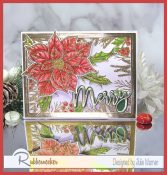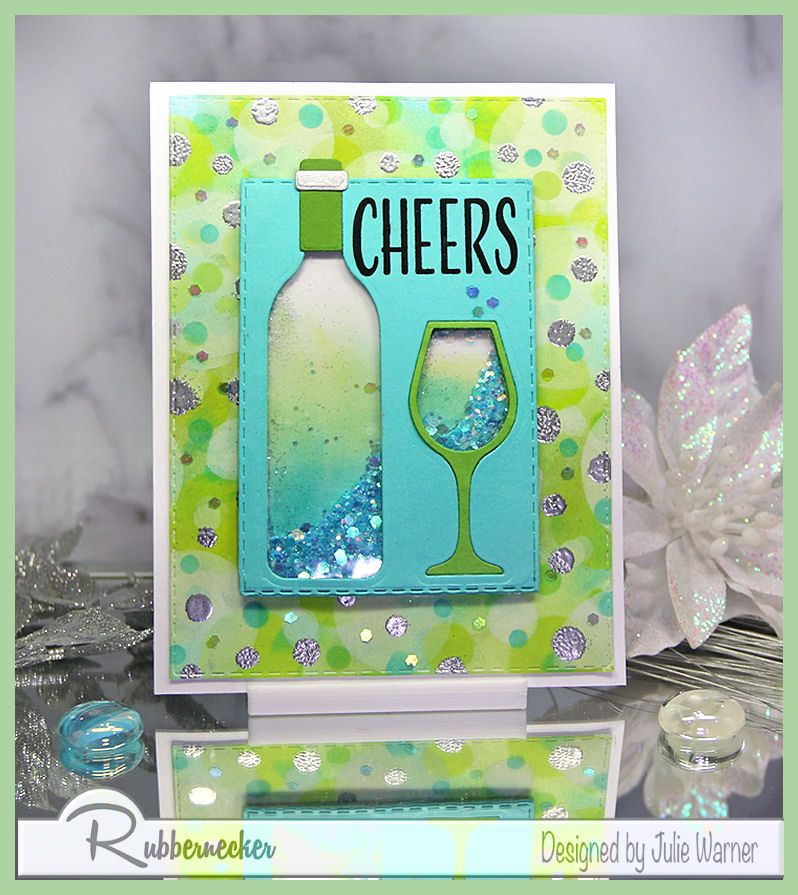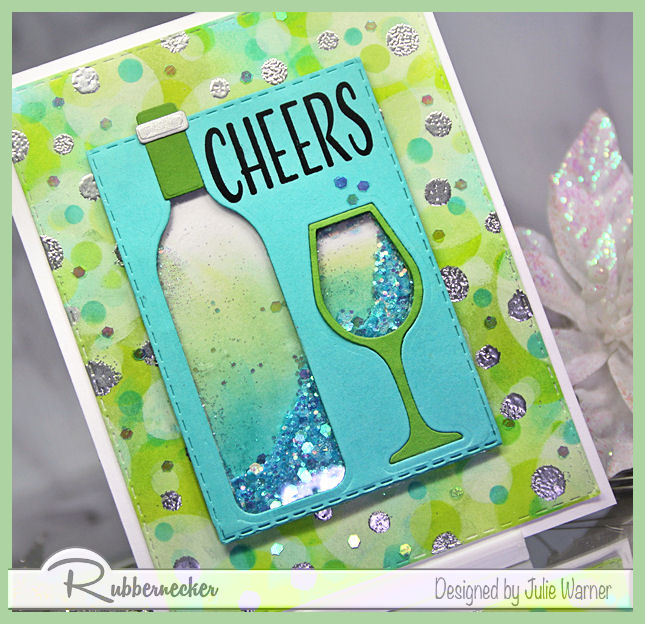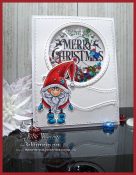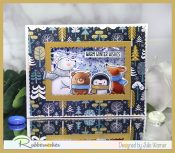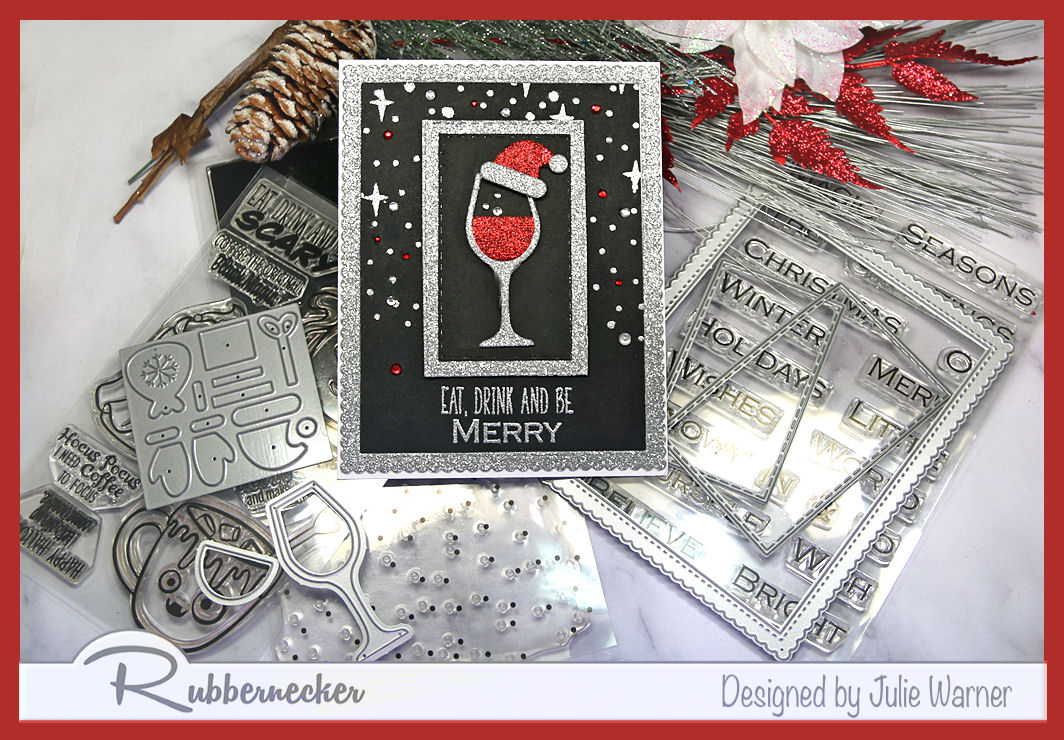
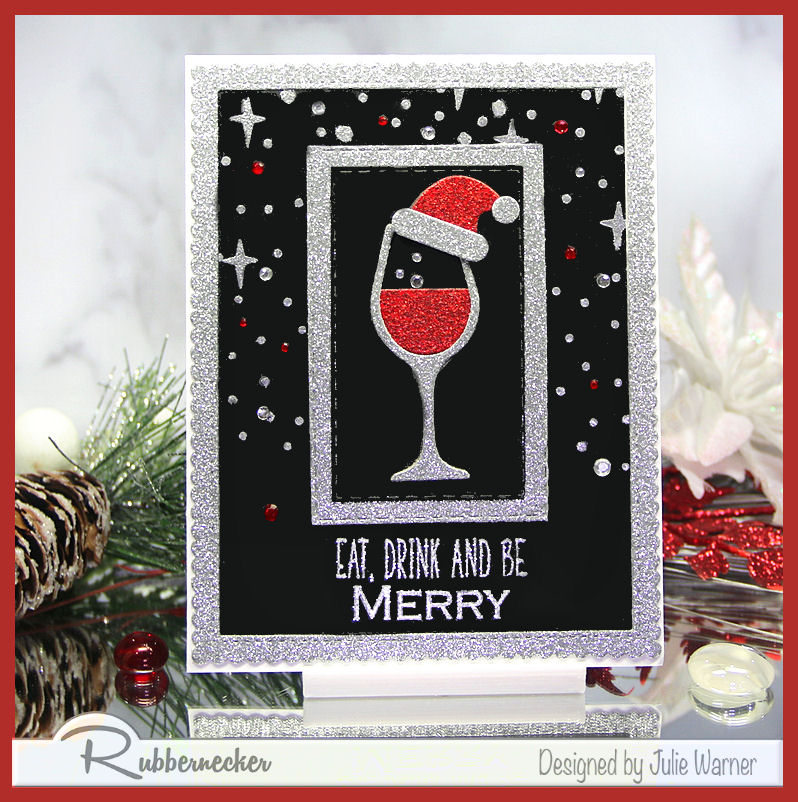
A fun, glittery holiday card with plenty of silver sparkle embossing and glitter paper. So bright and sparkling for a Christmas greeting or a holiday party invite.
For the Inspiration Challenge (IC938) we are visiting PepperLu & their Pinterest Board where I found THIS picture to inspire me.
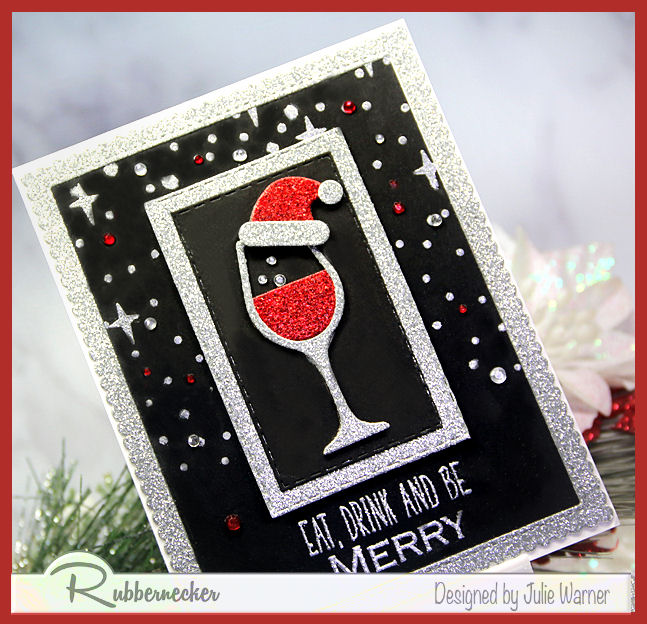
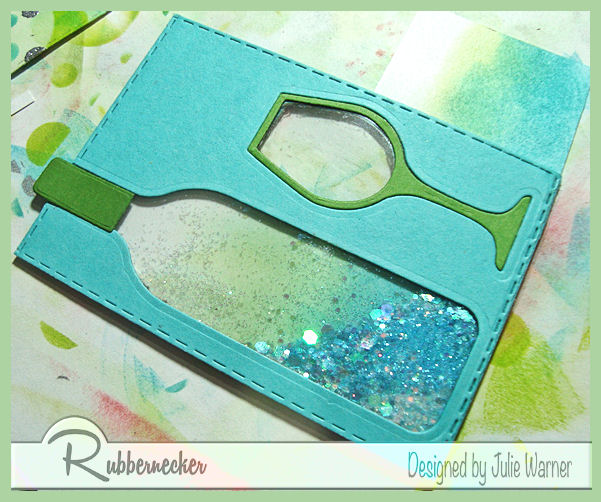
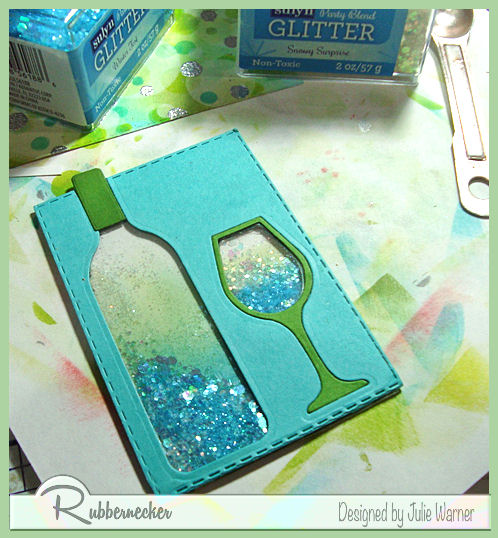
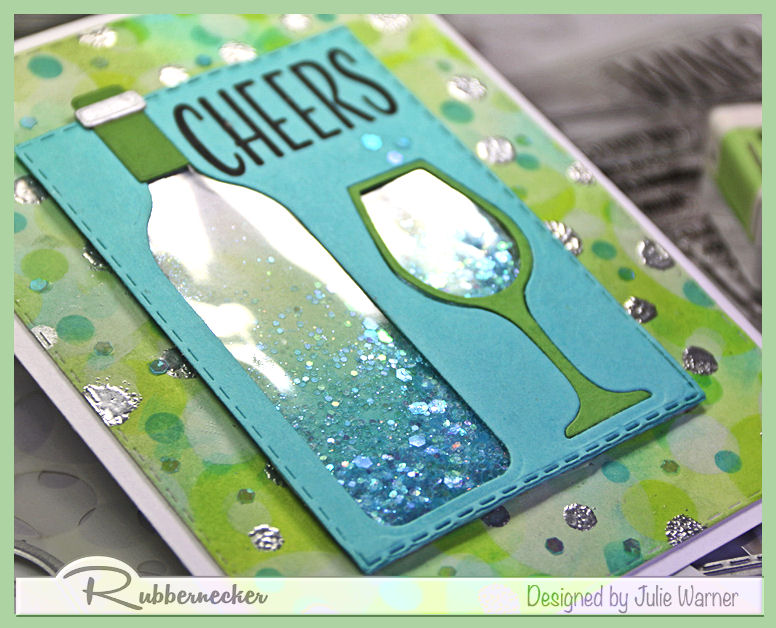
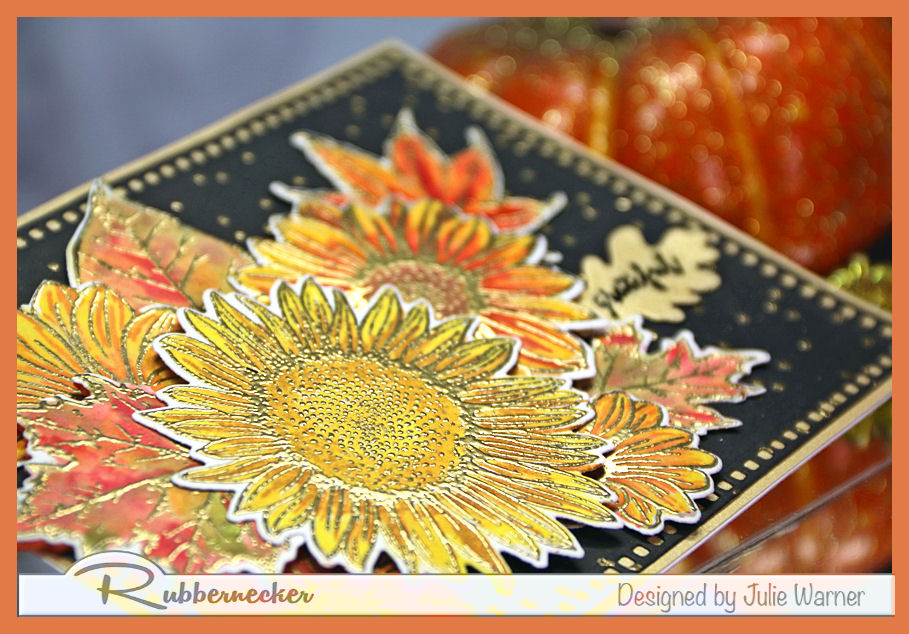
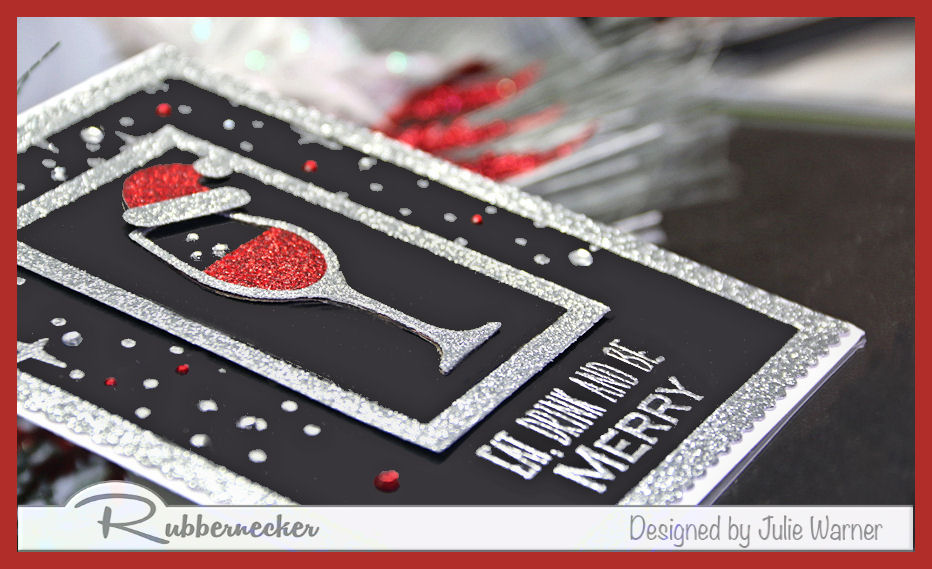
The little boy in the picture became a sparkling wine glass on my card. I die cut it out of silver glitter paper & the wine out of red glitter. The black layers were backed w/ the same silver glitter paper. I used a silver tinsel embossing powder to heat emboss the upper part of the large black panel w/ the stars & dots. The greeting was also embossed w/ the same powder. I put two greetings together, using the first line of one & adding the Merry from another under it. Some red & clear gems were sprinkled throughout the top.
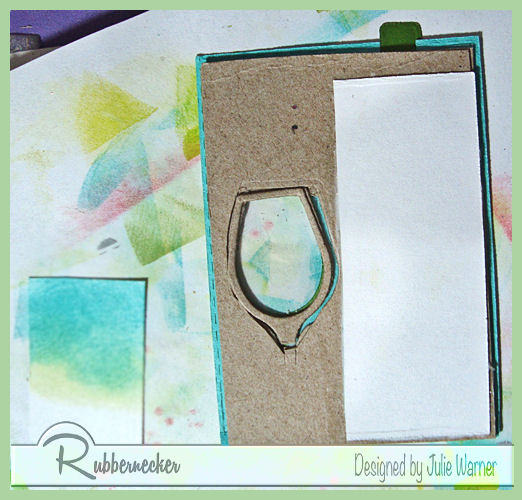
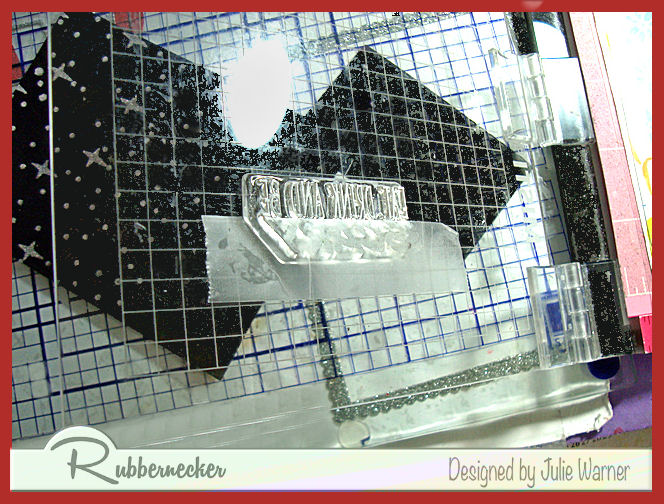
Since the first line of the greeting was from a longer greeting, I masked off the lower section. I’ve been asked how I do this & I took a pic to show you the easiest way I’ve found to do this. After inking the part I want to stamp, I put a strip of scotch tape across the part I want to exclude. I do this because I’ve found no matter how well I think I’ve wiped the ink off that part, it is never quite all, so this just ensures I don’t have any unintended inking.
Thanks so much for stopping by!
![]()
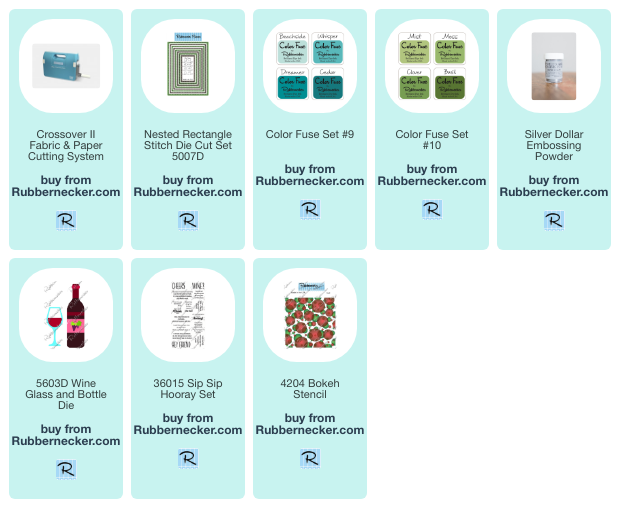
Supplies:
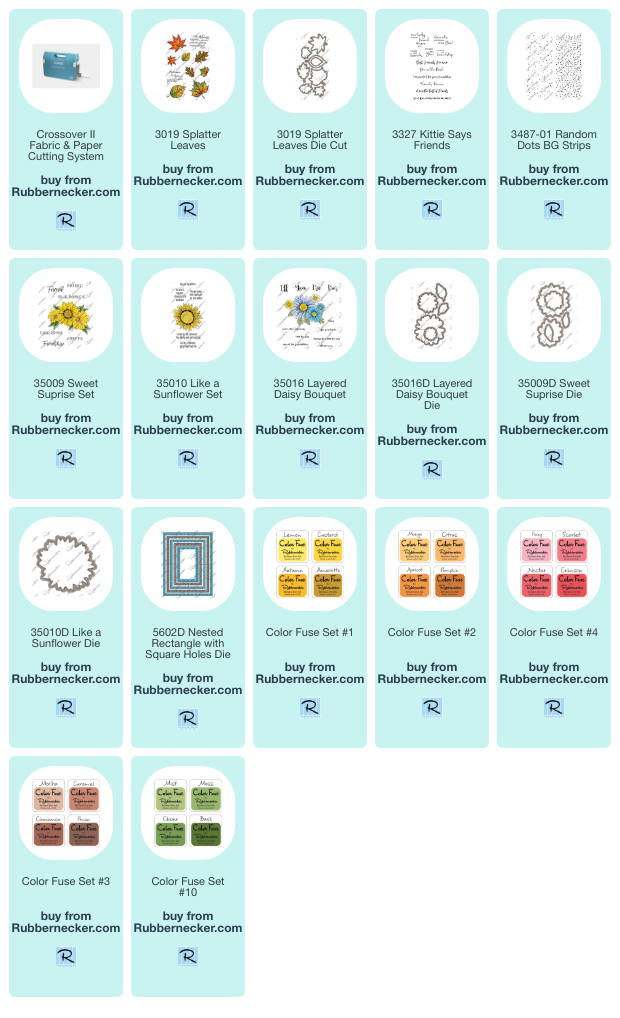
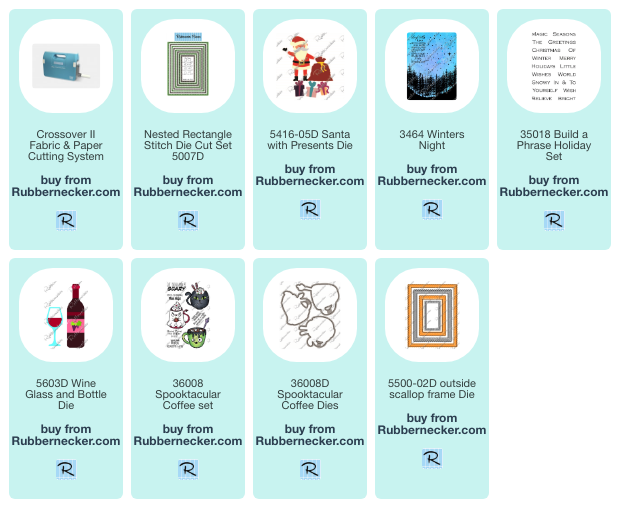
| Stamps: Rubbernecker Stamps: Build a Phrase Holiday set, Winter’s Night (stars & dots), Spooktacular Coffee set (partial greeting) |
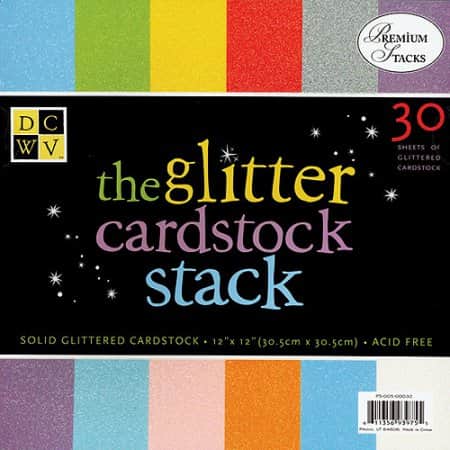
| Paper: Staples 110# white, black, DCWV silver & red glitter |
| Ink: Encore ultimate metallic silver |
| Accessories: Rubbernecker Stamps: Stitched Rectangles, Outside Scallop Frames, Wine Glass & Bottle, Santa w/ Presents (Santa hat) dies, Crossover II, Ranger silver tinsel embossing powder, rhinestones |

|

|

|
|

|

|
You might also like: