

Welcome to the Serendipity Stamps September Blog Hop! We are showing off some beautiful new fall leaf images & dies! If you arrived here from Jenny’s Blog, you are in the right place..if not, you may want to go to Mary’s Blog and start from the beginning.
Prizes:
You have until 9-15 to leave a comment. Mary will announce the winner on her blog on 9-16
The Prize? A $20 gift code off their next order. You also have a second chance to win – Like us on Facebook and Share. Facebook winner will also receive $20 off their next order.
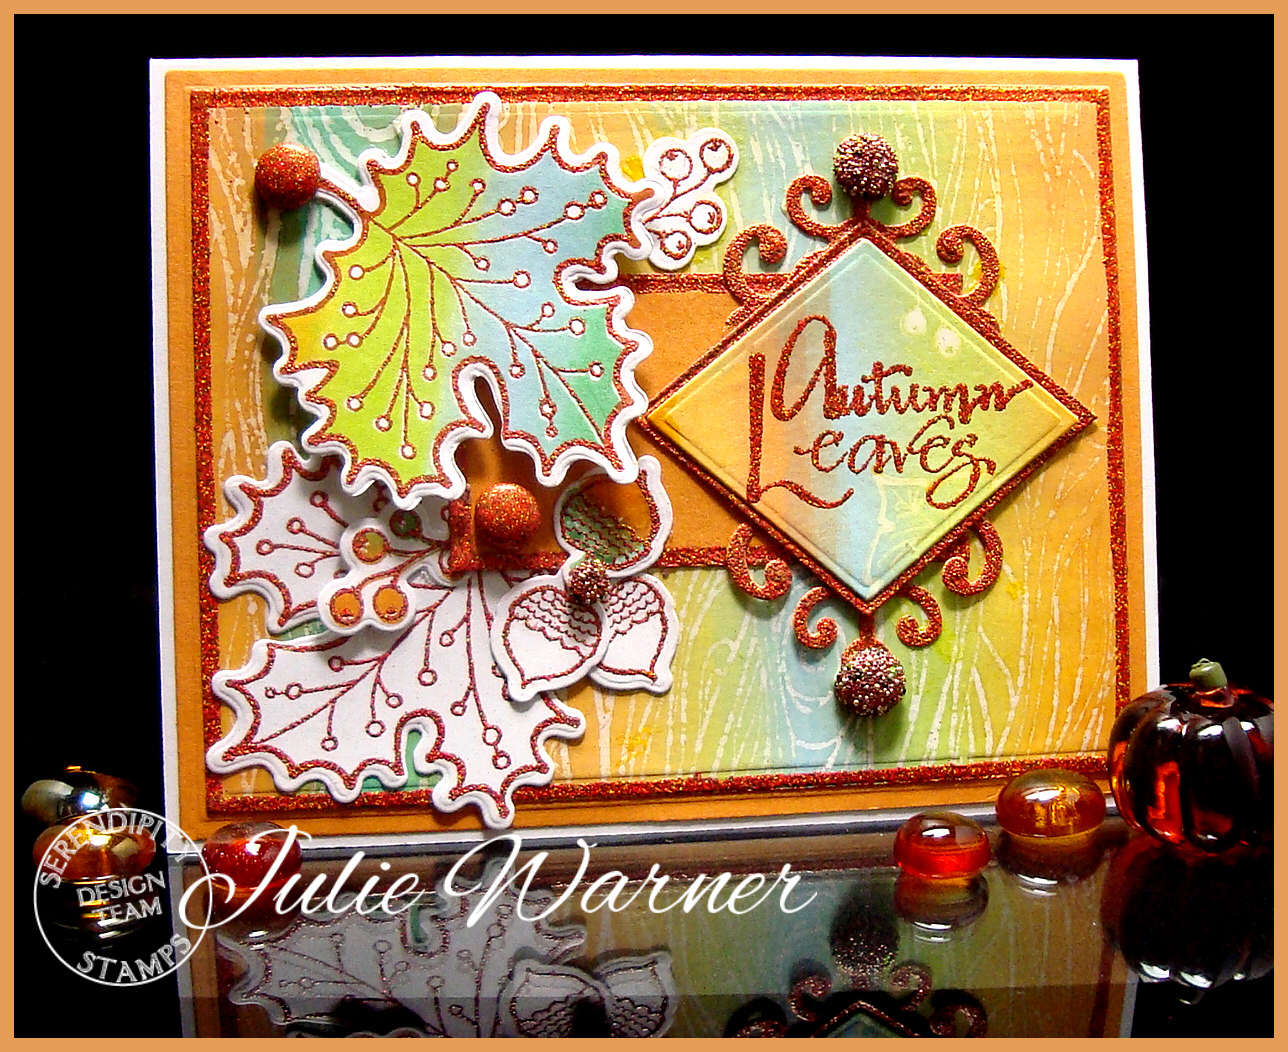
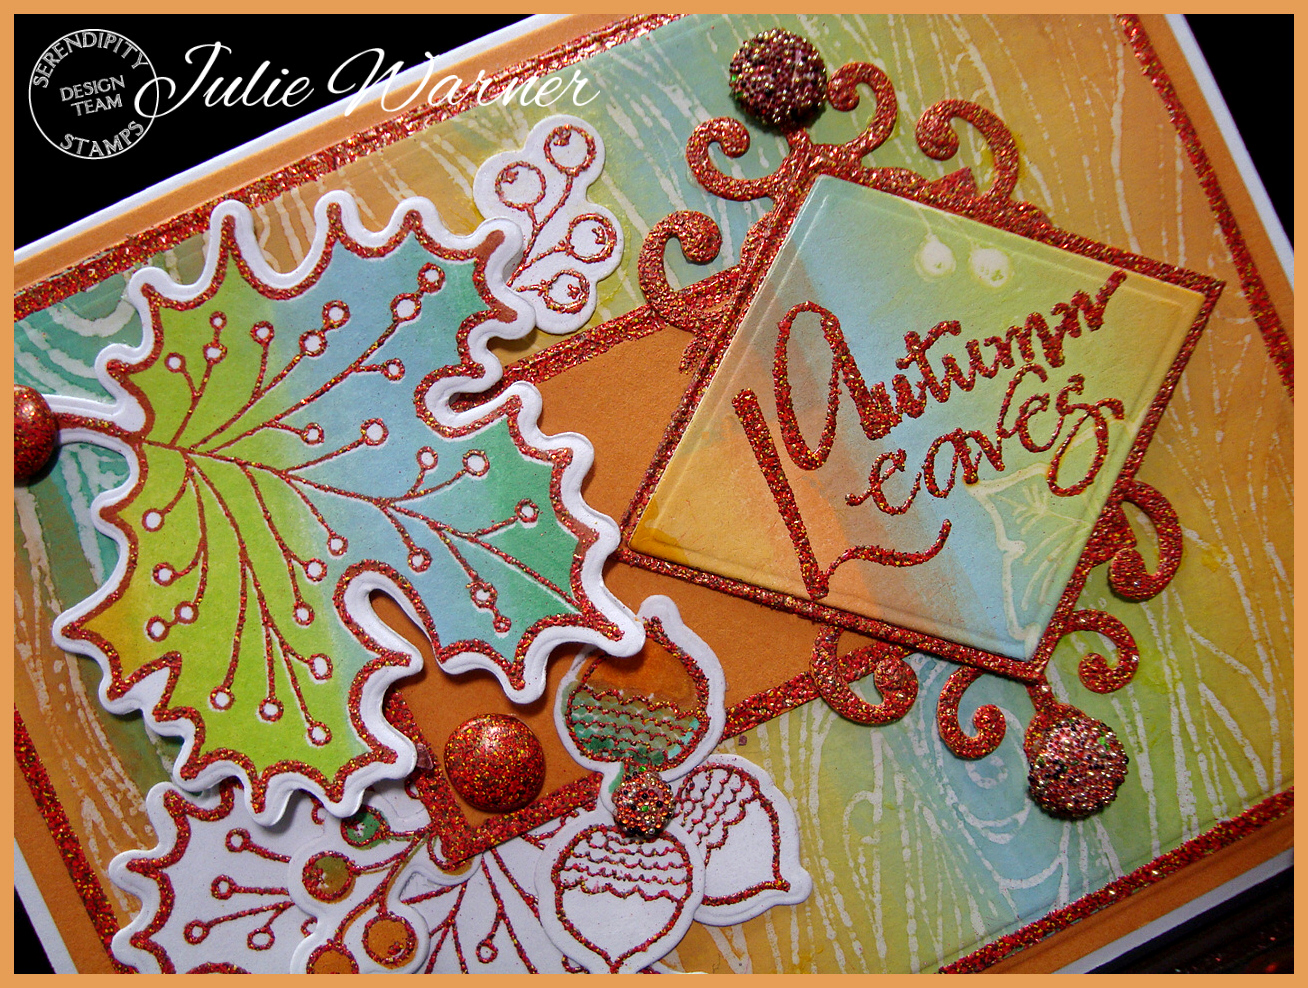
For my Autumn Leaves card, I started with some coated card stock I’ve had for ages..it’s actually the backside of some Kromekote & it’s glossy on the other side, clay coated on this side. I’m pretty sure it’s been discontinued so I’m using some I’ve been hoarding. This side is very soft, smooth & absorbent so it really soaked up the ink & the color is not as saturated as it was when I first brayered it. Before I brayered it, I stamped the wood background image using resist ink, then used a brayer & rainbow ink pad to brayer over it. The greeting was stamped & heat embossed on a section I stamped some of the leaves with resist ink & brayered as before. It was die cut w/ a diamond shape and the backing layer edges as well as the lg background layer edges were embossed with the same powder.
The leaves & acorns were embossed, die cut and on one of each, I stamped the solid leaf/acorn versions using the same ink. For accents, I also inked some brads & embossed them each 3 times by dipping them back in the powder while still hot. On the 2 left brads, I dipped them in a micro bead/glitter mix while the embossing powder was still hot. I snipped off the brad prongs & glued them on because I didn’t want the prongs to make the card stock bumpy underneath.
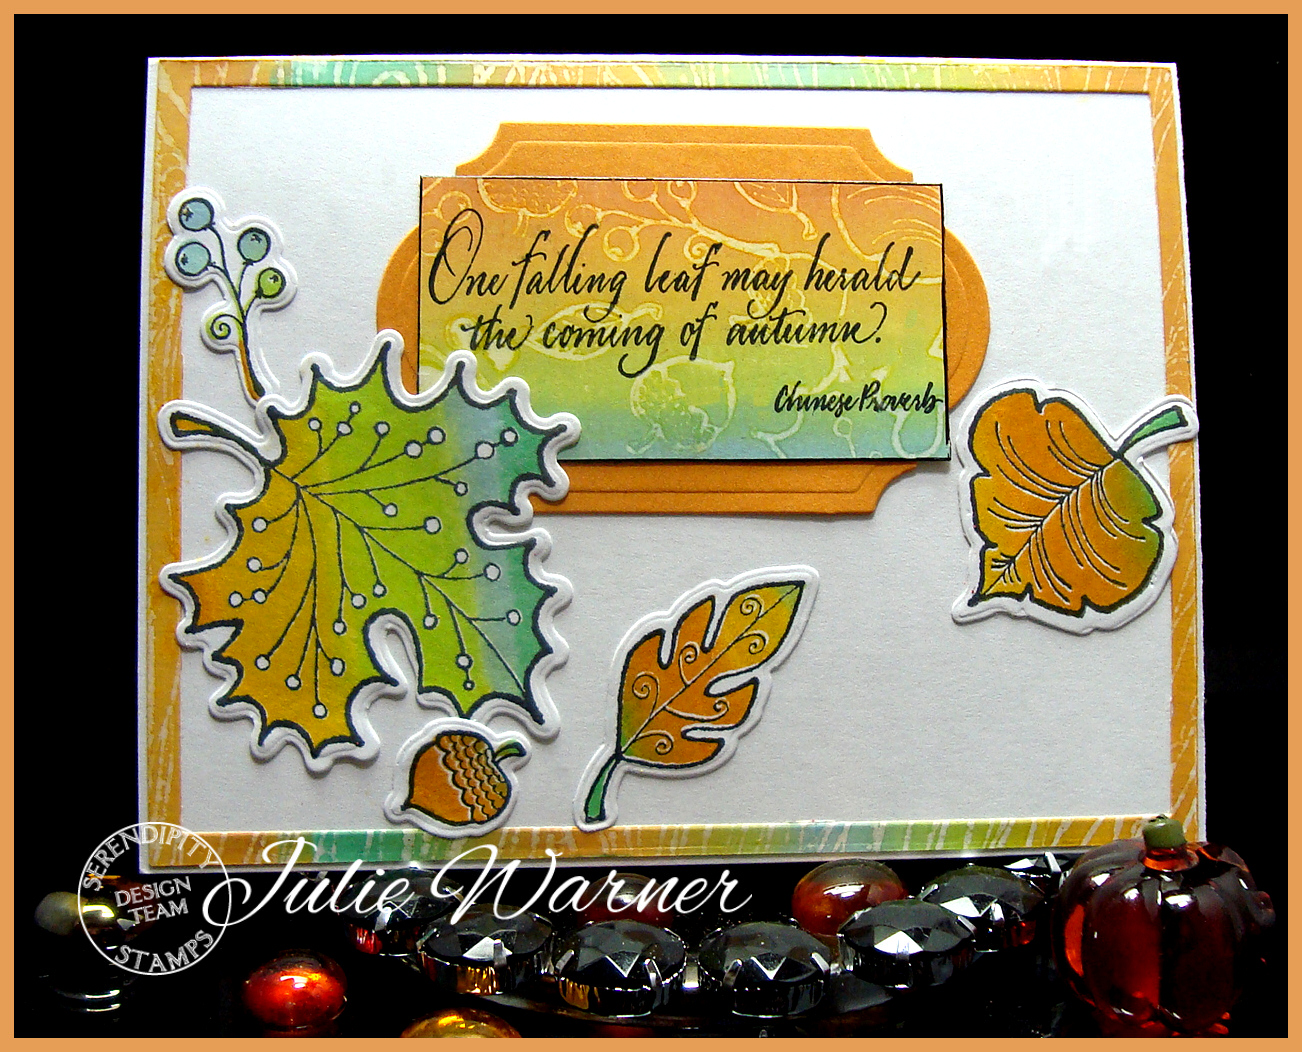
On the inside, I used the narrow left over frame from the front background and some leaves I didn’t use for the front.The greeting was stamped on more of the same background as the front greeting. The finished card is 5.50 x 4.25.
Now I’ll send you on to Karen’s Blog.
If you get lost, here is the blog hop order:
- Mary’s Blog
- Jenny Gropp
- Julie Warner
- Karen Amidon
- Marybeth Lopez
- Miriam Napier
- Vickie Zimmer
- Jeanne Jachna
Thanks so much for stopping by!

Supplies:
| Stamps: Serendipity Stamps – Leaf Pops 1323QCL, Leaf Pops Negatives 1329QCL, Wood Bg 1320BK, One Falling Leaf 384D, Autumn 582CL, Leaves 581K |
| Paper: white, Kromekote white, goldenrod |
| Ink: Ranger clear resist ink, Encore ultimate metallic bronze ink, Kaliedacolor Tahiti rainbow ink pad, Memento tuxedo black |
| Accessories: Serendipity Leaf Pops dies 004OPD, Spellbinders A2 matting basics A & B, classic diamonds & Ironworks accents dies, brads, desert sunset embossing powder, autumn festival sparklers (Art Accentz), Versamark pen (for embossed edges), dimension silicone |


