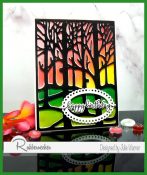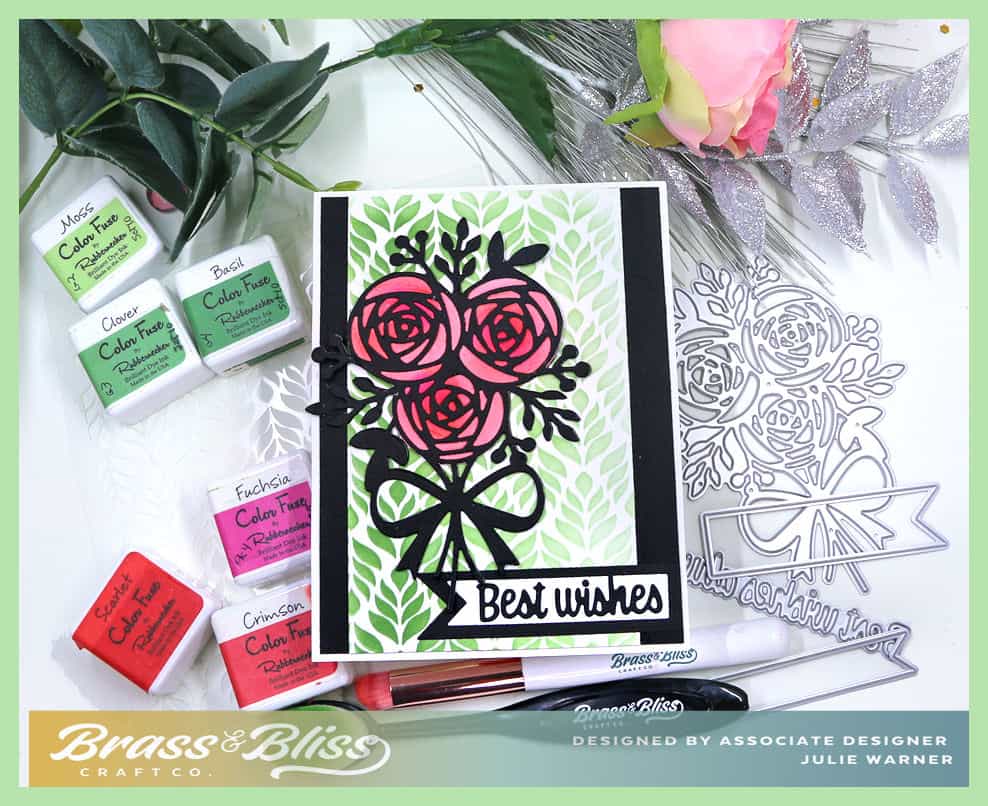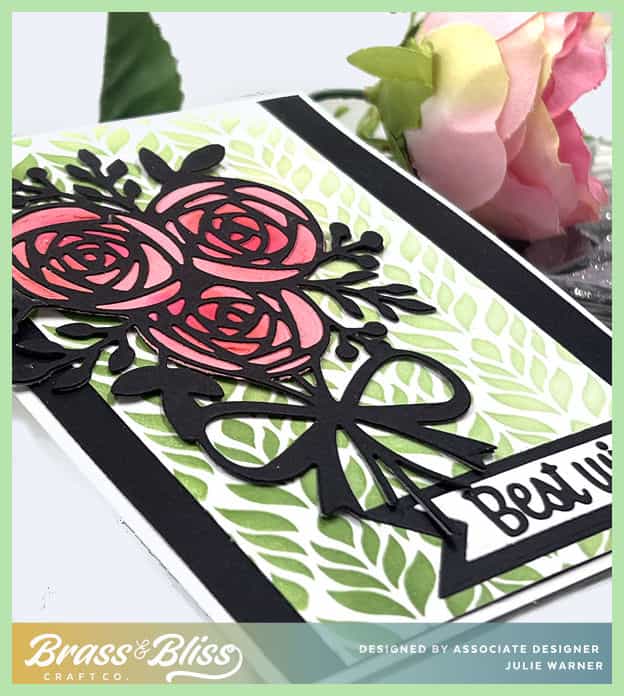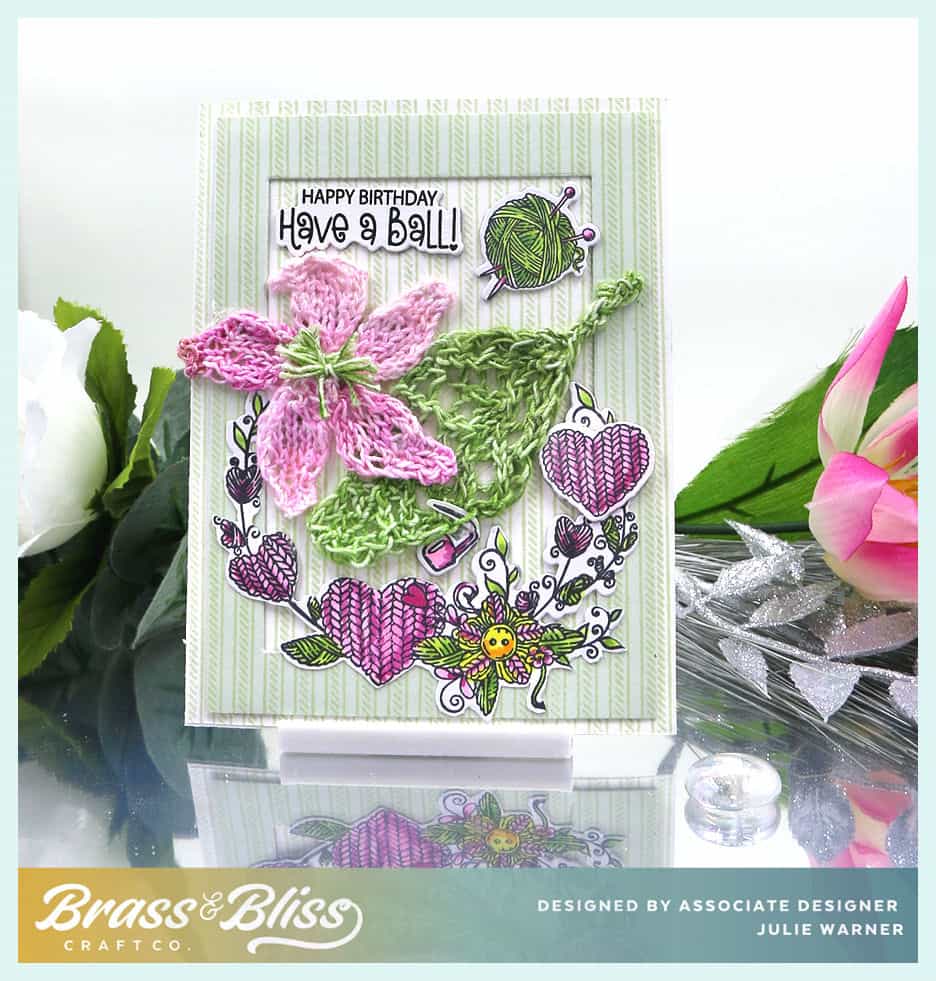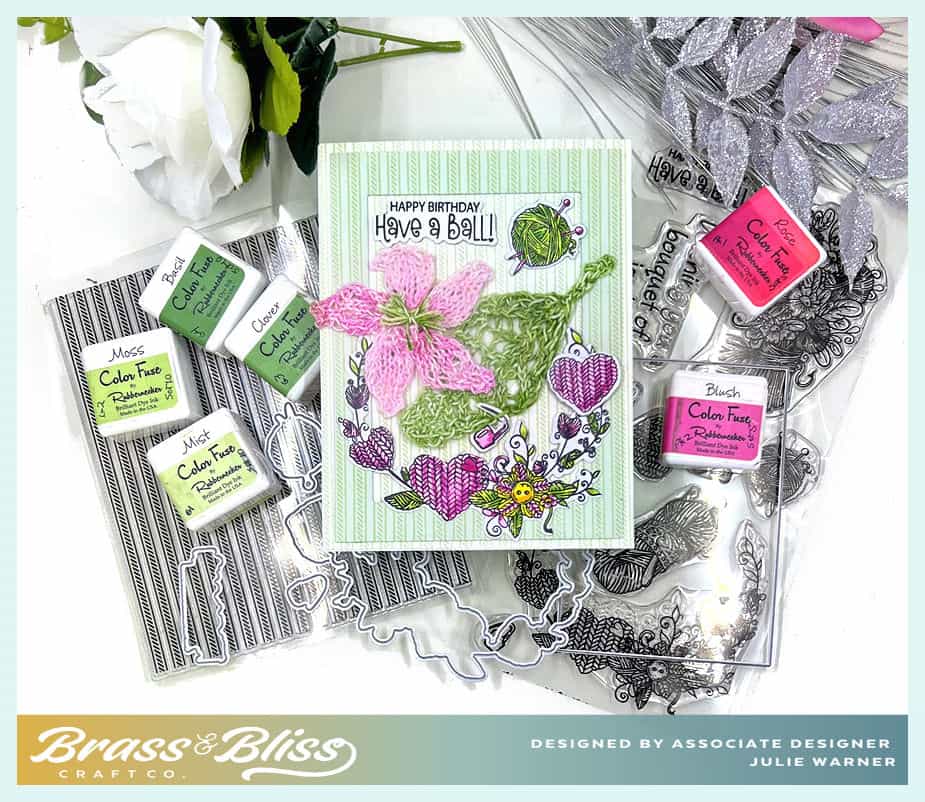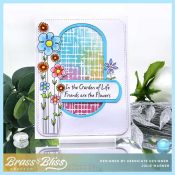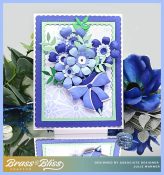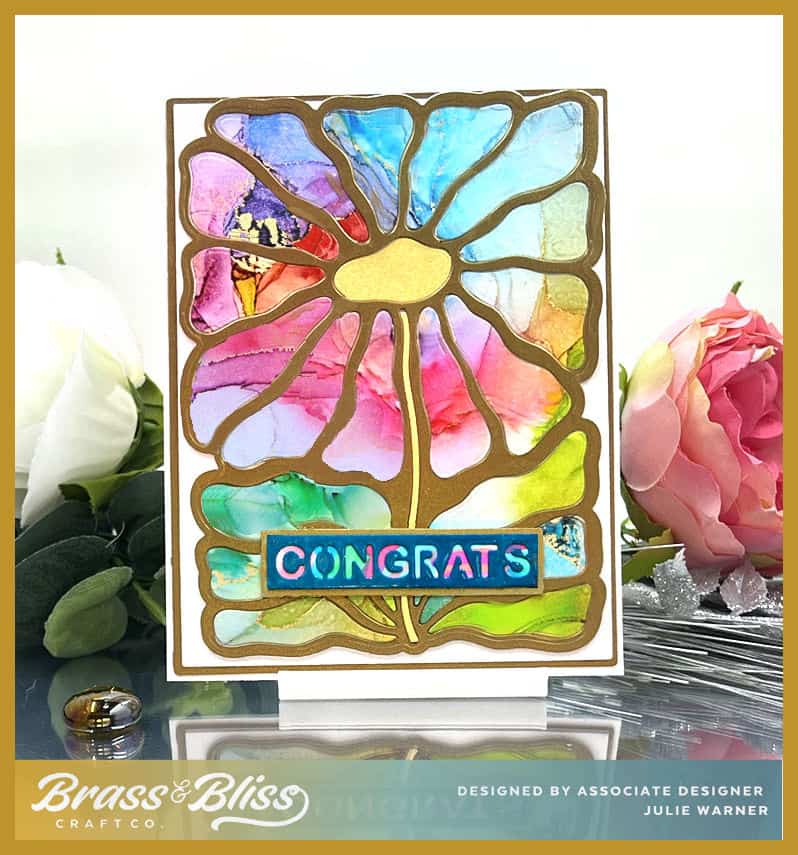
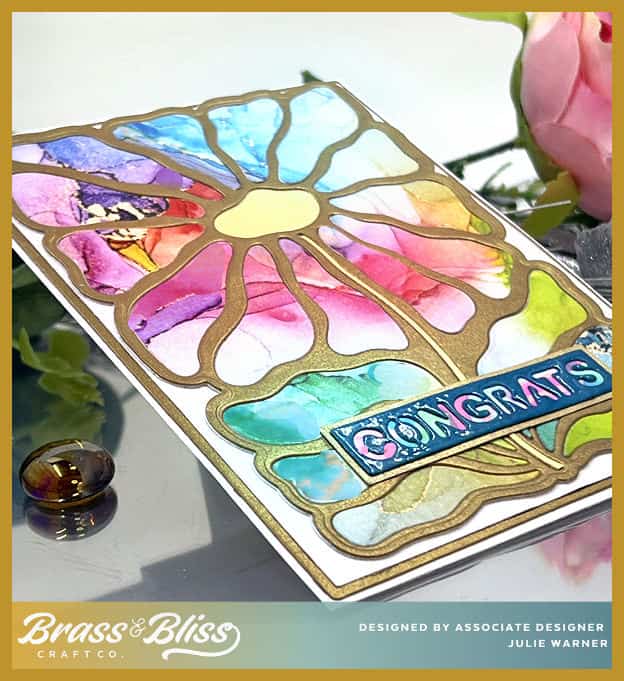
My card today features a big floral outline that covers the card. It reminds me of stained glass so that’s the direction I went with it. The paper pieced petals are part of a marbled paper pad and I thought it looked perfect w/ the gold outline. Change up the greeting for another occasion or leave it for the inside.
For the Inspiration Challenge IC1063, we are visiting Kibak Tile & their Pinterest Boards. They have some very pretty handmade tile and I chose THIS one for my inspiration.
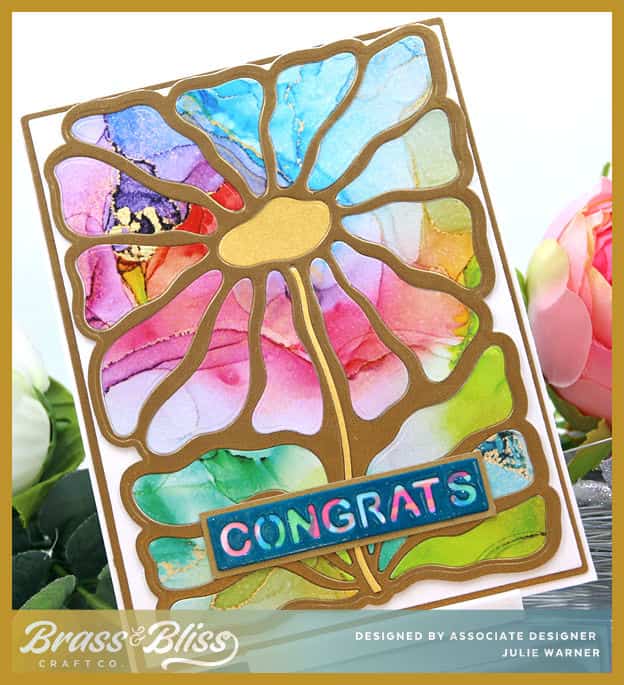
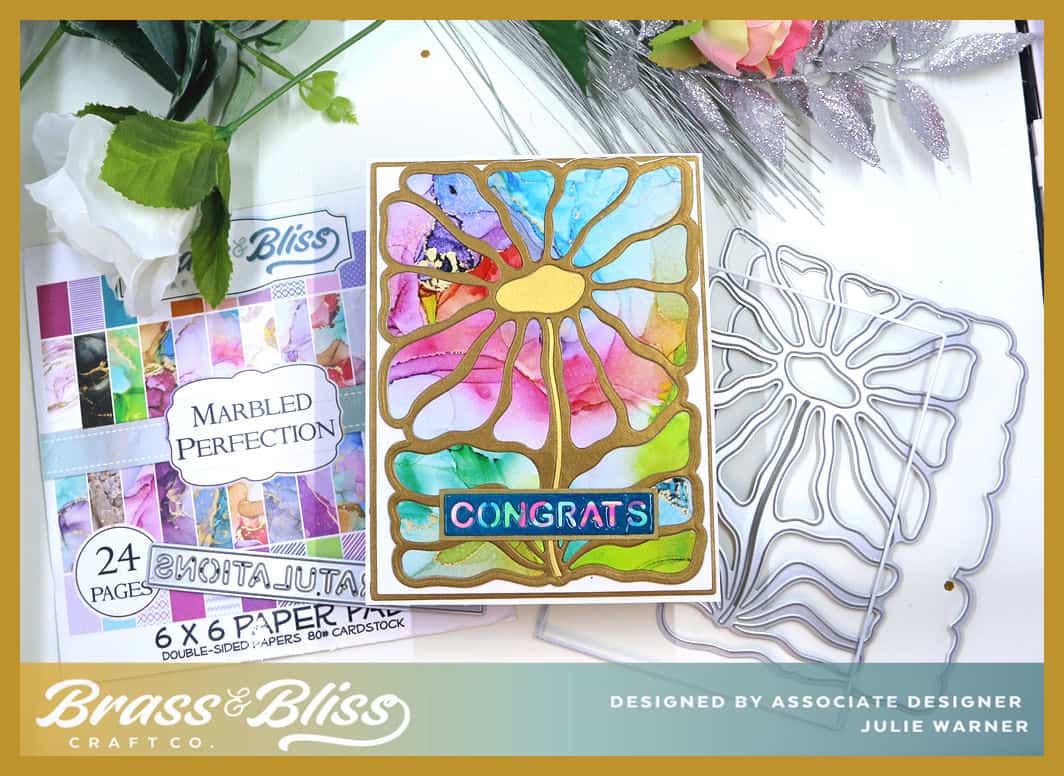
My card was fairly easy to make. I die cut the flower out of brushed gold then used the outline to cut the entire piece out. I cut the insides again out of marbled paper. The gold outline was attached to heavy piece of white & the marbled insides were pieced into place. I used a brighter gold for the center & stem. This whole panel was backed with a very narrow gold frame. For the greeting, I took the word die & cut it out of dk teal & pieced the S onto the Congrat part since the entire greeting wouldn’t fit horizontally. To help it meld together, I covered it w/ Versamark & clear embossed it a couple of times. I scribbled some colors onto a narrow white strip to attach the embossed part then attached it to a gold layer & onto the card.
Thanks so much for stopping by!

Supplies: (click the names below the pictures to take you to the products)
| Stamps: none |
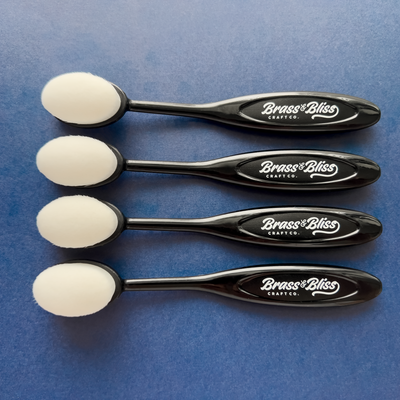
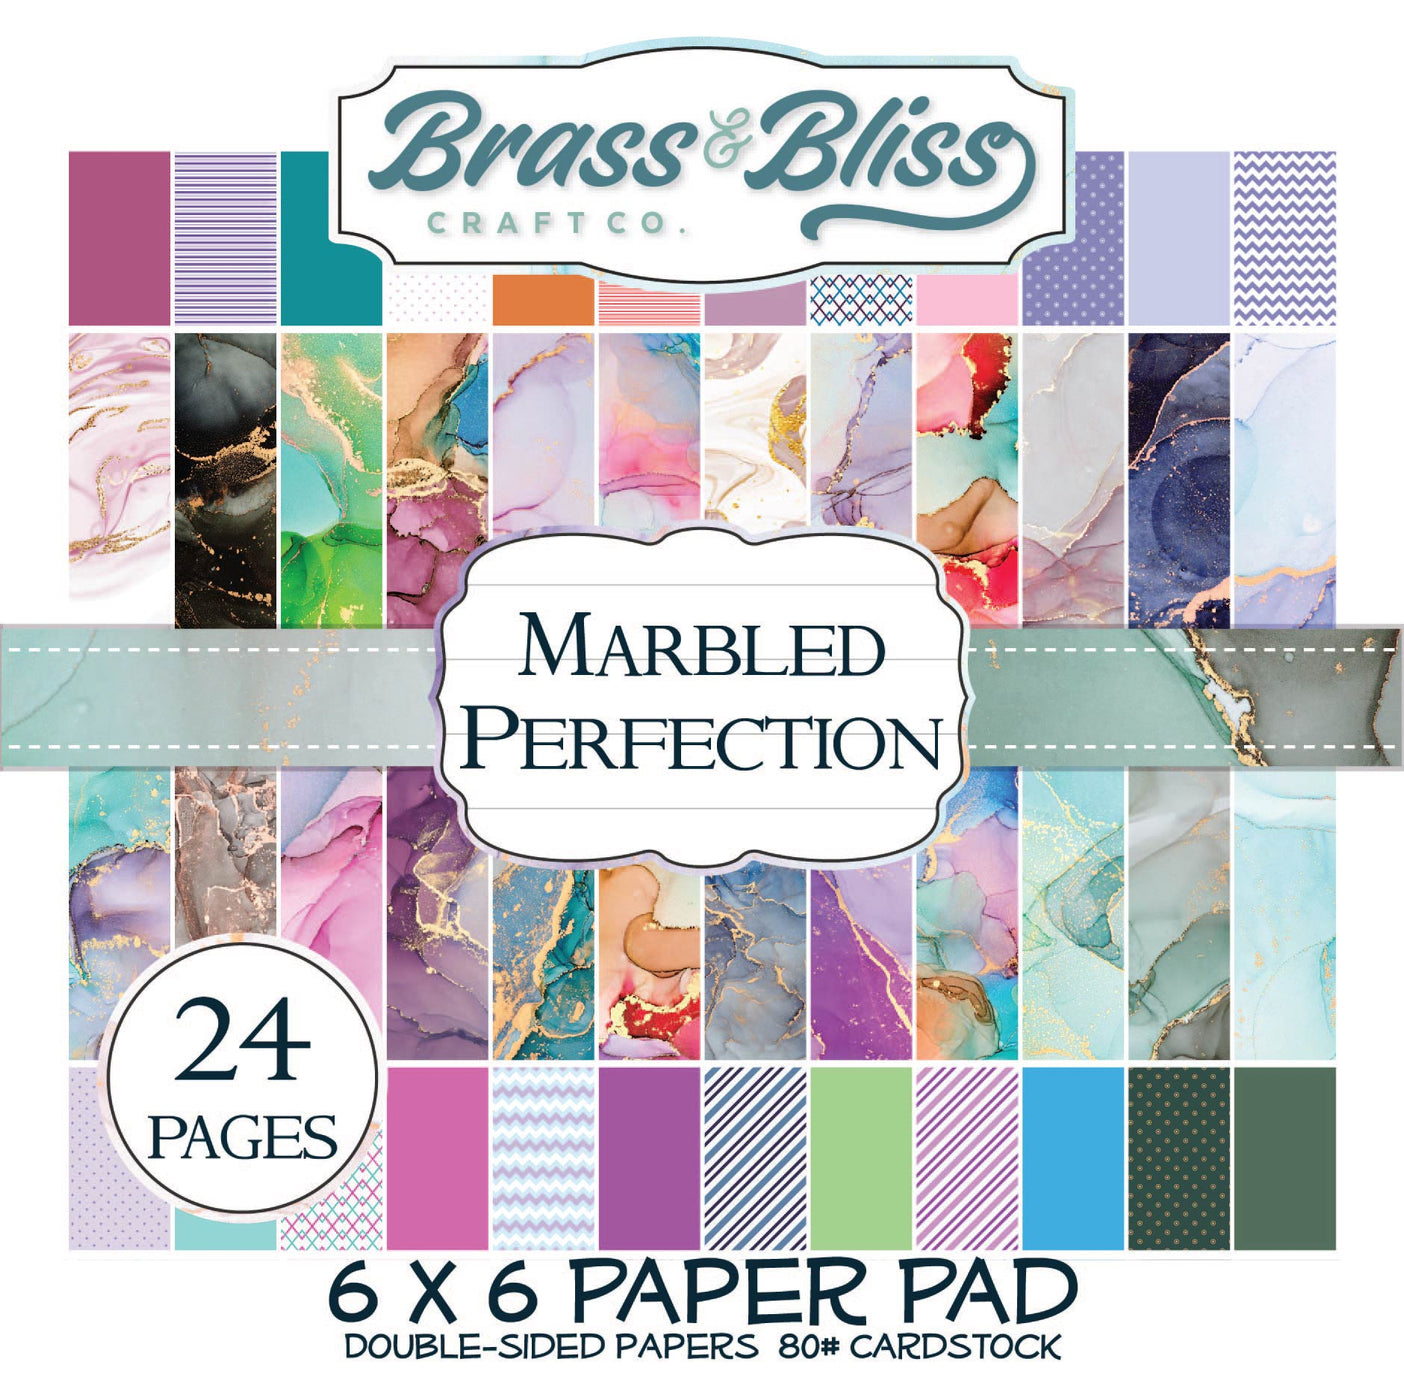
| Paper: Staples 110# white, teal, brushed gold, Brass & Bliss: Marbled Perfection paper pad |
| Ink: Versamark |
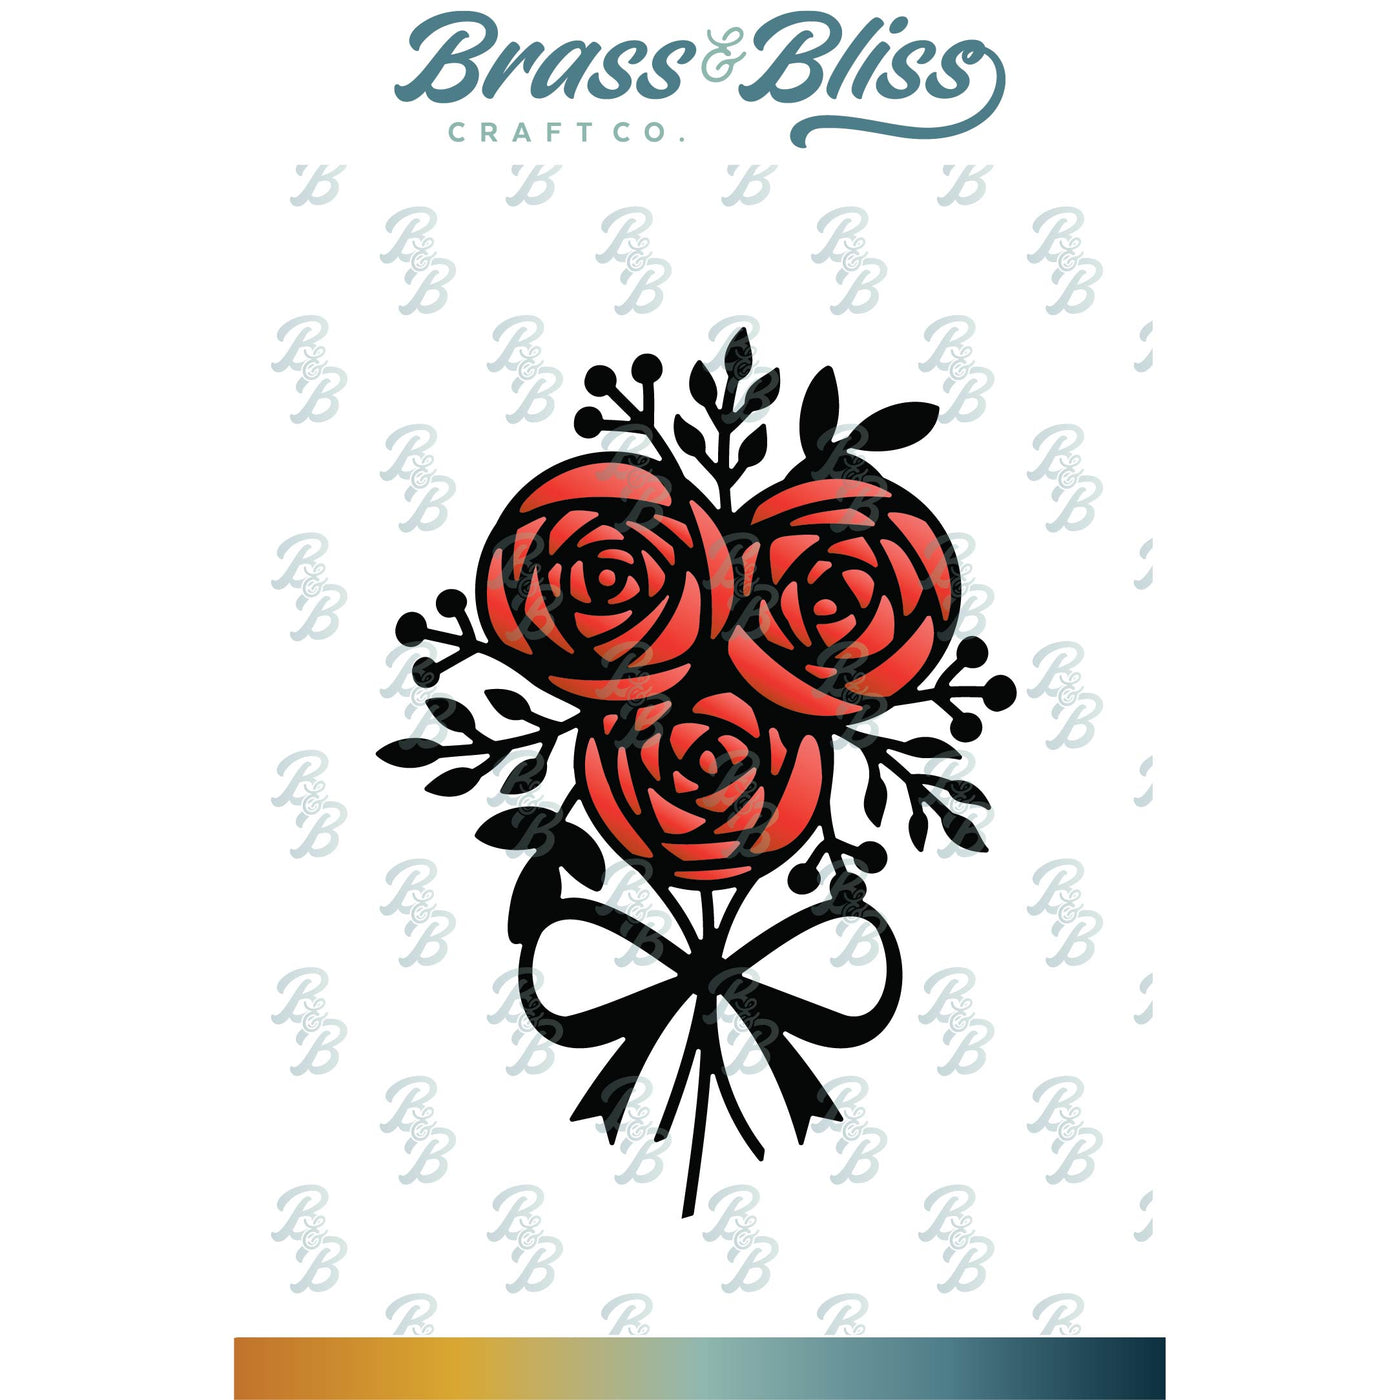
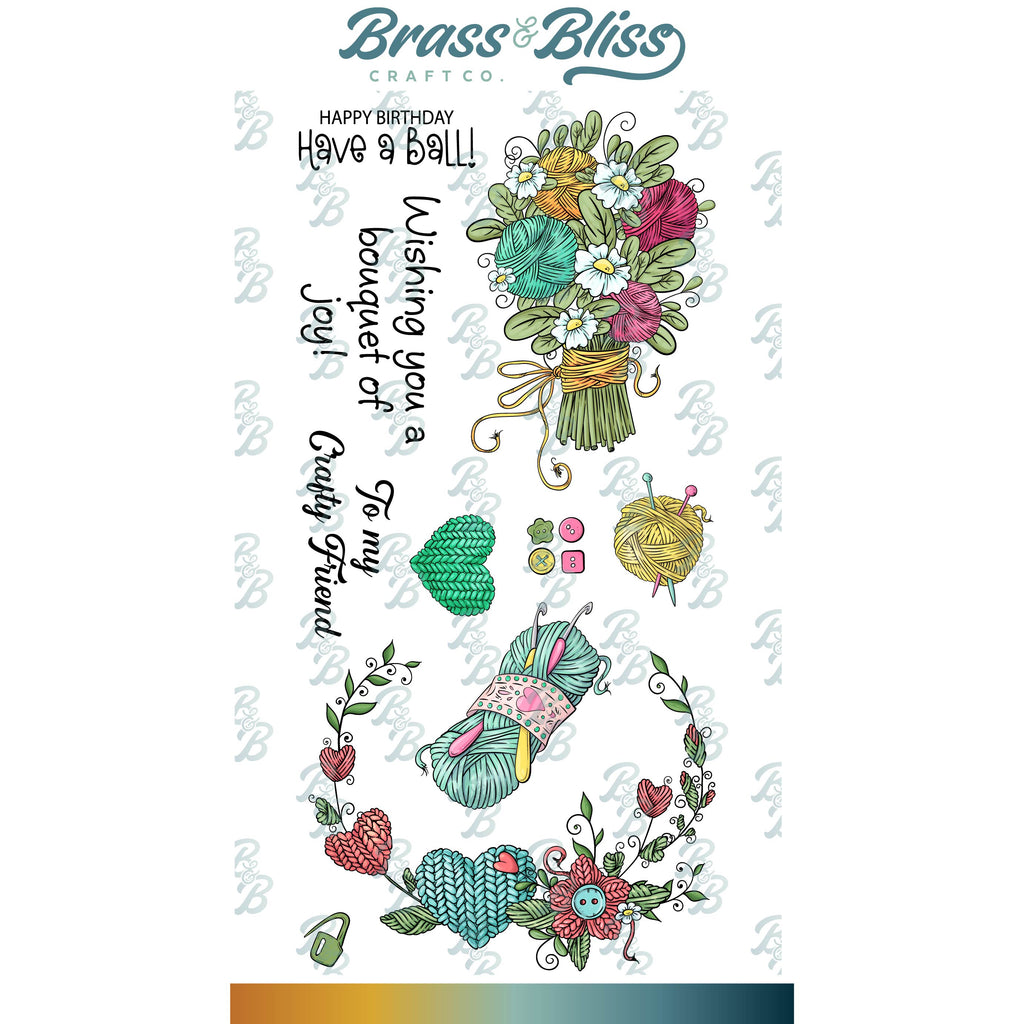
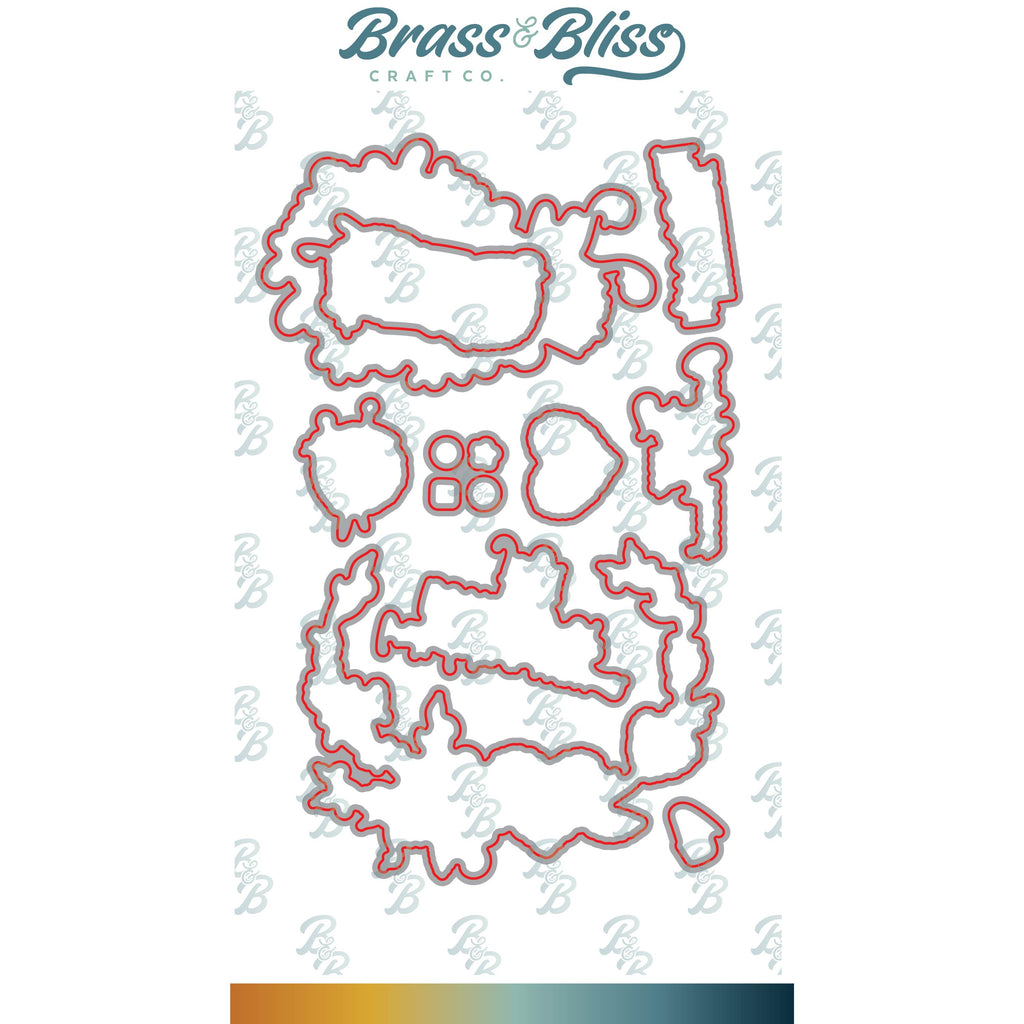
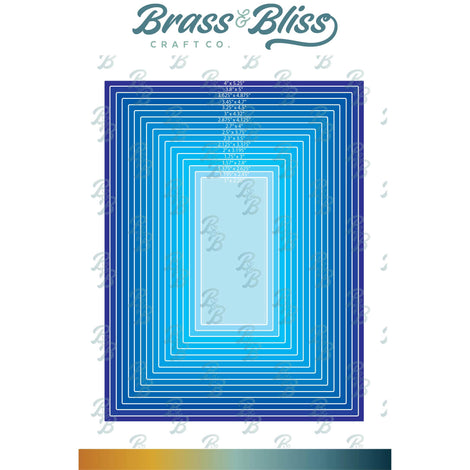
| Accessories: Brass & Bliss: Spring Flower w/ Outline, Timeless Words dies, clear embossing powder |

|
|

|
|

|

|

|

|

|

|
You might also like: