• Tag Archives flowers
  • Daisies on the Side

    Daisies are always perfect to use on a card. These big beautiful blooms are a joy to color & the matching dies make it easy. I included a bonus color worksheet for this card.

    Congrats to Dina, the newest Featured Stamper (FS839)! She has such an amazing gallery & I chose THIS card to case. I kept the flowers off to one side, but switched sides, used different images, dies & colors. I really like the way she used half the image, but I didn’t have an image like that & in the end, I couldn’t make myself cut these flowers in half, so….I pushed them off to the side instead.

    My daisies were all colored & die cut. I had to do a little fancy work w/ the dies, since these were already masked & stamped as one. I added the freehand border stamp to the edges of the white deckled panel & stamped the second half of the greeting, replacing the You w/ a die cut one. I used the second largest mini slimline die to cut the lavender panel & placed it behind the white one.

    Here are the Copics I used:

    On a side note, I chose these colors because of a color worksheet I did for an earlier card (which you can see HERE). I didn’t use the blues/purples on that card, but I saved the work sheet & used those colors for my card today.

    Thanks 
    so much for stopping by!

    Supplies:

    Stamps: Rubbernecker Stamps – Daisy Day Dreams (retiring, only a few left!), Freehand Border set
    Paper:  Staples 110# white, X-Press It, lavender
    Ink: Memento tuxedo black 
    Accessories:  Rubbernecker: You Script w/ Shadow, Daisy Day Dream (retired), Mini Slimline w/ stitch (retired), Deckle Rectangle dies,  MISTI, Copic Sketch Markers,  Crossover II 


  • Party Time


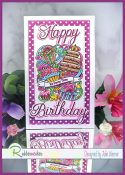
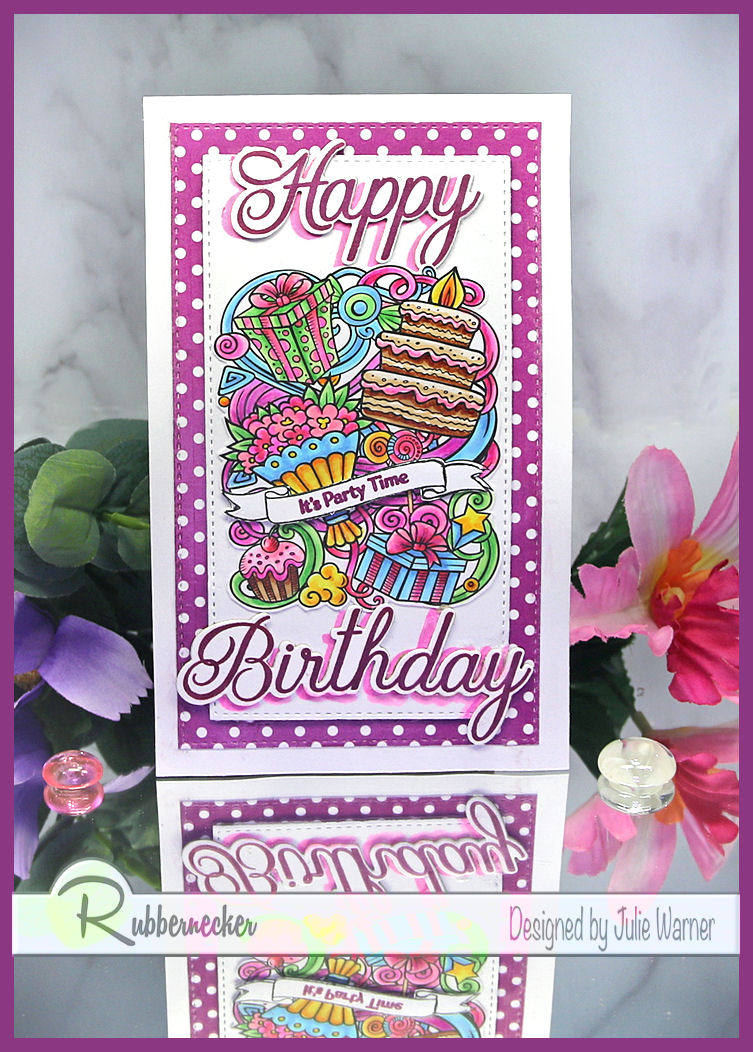
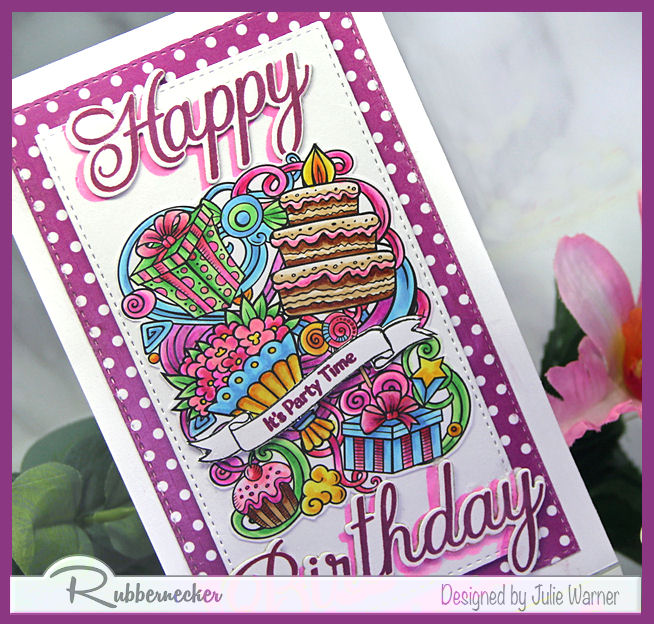
    It’s my turn to host the Inspiration Challenge on Splitcoast (IC900) & I chose a really fun site w/ lots of ideas..The Refab Diaries & their Pinterest Board where I found THIS picture. I thought the bright colors & hodgepodge of items would be perfect for the image I wanted to use.

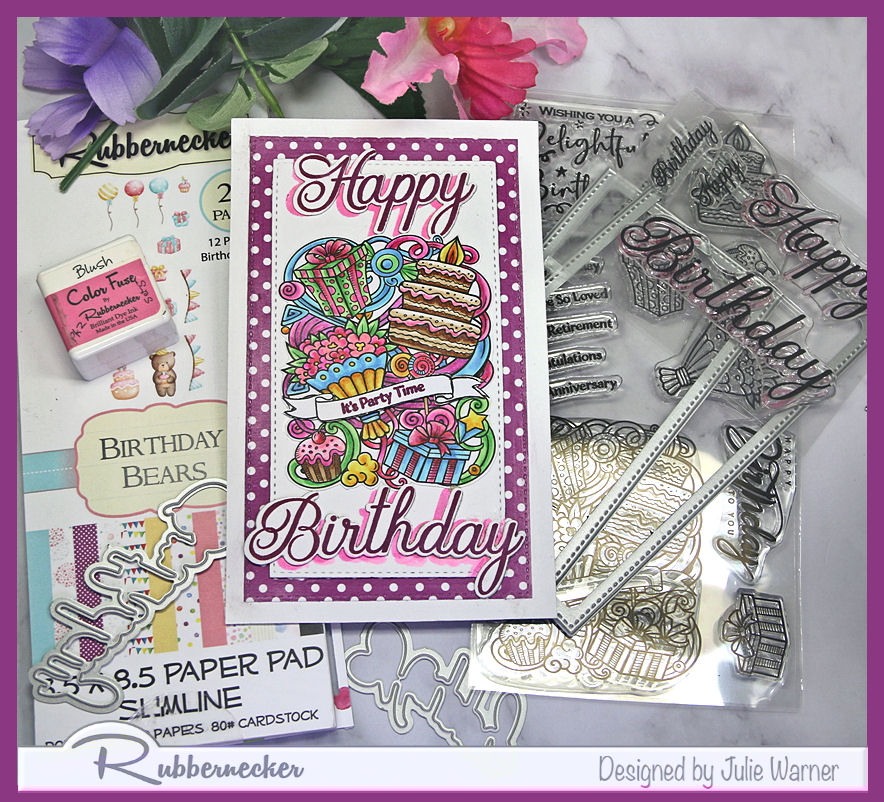
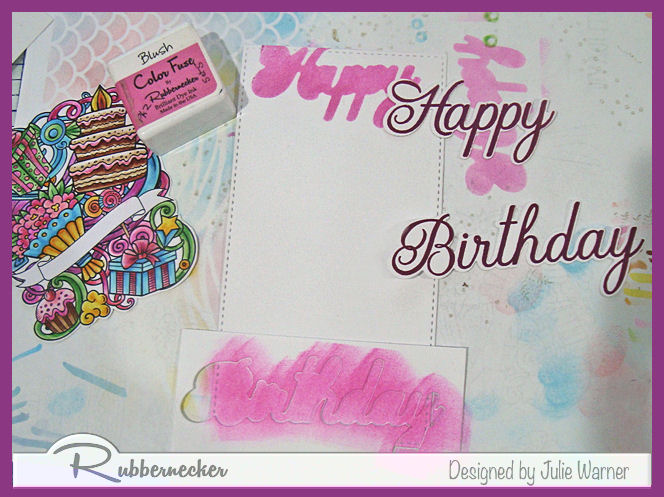
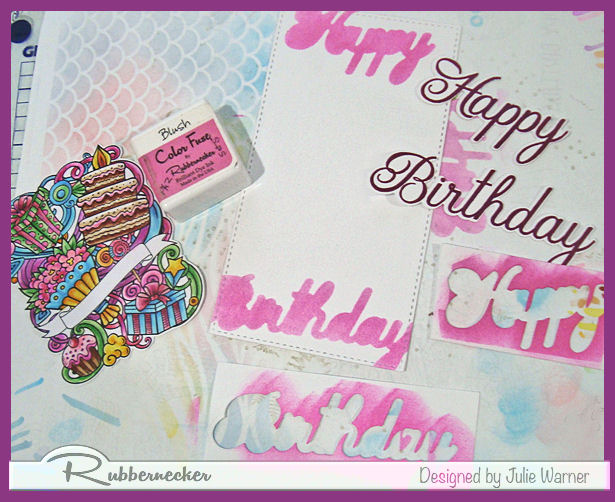
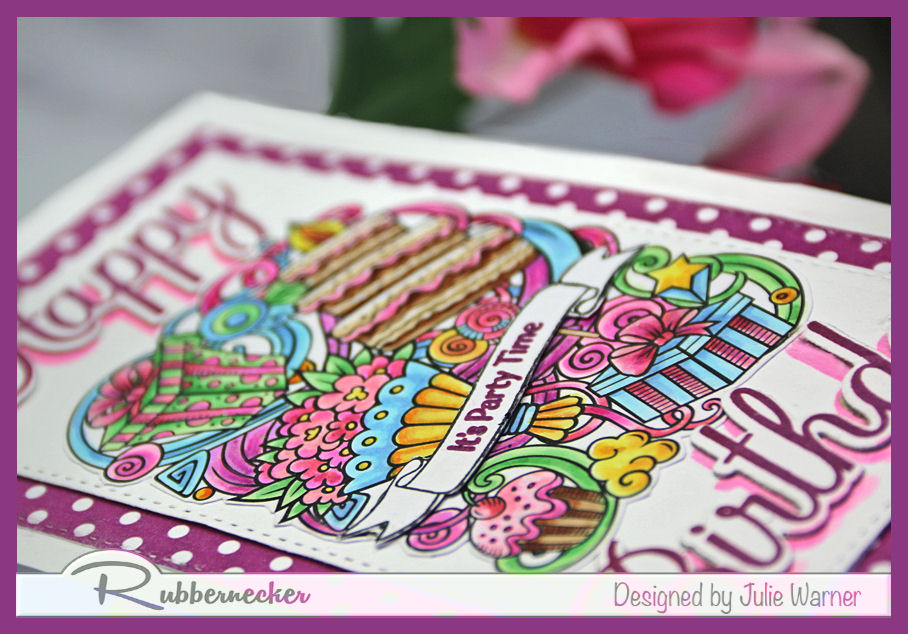
    After stamping & coloring this party image, I fussy cut it (actually pretty easy since it’s just a rounded outline). I popped it up just a bit on a mini slimline bg & backed it w/ a piece of polka dot paper. The banner was stamped separately, fussy cut & popped up on the original banner area. For this greeting & the large Happy & Birthday words, I used a combo of Versaclair Glamorous & Purple Delight, stamping one then the other on top of it,  to get the right color to match the paper (the Misti is essential for this). After I die the words, I used the leftover part as a reverse mask & stenciled in the pinkish shadow.

    You can see the finished Happy at the top & the reverse mask/stencil of Birthday at the bottom.

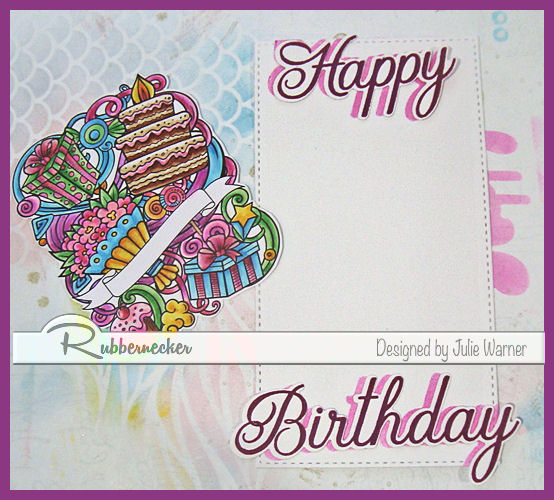
    Here the stenciling/sponging is finished.

    I placed the stamped, die cut words slightly offset to allow the shadow to show behind them.


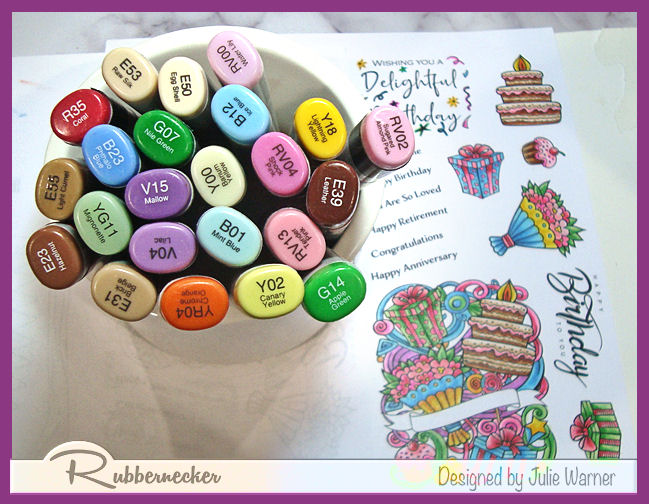
    Here are the Copics I used for the image:

    Thanks so much for stopping by!


    Supplies:

    Stamps: Rubbernecker Stamps: Birthday Magic set, Happy Birthday Lg/Sm set
    Paper:  Staples 110# white,  dp (Rubbernecker Stamps:  It’s Party Time paper pad)
    Ink: Memento tuxedo black, Versaclair Glamorous & Purple Delight, Rubbernecker Stamps:  Color Fuse set #5
    Accessories:  Rubbernecker Stamps:  Birthday Magic set, Birthday Magic Lg/Sm set, Stitched Mini Slimline, dies,  Copic markers, Crossover II, Misti


    You might also like:


  • Missed You


    It’s my pleasure to host the Splitcoast Inspiration Challenge (IC896) this week and I chose Running with Sisters & their Pinterest Board. THIS was my inspiration. I loved the flowers & bright orange color.

    For my mini slimline card, I die cut the panel & sponged on the apricot & nectar inks for my background, only going about 3/4 of the way up. Then I stamped a bunch of the 3 sizes of daisies onto copy paper and die cut them all to use as masks. I had already decided to bleach the petals but I needed the masks to arrange where to stamp, then mask the ones that needed it.

    After stamping the daises w/ Versafine Clair ink (I used this because Memento just doesn’t stand up to the bleach very well), I used a synthetic paint brush to bleach the petals. FYI..the paint bristles  need to be synthetic because bleach will totally destroy natural bristles, so go ahead & use a cheap synthetic one. Depending on the ink color, bleach will usually not take the paper back to white. Since I used a red-orange, after bleaching, I got an off white. I also stamped 3 more daisies onto white & die cut them. These 3 are popped up w/ fun foam.

    Thanks so much for stopping by! 


    Supplies:

    Stamps: Rubbernecker Stamps: Layered Daisy Bouquet
    Paper:  Staples 110# white
    Ink:   Versaclair onyx, Rubbernecker Stamps: Color Fuse inks: sets #2 & #4
    Accessories:  Rubbernecker Stamps:  Mini Slimline Stitch, Layered Daisy Bouquet dies,  Crossover II, Misti, bleach, synthetic paintbrush