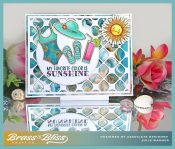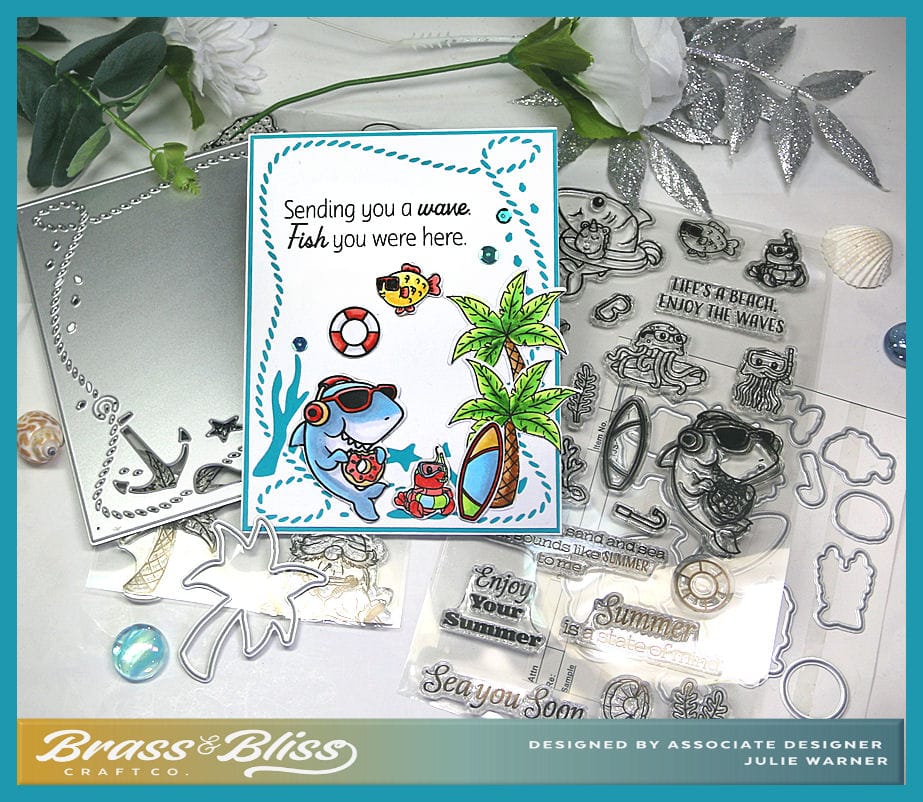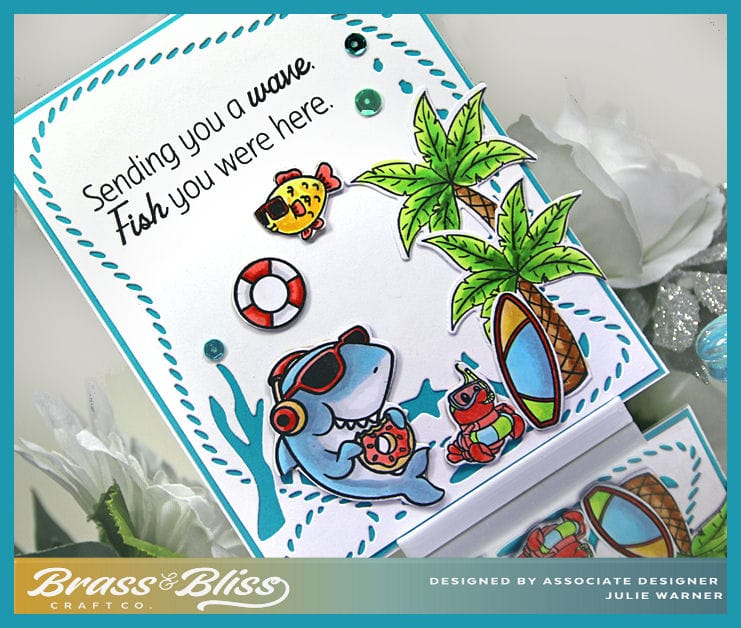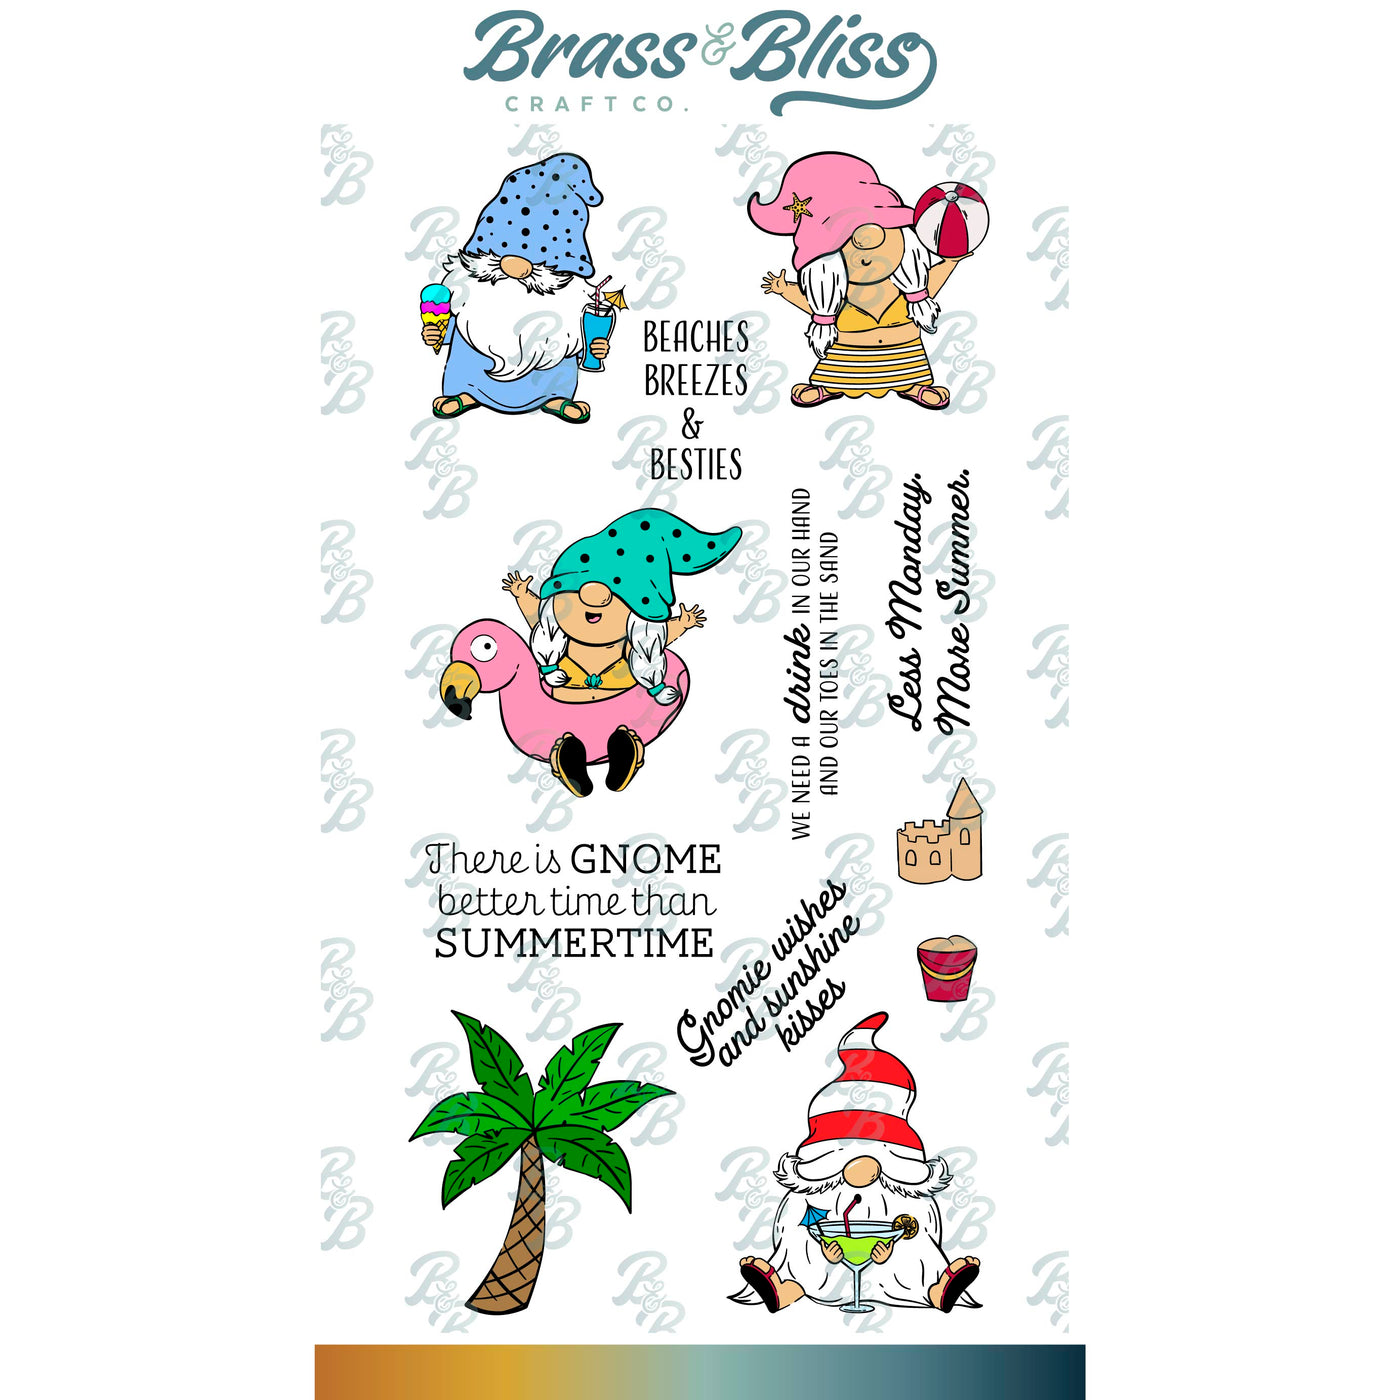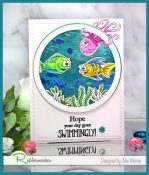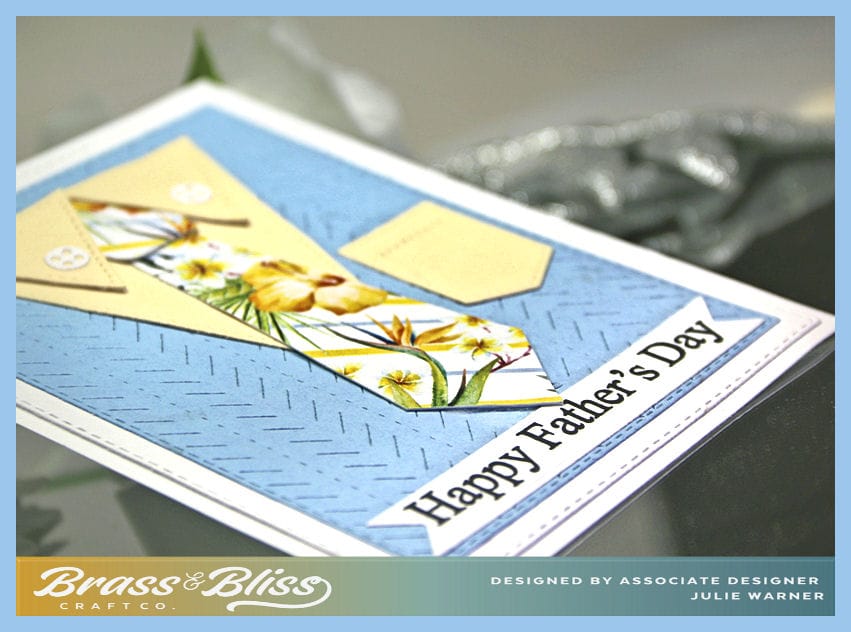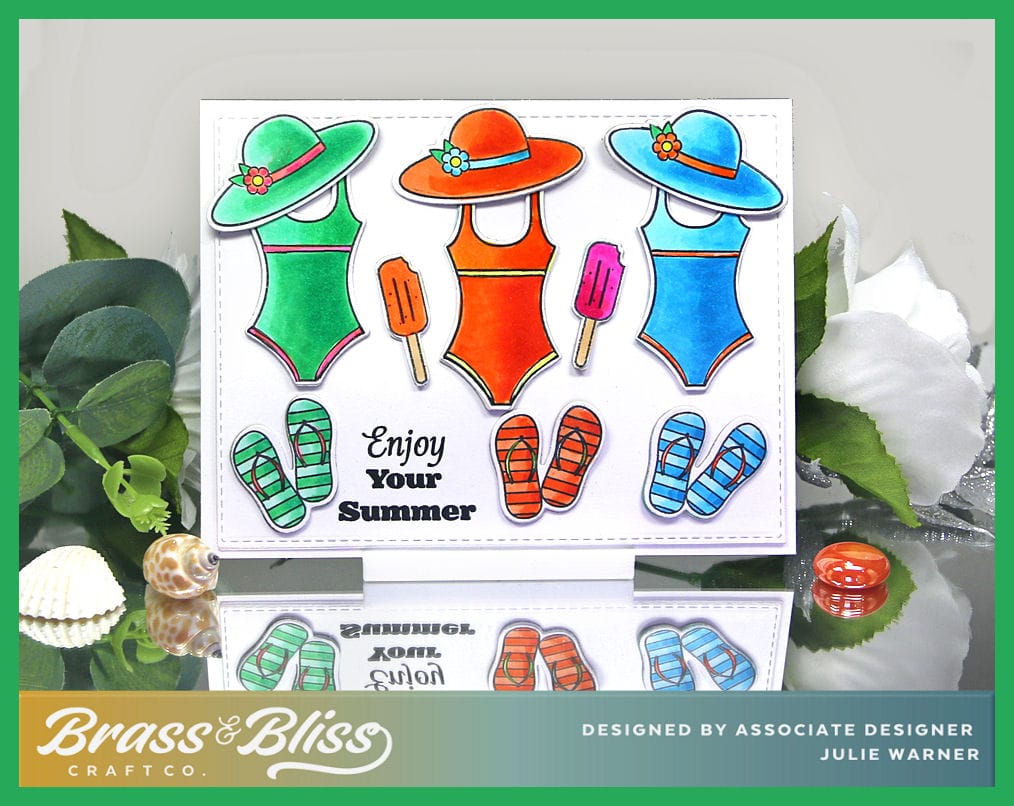

A fun card full of colorful swimsuits, hats & flip flops. Perfect for a vacation send off, beach trip or just to say hi. Color these any way your heart desires or use someone’s favorite colors. Would also look great in a monochromatic color scheme. Be sure to bring enough popsicles for everyone!
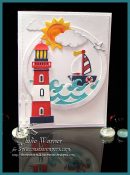
A big congrats to Christine, the newest Featured Stamper (FS905)! She has a wonderful gallery & I chose THIS to case. I loved the idea of matching images in different colors, so I kept that. I used different images & dies, not near as many swimsuits as Christine has sisters, lol. And I made mine a summer card instead of a t-shirt.

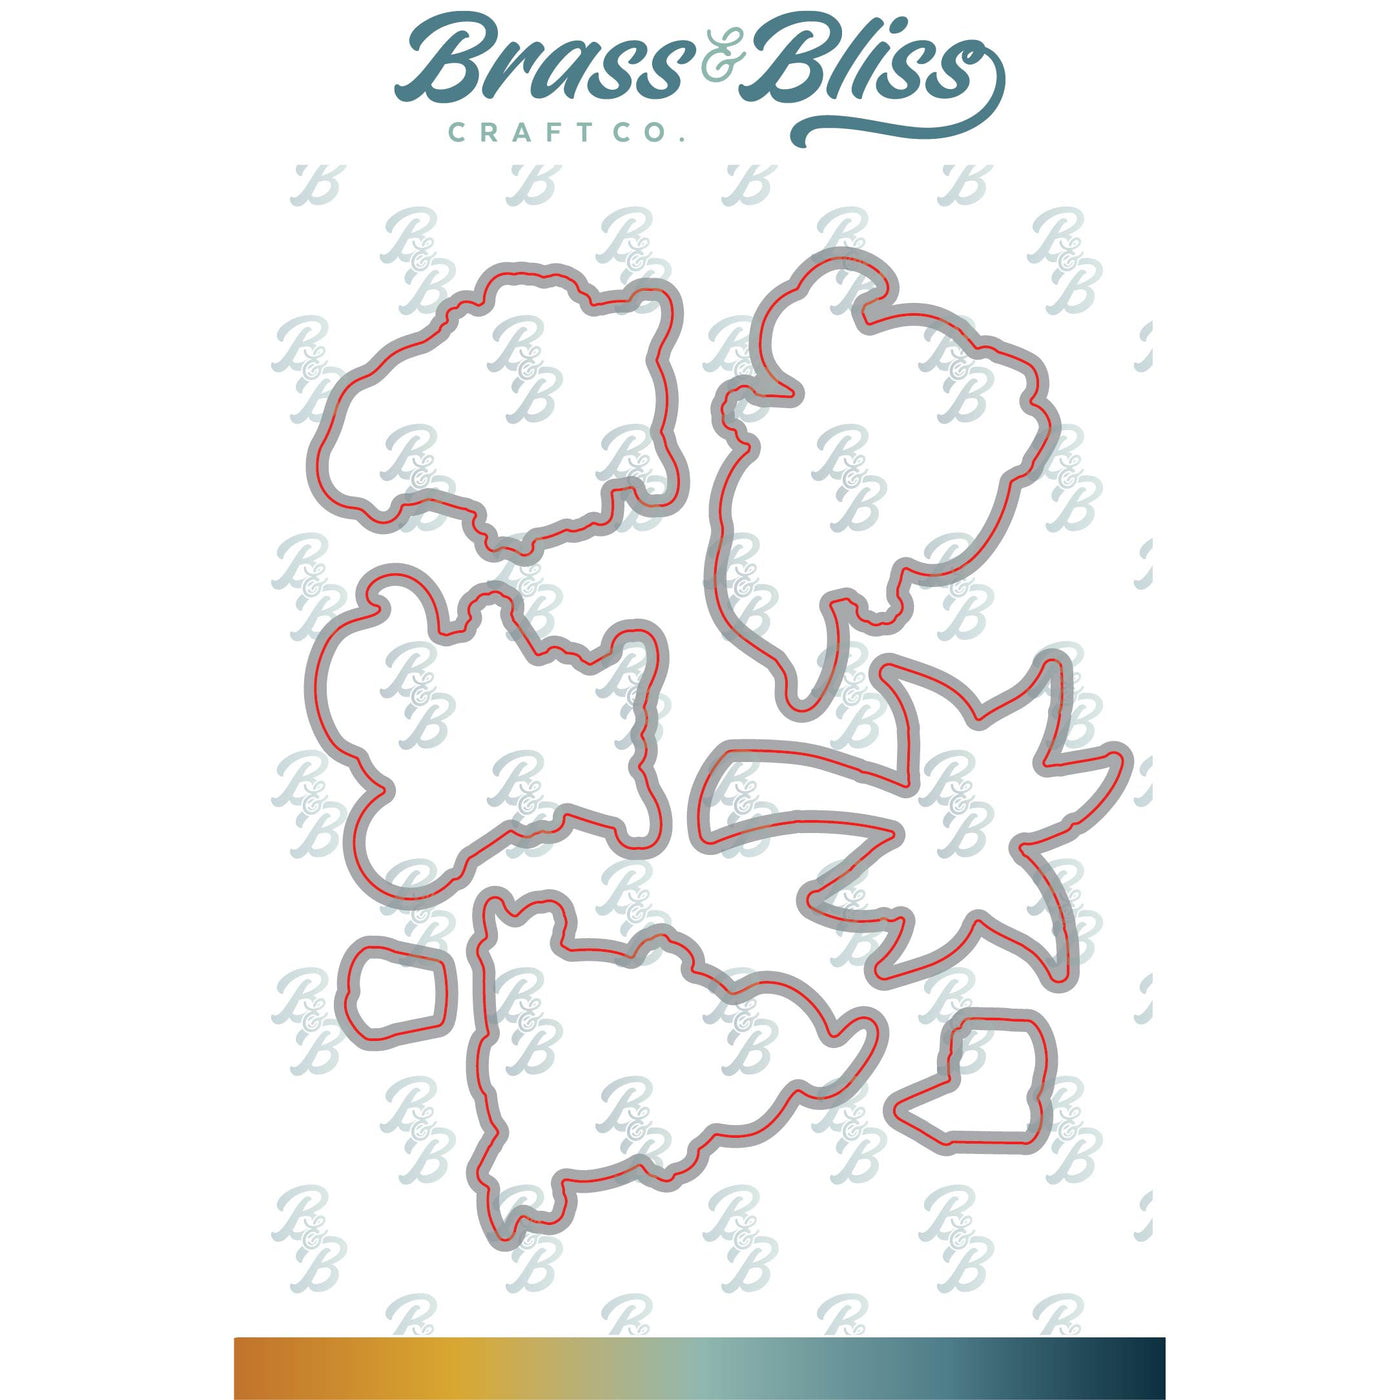
After stamping all the images several times, coloring & die cutting them, I added card board behind them to give them lift & sturdiness. I dry fit everything in order to find the best place for the greeting. After I stamped it, I attached all the colorful images. When I had it all put together, I thought “hmm..didn’t bring enough popsicles for everyone”. Oh well.
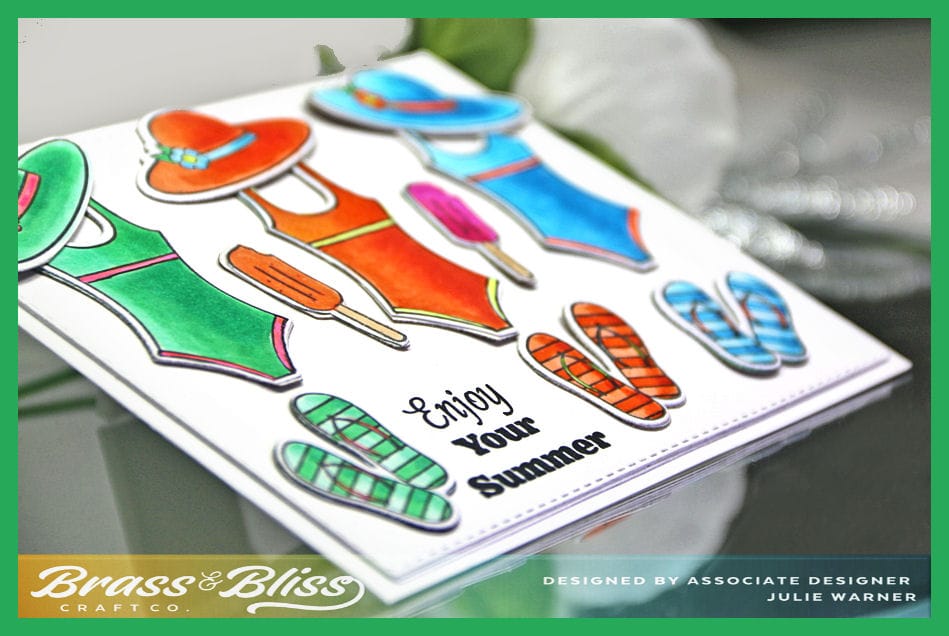
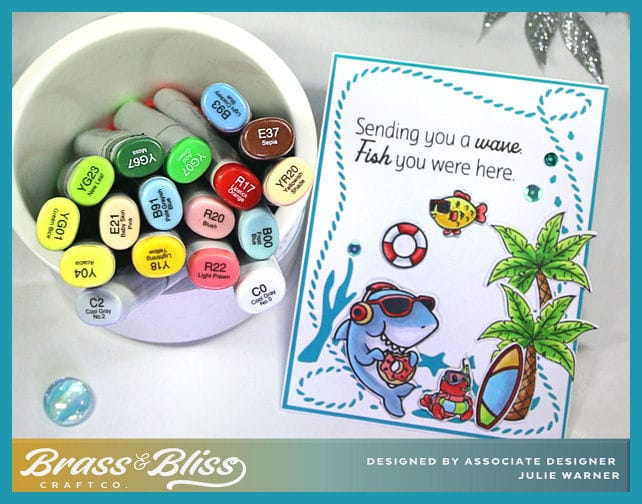
Here are the Copics I used: (for the skinny bands on the swimsuits, I used a few neon gel pens). 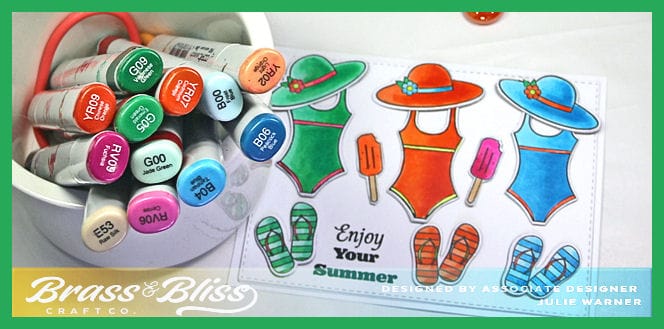
Thanks so much for stopping by!

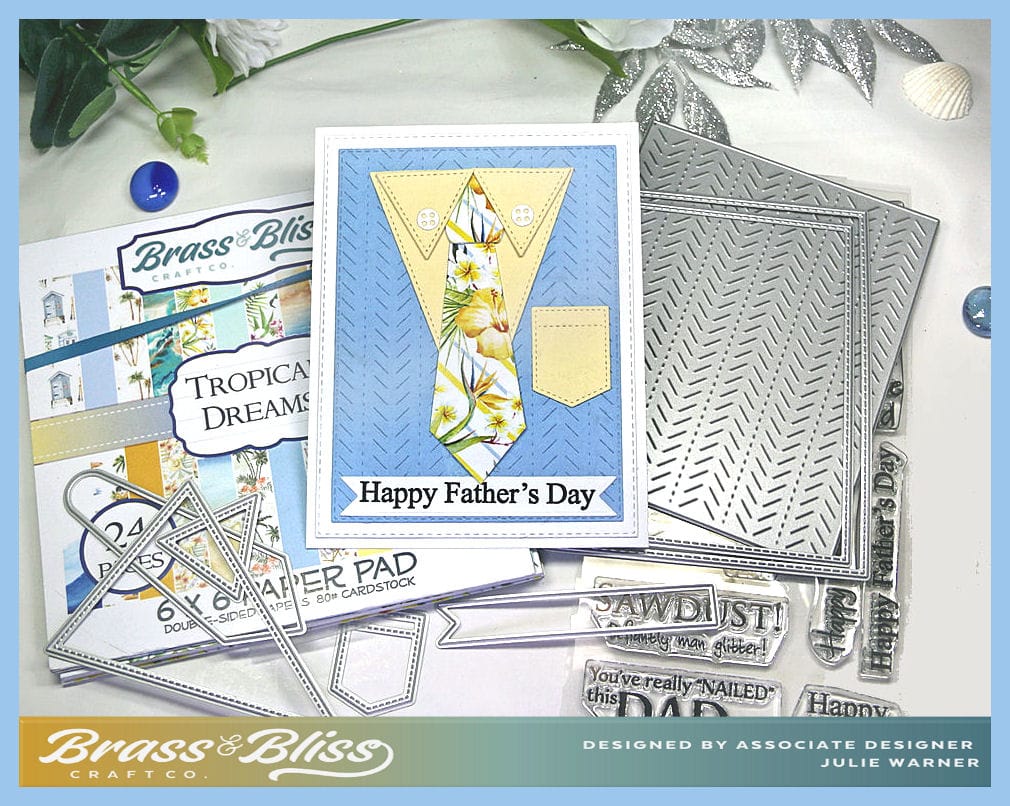
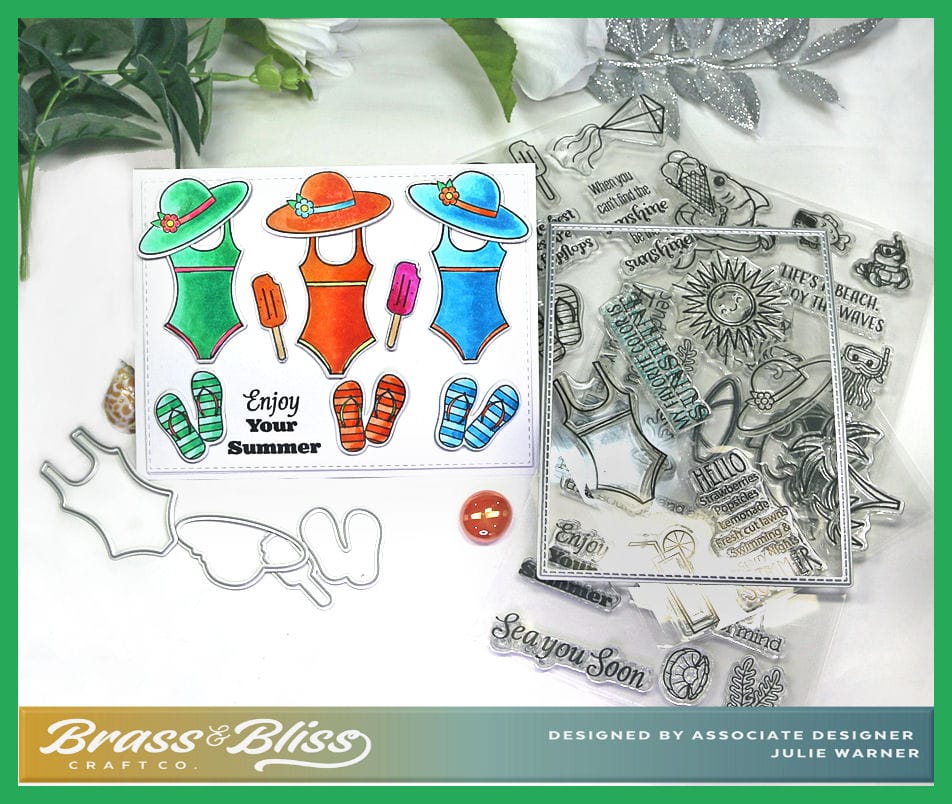
Supplies:
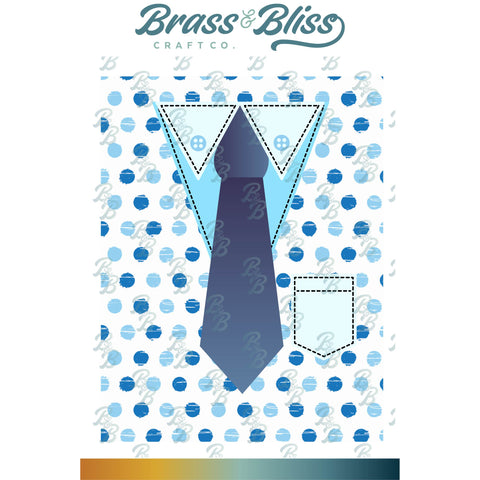
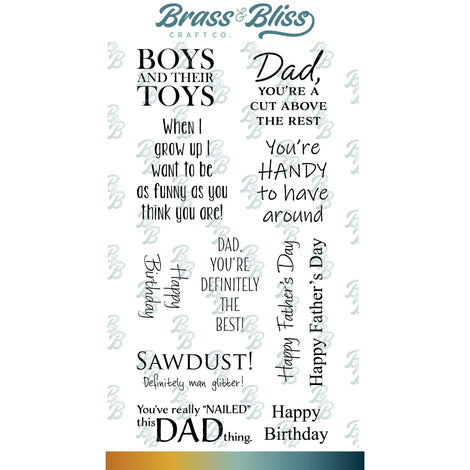
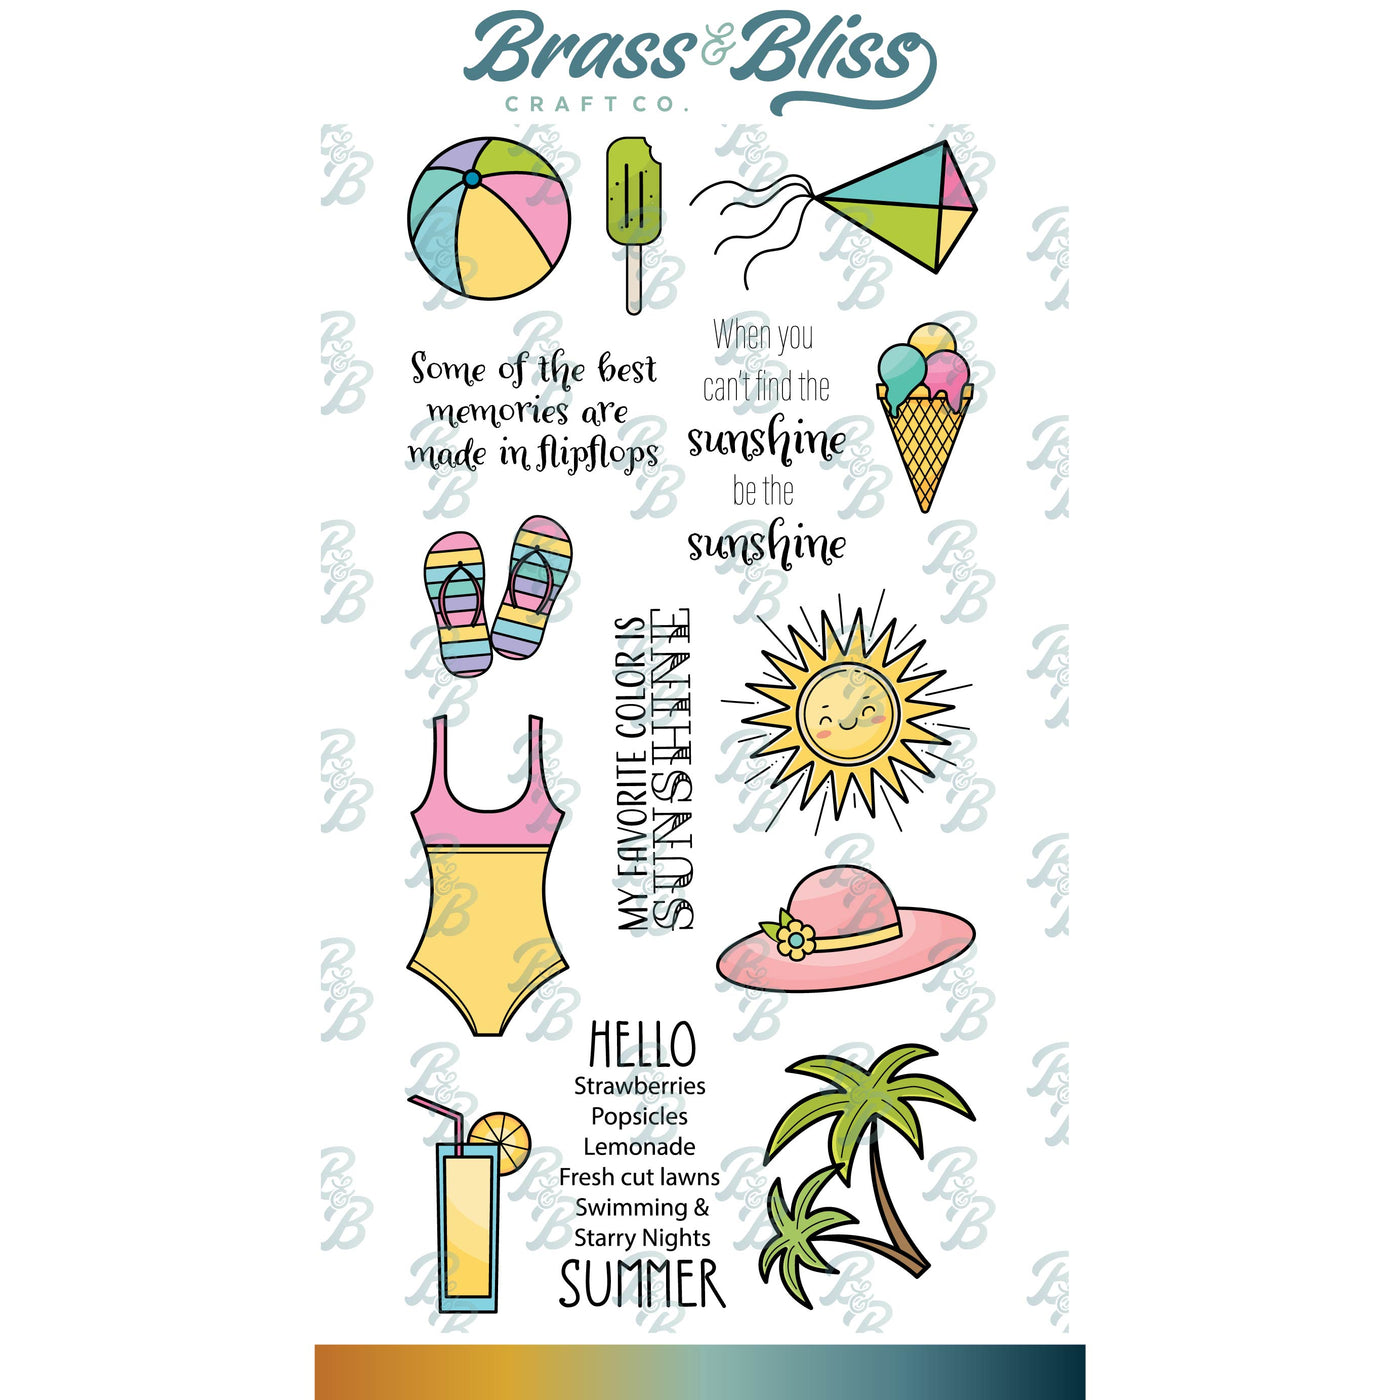
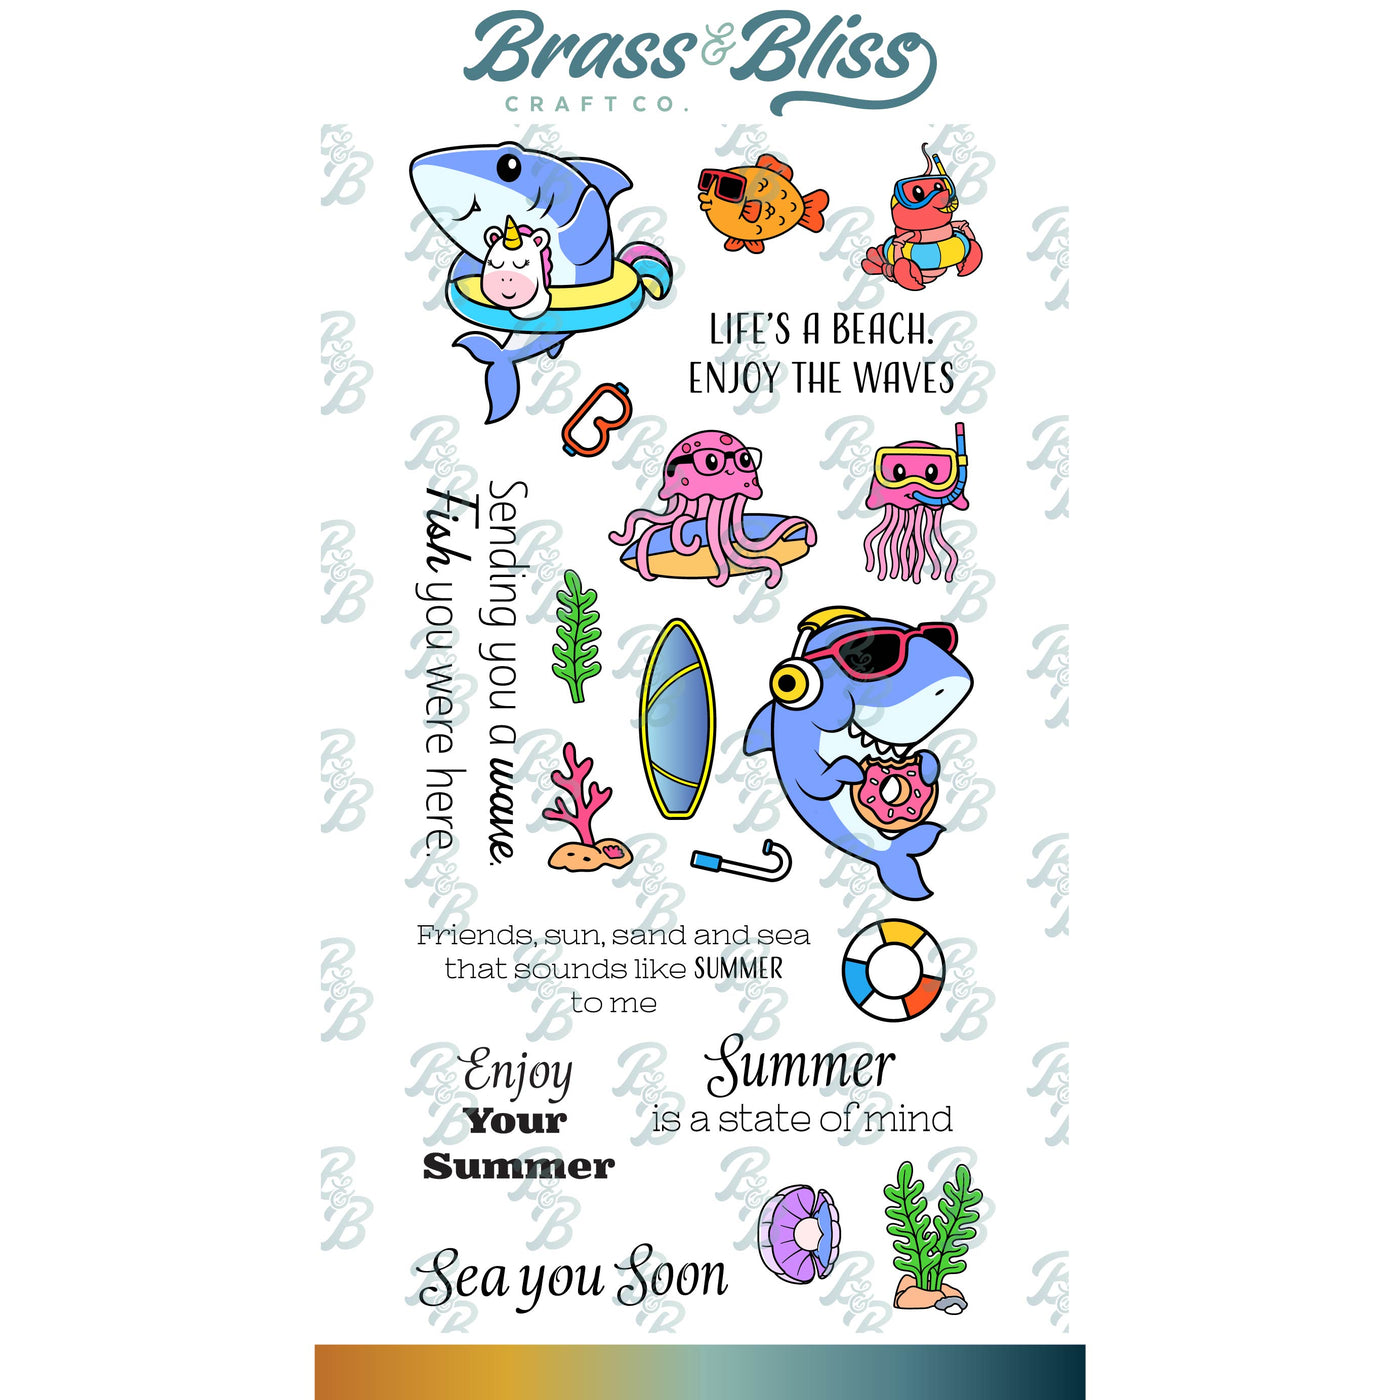
| Stamps: Brass & Bliss: Hello Summer set, Swim Party set (greeting) |
| Paper: Staples 110# white |
| Ink: Memento tuxedo black |
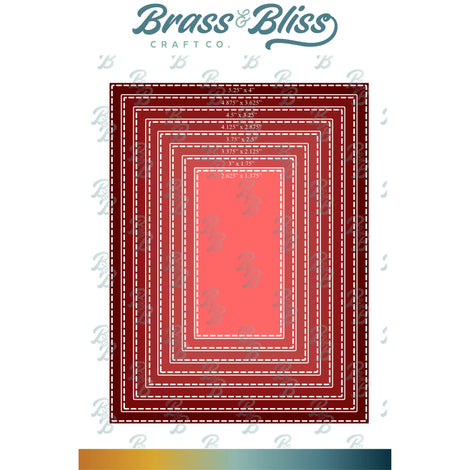
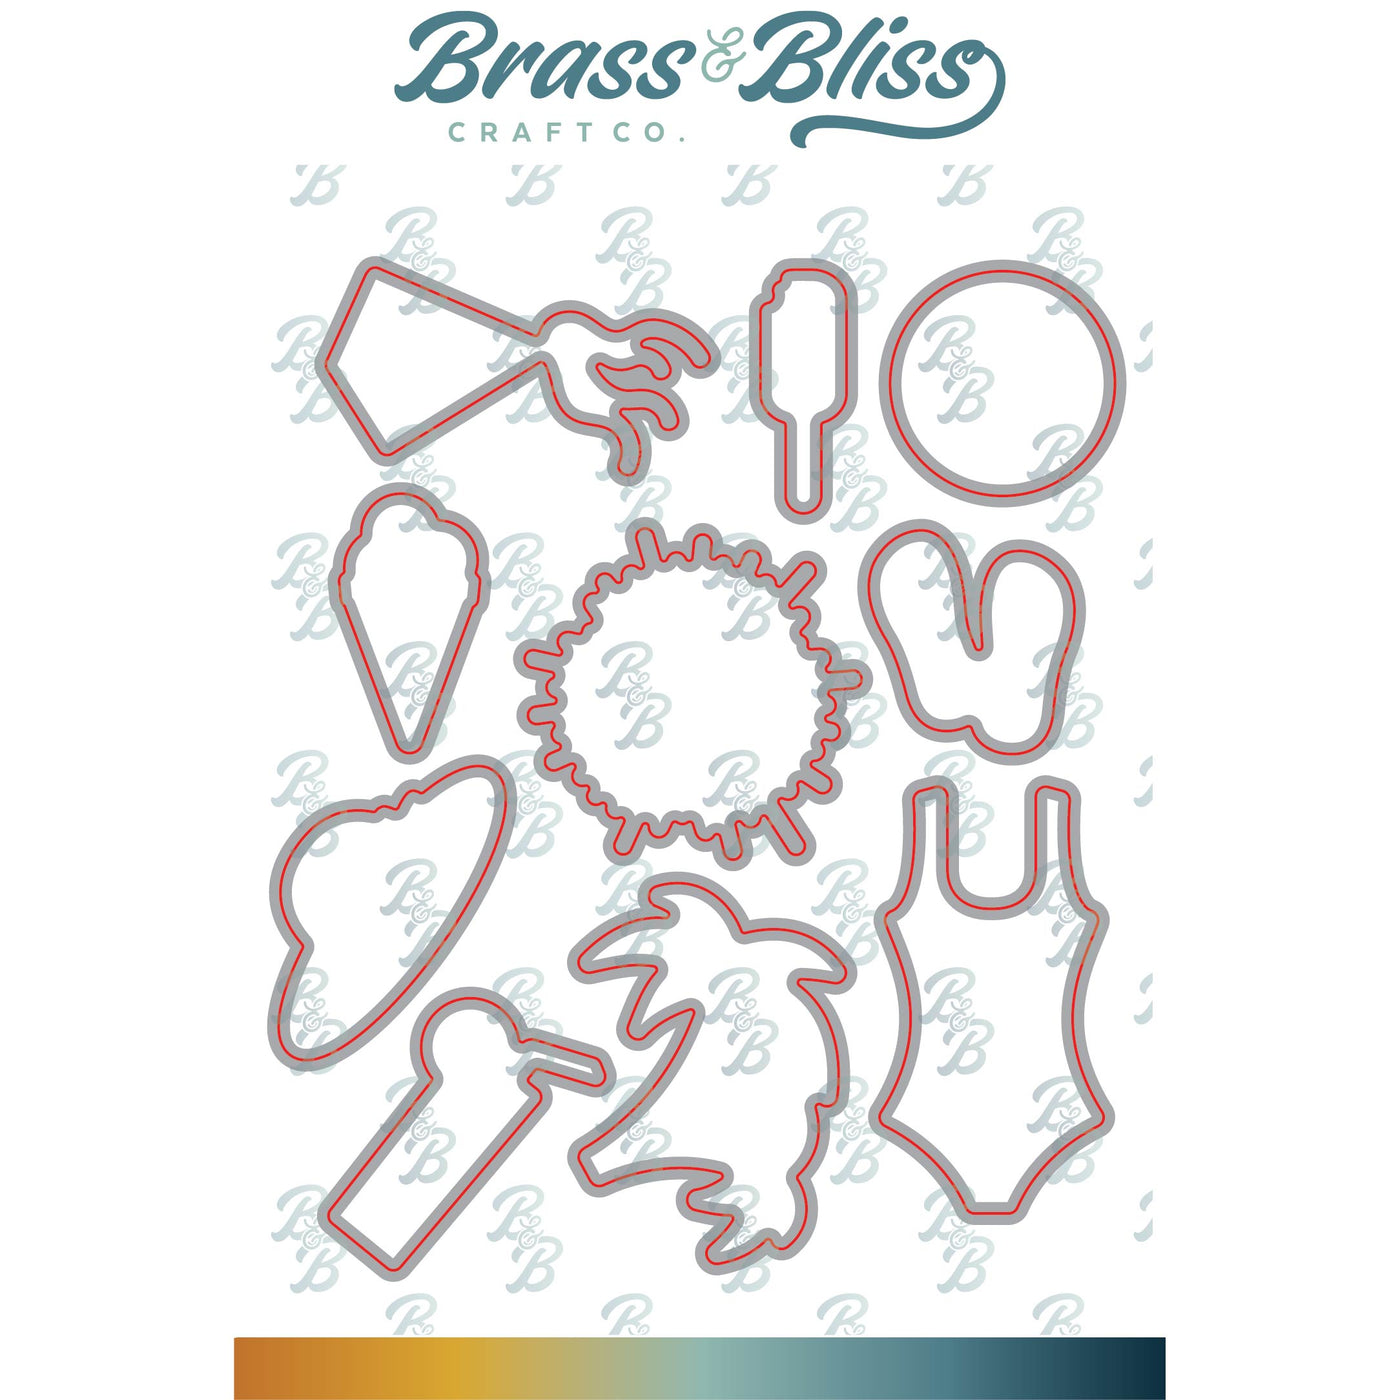
| Accessories: Brass & Bliss/Rubbernecker Stamps: Hello Summer set, Swim Party set, Rectangle Stitch dies, MISTI, Copic markers |
|
|
|
|

|

|

|

|

|

|
You might also like: